Chevy vehicles have a variety of electrical devices built into the motor which comprise the network of parts that make an engine run properly. The alternator contains within it a voltage regulator that helps maintain proper voltage for the engine to run while allowing your battery to recharge. If your battery continually runs low or your headlights and interior lights dim even while the engine is running, it may be time to replace the alternator.
Remove the battery connectors from the vehicle's battery with a wrench to ensure there is no power going to any of the parts within the system. Set the connectors away from the battery while you perform the replacement.
Refer to the belt routing diagram to determine how to release the serpentine belt. This chart is on the underside of the hood. Use a driver or a socket to release the tension pulley to loosen the serpentine belt according to the configuration chart then remove the belt from the pulley with a screwdriver. Remove the belt from the alternator but do not remove the belt from the rest of the pulleys.
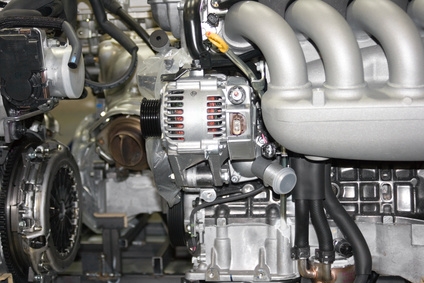
Remove the alternator. Disconnect the electrical wiring from the alternator. On some models, you may be able to use a pair of pliers to turn the lead nut while other models may require the use of a socket set. Loosen the alternator mounting nuts and pull the bolts out of the mount arms to fully remove the alternator from its position in the engine compartment.
Replace the old alternator with the new one and reverse the removal process to install it. Position the new unit onto the mount arms, then slide the bolts through the mount arms and tighten the nuts. Reattach the wires and the serpentine belt, then use the driver or socket to release the tension pulley for the belt and slide it back into place. Replace the battery cables and start the vehicle.