The slave cylinder on your 1993 GMC Sonoma pickup operates the clutch release fork inside the transmission bellhousing. After years of service, the slave cylinder may begin to leak. In this case, you can replace the worn out slave cylinder in your pickup without the use of special tools. However, you will need the aid of a helper since you have to bleed the hydraulic system after installing the new unit, to make sure the clutch operates properly.
Disconnect the negative terminal from the battery using a wrench.
Lift the front of your Sonoma pickup using a floor jack and support it on jack stands.
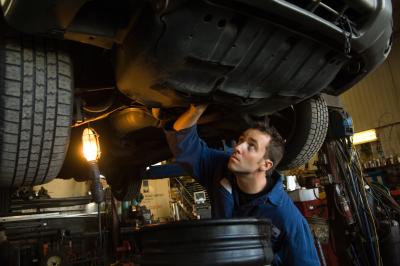
Locate the clutch slave cylinder to the left of the transmission bellhousing.
Detach the hydraulic line from the slave cylinder using a flare wrench, and immediately cover the line opening with a piece of clean plastic sheet and a rubber band to keep fluid from flowing from the line. Use a shop rag to wipe any fluid spilled.
Unscrew the two slave cylinder mounting nuts using a ratchet, ratchet extension and socket.
Remove the slave cylinder and push rod assembly from the engine compartment.
Position the new clutch slave cylinder on the transmission bellhousing, and temporarily install the two cylinder mounting nut hand-tight.
Connect the hydraulic line to the slave cylinder, and tighten the line retaining nut using the flare wrench.
Refill the reservoir on the clutch master cylinder with new DOT 3 brake fluid.
Remove the two slave cylinder mounting nuts.
Turn the slave cylinder so the bleeding screw points straight up.
Ask a helper to fully depress and hold down the clutch pedal. Loosen the bleeding screw on the slave cylinder using a hex wrench, to allow the air and fluid to bleed through the screw, then tighten the bleeding screw again and ask your helper to release the clutch pedal. Repeat the process until all air bubbles stop and only brake fluid flows through the screw.
Install the two slave cylinder mounting nuts and tighten the nuts using the ratchet, ratchet extension and socket.
Refill the reservoir on the clutch master cylinder with new DOT 3 brake fluid to the proper level.
Lower your Sonoma pickup with the floor jack.