The fan belt on a Northstar engine is also known as an endless or serpentine belt which connects to the alternator, engine, air compressor, and water pump. This fan belt is absolutely essential to the safe running of a vehicle. Northstar engines have a slightly more complicated configuration of pulleys than most due to their dual overhead cam design. This means that, rather than having one camshaft extending from the engine, providing the turning power to the fan belt, there are two. As such the fan belt is larger and goes through a more complicated rout of pulleys.
Aside from the new fan belt, one should also have a socket and ratchet corresponding bolt in the center of the belt tensioner. On Northstar engines, this is a half inch square bolt, meaning one needs a socket to match. One will also need the belt routing diagram inside the vehicle's hood. This diagram will identify the various pulleys, cams, and the tensioner, showing which direction they turn and in what order the fan belt should be wrapped around them. If there is no diagram, but the Northstar engine has an old fan belt in place, draw a diagram for future reference.
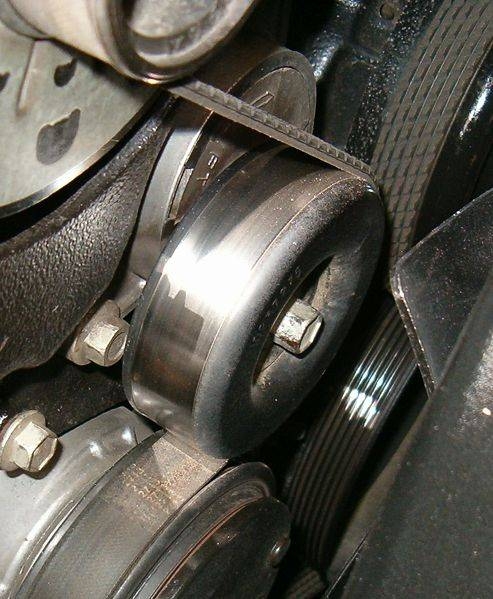
Begin by identifying the belt tensioner. This is a round pulley head like all the rest, except that it's on an armature extended sideways. There should be a bolt at the center of the belt tensioner head. Connect the socket and ratchet to it and turn the bolt counterclockwise. This will cause the armature to fold inward, creating sufficient slack on the old fan belt to allow its removal. If there is no old fan belt, slip the fan belt around the tensioner and the cam shaft immediately above it, from there follow the diagram in the order of which heads go around the fan belt and where. The teeth on the belt should fit into the cut grooves of the heads so the belt doesn't stick out or kink. Release the belt tensioner to take up the slack to finish.