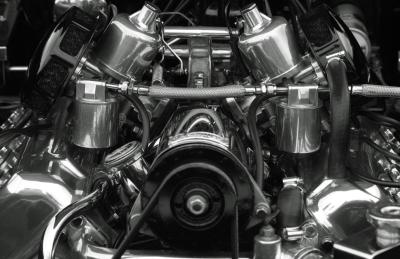
Replacing a serpentine belt is the same on all General Motors vehicles. The serpentine belt is one complete ribbed belt that controls all of the accessories on the front of the engine. These accessories are the power steering pump, the alternator, the water pump, the air conditioner and the crankshaft. Each accessory has a pulley that the serpentine belt is routed around to control the accessory.
Open the hood of the vehicle and locate the serpentine belt diagram. All GM makes and models have a serpentine belt diagram on top of the fan shroud. The diagram is a picture of all of the accessory pulleys showing the serpentine belt being routed around the pulleys. This diagram shows the exact direction of the serpentine belt around the pulleys. If you do not see the serpentine belt diagram, take a notepad and a pen and draw out the routing of the belt.
Locate the serpentine belt tensioner. All GM models have a serpentine belt tensioner on the front of the engine. The belt tensioner has a pulley on one end and a spring-loaded arm on the other side of the tensioner. The tensioner is the component that keeps the belt tight on the pulleys. The belt tensioner also has a bolt head in the center of the spring-loaded part of the tensioner. This bolt head is where you relieve the tension off of the serpentine belt with a ratchet and a socket.
Relieve the tension off of the serpentine belt by placing the proper size socket onto the center bolt head. Most GM vehicles require a 13 millimeter socket, but some require a 15 millimeter socket. Put the 3/8-inch ratchet onto the socket and turn the tensioner to relieve the tension. The tensioner will only turn one way. Once you relieve the tension off of the serpentine belt, slide the belt off of the serpentine belt tensioner and remove it from the engine compartment.
Route the new serpentine belt across the bottom crankshaft pulley first. Then use the serpentine belt routing diagram to route the belt around the remaining pulleys. Route the belt around the belt tensioner pulley last. Put the ratchet with socket back onto the bolt head in the center of the belt tensioner and relieve the tension again. Then slide the belt onto the belt tensioner pulley. Release the belt tensioner and it will pull the slack out of the belt and bring the belt to the proper tension inside of the pulleys. Inspect to make sure that the belt is inside of all of the pulleys.
Crank the vehicle and inspect the serpentine belt to make sure that it stays inside of all of the pulleys.