The 1991 Mazda Miata uses a four wheel disc brake system with actuator calipers in the rear to activate the parking brake. As the brake lever is pulled, the cable moves a lever on the caliper that forces the pads closed on the rotor. Unlike other calipers, this system uses a caliper equipped with a manual adjuster. Many times this is all that is needed to adjust the parking brake system.
Place wheel chocks behind the front wheels of the Miata. Use the floor jack to raise the rear of the vehicle, and slide jack stands under the rear frame. Lower the car onto the floor jacks, and remove the floor jack.
Remove both rear wheels using the lug wrench and store them in a safe place to prevent tripping hazards and loss of the lug nuts.
Locate and remove the cap that covers the adjuster. Looking at the top of the caliper three bolts are visible: one bolt for the brake hose, one bolt for the emergency brake cable bracket and between these the cover bolt for the adjuster.
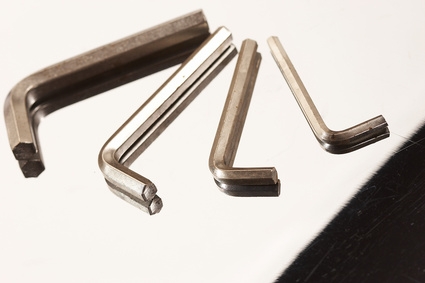
Using an Allen wrench from the set, turn the adjuster to tighten the caliper piston until there is a slight drag on the rotor from the pads rubbing. Adjust both calipers, and reinstall the cover bolts. Check the parking brake. It should only ratchet up three to six clicks before the brake sets. If it is still loose, proceed to the next step. (If not, skip the next step.)
Locate the parking brake cable adjuster on the parking brake lever inside the console. Tighten the cable adjuster with a wrench until the parking brake holds.
Reinstall the wheels, and raise the vehicle off the jack stands using the floor jack. Lower the jack and re-tighten the lug nuts one final time.