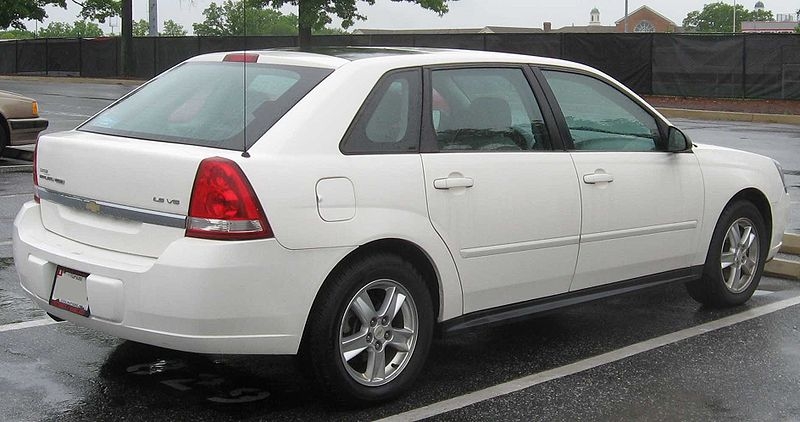
The Malibu Maxx was a wagon sold by Chevrolet from 2004 to 2007. From the rear seat forward, the Maxx was identical to any other Chevrolet Malibu. But the rear tapered off to form a hatch, similar to an SUV or wagon. Replacing the Malibu Maxx tail light is quite a bit different than in the Malibu sedan.
Pop the hood and disconnect the negative battery cable for safety.
Open the rear hatch to access the tail light assemblies.
Remove the two screws on the side of the assembly. They will be visible with the hatch open.
Pull back the cargo liner covering the rear of the tail light assemblies.
Twist the two wingnuts by hand to remove them.
Pull the assembly away from the vehicle to access the backing.
Twist the tail light module counterclockwise and pull to remove it.
Remove the old bulb and discard. Replace it with a new bulb.
Insert the tail light module into the rear of the assembly. Twist it clockwise to connect it.
Reinsert the tail light assembly. Replace the two side screws and tighten the two wingnuts by hand. Replace the cargo liner and reconnect the negative battery cable.