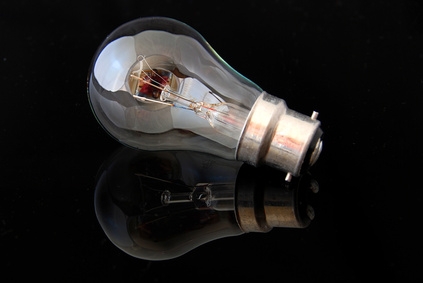
Working headlights are a requirement for any vehicle or motorcycle on the road. Not only is it unsafe to drive without working headlights, it is also grounds to get a traffic citation. The headlight replacement process for your Kawasaki motorcycle is a simple procedure that should take less than a half hour. You will only need a replacement headlight bulb of your choice, a flat-head screwdriver and a Phillips screwdriver to complete the task.
Purchase a replacement headlight bulb from an auto parts store. Make sure to give them the make and model of your Kawasaki to make sure you get the right size bulb.
Go to the handlebars of your Kawasaki and look right below them. You will see a screw on the very top of the fairing there that you need to remove with a Phillips screwdriver. Also remove the screw on the base of the plastic bezel that is covering the access point for your headlight assembly.
Grab the sides of the plastic bezel and pull it firmly away from the housing to release the retention clips that hold it in place. This will give you access to the headlight assembly.
Insert the end of your flat-head screwdriver into the wiring harness slot and push the harness away from the headlight assembly. Push until the wiring harness releases from the headlight.
Grab the old bulb and turn it counterclockwise to release it from the headlight assembly. Put on a latex glove to insert the new bulb in a clockwise direction. You do not want to touch the new bulb with your hands as the oils will shorten its lifespan.
Push the wiring harness back into place on the back of the headlight until it clicks.
Put the bezel back into position. Replace any other headlight bulbs that need to be replaced in the same manner.