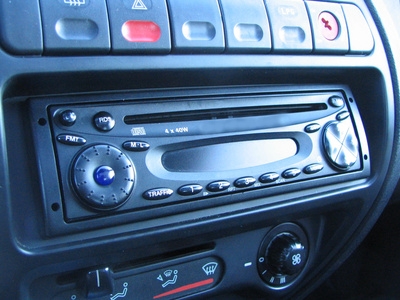
Cars generally come with pre-installed stereos. The factory-issue stereos have basic features such as an AM/FM receiver and a cassette or CD player. A wide range of aftermarket stereos exists for drivers who would like to upgrade the stereos in their cars. Aftermarket stereo features include mp3 payers, navigation aids and DVD players. a Nissan Altima owner can install an aftermarket stereo by adapting it to the Altima.
Unsnap the square, plastic panel surrounding the gear lever, by prying off with your hands. Unscrew the four Phillips screws that were concealed by the panel.
Unscrew the two Phillips screws located above the radio. Remove the plastic panel below the fuse box under the steering wheel and unscrew the single Phillips screw.
Pull the lower dash panel away from under the steering wheel. Unscrew the Phillips screw located behind the steering wheel to the left of the radio. Pull the center dash panel away to make the radio and pocket below the radio completely visible.
Unscrew the four Phillips screws securing the radio to the bracket. Unplug the wire harness on the rear of the radio. Pull out the black radio antenna cable. Pull the radio out of the dash and place it to one side.
Insert the aftermarket stereo into the brackets. Plug the black radio antenna cable from the car into the Nissan diversity radio antenna adapter. Connect the other end of the radio antenna adapter to the radio antenna adapter on the rear of the aftermarket stereo.
Connect the wire harness connections from the aftermarket stereo to their reciprocal connections on the car. Push the connections together until they click into place.
Reattach the center dash panel. Reattach the lower dash panel under the steering column. Replace and tighten all Phillips screws that you removed. Reattach the plastic panel surrounding the gear lever into place.