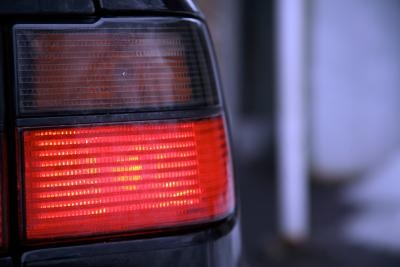
A third brake light, mounted between and above the main taillights, creates a "triangle" of light. Studies have shown that this arrangement is more effective in attracting the attention of following motorists than the standard two light configuration. Higher visibility can reduce both the number of accidents, as well as their severity when they do occur. Mounting a third brake light on the rear of a truck topper is time well spent and can be accomplished by most do-it-yourselfers in a few minutes.
Locate the center point of the topper, above the hatch. Measure the width of the back of the truck topper and divide the result in half. Measure the result (the halved number) from one edge of the topper to its mid-point.
Mark the spot on the topper with the pen. Drill a hole through the topper at the mark.
Insert the wire from the brake light into the hole and mount the brake light in place with the self-tapping sheet metal screws. Be sure you have selected a clean spot on the metal surface of the topper so that the self-grounding brake light will have a grounding connection between the mounting surface and the mounting screw.
Measure a length of 12 gauge electrical wire from the light to the left side of the topper (as you face it) and down the side to a few inches below the truck's bumper. Cut the wire with the electrical pliers.
Climb inside the bed of the truck. Open one of the quick connectors and insert the end of the wire from the brake light into one side of a quick connector and one end of the 12 gauge wire into the other side of the quick connector. Crimp the connector closed with the pliers. (There is no need to strip or splice wires as the quick connector has internal metal tabs that pierce the wire's insulation thereby establishing the connection.)
Route the wire along the inside of the topper, above the door. Secure the wire in place by pealing the backing off the self-attaching wire mounts and pressing them onto the wire with your thumb. Feed the wire down inside the top opening of the topper's corner brace, down through the stake hole in the wall of the truck and out the drain hole on the bottom truck bed.
Crawl under the back of the truck and locate the vehicle's main wiring harness; the harness runs along the left side of the frame. Locate the brake light wire. On most vehicles, the stoplight wire is brown, but the color can vary based on manufacturer. Consult a service manual for you vehicle if need be.
Open a quick connector and insert the end of the 12 gauge wire from the new brake light into one side of the quick connector. Cut off the excess wire with the electrical pliers. Lay the vehicle's stoplight wire (intact) though the quick connector. Do not cut or splice the wire. Crimp the connector closed with the pliers.
Test the new brake light by having someone step on the brake while you observe the light. Recheck the connections if the light does not work. If the circuit operates correctly, seal the bottom quick connector with silicone sealant.