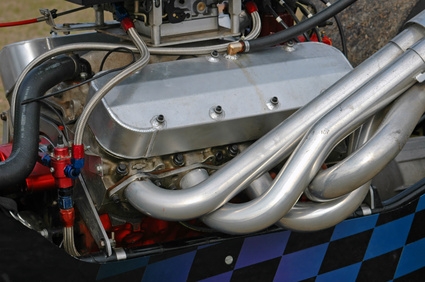
Aeroquip hose consists of a rubber hose with a braided stainless steel sheath, with attached fittings known as hose ends. The hose is cut to length, and the appropriate fittings are attached at each end. Braided steel, or "AN" hose, comes in a variety of sizes; hose ends must be matched to the size of the hose. Hose ends come in many configurations; a proper hose end is available for practically any application.
Measure the braided steel hose and cut to length. Wrap masking tape or duct tape around the hose before cutting to prevent fraying of the wire braid. Cut using a fine-toothed hacksaw or a grinder with a cut-off wheel. Remove the tape from the hose.
Insert the hose into the socket. Clamp the socket in the vise and push the hose fully into the socket, using a twisting motion. When the hose is fully inserted into the socket, make a mark on the hose at the end of the socket using the fine tipped marker.
Lubricate the socket threads, the threads of the nipple and the inside of the hose using assembly lube or motor oil.
Thread the nipple into the socket. Watch the mark made in Step 2 to make sure the hose doesn't back out of the socket. If the hose backs out more than 1/16 inch, the fitting may leak. Continue to tighten the nipple until it is within 1/16 inch of the socket.