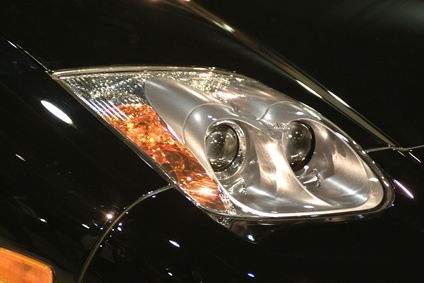
Paying attention to the small details can make the difference between a nice customized vehicle and a spectacular customized vehicle. If you want to turn heads, you need to scrutinize every part on your car, and one of the most overlooked areas are the headlights. You can't do anything too radical, because you risk losing visibility at night, but you don't want to make them look like an afterthought either. A nice pair of headlight splitters can be the trick to setting those headlights off.
Color-match the plastic splitter to your car. Each car has a color code. For example, Ford places the color code for the vehicle on the vehicle sticker found in the door jam of the driver's side door. When ordering the splitter, it's important to know the color code for your car to ensure you receive the correct color splitter.
Measure the headlight height with a tape measure and mark the center line of the headlight. The splitter should ideally be placed in the center of he headlight, but it doesn't have to be. However, it is important that the splitter be placed at the same height on both headlights so it looks aesthetically correct.
Wipe off both headlights with a clean alcohol rubbing pad to remove any grease and dirt from the plastic headlight cover. This will allow the adhesive to bond to the plastic surface.
Peel the protective plastic off of the back of the splitter to expose the adhesive strip. Place the splitter on the line that you marked in pencil and firmly press the splitter in place. Repeat this step with the other headlight.