Nippon Denso alternators have used internal voltage regulators since about 1999; prior to that, the voltage regulator was an external unit wired to the alternator. Whether the regulator is external or internal, there are only two wires to connect so the task can be completed fairly quickly. You generally don't need any tools because the wires use plug-in connections.
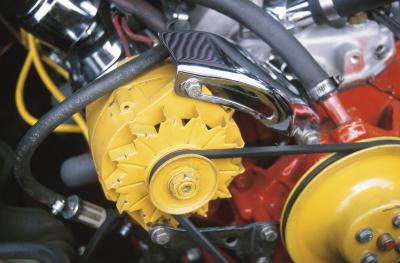
Determine if your Nippondenso alternator is internally or externally regulated. If you have two wires extending from terminals on the rear of the alternator that connect back into the another part of the alternator, it is internally regulated. If you have two wires extending from terminals on the rear of the alternator that connect to another unit either on or nearby the alternator, it is externally regulated.
Connect the two plastic plugs on the end of the wires from the terminal poles on the alternator into the sockets marked “D+” and “D-“ on the lower part of rear of the alternator, if it is internally regulated. The plugs are different sizes so you can only fit them correctly. Push the plugs into the sockets until they click in place.
Connect the two wires from the terminal poles on the alternator to the connecting poles on the regulator, if it is externally regulated. The wires have different size plugs on the end and can only fit in the correct socket, so you can’t get it wrong.