Faulty connections on an alternator can prevent a vehicle's battery from getting charged and the electrical devices in the car from operating properly. So much equipment in modern cars is reliant on having a fully charged battery and a correctly working alternator; on some cars, it's even difficult to get into the car if the battery goes dead. If you find you're having problems, test the alternator for faulty connections.
Put on a pair of protective gloves. Your hands get dirty testing the alternator for faulty connections.
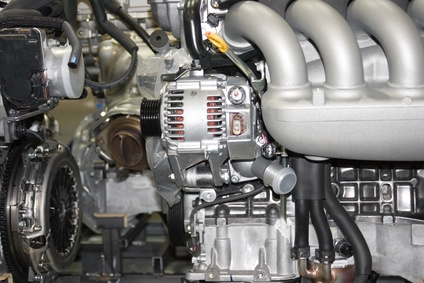
Open the hood of the car, and secure it. Locate the alternator. Follow the belt on the front of the car's engine until you find a cylindrical object made of aluminum. You can tell it's the alternator by the vents in the side.
Locate three or four connections on the alternator, depending on the type. One wired connection is black; another red; and the other can be blue, yellow, green and brown. The red and black wires are the main electrical connections. The others go to your ignition warning light system and voltage regulator.
Ensure the red wire is tightly connected to the alternator terminal. It usually is attached by a bolt. Move the wire to see whether it's loose; there shouldn't be any movement. If the wire is loose, tighten the nut using a suitably sized wrench.
Ensure the black wire is securely attached. It usually is connected to the alternator terminal using a bolt. Check whether the wire is loose; it should not move. If it does, tighten the nut using a wrench.
Check the remaining one or two wires. These are much smaller and usually connect using a plastic connector that pushes into a socket. Ensure each wire is connected. Gently pull each wire to see if it comes away from the socket. It is does, push the connector in place firmly until it clicks into a locked position.