Installing car electronics may be complicated, but most electronics come with clear and concise directions. Following those directions simplifies the process but for peace of mind, testing the wiring prior to installation ensures that the installation will go off without a hitch. The primary concerns with wiring are having power to the line and a solid ground point. Most vehicles you can ground by contacting any metal, but to test that to be sure, all you need is a multimeter.
Test the ground location. If installing electronics, locate an unpainted bolt or plain metal location to which you will attach the ground.
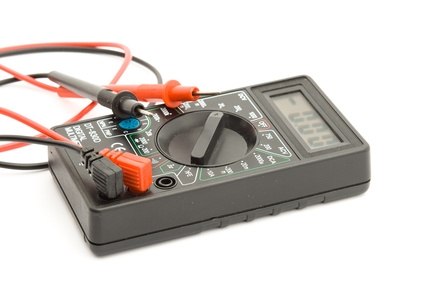
Test the ground. Using a multimeter set to DC, contact the red wire of the multimeter to the positive terminal on the battery and the black wire to the ground location. The multimeter should read approximately 12 volts. Any range of 10 to 12.5 volts means a good connection.
Test the hot wire of the electronic device. Locate the hot wire and connect the red wire of the multimeter to it and the black wire of the multimeter to the ground point. The contact should produce a reading as the line may be set to operate at lower volts. The multimeter may read as low as 2 volts. As long as it produces a solid read, the ground is a solid connection.