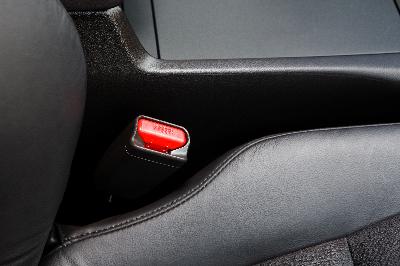
Replacing the seats in your car should take a minimal amount of time to do. Manufacturers make seats specifically designed that fit your car's dimensions. To ensure accuracy when ordering and purchasing replacement seats, provide your vehicle's year, make and model. If buying seats not made for that particular make or model, purchase an adapter kit, available at most auto parts store, to ensure the aftermarket seats fit correctly.
Open the door to access the driver's seat. Locate the four bolts holding the seat to the floorboard.
Slide the seat all the way forward to make access to the back bolts easier. The back bolts are in the back corners of the seat.
Unscrew the bolts with a socket wrench and set them aside.
Slide the seat back to access the front bolts at the front corners of the seat.
Tilt the seat forward with the head of the seat resting against the steering wheel. Disconnect any wiring attached to the seat. The harnesses are located at the bottom of the seat, and control the power seat and seat warmer functions. Disconnect the wiring harnesses by separating the tabs and pulling them apart.
Pull the seat out of the vehicle.
Place the new seat in the vehicle. Tilt the new seat forward to install the wiring if it is so equipped.
Ensure the seat is lined up to the bolt holes in the floorboard. The seat should be positioned all the way forward. Start the bolts in the back. Ensure both bolts are started before tightening them with the socket wrench.
Slide the seat all the way to the back to start the forward bolts then tighten the bolts with the socket wrench.
Test the seat to ensure it slides back and forth properly. Test the power seat controls if the vehicle is so equipped.