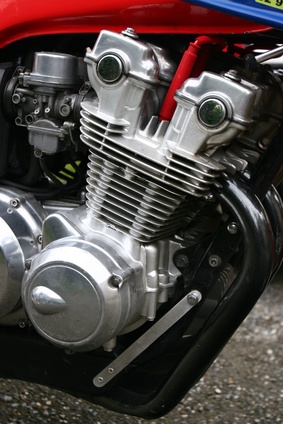
On the four-cylinder Honda CB750 motorcycle, each cylinder has its own carburetor. Adjusting the throttle slides to open exactly the same amount in unison is called synchronization. Improperly synchronized carburetors may cause one or more cylinders to work harder than the others and reduces the performance of the engine. Synchronizing the carburetors is done using a mercury manometer that gives a visual reading of the vacuum demands of each cylinder of the motor. Periodic synchronization of the carburetors will keep your motorcycle operating in peak performance.
Place the motorcycle on the center stand. Start the engine and allow it to warm up to normal operating temperature.
Shut down the engine. Remove the seat and the side covers. The side covers are a press fit into rubber grommets and will pop off without the use of tools.
Turn off the fuel supply valve on the gas tank and remove the fuel line to the carburetors. Remove the hold down bolt at the rear of the gas tank. Remove the gas tank by lifting it up and to the rear.
Remove the vacuum plugs from the carburetor bodies. Connect the vacuum lines from the synchronization tool to the ports on the carburetor bodies. Connect each line in order from one to four, starting on the left side of the motor as you would look at them from sitting on the bike.
Start the engine and observe the readings on the synchronization tool. If the difference in the readings between carburetors is greater than 2.4 inches of mercury, then the carburetors require adjusting. The number 2 carburetor is the base piece and is not adjustable. The other three carburetors will be adjusted to match the readings of the number two carburetor.
Loosen the lock nut on the number 1 carburetor adjusting screw. Turn the screw until the reading on the number 1 gauge is less than 2.4 inches difference from the number 2 carburetor. Tighten down the lock nut, making sure not to disturb the adjustment. Open and close the throttle and recheck the adjustment for accuracy.
Replace the fuel tank and turn the fuel supply valve on. Refill the carburetor bowls with gas for the next step. Do not use an external fuel supply tank due to the risk of fire.
Repeat Steps 6 and 7 to adjust the number 3 and 4 carburetors.
Shut down the engine and remove the synchronization tool. Replace the vacuum port plugs on the carburetors. Replace the gas tank and side covers.
Restart the engine and adjust the idle to 1,000 rpm if necessary, by using the idle speed adjusting screw located between carburetors 2 and 3.