 Ali Mansour
Brand Manager, 4WD & Sport Utility
Ali Mansour
Brand Manager, 4WD & Sport Utility
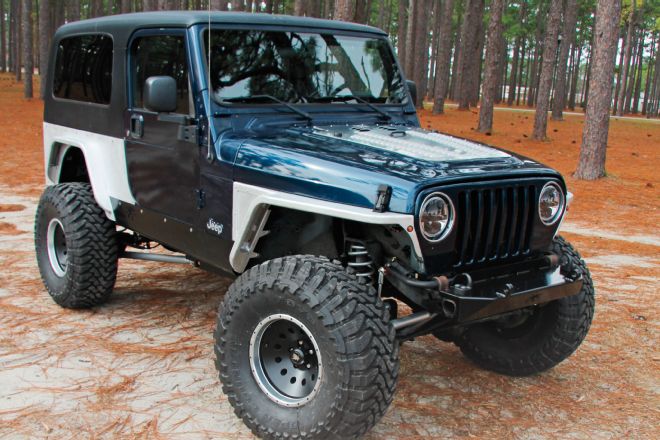
Building a Jeep to handle your daily needs and trail requirements can be quite the balancing act. While there are preventative measures you can take to protect your 4x4, one of the most worthwhile investments is to equip your Jeep with body armor. With so many form-fitting components available from the aftermarket, your Jeep doesn’t have to look like something strait out of Mad Max or ever-other one on the road. We touched on some of the options and best uses for armor last month (“Body Building,” Apr. ‘15) as we were looking to protect the sheetmetal on our ’04 Wrangler Unlimited.
After searching over the seemingly endless array of options, we decided to outfit our Unlimited with cladding from one of the most recognized body-armor brands in the business: Poison Spyder Customs (PSC). Aside from the unique aesthetics of the PSC cladding, what drew us in even more was the wide array of aluminum variations.
With as much on-road time planned spent in this Jeep as off-road adventures, keeping the weight down was paramount. Adding weight is a given with most 4x4s, but the performance and economy negatives can add up fast. This is especially true when talking about body armor. For us, aluminum simply made the most sense for this project.
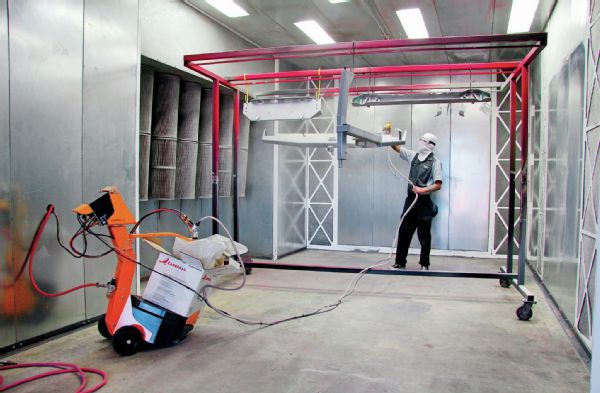 Poison Spyder Customs ships all of its armor bare. We had our long-time powdercoat friends at Area 51 Powder Coating in Wilmington, North Carolina, apply a semi-gloss black finish to the steel pieces. Area 51 uses a multistep system that gives the parts a thick primer base layer and topcoat. The end results were parts that can take scrapes and trail abuse much better than paint.
Sure, we still opted for steel for frequent impact zones like our bumpers and rockers. In contrast, areas such as front fenders and side panels that are less likely to make contact with the earth could wisely be upgraded with aluminum. While we still added weight to the Jeep with the overall armor package, we took less of a hit by opting for the lighter weight material where we could. The cost penalty of choosing aluminum over the steel counterparts came out to a difference of about $345, which is pretty insignificant when you think about the performance that you didn’t lose by going with heavier parts.
Between wrenching on other projects, we’ve been picking at our armor install a little at a time. While none of the parts and pieces are overly difficult to fit or assemble, they all will require a good chunk of your time. We ducked in from the lousy weather and borrowed a much-needed nutsert tool from our friends at Low Range 4x4 in Wilmington, North Carolina, which made the job a whole lot easier. Overall, we are excited about the new look and increased confidence to go hit the trail.
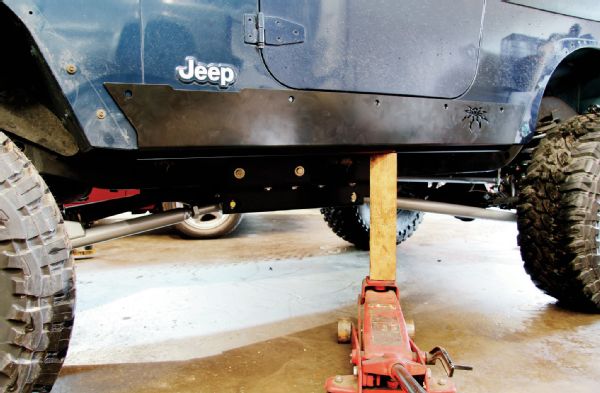 We started our armor install with the Poison Spyder Rocker Knockers. The 3⁄16-inch steel rocker guards are formed specifically to fit tightly to the Wranglers tub. Using a floor jack to raise the body, we slide on the rockers and then marked our holes for the mounting hardware. We opted to get the sliders without the optional side bar to save a little weight and keep the appearance more streamlined.
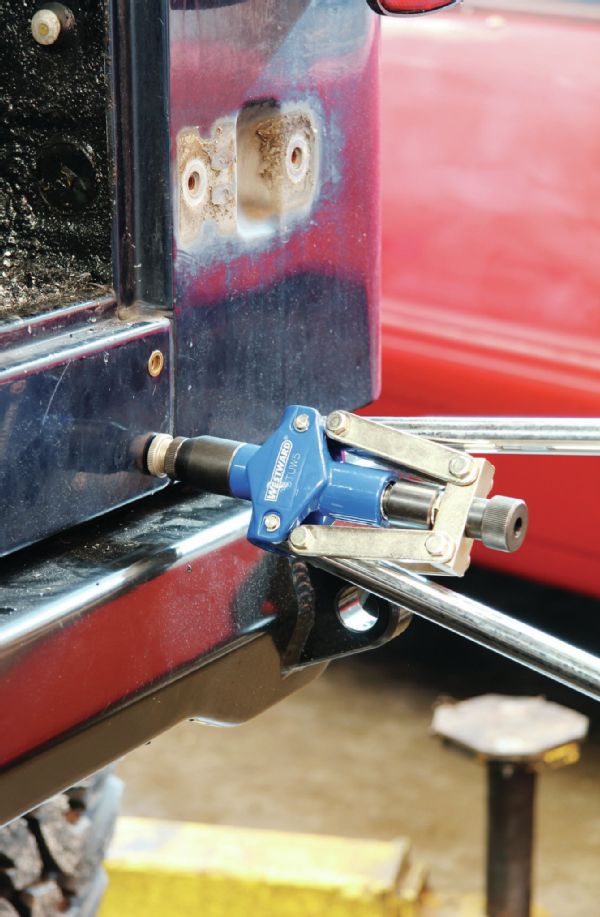 One way we knew we could shave weight was by ditching the stock tailgate. Opting for the Poison Spyder Trailgate meant we needed to drill out the lower rear portion of the tub to install a series of nutserts that support the new rear assembly. While a basic nutsert tool is provided with the Trailgate, we borrowed this Westward 5TUW5 from Low Range 4x4. It retails for a little over $100 but is well worth having in your tool box if you’re doing a lot with nutserts.
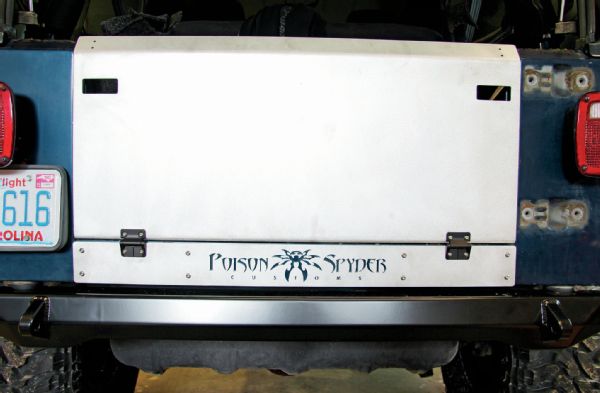 As is the case with most of Poison Spyder’s aluminum armor, the Trailgate is comprised of 3⁄16-inch formed aluminum plate. At roughly a quarter of the weight of the stock tailgate, we not only shaved weight but gained a useable platform, which will be handy for setting wrenches and lunch on the trail.
 The Trailgate uses a twin cable system to keep it resting flat when open. To secure it to the tub, each side gets a set of adjustable latches. The keyed latches drop into the notched hole in the gate and are easy to setup and operate.
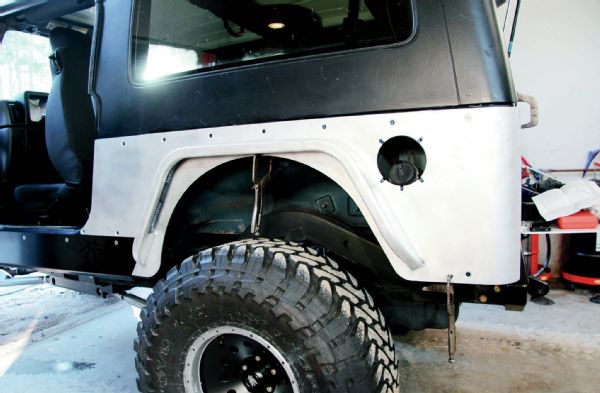 Hanging the rear corner armor is typically a two person job, but aluminum makes it a solo affair. Using a set of vise C-clamps, we lined up the 3⁄16-inch-thick PSC corner guards and marked our mounting holes with a center punch. The Defender flares offer a 3-inch-wide flare to keep some of the debris from slinging on the jeep.
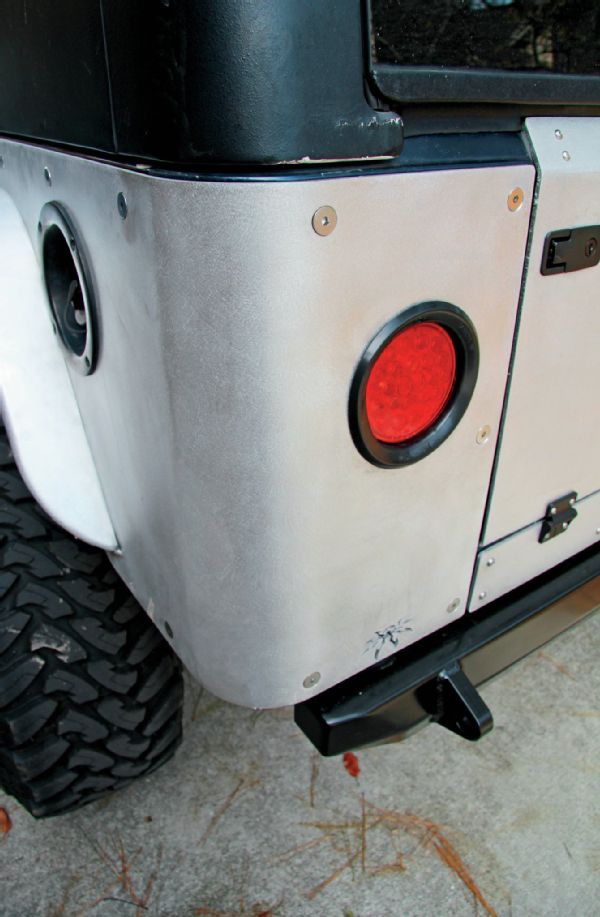 Aluminum can be a tricky metal to work with, but PSC got the fit spot-on with its corner armor. A series of countersunk Allen head bolts secure the armor in place. We suggest using the provided nutserts at the bottom of the rear and very front of the armor. Since we knew ahead of time that we were going with the Trailgate, we had our armor sent without the cutouts for the stock tailgate. For those looking to go extra-custom with their armor, PSC actually offers modified versions of its corners for a little more money. Finishing out the back is a set of push-in Truck-Lite LED taillights.
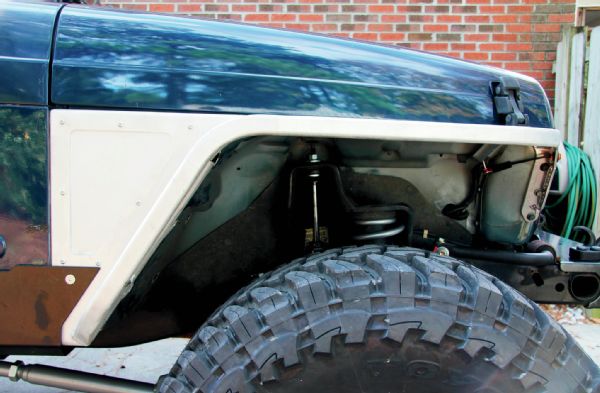
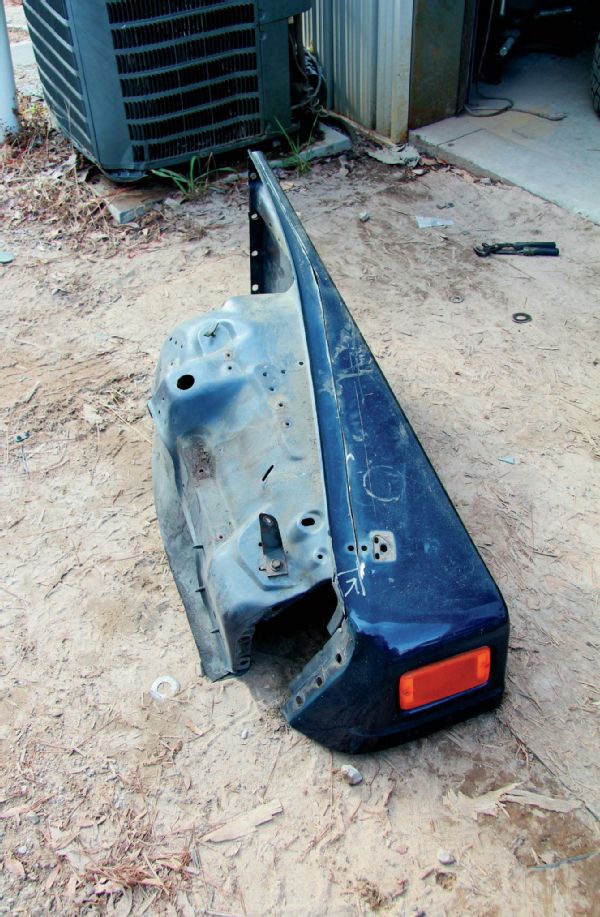 You have two options for inner fenders with Poison Spyder’s front Defender kits. The first is to retain the stock inner fenders. The second would be swapping over to PSC’s aluminum inner fender set. Since we are still running a stock air intake (PSC Defender inner fenders requires upgrading to a cold-air intake), we decided to keep our factory inner fenders for now. We found it easier to remove the entire fender from the Jeep in order to make the needed cuts to accommodate the new fender. We highly recommend using an electric grinder with an 0.040-inch cutting blade to get the job done.
 Poison Spyder provides a new battery tray to work with the increased sweep of the fender. The tray simply bolts in place of the original one and allows you to retain your original battery.
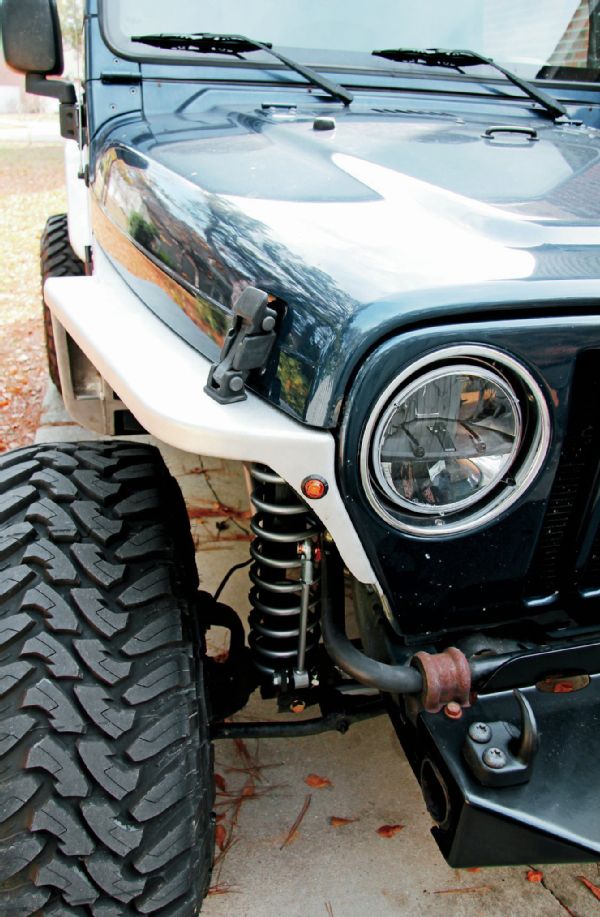 We opted for the 3-inch tapered aluminum version of the Defender Flare. This gives us a little tire coverage along with a slightly aggressive and cleaner body line. One of the more unique aspects of the flare’s construction is that it is comprised entirely of 3⁄16-inch plate aluminum. This fender design was built not only to be stronger over a conventional aftermarket fender but to retain a smoother design throughout. Replacing the turn signal and side marker light is a 3⁄4-inch round LED.
 The front fenders offer more than just an increased aesthetic but also around 4 inches more room over the stock wheel arches. The increased wheel arch allows us to cycle an even larger tire without needing to modify our suspension. The removable side inserts come in steel or aluminum and make bolting the fenders on a simple task.
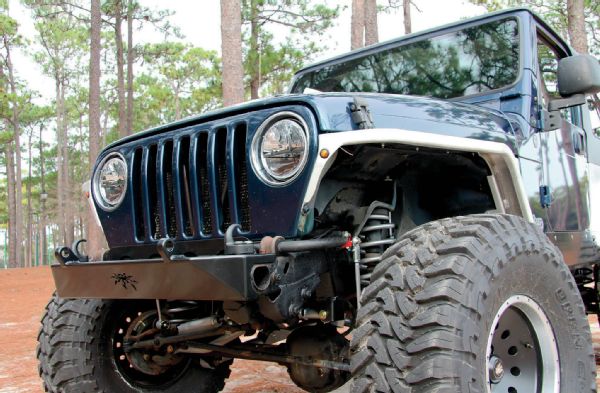 Up front, we wanted a simple bumper that offered plenty of approach angle. The Poison Spyder BFH 3⁄16-inch steel winch bumper offers just that. We’ll show you our winch choice in a later issue, but for now, we will use the optional D-ring mounts in case we need a pull off-road.
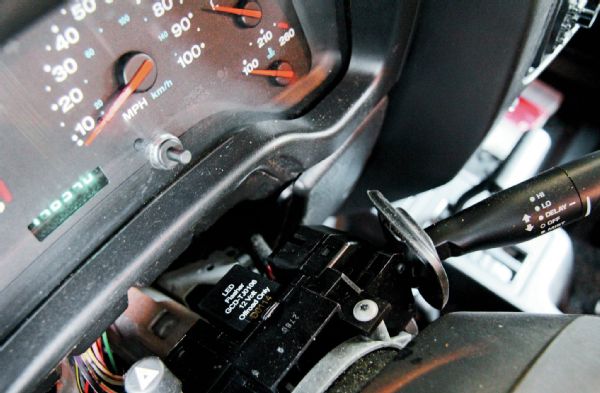 Switching from a conventional filament bulb to a low-amp LED requires a relay replacement to get your turn signals working back as they should (no rapid-fire blinking). This five-slot relay from Poison Spyder replaces the stock relay that’s located under the steering column cover on our ’04 LJ. Two screws and a quick switch of the relay is all you’ll need to get your signals functioning correctly.
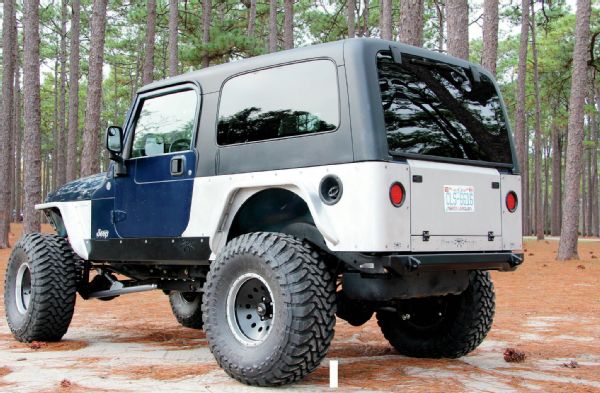 We didn’t want an overly cumbersome tire carrier hanging off the back of our Jeep, so we opted for the simple and high-clearance BFH II PSC rear bumper. The 3⁄16-inch plate steel rear bumper cleans up the back of the Jeep and gives us two 1-inch-thick recovery points, which are designed to accommodate 3⁄4-inch shackles.