 Harry Wagner
Contributor
Harry Wagner
Contributor
We once heard a parable that went, “Give a man a weld, and he will wheel for a day. But teach a man to weld, and he will wheel for eternity.” Or something like that. When it came time to replace the factory bumper on his girlfriend’s lifted Chevy Silverado, Dylan McFarlane didn’t pick one out of a catalog. He built the bumper himself. While bumpers for Wranglers consisting of some box tubing can be found for under $100, front bumpers to match the complex lines of the Silverado can cost north of $2,000.
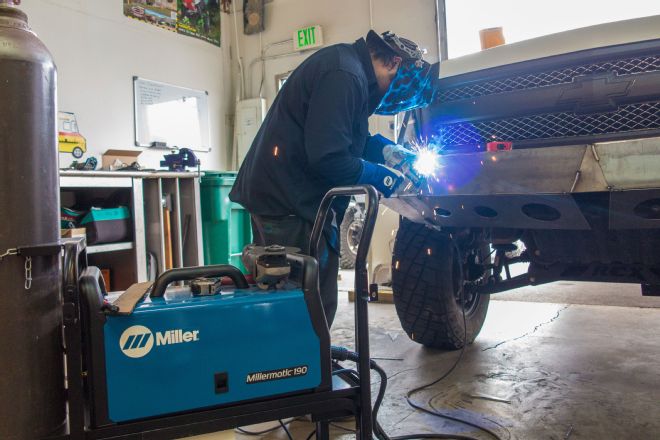
For the price of a bumper, you can buy a Miller welder and plasma cutter
For that price you could buy the Miller Spectrum 375 X-Treme plasma cutter and Millermatic 190 Autoset MIG welder and still have money left over for materials and a bottle of gas for the welder. Of course you still have to consider the value of your time, and McFarlane has about 25 hours into this bumper. You also need welding skills and an eye for fabrication to build a bumper this nice, but you aren’t going to gain those skills by buying bolt-on parts for your rig.
PhotosView SlideshowThe factory Silverado bumper is 15 inches tall with multiple curved surfaces. Building a bumper to match the lines of the truck while improving the approach angle was going to be no easy feat. Now we understand why aftermarket bumpers command the prices they do.
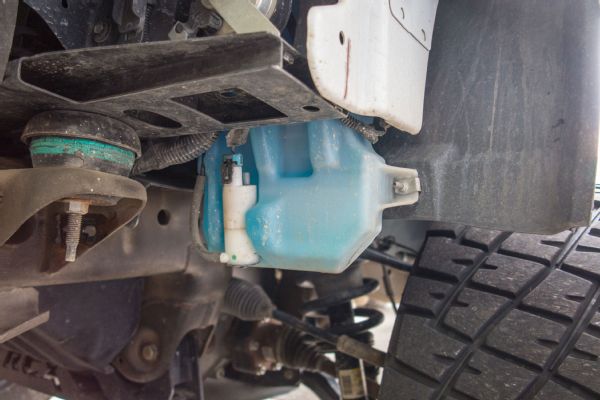
McFarlane considered building a tubular prerunner-style bumper for the front of the Silverado, but the windshield wiper reservoir and other unsightly parts hang down well below the frame. Rather than build a bumper around the reservoir we plan to relocate it higher to improve the approach angle of the truck.
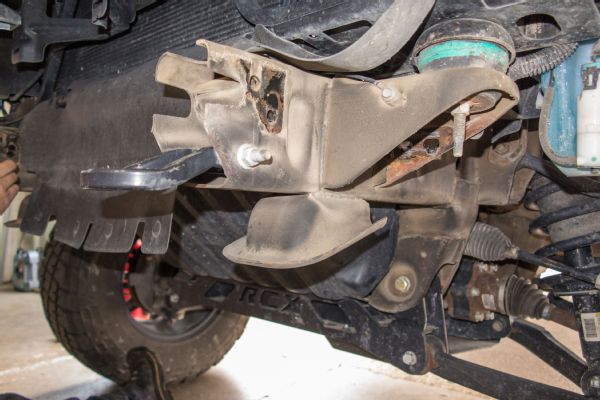
These frame brackets are designed to keep the occupants of a low-slung car safe in the event of a rear-end collision. Unfortunately they also compromise approach angle and are quite unsightly with our new bumper, so they had to go.
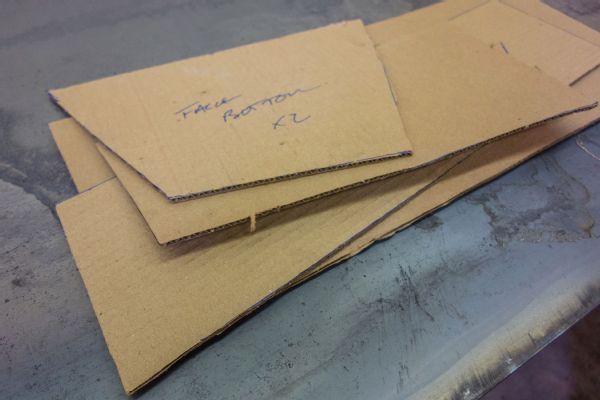
We started with CAD (Cardboard Aided Design). Just like with most automotive projects, taking your time at the start and getting all the pieces right will pay dividends. We cut out several different pieces and then taped them together. We spent over an hour trimming and moving cardboard until we were satisfied with the design and it was symmetrical.
We bought a 1/8-inch-thick sheet of steel and cut out each piece with our Miller Spectrum 375 X-Treme plasma cutter. It is rated for up to 3/8-inch mild and stainless steel and 1/4-inch aluminum and had no issues cutting through the sheet.
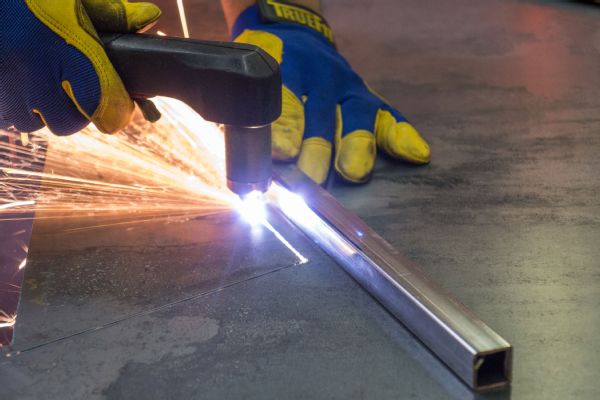
McFarlane used a piece of 1-inch box tubing to assist in making clean, straight cuts. If you don’t have a plasma cutter you could take the templates to a shop and have them cut on a plasma table.
PhotosView SlideshowThe cardboard templates were transferred to the plate and cut to match. Each piece is labeled with where it goes for easy assembly later.
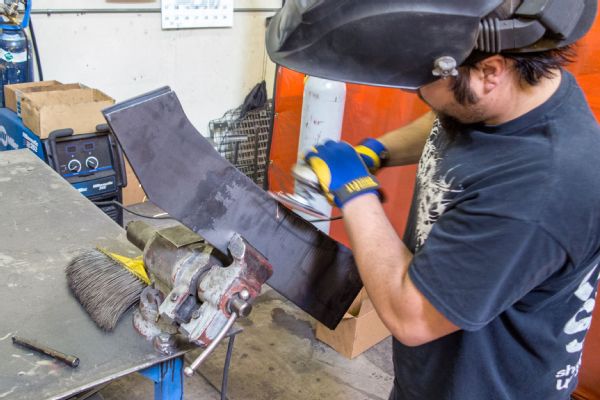
After cutting the components, the edges were smoothed and the scale was removed. Don’t skip this step. The scale keeps the metal from rusting, but will contaminate your weld if it is not removed.
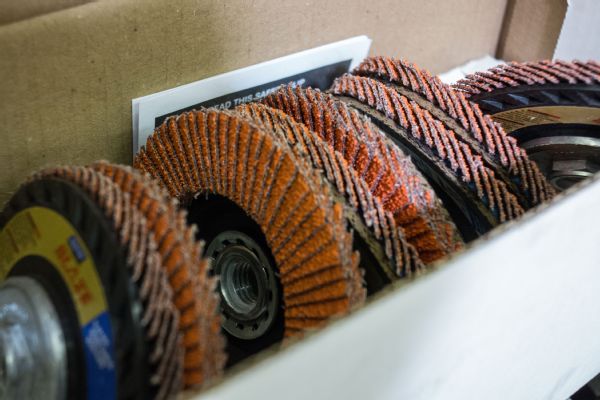
Flap discs are your friend! Don’t forget about the consumables when doing a project like this. We went through some gas and welding wire, as well as several flap discs, to get all of the edges smooth and uniform.
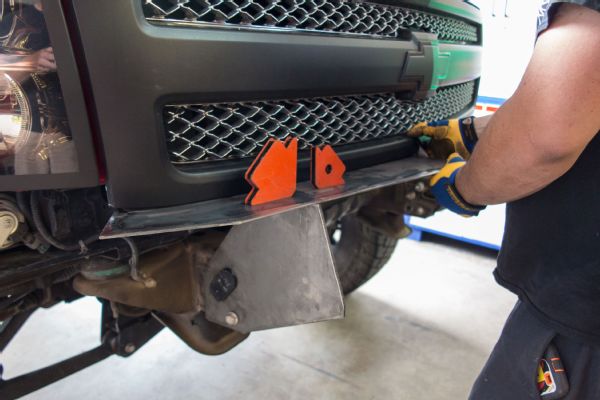
We test-fit the bumper together with a combination of magnetic squares and duct tape before breaking out the welder. The goal was to make the bumper fit as tightly against the body and grille as possible without rubbing.
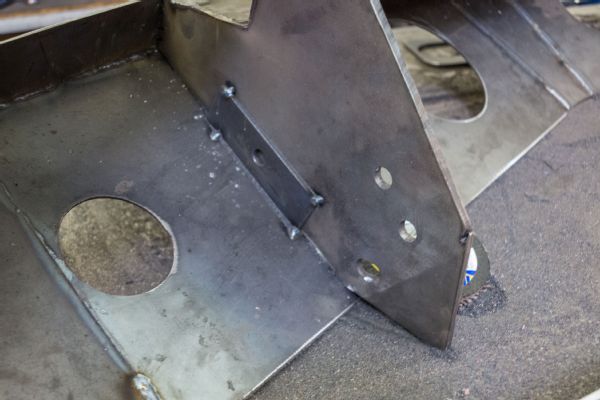
We had the frame brackets cut on a plasma table. They are thicker than the rest of the bumper (1/4-inch plate), and we wanted them to be perfectly identical since the rest of the bumper would build upon these brackets.
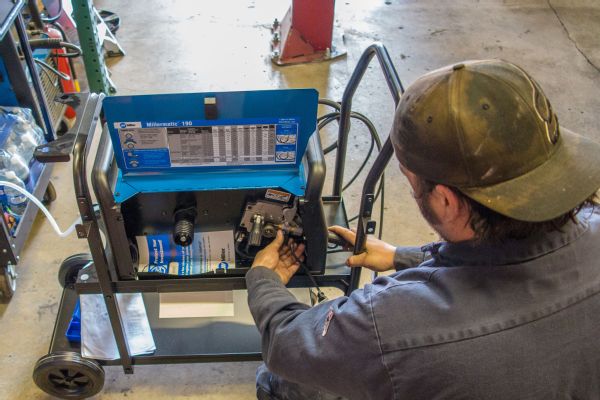
Modern inverter technology allows the Millermatic 190 to weld up to 5/16-inch-thick steel in a single pass, while only weighing 35 pounds. The drive system is aluminum—no plastic parts here—ensuring that it will last a lifetime for the garage fabricator.
Prior to burning in the welds we tacked the bumper together. This allowed us to ensure that there were no gaps and the bumper was symmetrical from side to side. Too much heat in one concentrated area also has the potential to warp the bumper.

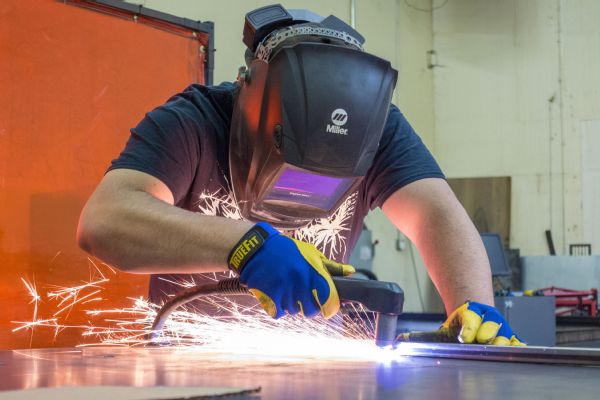
The Autoset feature on the Millermatic 190 makes it easy to lay down good-looking welds. All you have to do is set the wire diameter and material thickness and the Millermatic 190 does the rest. If you prefer to set the voltage and wire speed manually, you still have that option.
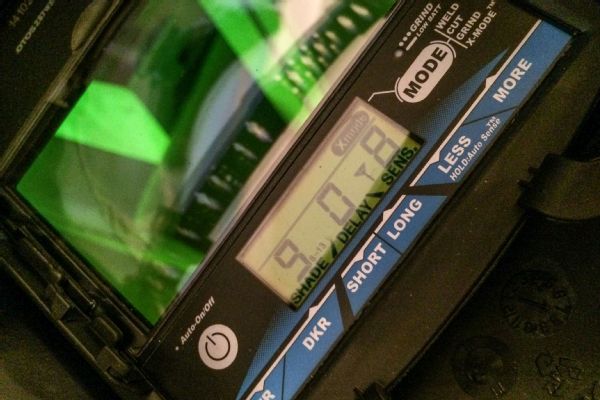
Ask any welder and they will tell you the importance of a good helmet. You want to find a helmet that is comfortable and affordable with the largest viewing area possible. Miller’s Digital Elite auto-dimming helmets have a 9.2-square-inch viewing area and offer four operating modes to suit whatever your needs might be.
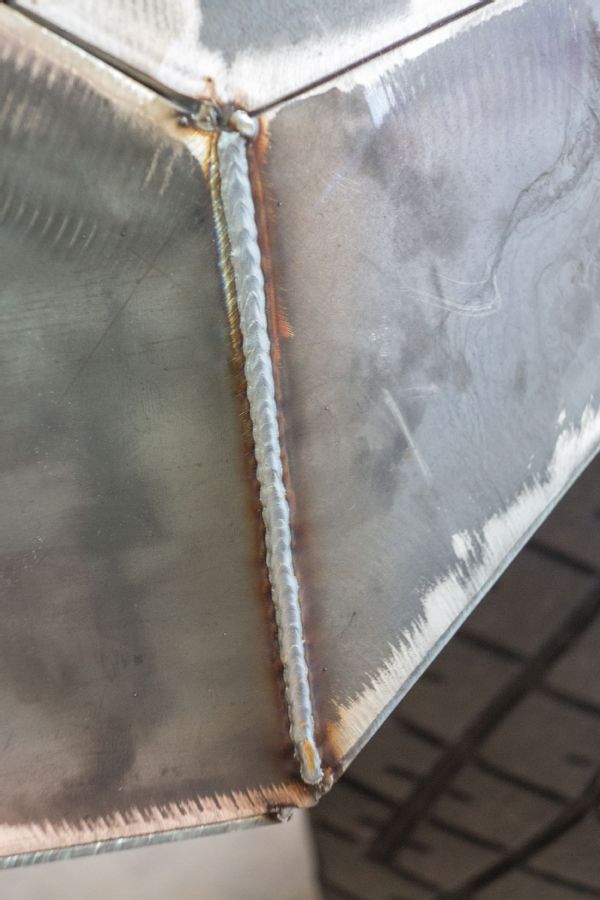
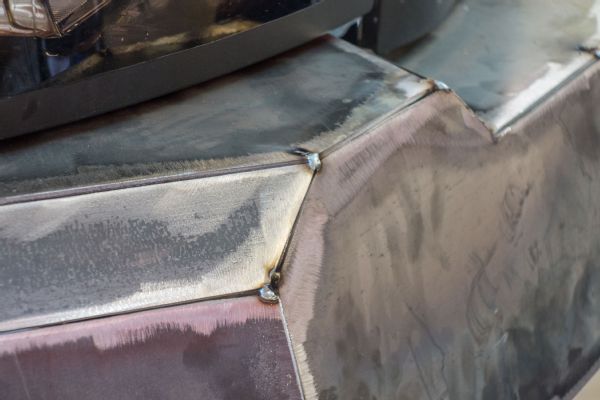
After some fine tuning, trimming plates, and eliminating gaps, McFarlane burned the bumper together inside and out. Flap discs were used to smooth the outside welds prior to powdercoating the bumper.
We have used Rough Country lift kits for years; in fact, the Silverado in this article has Rough Country’s 6-inch suspension system. It wasn’t until we saw an ad in this very magazine though that we learned Rough Country offers LED light bars at very reasonable prices.
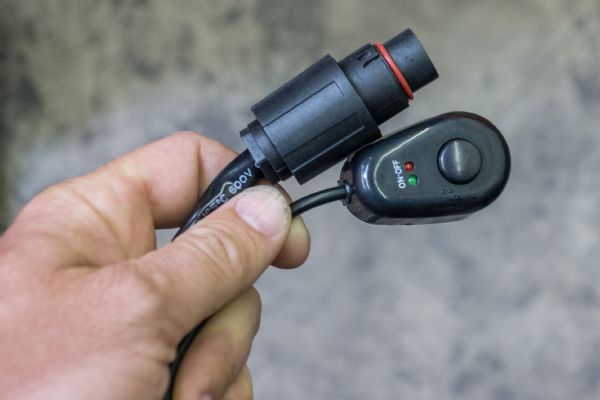
The 50-inch curved Rough Country LED light bar came well packaged with all the necessary wiring for a clean installation. Note the military grade connectors and low-profile switch that does not look out of place on the dash of a late-model pickup.
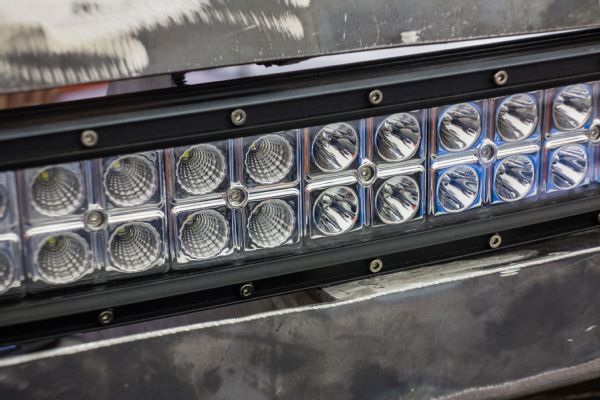
Ninety-six individual Cree 3-watt light emitting diodes make up the 50-inch curved Rough Country LED light bar. Note the combination of smooth and dimpled reflectors that allow this light bar to operate as both a spotlight and floodlight at the same time.
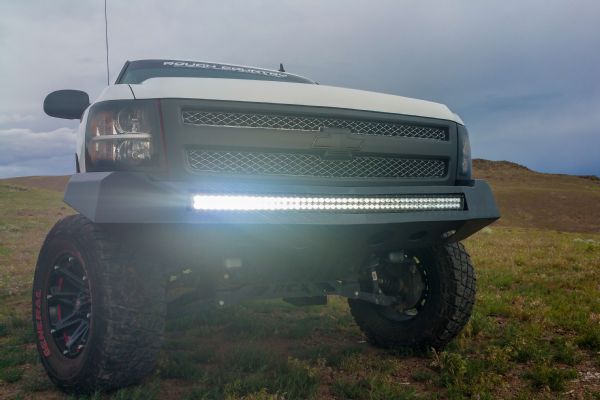
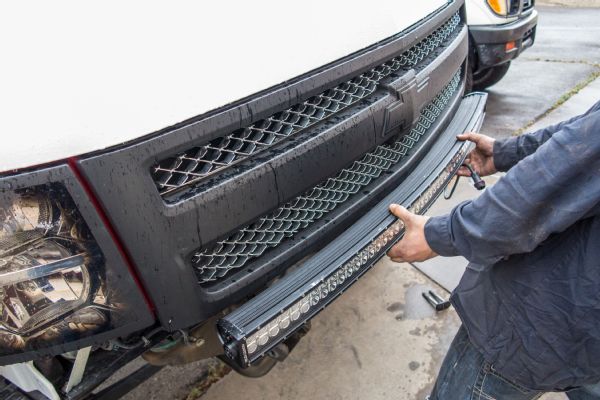
Recessing the curved 50-inch Rough Country LED light into the bumper does an excellent job of breaking up the large surfaces required to cover the front of the Silverado. Oh yeah, it puts out 23,040 lumens to light up those dark backcountry roads.

Few things can match the pride of saying “I built that” when someone compliments your rig. And tools like welders and plasma cutters are an investment that will pay dividends on projects in the future.


