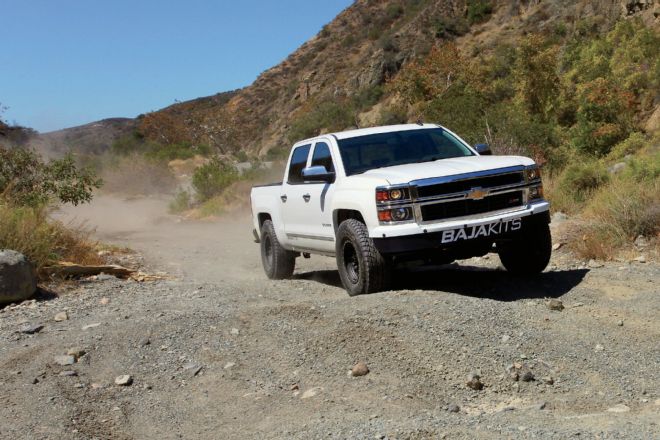
So your buddy has a Raptor and he’s putting you to shame on that whooped-out section of your favorite trail. Fair enough. The Raptor is a very capable machine, but you say that you’ve always been a Bow Tie guy and as such are getting pretty tired of him trash talking you and your Chevy Silverado. Never fear, help is on the way.
Baja Kits now offers their Prerunner Kit, which is a mid-travel system that will allow you to not only keep pace with your buddy but to outshine the Raptor in the gnarlies.
According to Baja Kits, their system was specifically designed to outperform a Ford Raptor while retaining excellent on-road handling all by bolting on to your Chevy Silverado. Yeah, we’ve all heard the one about “bolts right on,” but the crew at Baja Kits has a long history of building some very hard-core racing rigs. You may know them better as Brenthel, builder of Baja-winning trucks and cars that have run the Dakar.
They used their engineering prowess to produce the only ’14 Chevy mid-travel suspension system to use Trophy Truck-grade uniballs and hardware on both the heavy-duty steel upper and lower arms that make up the kit.
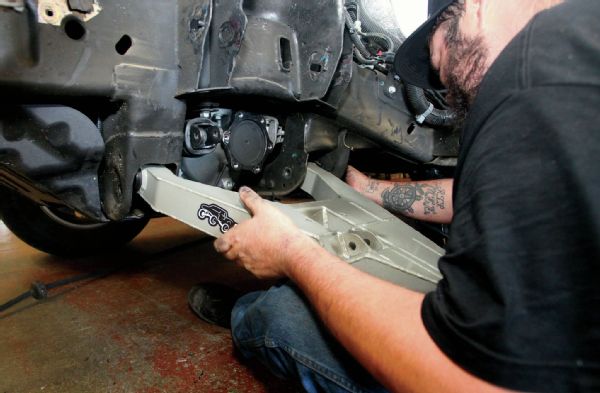
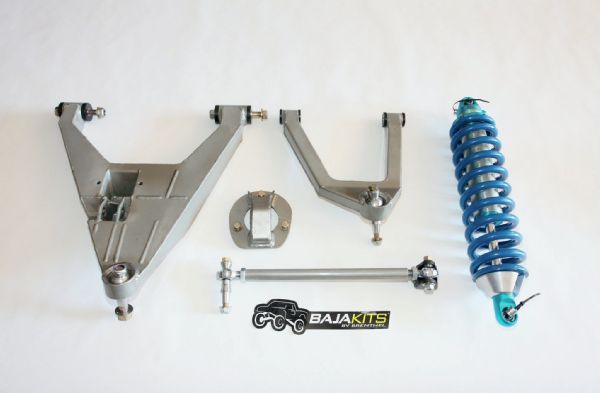 The standard Baja Kits kit consists of upper and lower control arms, upper coilover shock mount, and steering extension. This owner, however, went with the upgraded Baja Kits tie rod. Not shown is the new, longer Baja Kits axle. King shocks are sold separately, but Baja Kits can supply either the 2.0 or 3.0 models.
When installed, the Baja Kits system will give the Chevy a tad over 13 inches of wheel travel and be equipped with a high-quality King Racing 2.0 or 3.0 coilover shock. This is not a “lift kit,” this is a suspension system that has its basis in hard-core off-road racing.
A few things to know about this install though: There are certain things that this owner wanted for his Chevy that are actually upgrades from the basic Baja Kits package. One is the tie rod. This install shows the upgraded Baja Kits tie rod. The standard kit includes a CNC-machined extension that fits onto the stock tie rod. While this modification does work, for those who are looking to really punish their trucks, Baja Kits recommends that their upgraded Heim joint–equipped tie rod is the way to go.
Second, you’ll notice that the stock fenders have been replaced with wider Fiberwerx fenders. This is so the suspension can utilize all of the travel that the kit can offer and for the larger Falken tires/Method Race Wheel combination to have the room it needs. Third, the stock front bumper has been swapped out for the Baja Kits valance. The new Baja Kits’ valance looks better and provides some protection for underneath the truck.
This install will only cover the front installation, but know that Baja Kits also has a rear kit that consists of new King 2.5 shocks, leaf springs, and related hardware. Paired with the Baja Kits frontend kit, it will give the Silverado the travel and feel of a true prerunner—one that is actually capable of prerunning Baja courses.
And one that has the ability to put your Raptor driving buddy in the weeds.
 To ensure an exact fit, the Baja Kit was designed with the benefit of CAD.
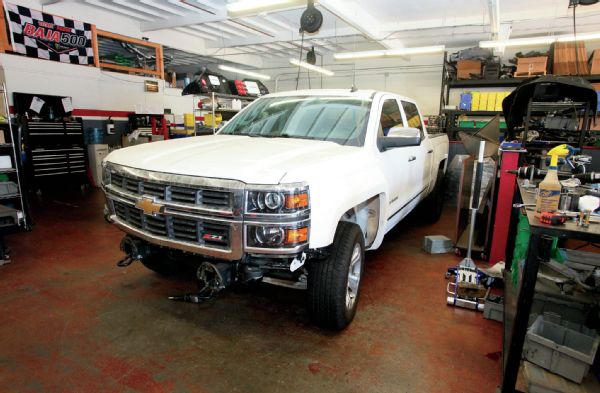 This new 4x4 Chevy Silverado has already been equipped with Fiberwerx front fenders. This will allow for all 13 inches of travel of the Baja Kits system to be utilized.
 Though not a “lift kit,” the addition of the Baja Kit and the new Falken tires/Method wheels will lift the truck slightly. With the stock suspension and tires and the truck on the ground, there is 24 1/8 inches of space from the axle center.
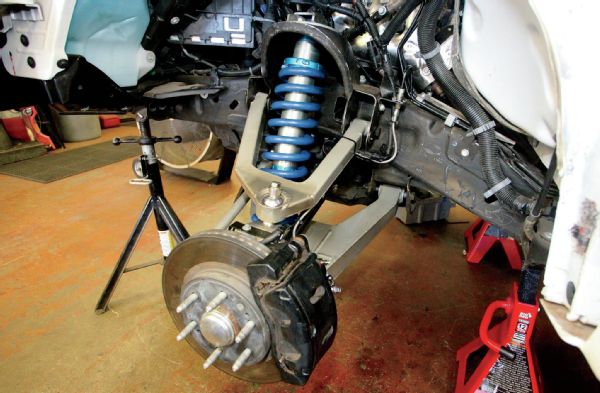
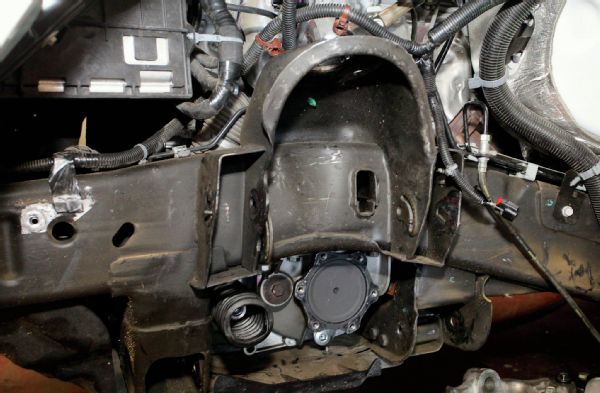 The only frame modification needed is the removal of the droop stop bracket (seen here already done). Note that the upper and lower A-arms, knuckle/hub assembly, axleshaft, and tie rod have been removed.
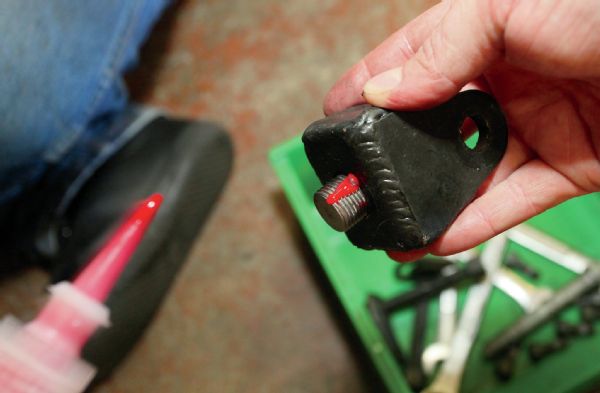 A healthy application of Loctite is applied to the bolt that holds the Clevis in place.
 The Clevis needs to be clocked in a vertical manner before it’s tightened down.
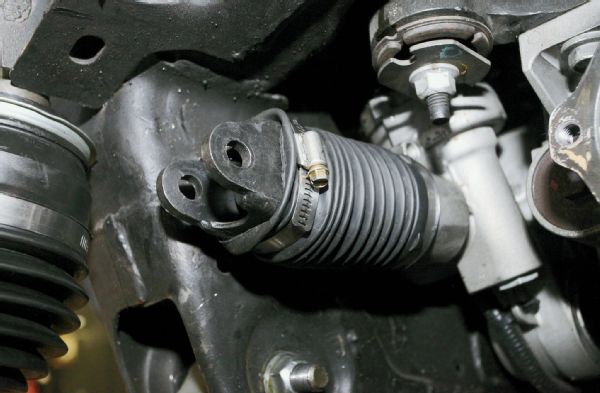 The boot covering the tie rod is trimmed and held in place with a hose clamp.
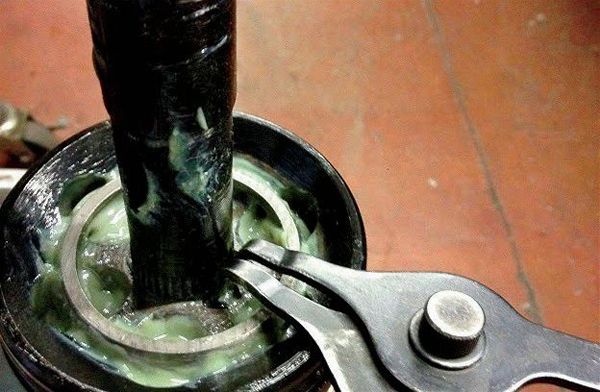
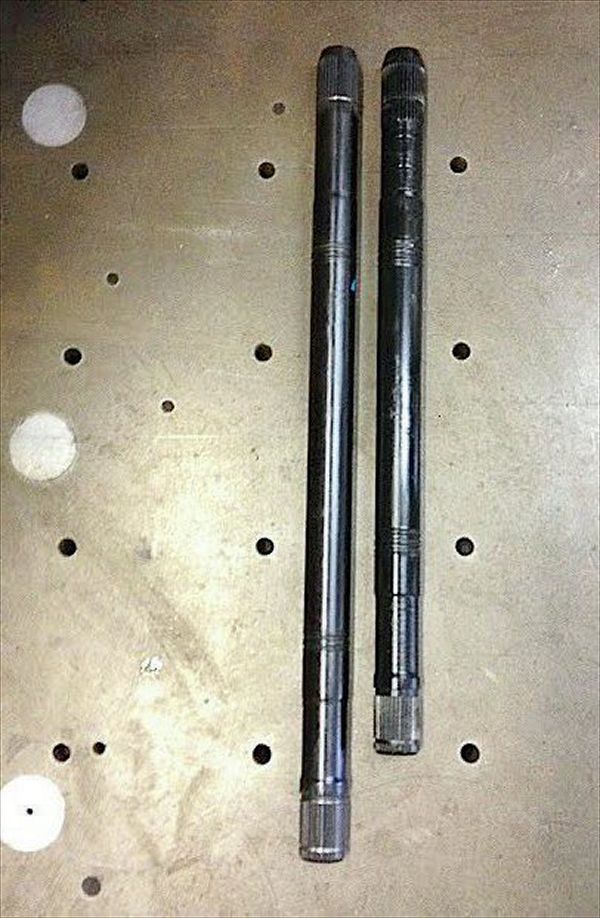 Baja Kits supplies longer axleshafts. That meas the CV joints need to be disassembled and reassembled. Luckily, it’s not as hard as it sounds.
With the boot removed, a C-clip is removed and the pieces separated. Another clip holds the joint onto the end of the shaft. Once it’s removed, the rollers come off. Put them on the new BK shaft and add grease. Easy.
Baja Kits supplies longer axleshafts. That meas the CV joints need to be disassembled and reassembled. Luckily, it’s not as hard as it sounds.
With the boot removed, a C-clip is removed and the pieces separated. Another clip holds the joint onto the end of the shaft. Once it’s removed, the rollers come off. Put them on the new BK shaft and add grease. Easy.
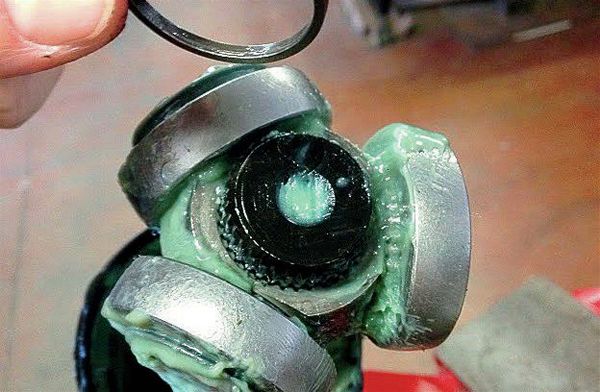 With the boot removed, a C-clip is removed and the pieces separated. Another clip holds the joint onto the end of the shaft. Once it’s removed, the rollers come off. Put them on the new BK shaft and add grease. Easy.
 After using red Loctite on the threads, a rotating pattern is used to tighten the bolts holding the CV joints in place. The hardware is torqued to 60 ft-lb.
 The lower A-arm is installed and the hardware is torqued to 180 ft-lb.
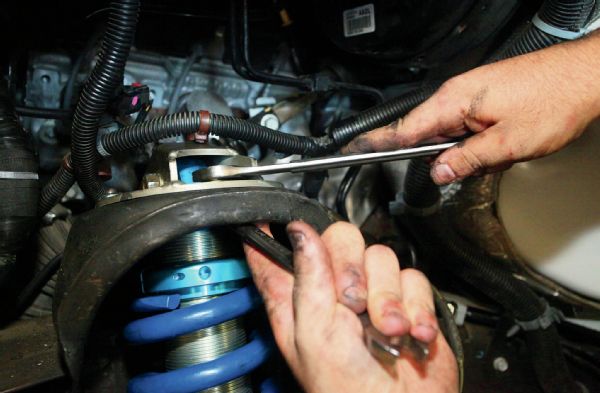
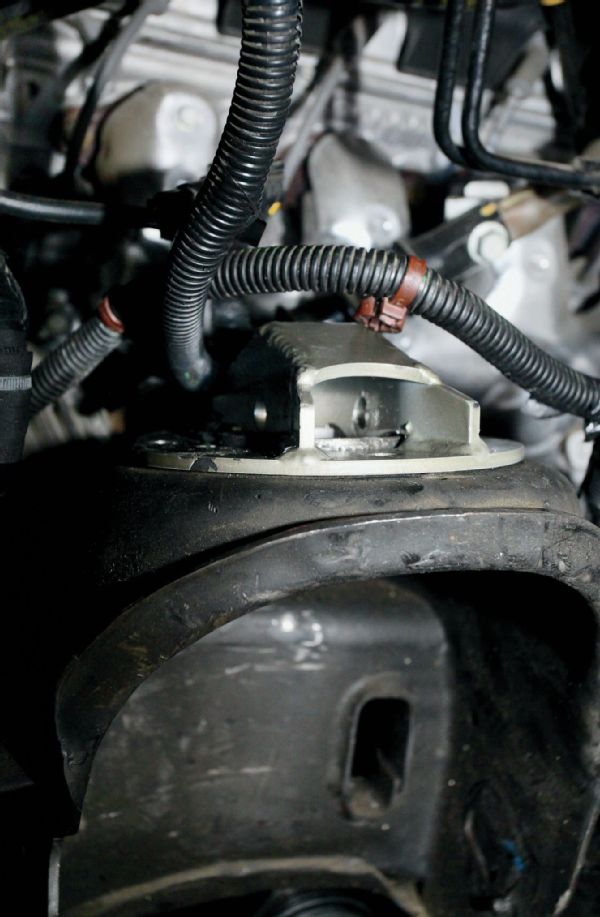 The upper shock mount is set in place. There’s a trick to installing the shock though.
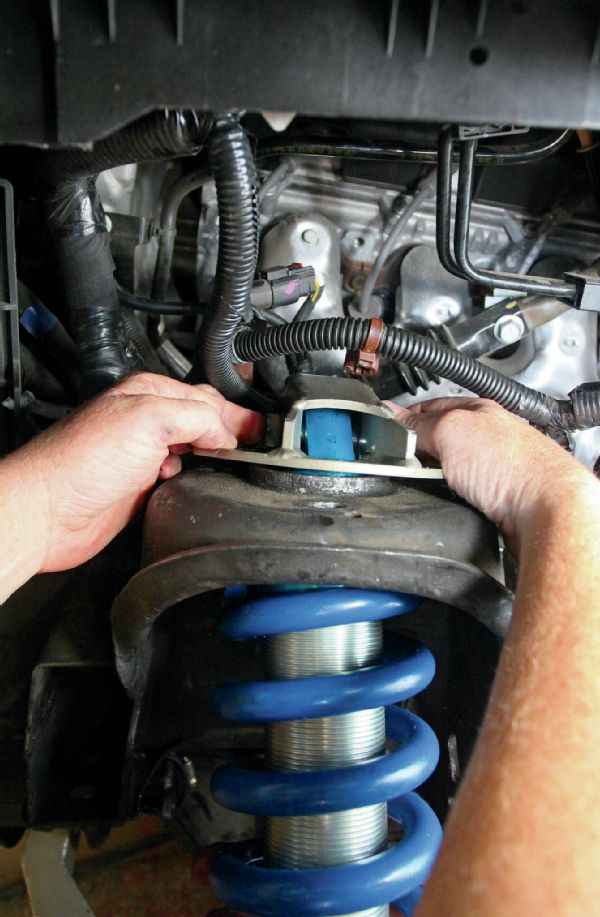 Note that there’s a lip over which sets the upper mount. The shock’s hardware needs to be installed first, but the mounts need to be lifted up and clear from the lip to do so.
Once the upper shock bolt is in place and tightened, only then is the hardware holding the upper mount installed and tightened.
Note that there’s a lip over which sets the upper mount. The shock’s hardware needs to be installed first, but the mounts need to be lifted up and clear from the lip to do so.
Once the upper shock bolt is in place and tightened, only then is the hardware holding the upper mount installed and tightened.
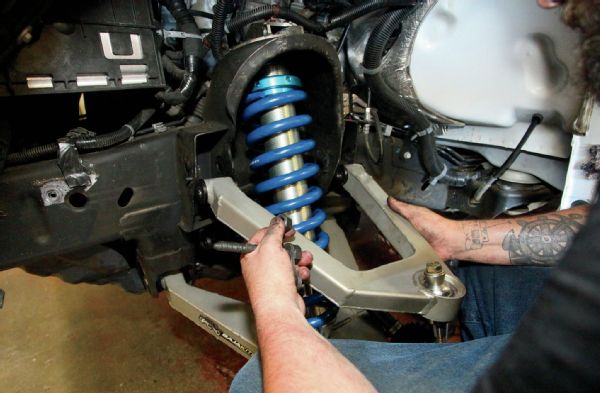 The upper A-arm is installed.
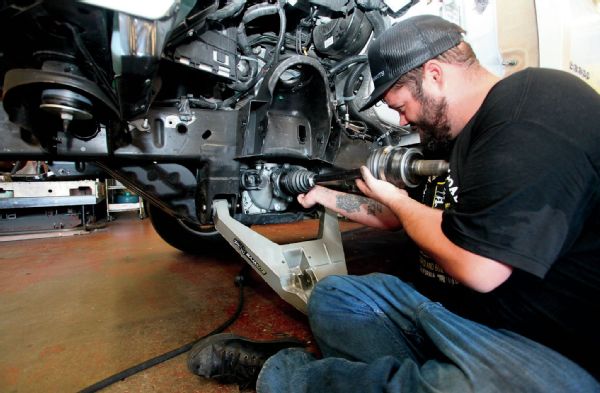
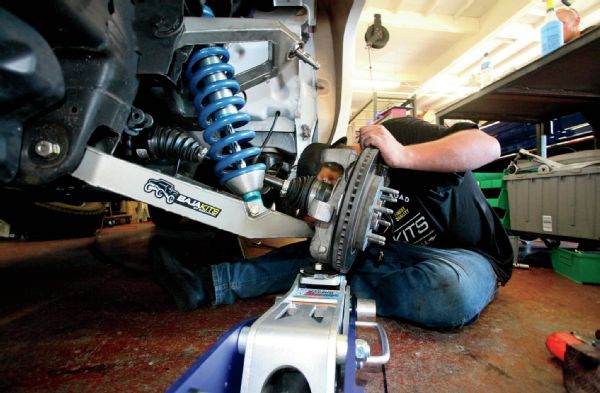 Being heavy, a floor jack is used to lift the knuckle/hub assembly in place. Note that the axle is fed through the hub assembly at the same time, so this step may require a helping hand.
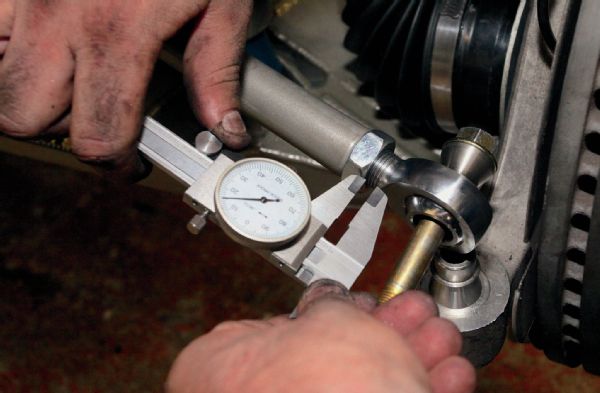 When installing the upgraded tie rod, first check that there are an equal number of threads on each end. The Baja Kits crew used a micrometer, but a tape measure probably works fine too.
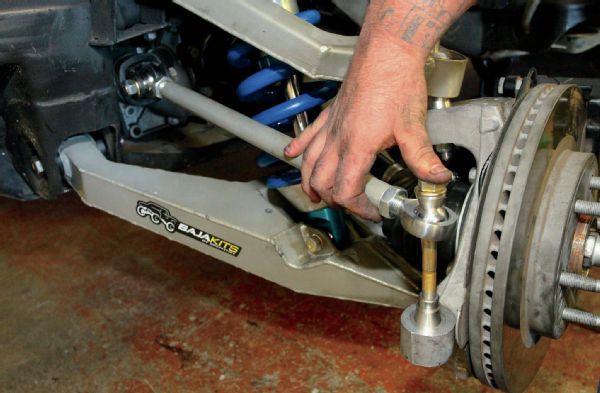 Note that an insert has been installed into the knuckle. It’s into this that the Heim joint–equipped tie-rod end is installed.
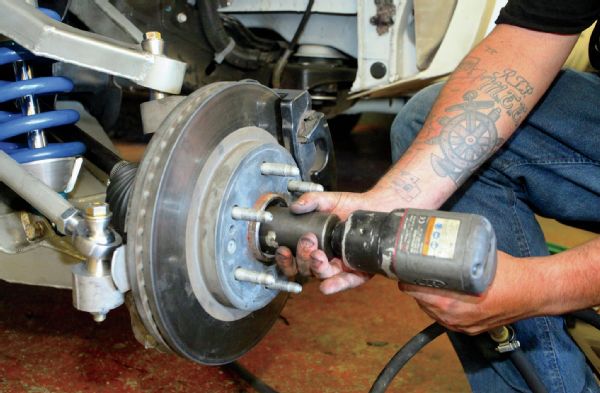 After a few drops of Loctite, the axle nut is installed and torqued to spec.
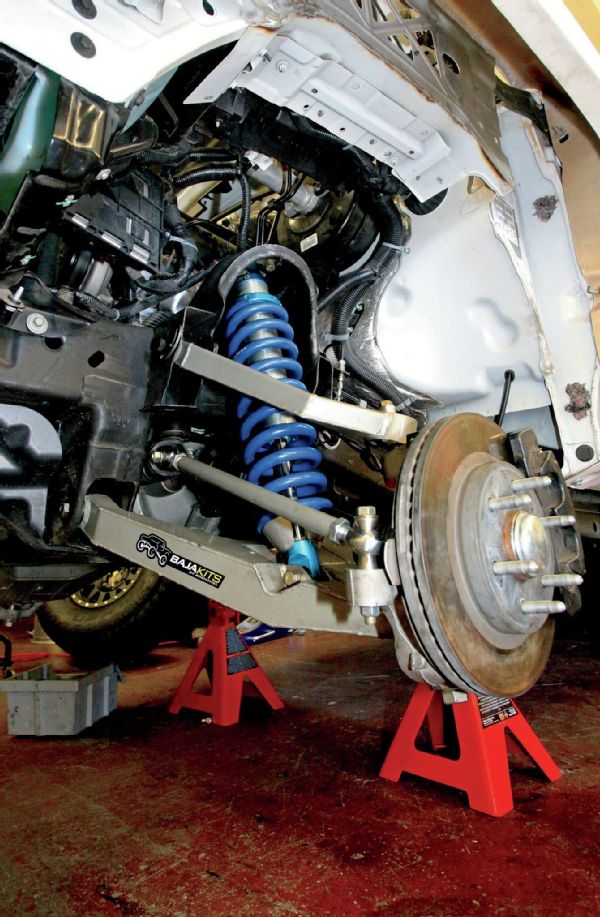
 With the Baja Kits braided steel brake line in place and the brakes bled, the job is done.
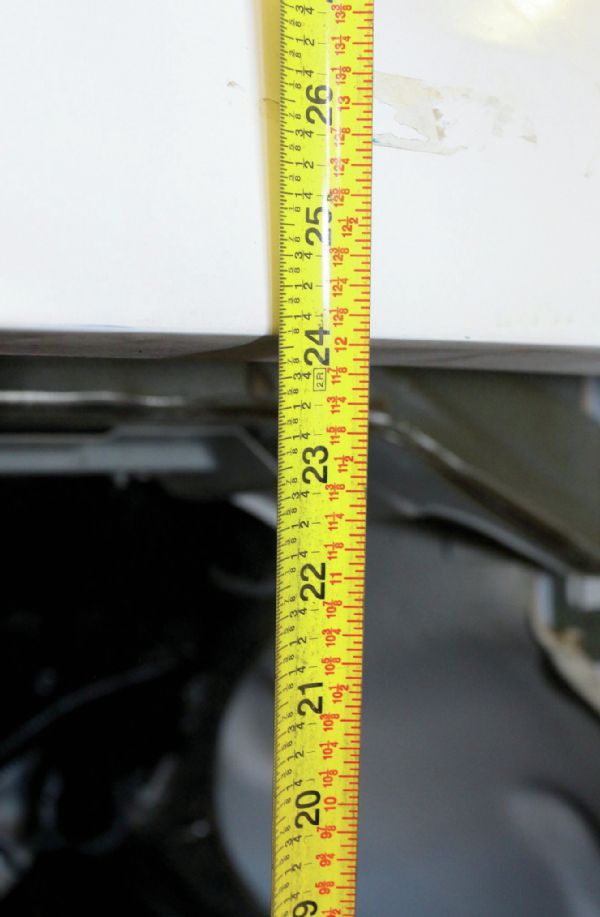
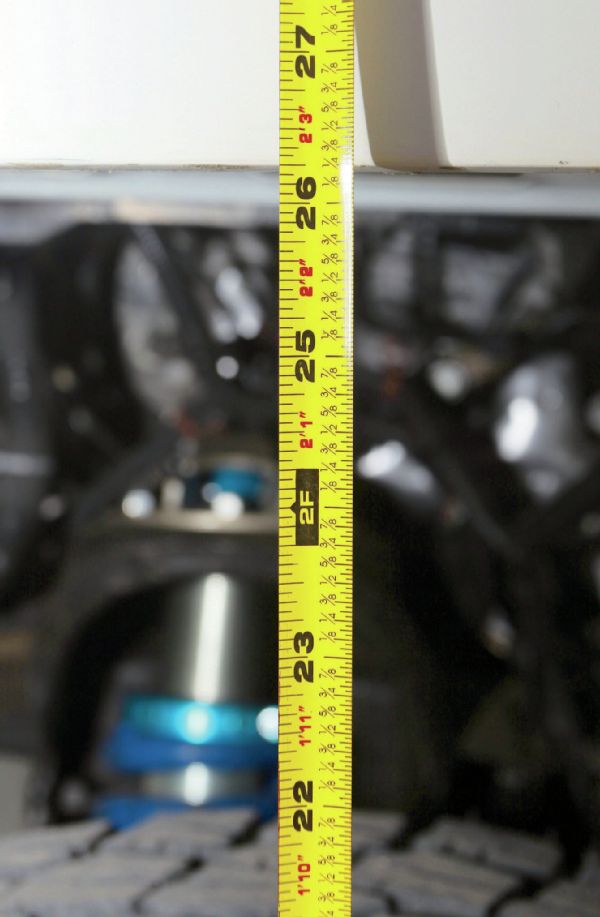 With the new Falken tires/Method wheels combo in place, and the truck’s weight back down on them, there is now 26¼ inches between the axle centerline and the Fiberwerx fender. Note that the stock bumper needs to be modified to fit the now 35-inch tires, or Baja Kits has a cool valance that replaces the bumper. It fits the new tires and also the new look of the now Baja-ready truck.