 Fred Williams
Brand Manager, Petersen’s 4Wheel & Off Road
Fred Williams
Brand Manager, Petersen’s 4Wheel & Off Road
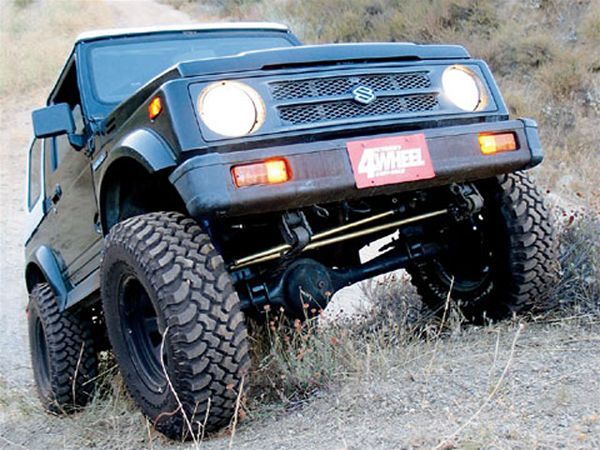
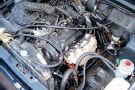
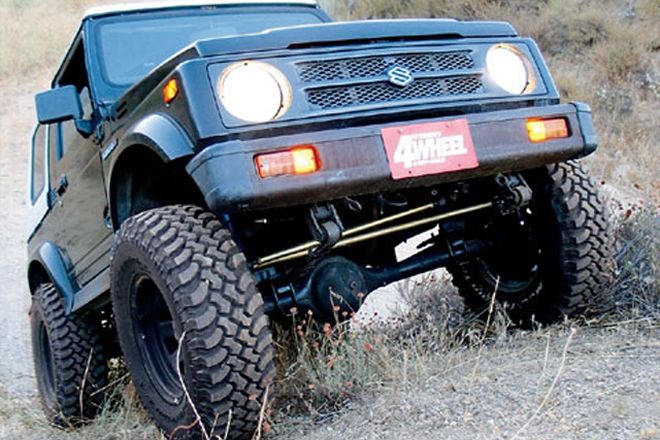
As you know I had a black Suzuki Project ages ago (July '04), and after getting it lifted onto big tires I blew the head gasket, and then it sat for a bit (months actually).
After getting tired of looking at it, I finally buckled down and tore the head off the engine and got all the parts to fix the head, and then it sat for another bit (more months). Then I got tired of it being torn apart, so I finally put it all back together and then it sat (you get the picture). I finally decided to take it out and go wheeling in it and quickly realized that it was a very nice little trail rig save one thing-the steering. Many of you may think that having manual steering is cool since it is like a daily workout, but personally I don't want to get all muscley while driving off road. Rather, my exercise involves lifting little cans with blue ribbons on the side and dragging home heavy junkyard axles (plus I hear girls dig spindly fat guys).
So what to do? I considered going to a Toyota steering box and pump, but since I didn't plan on tires much larger than 31s on the stock axles, I felt that a common swap like this was a bit overkill. While pondering my options I came across the Calmini power-steering swap, and figured it was perfect for my mini-wheeler. The Calmini kit combined with a factory Suzuki pump, steering box, and reservoir for an eight-valve Sidekick or Tracker-which I sourced through Hawk Strictly Suzuki Parts-had me steered straight and turning twisties with two fingers in no time. Luckily the install was an afternoon project, and required nothing more than a drill, handtools, and some spindly arms.
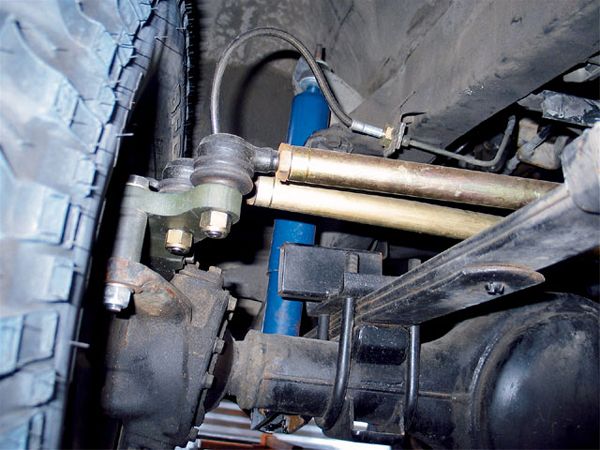
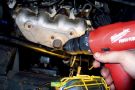
4. Since I had previously bent my tie rod on another 'Zuki, I removed the tie rod and drag link so I could upgrade them. Calmini has a Hi-Steer conversion that not only gets the rods out of harm's way above the springs, but also uses heavier material tubing that can take the abuse of larger tires better than the stock bits. The high-steer arms tie not only into the stock tie-rod mounting point but also the brake-caliper mounting points for maximum strength. Though it clears everything just fine on this spring-over rig, the instructions do recommend a minimum of 2.5 inches of backspacing on the wheels or a set of 1.5-inch wheel spacers. It wouldn't work on my other Suzuki that only has a shackle lift and is spring under, since the drag link would hit the frame.