I don't know what guys used to do to these old trucks, but boy did they seem to put a hurt on these old bench seats. It seems like every old, unmolested truck I've ever sat in succeeded in introducing my tailbone to the seat frame, with nary a hide of upholstery or flake of foam to be seen. The bench seat in my 1968 Chevrolet C10 was no different, though it took me over a year to get around to fixing it. It could have been the half decent vinyl cover that the bench seat wore or the fact that my backside simply got used to the sagging, pinching, and squeaking. Whatever the reason, I kept ignoring the underlying problem until a recent trip to Bonneville solidified the decision that something needed to be done to the tired seat.
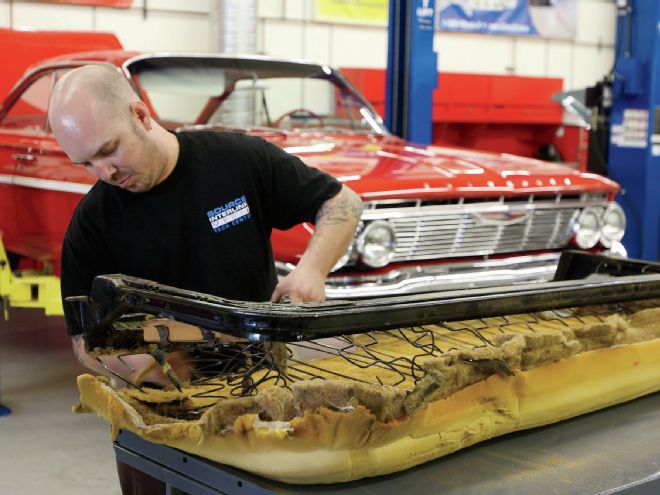
Pulled from the cab and with the vinyl cover and what remained of the seat foam removed, it became obvious why the seat had failed to provide me with any creature comfort. At some point in the past, the perimeter frame broke, leaving the driver-side corner hanging in the breeze. Some enterprising guy took a couple dozen leather strips, a 2x4 piece of wood, and some bailing wire and succeeded to temporarily prop up the corner, but it was uncomfortable at best. What's worse was the fact that it appeared our bench seat was too far gone to even be repaired.
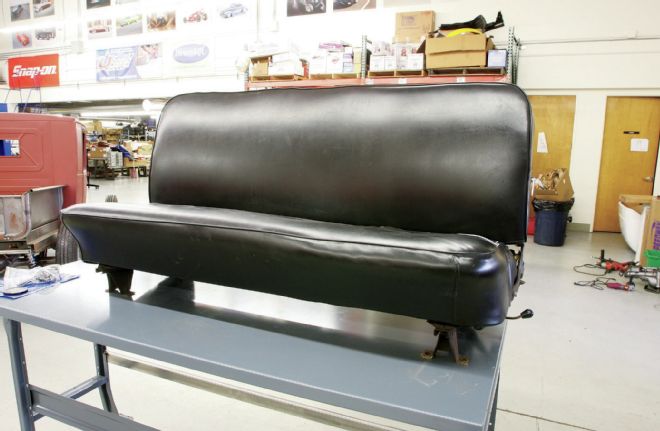
01 Here's the bench seat straight out of our '68. At some point in its past life, someone installed a black vinyl cover. I'm sure it served its purpose for many years, but the seat springs were seriously lacking and the cover itself was starting to come apart.
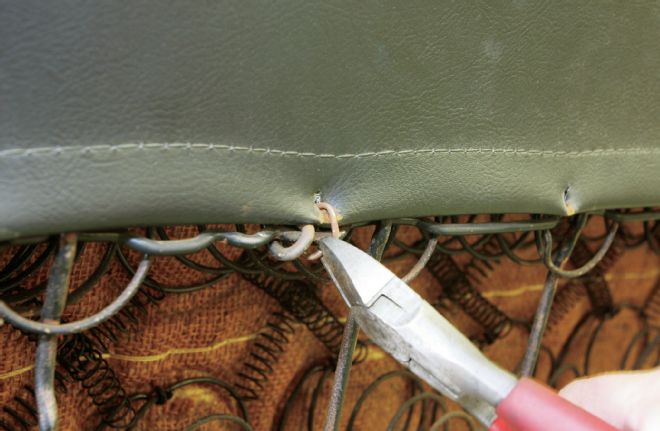
02 Removing the cover was a pretty straightforward affair; a simple matter of pulling the hog rings free and slipping the cover off the decrepit padding.
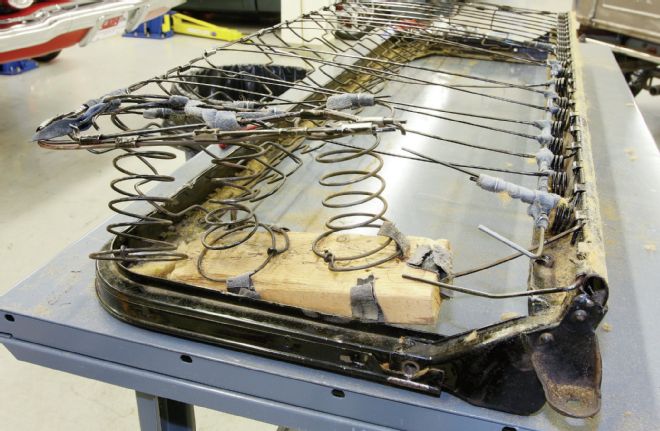
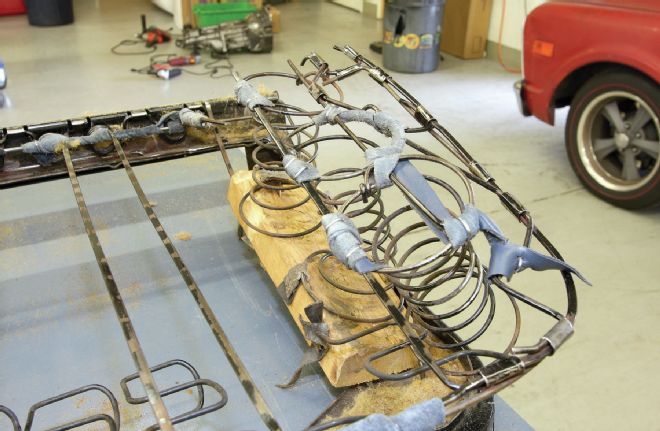
03-04 With the cover and padding gone, we soon found out why our seat was so uncomfortable. The frame of the seat spring assembly was broken, held together by strips of leather, metal, and a 2x4. A couple coil springs scavenged from a different seat altogether tried very hard to keep things together, and managed to do so fairly well, all things considered.

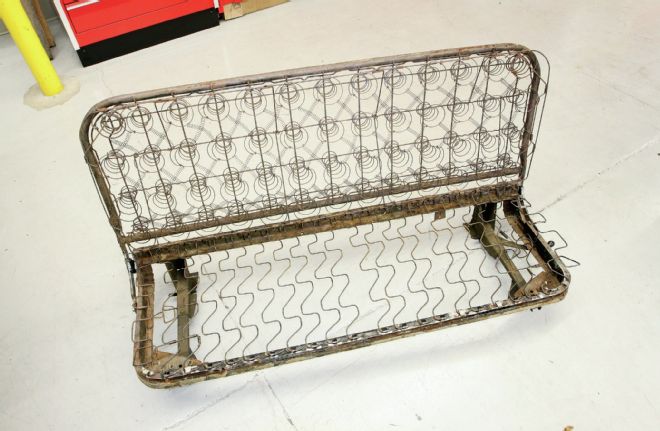
05 With all the leather and lace removed from the seat frame, what remained soon left us with the realization that we'd have to replace the entire seat base. While the broken springs could be replaced, the perimeter frame is a different story. Welding the frame back together would be a temporary fix, and one that would likely fail. Instead, we opted to scrap the seat bottom altogether and replace it with a donor that we picked up from John Lawrence at Brothers Trucks. This ended up being a decent upgrade as John's seat was a deluxe version, which used both a foam and spring base, while our old seat was the more basic full-spring base.
06 The seat we bought from John was out of his '67 and though it came with a few problems of its own, they paled in comparison to our seat. The first thing we did was to chase all the threads so that we could attach the old seat tracks.
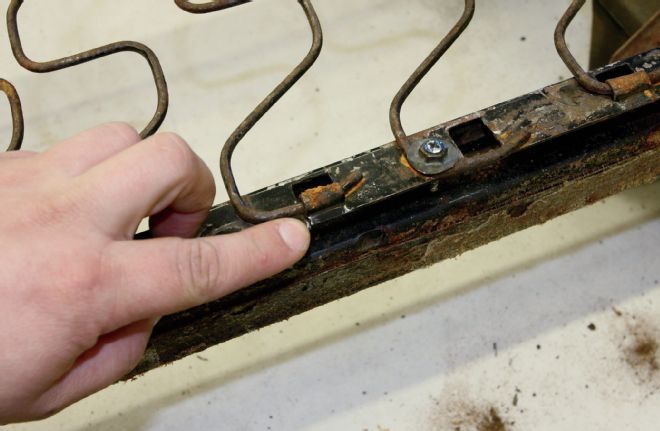
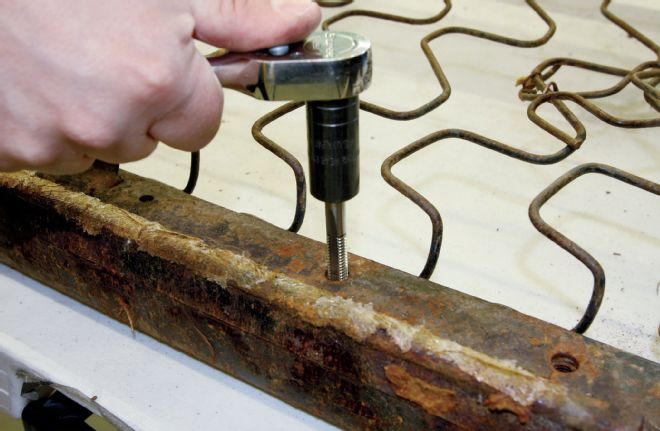
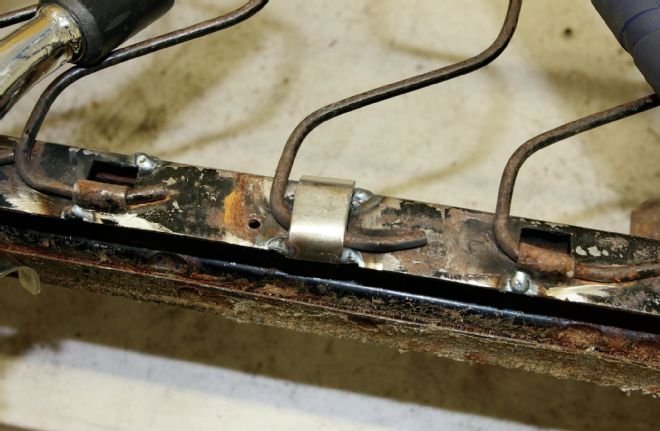
07 The deluxe bench seat uses a set of springs that attach to the back of the base and stretch across to the front, attached at clips formed into the base. Over time, these clips can crack and break. On the left is an example of a clip that is cracked and needs repair while directly to the right is a clip that has completely broken away and has been fixed with a screw sometime in the past.
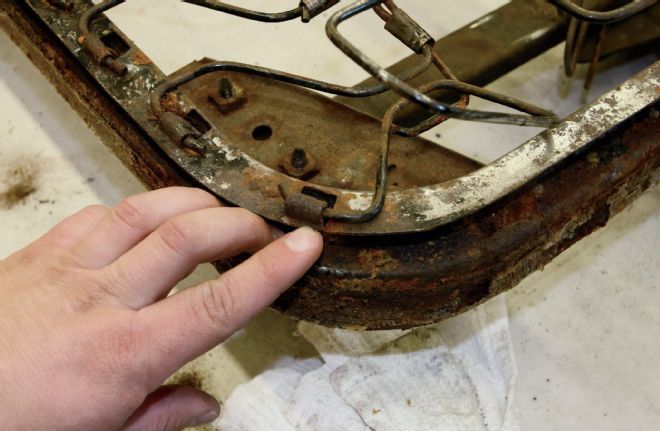
08 Here's another example of these cracked clips, this time on the corner where the vertical spring section attaches.
Thankfully, a couple phone calls later and I had sourced another, less-abused tilting bench seat from our buddy John Lawrence at Brothers Trucks. The new seat, sourced from a '67, was of the deluxe version, which features a full foam bottom in addition to the springs that stretch across the base, while my old seat was of the standard, spring-only fare. Unfortunately, John's bench seat was not without its faults, as it needed a couple springs replaced along with a dozen or so clips that attach the springs to the frame. Thankfully, there were enough good springs on my old seat that I was able to make one good seat from two fairly rough units.
After an afternoon worth of repairs, I had the bench seat cleaned up, tilting properly and with all the spring support that GM intended. Shipped off to Eddie Motorsports for a quick cleaning followed by a liberal coat of satin black powedercoat and we're ready to come back next month where we'll follow along with Mark Lopez of Elegance Auto Interiors as he covers the frames in foam and pulls the custom Brothers Trucks red vinyl covers nice and tight.
09 Repairing these cracked sections can be as simple as a tack weld or more involved like the repair in the center where a new clip has been welded into place.
10 A piece of foam fits over the sprung section of the seat base on the deluxe models, held in place and supported on the side with a set of perimeter springs. These springs are tied together via steel clips to maintain the base's structural integrity. A few of these clips had seen better days and were replaced using a similar method.
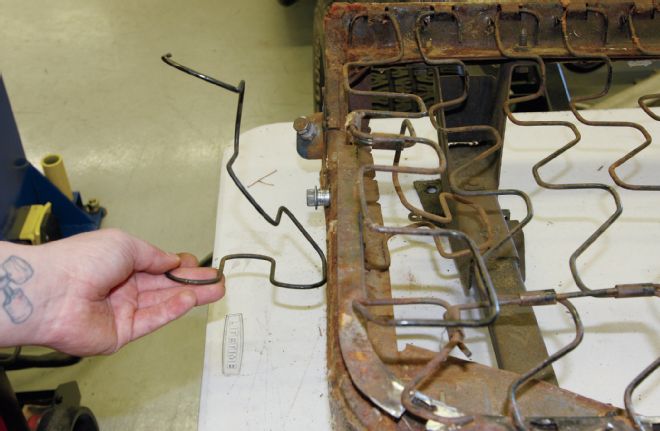
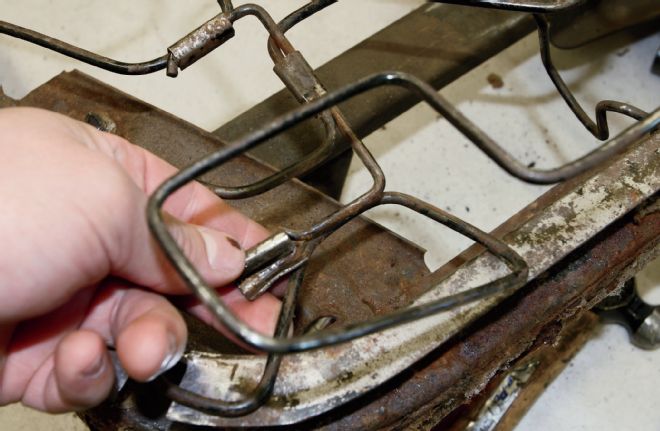
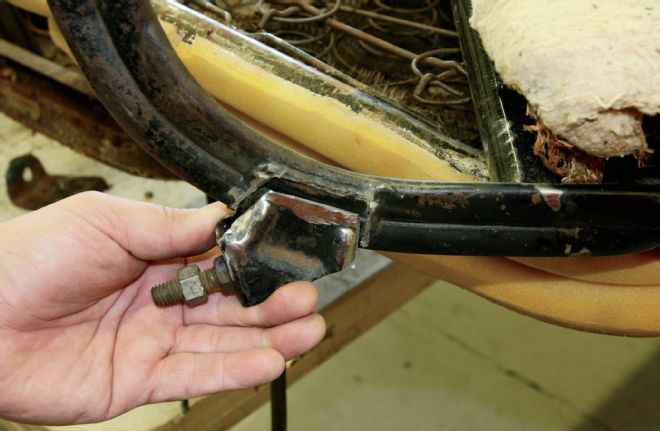
11 Attached to the perimeter springs are another set of springs that help keep the side of the seat from collapsing. I removed a pair of these from my old seat to swap out the tired ones that were present in the new deluxe seat. Note the difference in shape between the good one in my hand from the old seat and the one we'll be replacing.
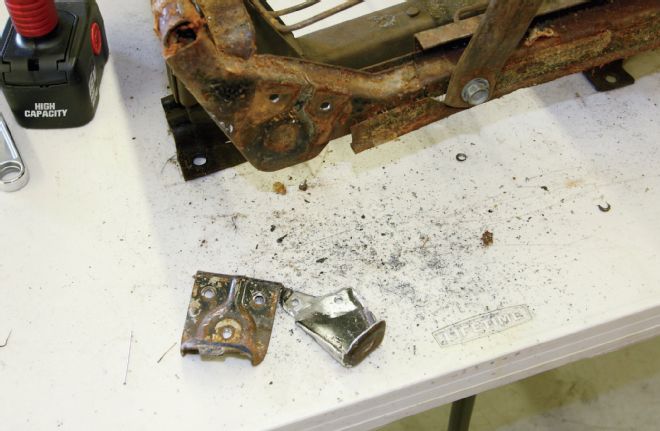
12 One of the other trouble areas on our "new" seat was the stops at the lower corners of the base. Apparently, one too many big boys used the seat in the past and the stops were pretty tweaked. Since we still had the old seat sitting around, I decided to simply pop the stops of both seats and use the old stop brackets on the new seat.
13 To remove the upper stop bracket off the seat back, it was necessary to cut the welds.
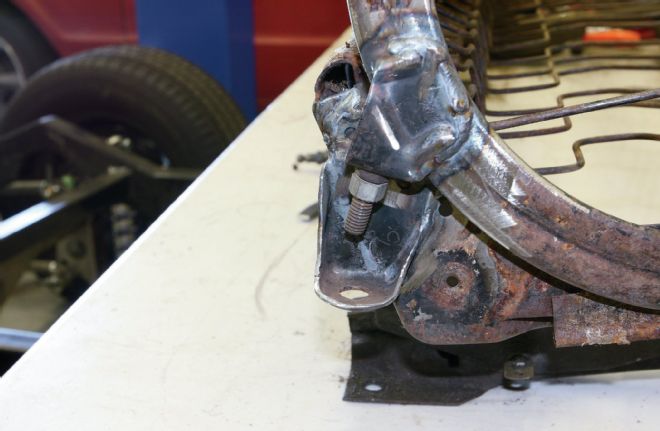
14 Both the upper and lower stop brackets were then welded to the respective bench seat component, resulting in a refurbished seat with adjustable tilt just like the factory.
15 With all the repairs complete, it's off to Eddie Motorsports for a bath in the sandblaster's cabinet followed by an appointment in the powerdcoating booth.
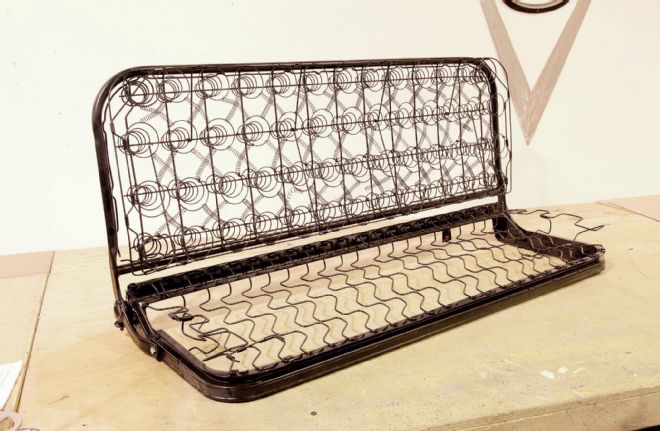
16 Here's our bench seat, fresh out of the paint booth, ready for Mark Lopez at Elegance Auto Interiors to apply the Brothers Trucks covers.