There ain’t no gettin’ away from it; if you’re going to build a car, you’re going to be drilling a lot of holes. You’ll also likely be welding more than a few up too, especially if you intend to nose, deck, or otherwise remove trim. It may sound odd, unless you’re familiar with tools or work in the automotive industry, but there’s more than one way to drill a hole.
Your first choice will likely be a regular drill bit, and these are fine for many applications (but they’re not ideal, especially for sheetmetal, if you’re after a perfectly round hole). Ever notice that a drill bit leaves a “triangulated” hole in sheetmetal, especially cheaper bits? Equip yourself with a good quality set of drill bits, look after them properly, and they’ll repay you with years of service.
However, for perfectly round holes in sheetmetal, or brackets up to 1/4-inch thick, I prefer to use a Rotabroach. They only cut the circumference of the hole, rather than the entire section you wish to remove, making them more efficient. Since the hole is perfectly round, it’ll be a snug fit for any fastener used in the hole, which is important where bolts and brackets are concerned. Rotabroaches are available from Snap-On, Blair, and other suppliers. They’re not cheap, but they’re worth every cent—if they’re looked after.
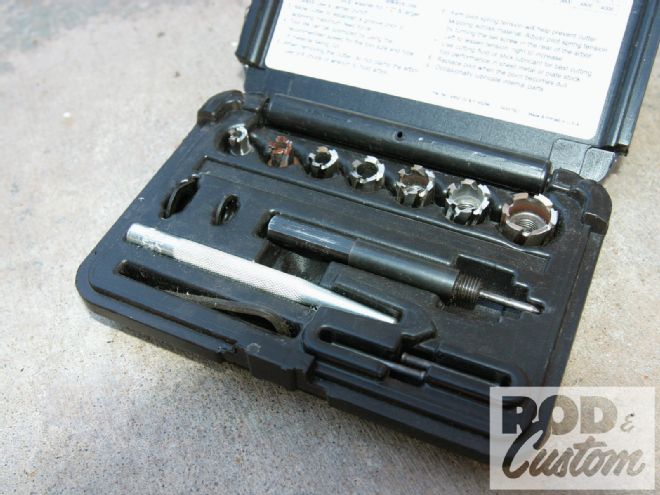 A set of Roatabroaches is invaluable when building project cars, and produce perfectly circular holes repeatedly.
Spot-weld drill bits and step drill bits are other ways to drill sheetmetal, while hole saws can be used on sheet or heavier-gauge material. The latter will blunt very quickly unless used at the correct speed and with lubrication, which is the best way to maintain any drill bit. Speed is also a consideration with Rotabroaches, and remember, faster ain’t necessarily better, especially in this case. Take it slow, and use a suitable cutting fluid.
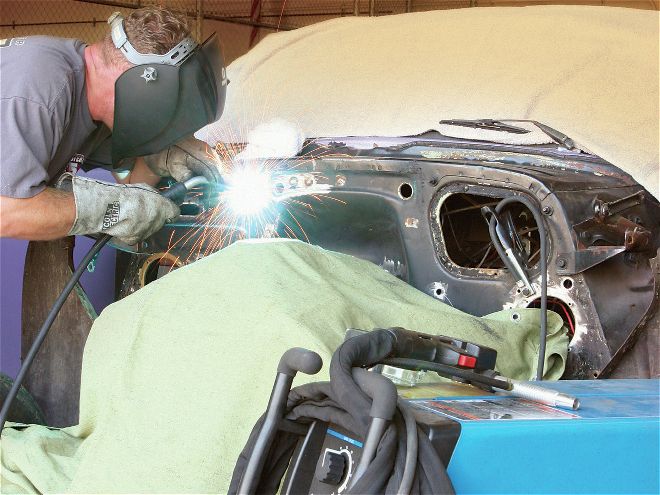
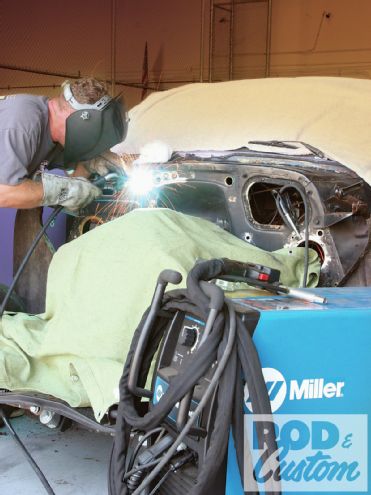
OK, so you’ve finished all the fab work on your project, and are moving to the bodywork stage. Your car looks way better with all that excess trim removed, but what to do about the numerous holes left behind? Simple: weld ’em up! Sure, go ahead, but there are ways to make your life easier. First, ensure the hole is clean by filing any paint from the edges of the hole. Second, most trim holes will be on the sides of a car, so turn the wire speed up slightly if you’re using a MIG welder to compensate for this. I prefer to start at the top left of any trim hole and work my way across and down, but you may find your own preference.
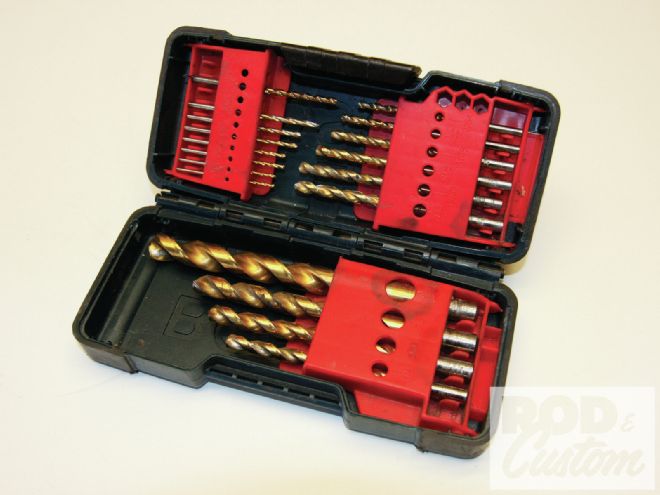 A good quality set of drill bits will last a long time if looked after. I’ve had this Bosch set for years and haven’t had to sharpen a single one yet.
One sure-fire way to make the job easier is to place a piece of thick copper behind the hole, as the weld won’t “stick” to this material, you’ll use less wire, and not be left with a big blob of weld on the backside of the panel. Eastwood sells copper plates with magnets attached for this purpose, as well as a copper paddle that can be held behind the panel.
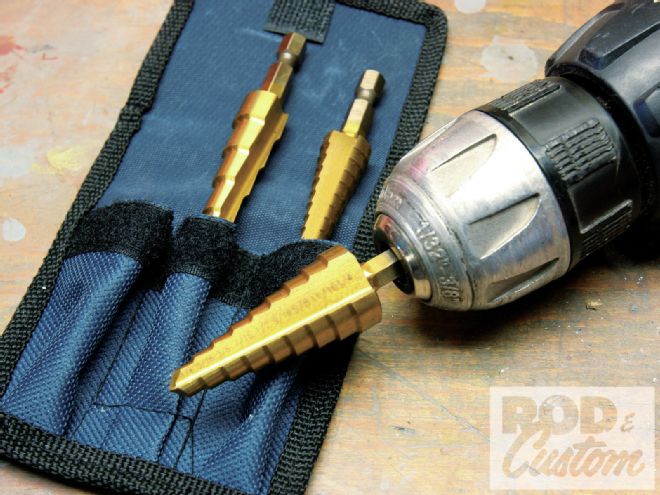 Step drill bits (Unibits) have their uses for sheetmetal, especially when you don’t have a regular bit or Rotabroach in the larger sizes.
None of this is rocket science, but it’s stuff like this that’s easy to assume everyone knows. The right tools make a big difference, and can turn a frustrating job into a pleasurable one.