There is a long list of upgrades, add-on, and bolt-ons that can make an older Mustang feel fresh and more fun, especially if it has lots of miles on the clock. Each system you tackle comes with a benefit: You make it faster, stop better, or maybe look better. The one that always stands out to us as delivering the most enjoyment and satisfaction is a good suspension upgrade.
The suspension dictates the attitude of the car. If it’s old and worn, the car will feel sloppy and unpredictable no matter what else you have going on. Everything else can be topnotch, but if the suspension is junk the car will be miserable to drive.
That goes double for anyone who has come to appreciate the factory handling of S197 Mustangs. Remember, by 2011 the GT was essentially neck-and-neck with the BMW M3. We hate to say it, but it is simple fact that the Fox, SN95, and the New Edge platforms need some assistance just to get up to modern performance expectations. That’s just the march of progress. But we are hot rodders; we can fix ’em.
Fortunately, what our 1999 GT needs to move forward a decade and a half in handling is well understood by the aftermarket and readily available in easy-to-install, off-the-shelf parts. One of our favorite go-to companies for these cars is Maximum Motorsports (MM). These guys have been developing seriously great handling packages to bring Mustangs up and beyond German sports car level for longer than many aftermarket performance suspension companies have been around. To make it easy, MM offers a variety of packages, including a complete Road & Track Box. However, MM will also customize each Grip Box, making it application specific for your individual needs.
Since we need a lift and some knowledgeable help for this install, we headed over to Gear Driven Automotive in Northridge, California. Saul Gutierrez and his crew have a clean shop where they upgrade all manner of performance cars. They’re familiar with MM’s parts, so tackling our project was right up their alley.
What’s in the Box

Since our GT is destined for street fun with a bit of track use, we went with Maximum Motorsports’ customized Road & Track Box.
• MM Steering Shaft, Power rack, 1994-04 (MMST-14)
• Sway Bar End Links, 1994-04 (19-416-BL)
• MM Road & Track front spring, each (BA)
• MM Road & Track rear spring, each (21)
• Rear Spring Isolators, polyurethane (6-1701-BL)
• Front Spring Isolators, polyurethane (6-1703-BL)
• Front Control Arm Bushings, 1996-04 with Hydrobushings (6-217-BL)
• MM HD Strut, monotube, 1987-2004 (MB-4138.2-ST)
• MM Shock 1986-04 Solid Axle, Street Valving, Urethane Mount (MMD-RC00ST1-U)
• MM Caster/Camber Plates, 1994-04 (MMCC9994)
• MM Full Length Subframe Connectors, 1979-04, powdercoated (MMFL-5PC)
• MM 4-Point K-Member Brace, 1996-04 HT (MMKB4-4)
• MM Panhard Bar Chassis Mount (MMPBCM)
• MM Panhard Bar Axle Mount, 1999-04 (MMPBAM99)
• MM Panhard Bar Aluminum Rod, Polished (MMPBAR-2)
• MM Adj. Rear Lower Control Arm, Extreme Duty, 1999-04 GT (MMRLCA-33)
• MM Steering Rack Bushings, stock K-Member, 10/1/84-2004 (MMST-7)
• MM Strut Tower Brace, 98-04 GT (MMSTB-5)
• Front sway bar bushings, 28mm (6-1155-BL)
• Front Spring Installation Tool (MMT-8)
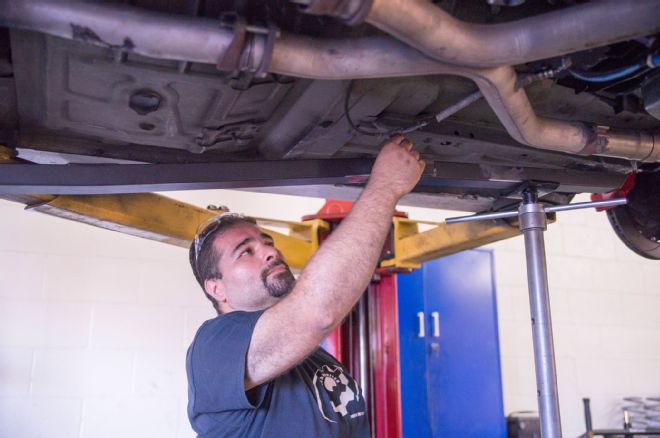
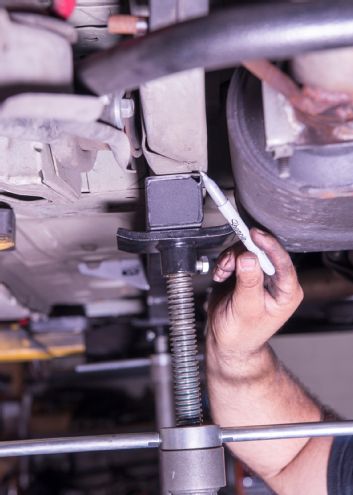
1. To begin the transformation, we began by stiffening up our chassis with MM’s full-length subframe connectors. Screw jacks were used to hold the connectors tightly to the subframe to check for gaps since production tolerances in the floorpan area were a bit loose. Prior to welding, the connectors can be straightened or further bent.
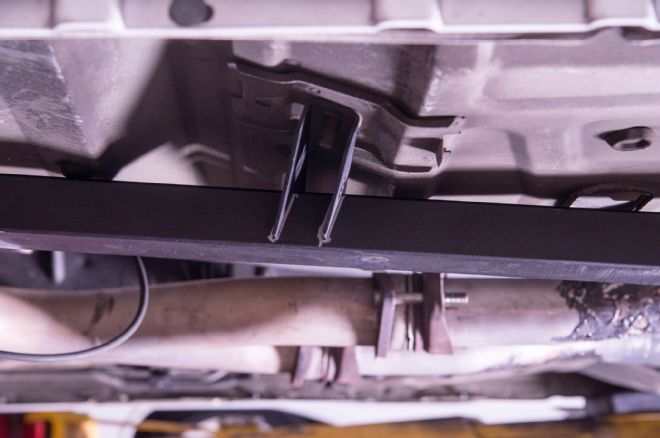
2. The crossbrace is a separate piece to allow for custom fitment to the pan and connectors. It ties to the floor via the two rearmost mounting bolts that secure the front seats.
3. Our connectors fit well out of the box, so a Sharpie was used to mark the areas needing to be cleaned for welding.
4. A quick bit of surface prep along the areas where we’ll be laying beads of weld will provide for more solid connection. Now is also a good time to spray the connectors, especially the inaccessible top side, to prevent rust.
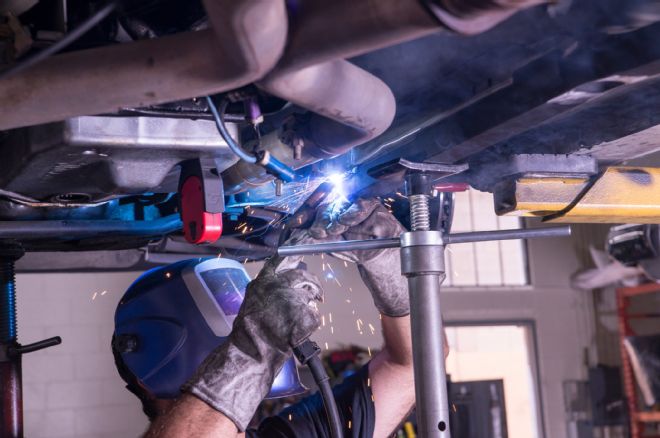
5. There’s no going back here, so after triple-checking the fitment to make sure it was perfect and as snug to chassis as possible, the connectors were welded into place.
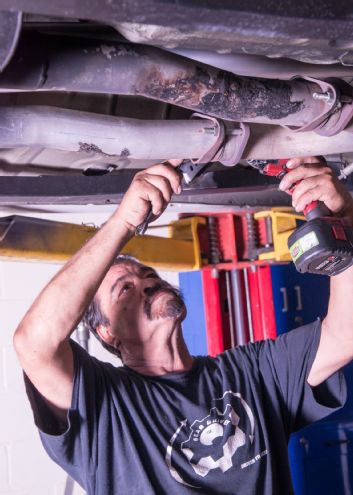
6. To access everything needed for the rear suspension, we pulled the exhaust from the H-pipe back. These bolts are notorious for getting rusty and hard to remove, so hose them with penetrating oil and let them soak for a few before you tackle them.
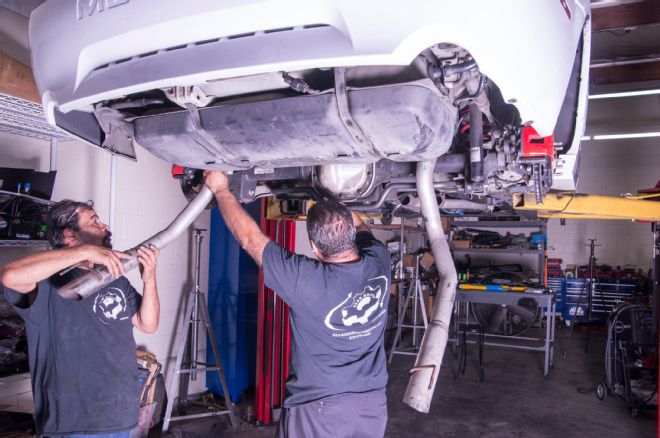
7. After the mufflers are loosened, the tailpipes should snake right out of the rear of the car.
8. To get the old stuff out of the way, the rear sway bar is the first part to be removed. Two bolts hold it to the lower control arms.
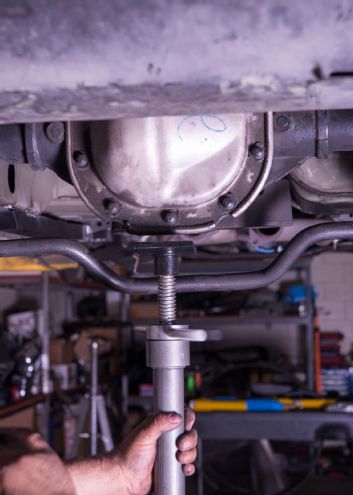
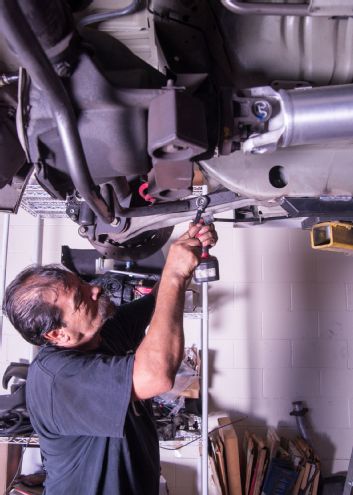
9. Since we’ll be taking the lower control arms off, a screw jack was placed under the center of the rearend housing to support it.
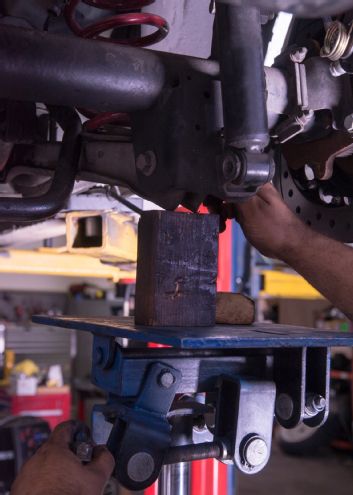
10. To get the shock and lower control arms loose from the rearend housing, a wood block atop a trans jack was used to take a little pressure off the bolts.
11. With those bolts removed everything comes apart in a hurry. We already had lowering springs installed, so their short height makes removal easy. Take care with stock springs because they need to expand much taller to safely remove them as the lower control arm swings downward.
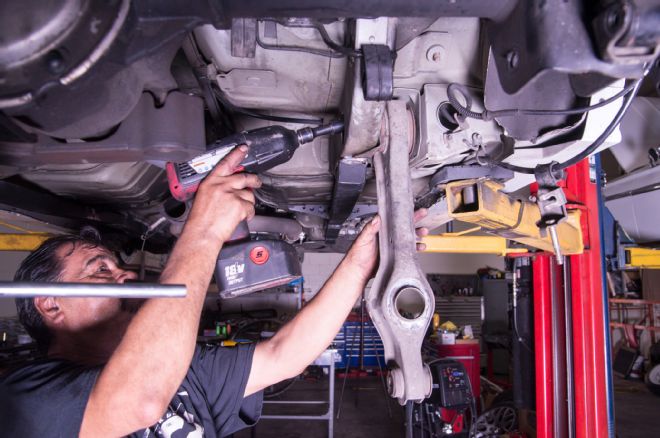
12. The front bolt of the lower control arms is accessed through the inside of the subframe.

13. To get to the top bolt of the shocks, the trunk liner and mat need to be removed. A few pushpins are all that holds it in place.
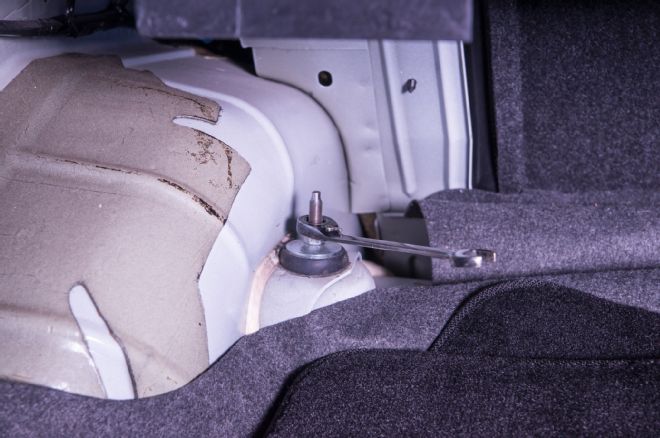
14. The space by the wheelwell is cramped, and you have to crawl halfway into the trunk to reach them, so a deep well socket or a ratcheting wrench is ideal to make the nut move more quickly.
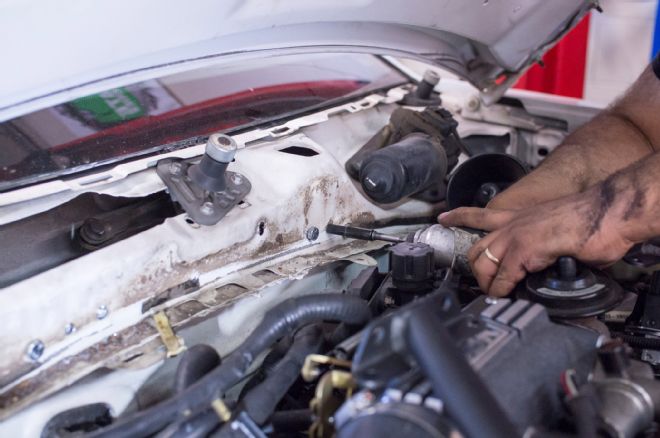
15. With all of the stocks suspension out of the way, the brace for the Panhard bar will be the first of our new MM package to be installed. Since we’ll be welding it to the subframe, the powdercoat needs to be cleaned away from the edges.
16. MM’s Panhard offers the option to bolt it onto the subframe and includes frame inserts to prevent crush, but we like welding things into place. After the paint and undercoating was cleaned off of the rail, fitment was verified and marked.
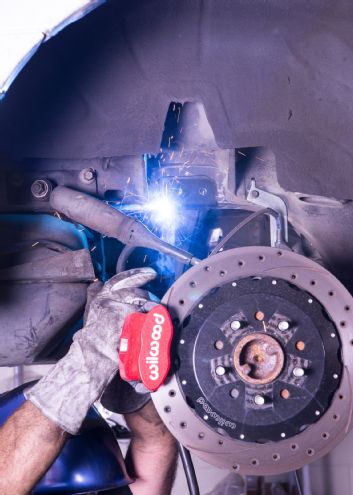
17. If taking the welding approach, it’s a good idea to bolt the Panhard brace into place until everything is fully installed. Also, don’t get carried away with the final weld; you really only need a couple of 1/4-inch beads on each side for plenty of strength.
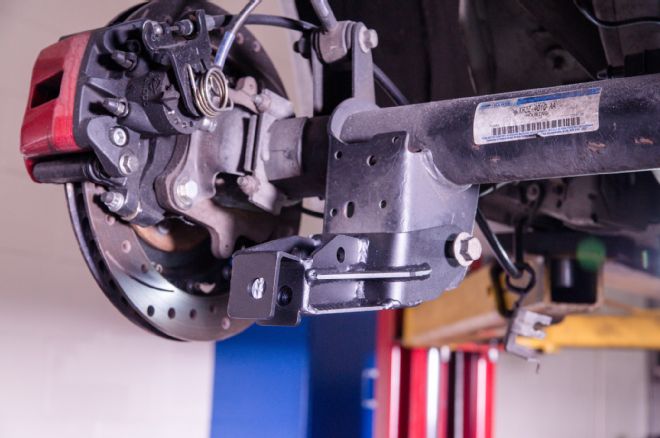
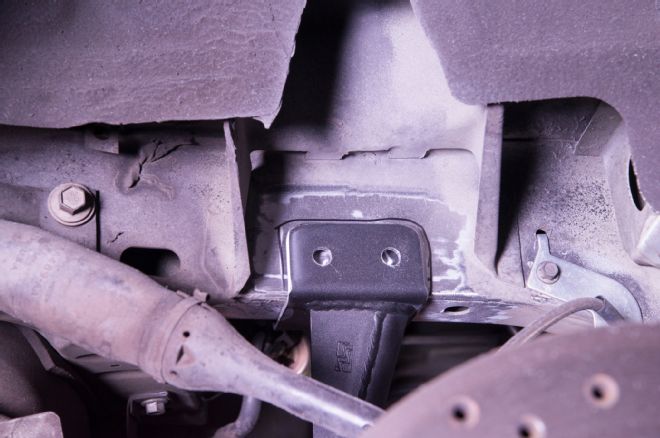
18. This is the axle-side mount for the Panhard rod and the new lower shock mount. There are actually several steps to go through in the instructions to ensure proper alignment, most of which revolve around possible previous damage, but we were fortunate enough to have zero issues with ours.
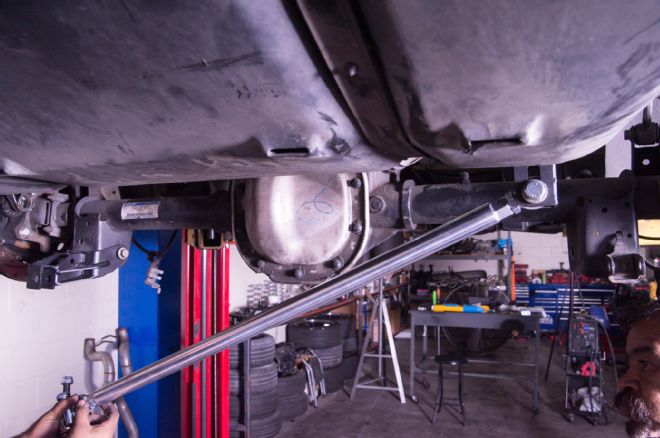
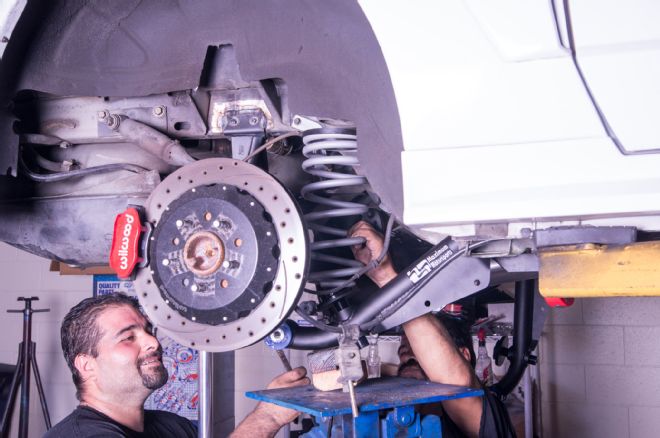
19. This is how the rod will install, but for proper setup it must be installed with the car sitting at normal ride height, or by simulating it on the lift.
20. We then installed MM’s Extreme-Duty lower control arms. It looks like they use polyurethane bushings, but they're just caps that weatherseal the spherical bearings on both ends of the arm. The caps also function to keep the arm upright when the spring is loaded by the car’s weight.
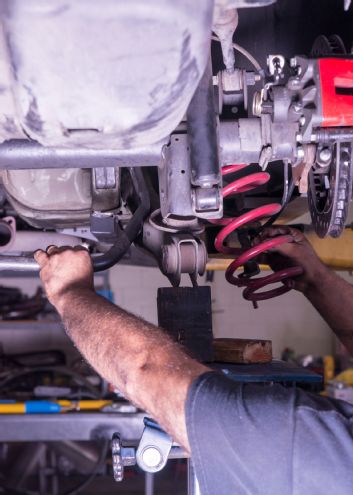
21. Since the lowering springs are significantly shorter than stock ones even when unloaded, installing them is fairly easy. A trans jack with a block of wood was used to lift the arm into place on the axle and hold it while the bolt was slid through.
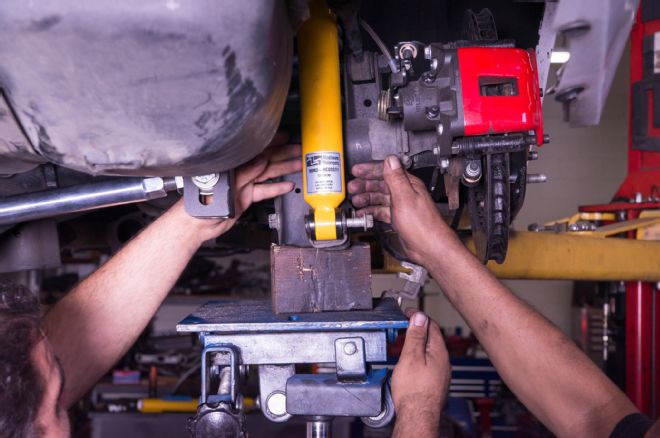
22. With both springs installed, we can slide the MM’s newly revised second generation monotube rear shocks with their improved valving into place. These shocks are coilover ready if we decide to upgrade down the road. The passenger side bolts to the factory mount, while the driver side will bolt to the MM panhard bar mount.
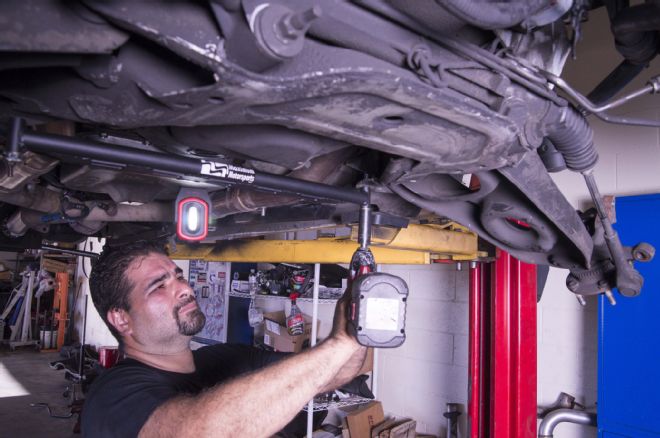
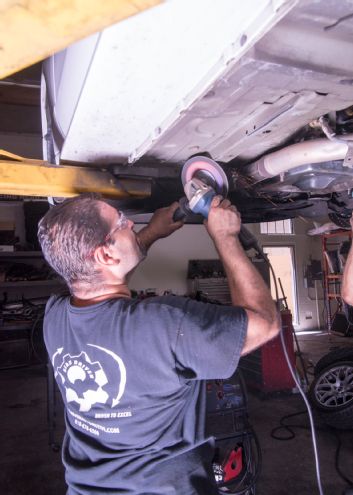
23. MM’s kit replaces the factory tube brace with a much thicker bar that attaches at four points to greatly increase rigidity.
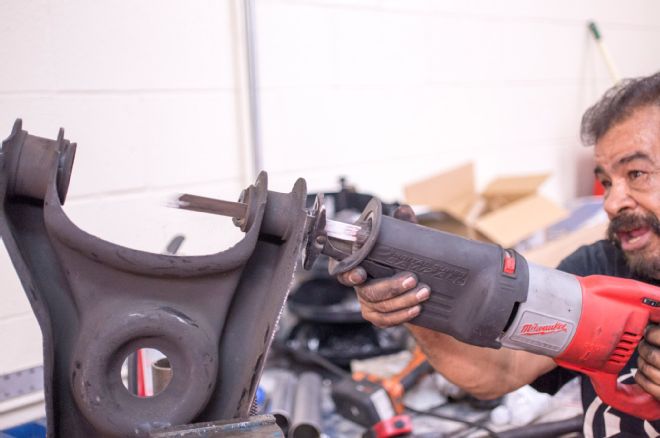
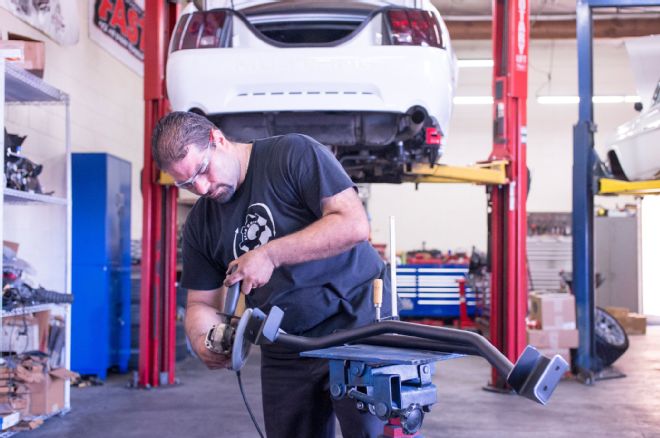
24. A lot of suspension kits ignore the front lower control arm bushings, but MM’s kit includes poly bushings. The bad news is that the factory rubber ones don’t come out easily. We used a Sawzall, drill bits, and eventually a barrel sander to clean out the control arm.
25. If you clean up the arms well, the bushing and its insert will slide in fairly easily with lube and maybe a few taps from a mallet.
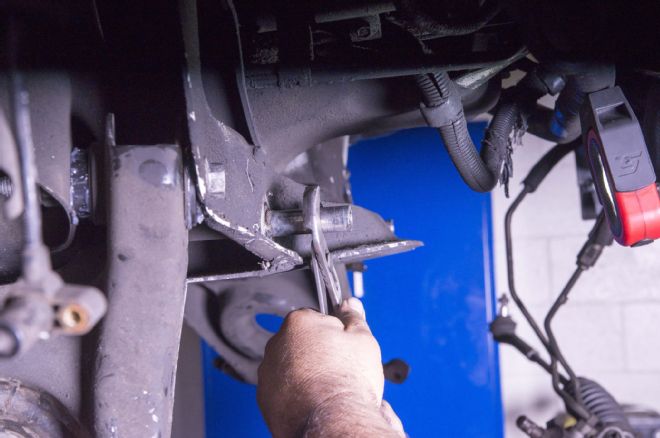
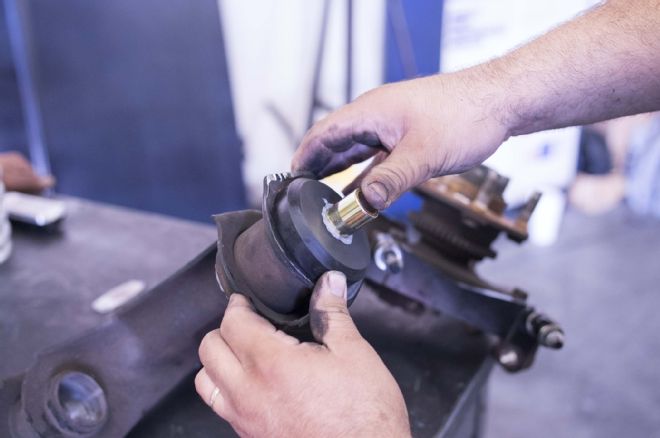
26. For improved steering response, MM’s kit includes solid rack bushings to replace the factory rubber ones. After removing the bolts that hold the rack in place and sliding the rack off, a scribe is made where these mounting sleeves enter the K-member. They’ll get cut off with only the portion inside the K-member reinstalled.

27. After the sleeves are cut down and reinstalled, the rear portion of the bushing is installed with the new rack studs.
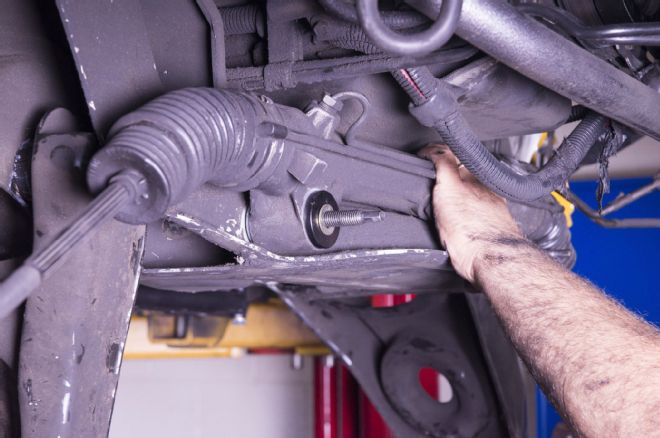
28. Installing them correctly requires a bit of measuring to ensure that the rack doesn’t bind, but solidly mounting the steering rack with aluminum bushings eliminates rack movement relative to the K-member, so the car will maintain a more precise line through a corner, and require fewer steering corrections.
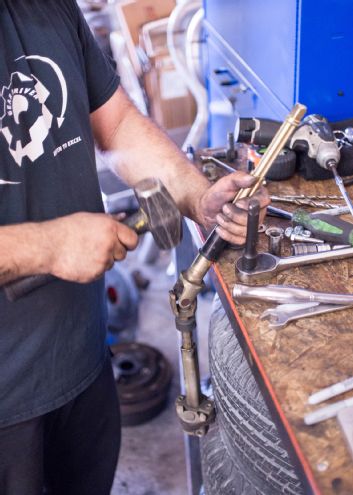
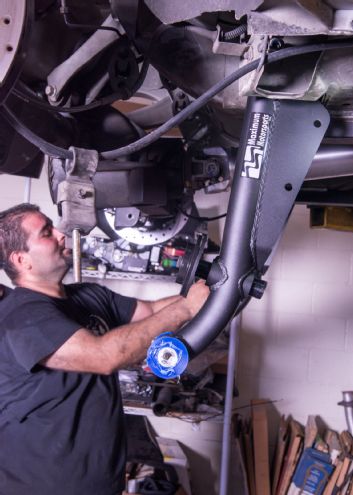
29. After we were satisfied with fitment, but before we mounted the rack again, we pulled the stock steering shaft to install MM’s version. Here we’re removing the plastic shield to reuse. The MM shaft uses U-joints welded to the shafts (no rag joint) and, like the Ford version, is attached to the steering rack with a pinch bolt and has two telescoping sections.
30. Since we’re going to be pushing a lot more loads through the front end with stiffer springs, we’re going to install MM’s strut tower brace as well. After popping off the plastic cowl cladding, the install is pretty straightforward with drilling holes to match the brace. The only slightly tricky part is installing the nut plates behind the cowl for the brace to bolt to.
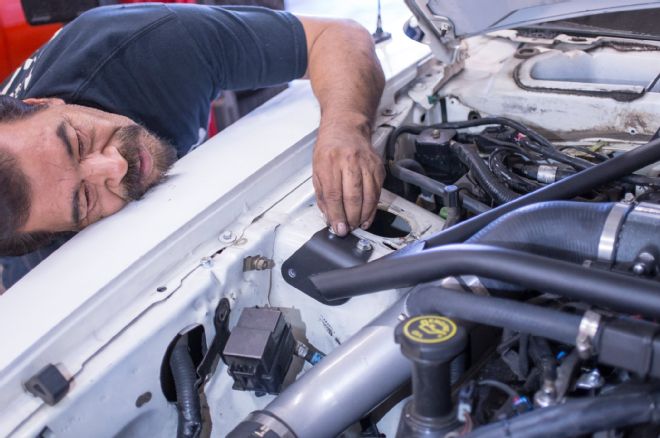
31. Handling the strut tower portion is quite a bit easier with the suspension removed, but it’s not necessary; there is room to access everything.
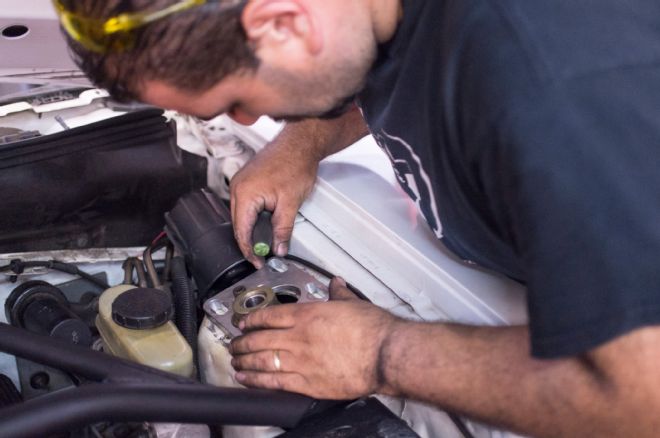
32. No Mustang has enough caster and camber adjustment with the factory plates to account for performance suspension, so MM’s caster/camber plates are a must. MM was the company that actually invented these back in 1993, and they still manufacture some of the highest quality available.
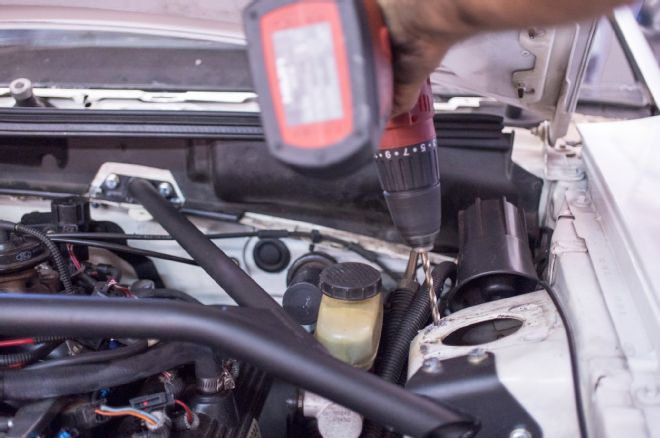
33. After using the plate itself as a template, the holes are drilled out on the tower to mount them.
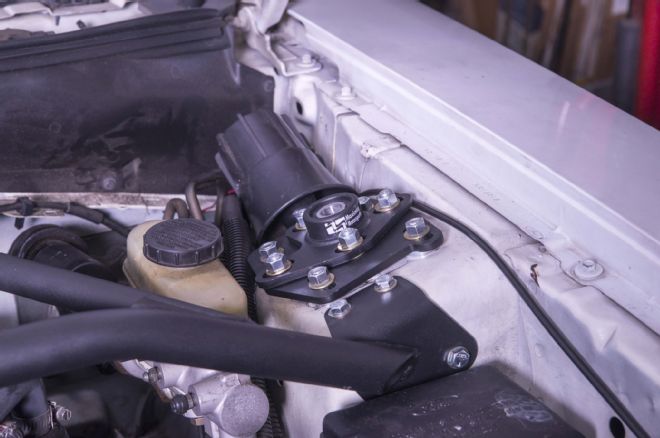
34. MM’s caster/camber plates use high-strength steel rather than aluminum so they can be thinner. This, combined with placing the bushing on top of the main plate, allows for 1/2 inch more bump travel. The four bolts that secure the bearing plate spread the load evenly into the main plate, and the four bolts that secure the main plate to the car’s strut tower eliminate strut tower bending.
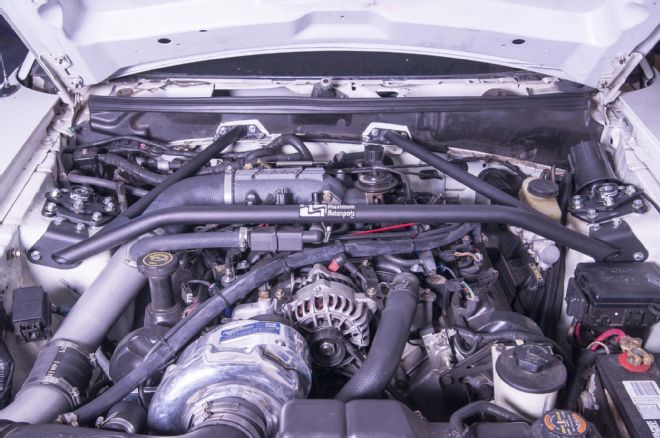
35. Here’s the finished configuration of strut tower brace and caster/camber plates. We love how the satin black finish blends right into the stock engine bay.
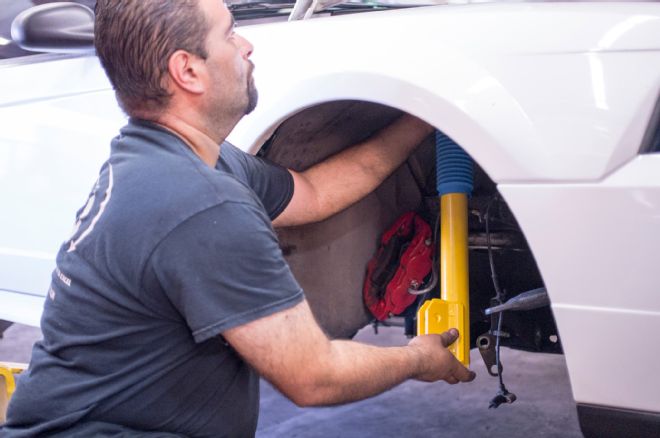
36. MM has had the Sport and Race series struts available for many years, but we got our hands on one of the first sets of these newly refined struts shipped. The Street Series features stronger spindle mounting ears, along with MM specific valving and numerous internal upgrades. Like the rear shocks, these struts are coilover ready.

37. With a polyurethane isolator on the MM spring, NVH will be kept low like factory. After bolting the lower control arms with its new bushing back into place, we’ll install the springs and wrap up the front suspension.
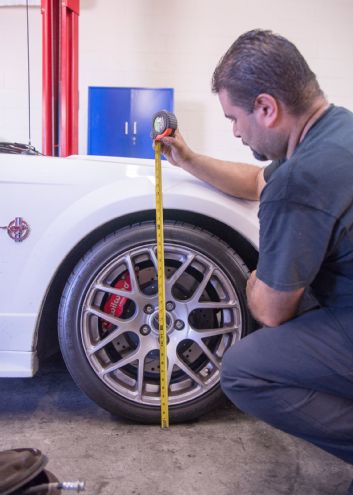
38. With the car back on the ground and rolled to remove suspension bind, we set the proper stance and rake by measuring the front fender lip height. The MM adjustable rear lower control arms make it easy. We’ll also do final adjustments and tighten our Panhard rod, then take the Mustang out for a shakedown run. Watch for testing soon!