While I'm a fan of many styles of modified vehicles, one thing my personal projects will always feature is a strict budget. I, along with most of you I'm sure, simply don't have the disposable income for high-end builds, even allowing for doing the majority of the work myself.
Now, while Tri-Fives may not strike you at first as candidates for a project on a budget, we picked up this two-door wagon, complete with trashed engine and trans, for a reasonable price. Our intention is to install disc brakes and power steering to bring the ol' girl up to modern standards, but in keeping with our budget theme and hence using 15-inch wheels, we'll be using 12-inch discs up front, employing Classic Performance Products' disc brake and dropped spindle kit. In fact, we'll be using much of CPP's product line for Tri-Fives, including rear suspension and disc brakes, power steering conversion, and engine and trans mounts. We'll also be going against our usual practice of doing the install ourselves, as CPP kindly offered to perform this for us, though that in no way means it's beyond a homebuilder's capabilities.
In this first installment of the build, we'll show CPP installing the front disc brakes, 2-inch dropped spindles and 2-inch dropped coil springs, as well as their new OE-style stamped upper and lower control arms. These are available as stock or, as in our case, with a total of 5 degrees of caster built in, perfect for use with modern power steering and tires. We actually used CPP's complete disc brake kit for front and rear, which includes rotors and calipers for the stock rearend in addition to the fronts, new pre-bent hard lines, and an 8-inch booster and master cylinder assembly.
We mentioned we'd be using 15-inch wheels, both to stick to the budget but also to stick to the loose '60s period theme of the build. I won't pigeonhole the build style farther than that, though I certainly won't be referring to it as a street rod as it's six years too new in my opinion. With this in mind, we chose Comet wheels by Wheel Vintiques, coupled with Coker Tire's new American Classic blackwall radial, which looks to all intents and purposes like a bias-ply tire. To suit our theme, we went with 6.70-15s on the front, and 8.20-15s in back, on 15x7 and 15x8 wheels, respectively. These tires have very tall sidewalls, just like a real bias-ply, so much so that even with dropped spindles and springs, our wagon sits at a somewhat stock ride height. Once the engine and trans are in, it should have a nice forward rake, and we're OK with that!
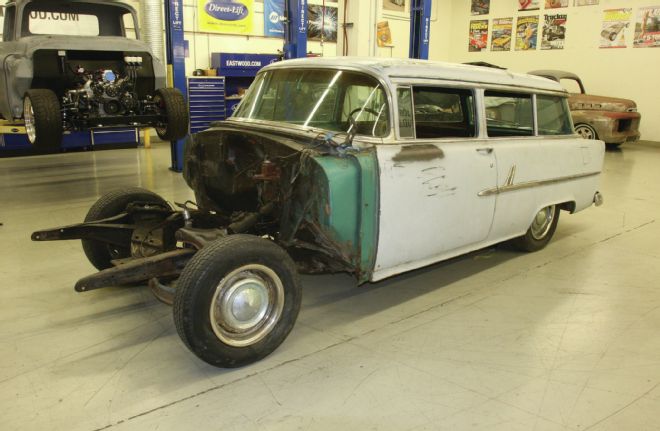
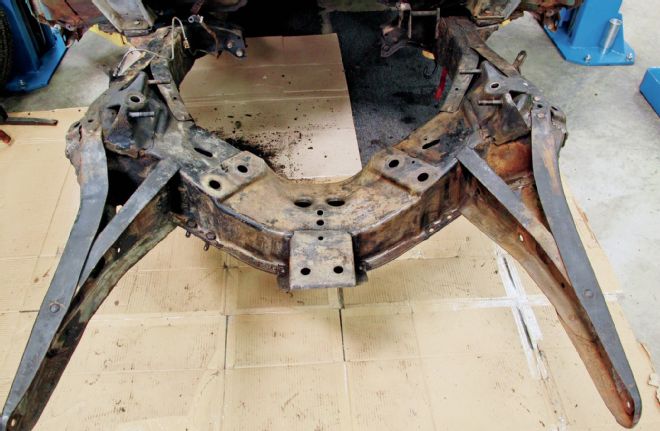
1. Introducing our budget-build 1955 Chevrolet Tri-Five wagon project. Yes, it came with front sheetmetal. We'll be adding new brakes, suspension, and steering, courtesy of Classic Performance Products, adding a mild drivetrain, and replacing the glass and seals. It'll get a fresh interior and paint too, but all within the realm of a homebuilder's skill level.

2. With the front sheetmetal removed, and the old junk engine and trans out of the way, we scraped and cleaned several decades' worth of grease and crud from the chassis prior to pressure-washing everything.
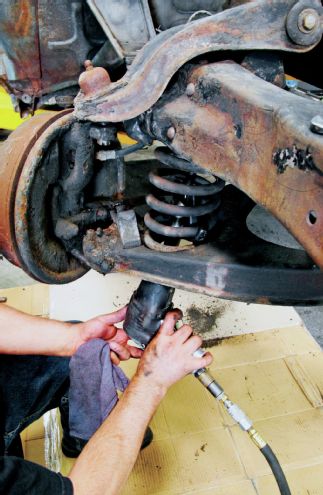
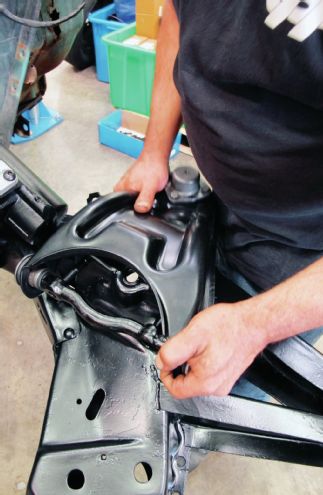
3. With the shocks removed the guys at CPP started by installing coil spring clamps.
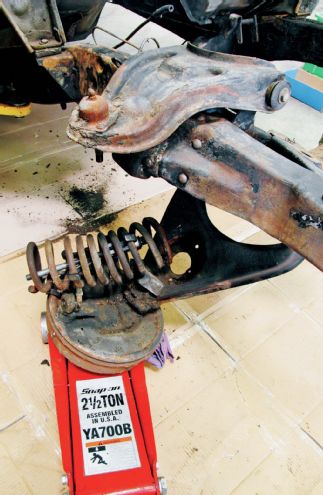
4. With the coils clamped, the upper ball joints were split, allowing the lower arm and brake assemblies to be lowered on a floor jack.
5. With the suspension, brake, and steering components removed, the inaccessible areas were now accessible, and the cleanup could be completed.
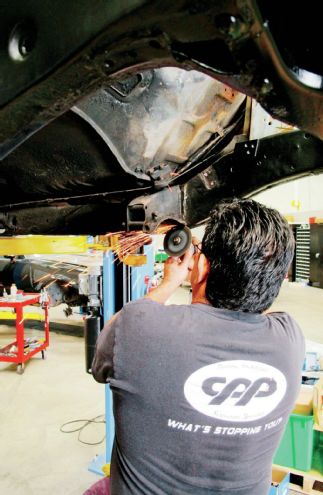
6. The original mid-mounts for the stock transmission were removed using a cut-off wheel.
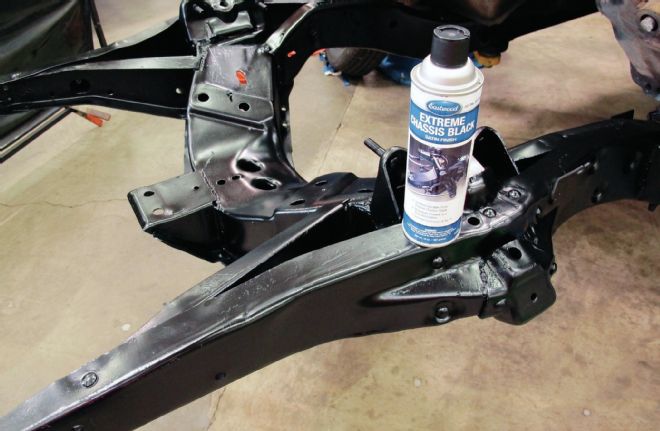
7. Extreme Chassis Black from The Eastwood Company was used to paint as much of the exposed frame as possible, including everything from the firewall forward.
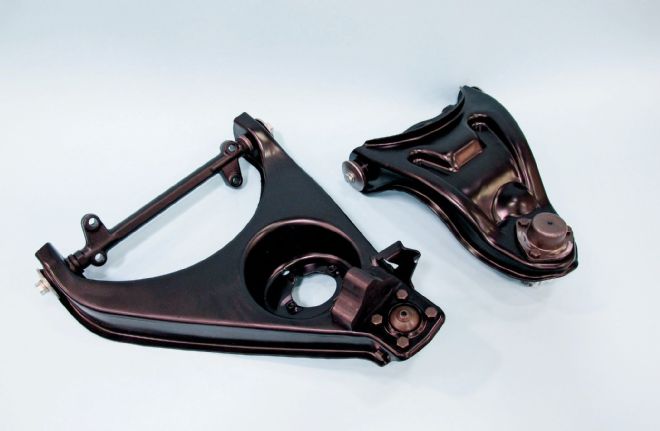
8. CPP's brand-new stamped replacement control arms could easily be mistaken for OE items. They come with ball joints and cross shafts and with your choice of rubber or PolyPlus bushings. The upper arms are also available as direct replacements or with 5 degrees of caster.
9. The upper arms are hung just like the originals. Shims can be added here to adjust the camber and fine-tune alignment.
10. The lower arms are hung on cross shafts just like the originals.
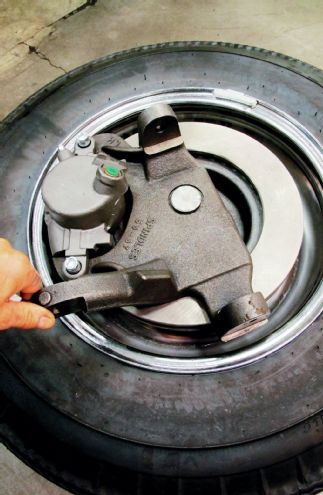
11. With the rotor and caliper assembled on the CPP's 2-inch dropped spindle, the assembly was trial fit in our 15-inch wheels to check for clearance between the caliper and the rim.

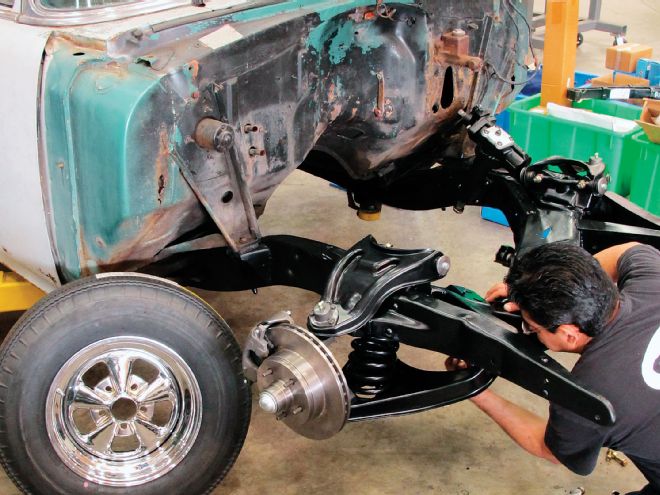
12. With the new 2-inch dropped coil spring in place—and no need for spring clamps now— with a floor jack under the lower arm, the (now painted) spindle was hung on the lower ball joint ...
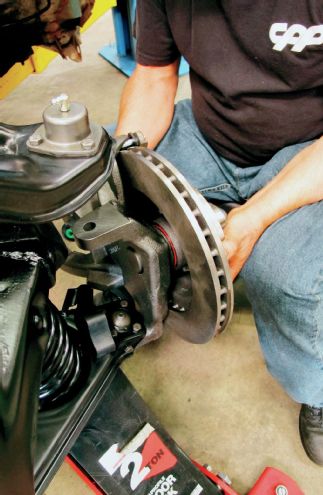
13. ... then with the jack carefully raised, the spindle could be guided onto the upper ball joint.
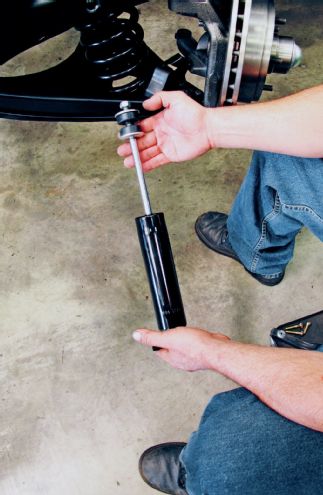
14. New shocks were next to be fitted, inside the coils.
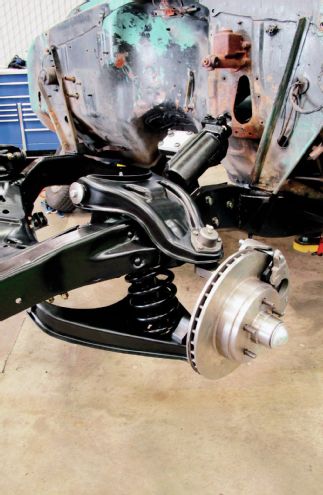
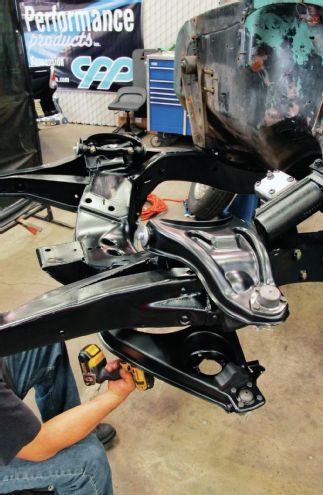
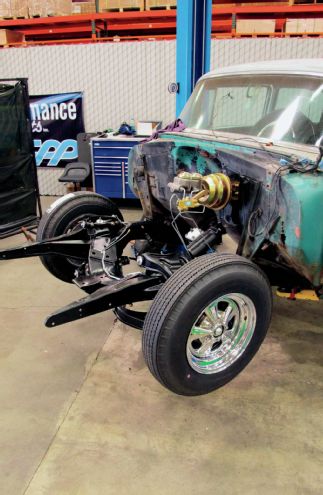
15. Apart from that disc brake, you'd be hard pressed to tell that this isn't stock suspension, when in fact it's 4 inches lower, and comprises all-new parts with 5 degrees of caster over stock for improved handling and steering. The sharp-eyed will note the new steering box is in place, though we'll cover that in a separate installment.
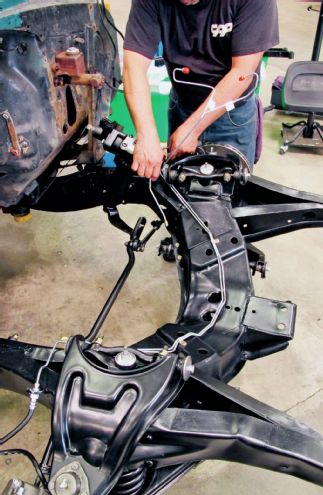
16. The CPP four-wheel disc brake kit comes complete with pre-bent lines, which were installed next.
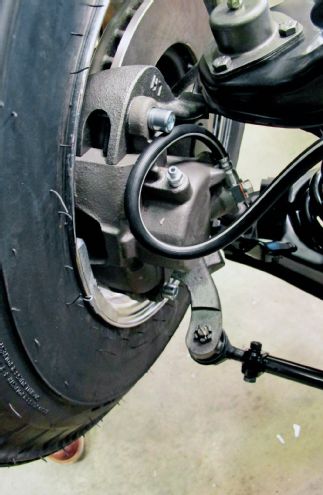
17. New rubber flex hoses continue the "stock" look.
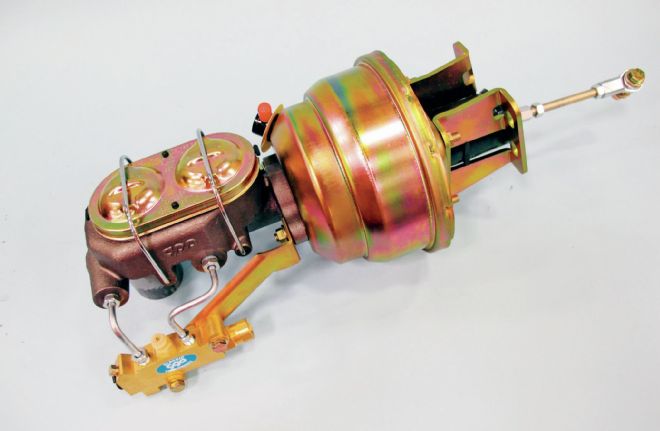
18. Also in the kit is a new double diaphragm booster and master cylinder, an assembly that includes the 3/16-inch mounting bracket, linkage to connect to the pedal, firewall seal, proportioning valve and bracket, and application-specific master cylinder.
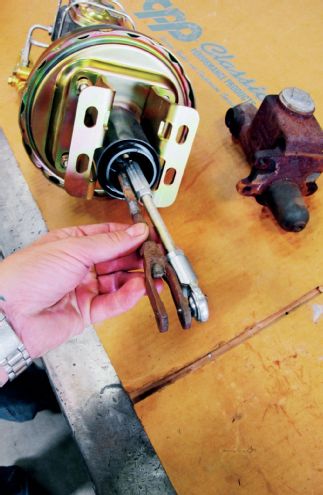
19. The new pedal linkage is adjusted to the same length as that which it replaced, prior to fitment.
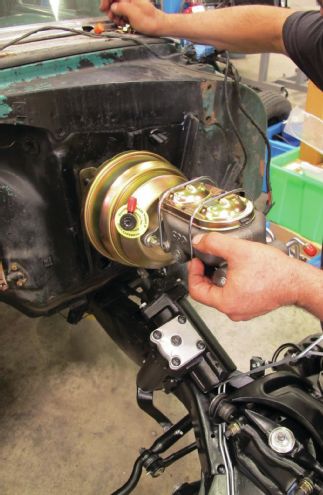
20. The new assembly is a direct replacement for the old master cylinder and features slotted mounting holes.
21. The brake pipes can now be connected to the proportioning valve.
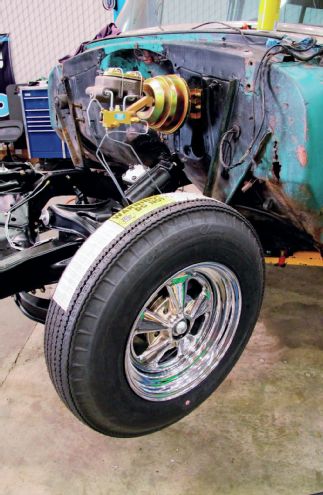
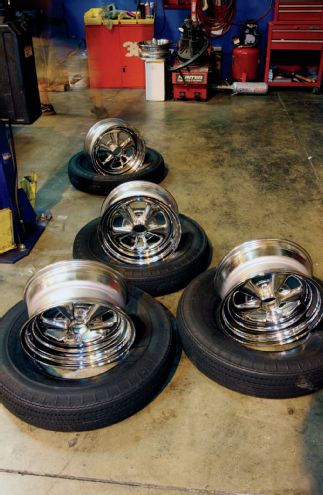
22. We opted for Wheel Vintiques' Comet chrome five-spoke, wrapped in Coker Tire's new American Classic blackwall, 15x7 on the front with 3 inches backspacing and 15x8 with 4 inches backspacing at the rear. Yes, those tires are radials, but really don't look it!
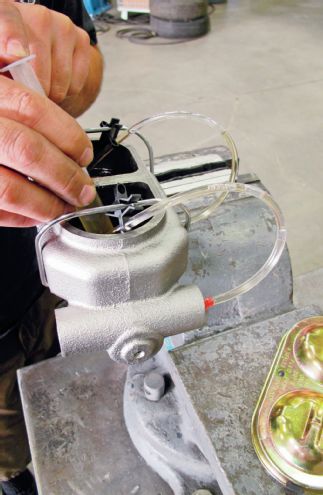
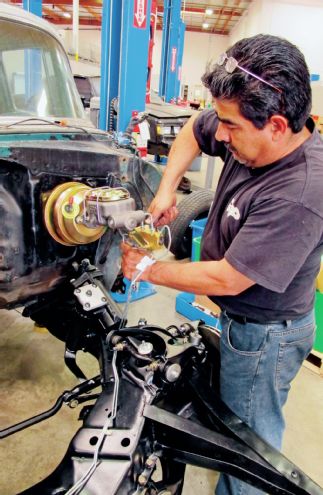
23. With everything installed and plumbed, including the back brakes by this point, the master cylinder was removed and bench-bled.
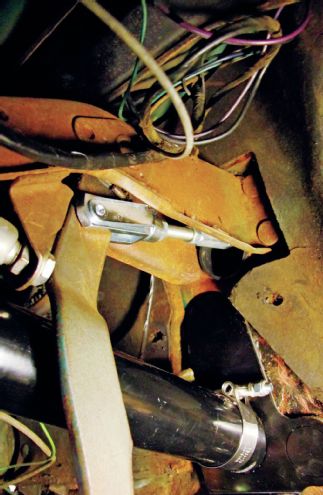
24. Here's a shot up under the dash, showing the pedal linkage and the sprung clip that keeps the pedal pin in position.
25. With the front end done, next month we'll move onto the rear suspension and brakes.
Wheel Take It From Here
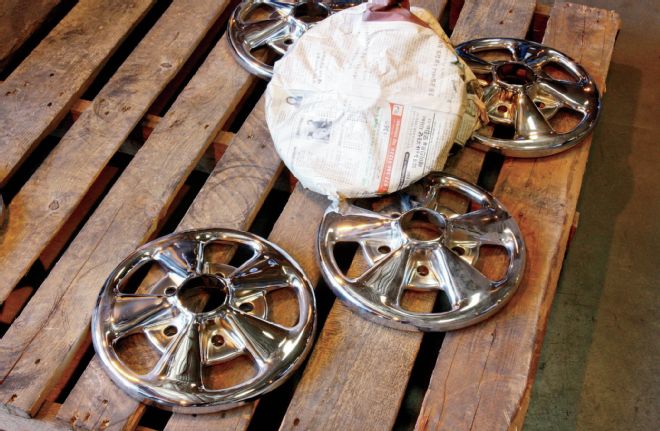
1. Here's how a two-piece wheel starts life: a rim and a center. What may surprise you is the two parts are already chromed prior to welding. This ensures the chrome finish extends into the joint between the two parts.
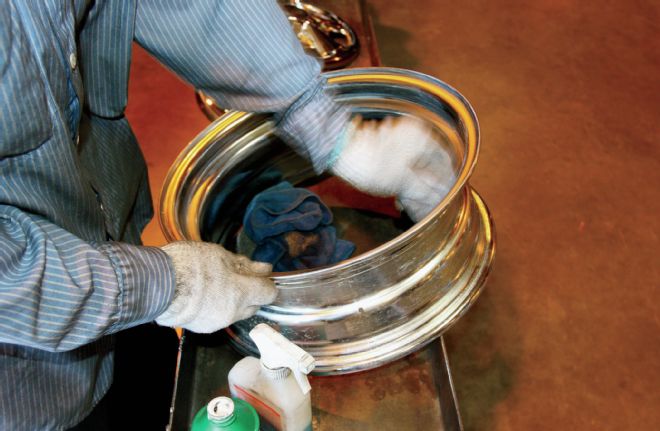
2. The chromed rim is cleaned and prepped for the center to be pressed into place.
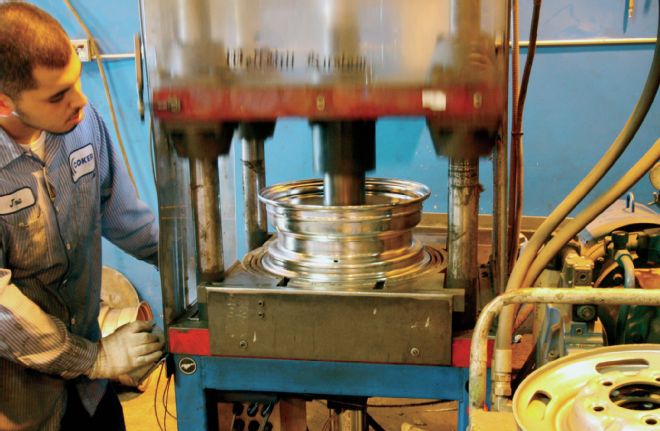
3. This machine presses the centers into the rims, and ensures the backspacing is identical on every one.
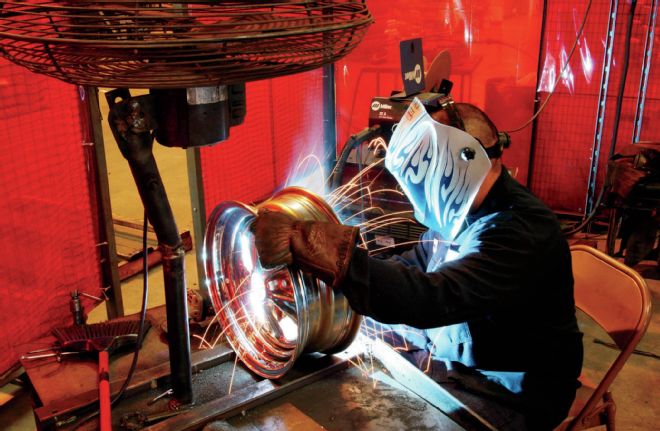
4. Next, the wheel moves to the welding station, where the marriage of parts is made permanent.
5. With our Wheel Vintiques wheels moved to Coker Tire's facility, our rims ‘n' rubber await assembly.
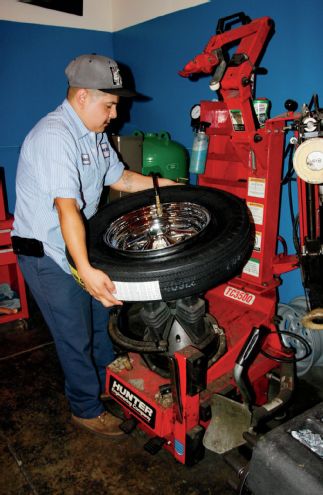
6. We've all seen a tire-mounting machine, but what makes the installation at Coker's facility different is that green tank in the background. Each tire is inflated with nitrogen for improved pressure retention.