
Way back in the old days, around the mid 1980s, there were two fairly new independent front suspensions that were the talk of the hot rodding world. The Mustang II-style IFS conversion was new to our street rodding world and the earliest swaps in the 1930s cars were using the stock Mustang II crossmember. My 1937 Ford pickup had one in 1985. Quickly the industry progressed and a few companies began manufacturing some real nice front suspension systems based on the Mustang II geometry. Total Cost Involved, Kugel, and Heidts were all there in the beginning.
For our F-100s, the Volare or Cordoba torsion bar front suspensions were being installed as fast as they could drop them out of the donor cars. There are a couple of reasons these suspensions got popular. Both are "unitized." All the parts attach to a crossmember that can be dropped out of the donor car and installed into a project vehicle. The front wheel center to center is 60 inches (track width), just a little bit narrower than the stock 61 inches. The frontends were cheap, normal prices for those years were in the $150 range for the complete unit. The Volare is just one of Chrysler/Plymouth's available donors. The Aspens, Diplomats, Lebarons, Town and Countrys, New Yorkers, and the Fifth Avenues all shared the basic same front suspension. Then there are the Cordobas and its clones.
The Cordoba isn't a weld-in like the Volare, they use a lateral torsion bar setup and have to use a crossmember kit that used to be made by Gibbons. Then all of the stock torsion bars and suspension from the Cordoba bolted to the crossmembers. One drawback of this setup is that there is a rear crossmember that catches the rear of the torsion bars and its placement causes problems with power booster/master cylinder setups. There isn't enough room left. Many solve this by mounting them up on the firewall.
Being able to adjust the torsion bars and "set" your ride height was the big asset to these suspensions. Simply notch the frame, weld in the Chrysler K-member and suspension and you're driving down the road at whatever height you want. This is true to some extent, but when you have them low and sitting just right, the torsion bar adjustment is screwed out too far to have enough tension left in the bar to give you a really decent ride. That's where these drop spindles from Fatman really help out. With the addition of the 2 inches from the drop spindles, you can now screw some tension (torsion) back into the bar and enjoy a better ride and comfort.
Fatman Fabrications in North Carolina has got you covered when it comes to drop spindles. Not only do they offer a set for the Volare, but a quick scan of their website shows spindles for a lot of popular full-size older cars like the Granada and Maverick, the 1980s Chevy G body, late 1950s Ford cars, and late 1950s Cadillacs as well. If you are looking for spindles for your older car, they just might have what you need or ones that could work.
Fatman also handles front and rear suspension systems. They offer Mustang II-style suspensions for 1930s GM, Buick, Mopar, and even Cadillacs. Need a Mustang II for a less popular make? They probably have one for you. So follow along and see just how easy it is to install these spindles and really do your Volare suspension a big favor.
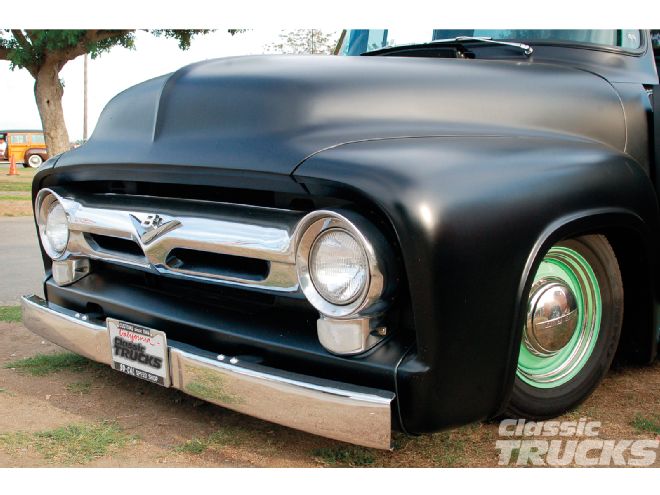 1. Getting your truck low and still having some suspension left is a really good thing, especially with a Volare front suspension. For a real low ride you have to unscrew the torsion bars pretty far, resulting in a mushy, unsure ride. Thanks to Fatman Fabrications, and their 2-inch drop spindles for the Volares, with these installed you can screw some torsion back into the bars, but still have the truck sit low where you want it, also improving the ride characteristics.
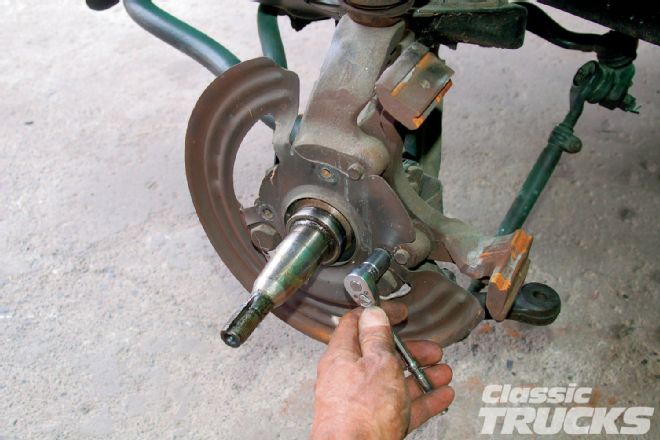
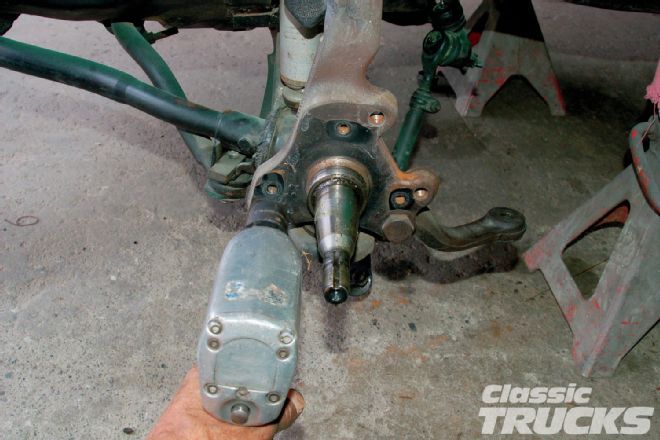
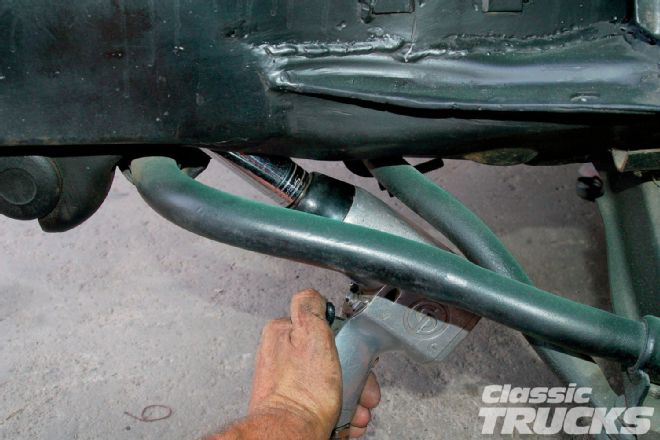 2. To start with I unscrewed the torsion bar adjuster studs to take the springy tension out of the bars so I can remove the spindle without snapping the lower A-arm on the ground. An impact and a 15⁄16-inch socket will unscrew the studs best. I go all the way to the end of the threads.
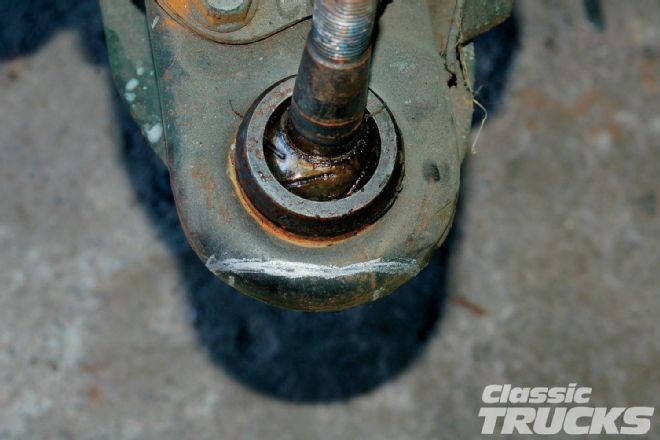
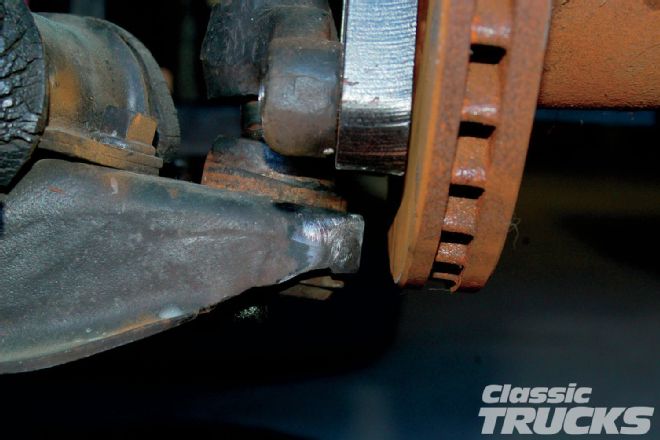
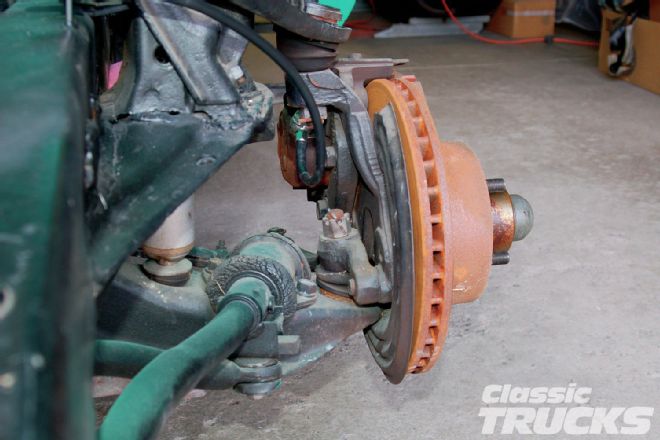 3. Here's the stock setup. Since the spindle is coming off, the usual things will need to be removed: the brake caliper, ball joint nuts, brake caliper mount bolts, and the lower steering arm bolts. The bearing nut and rotor is removed and set aside.
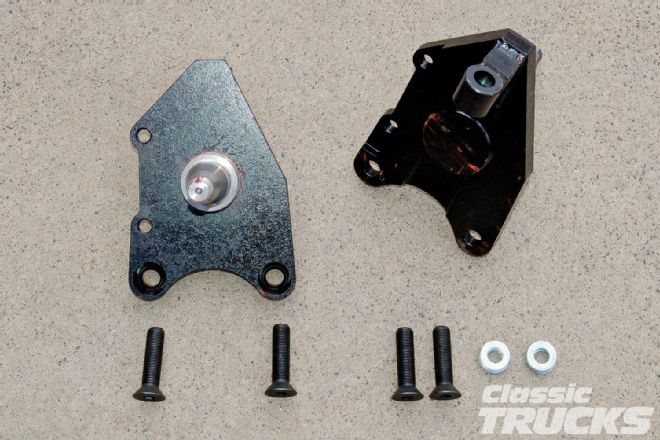 4. The kit contains a left and right spindle, four 1⁄2x20 countersunk bolts for the stock lower steering arms and some 1⁄2-inch flat washers for spacing out the brake caliper mount. I cut the countersunk bolts down to fit; they were about a 1⁄2 inch too long and stick out past the lower arm they are threaded through.
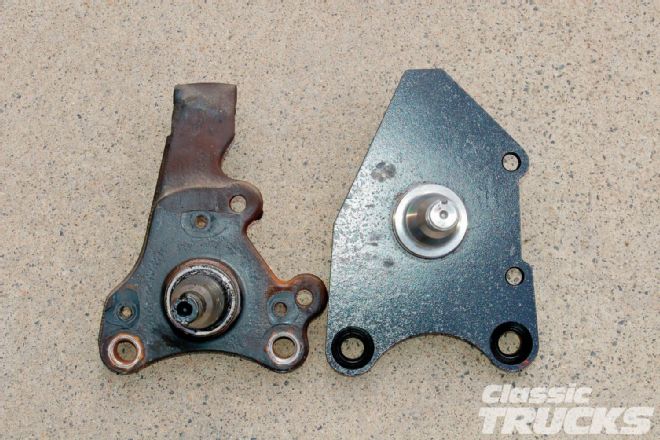
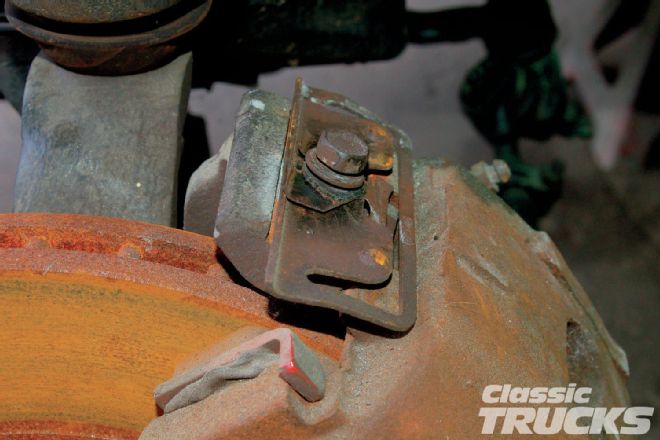 5. I found that the brake caliper mount was installed upside down. Would it matter? I'm not sure, but I will be reinstalling it properly. The first photo shows how the pieces should go with the 5⁄16-inch bolt holding the two brackets down, which in turn supports the caliper. The second photo shows the parts upside down, improperly mounted. If you didn't know, I guess you could figure they could go either way. Some people wouldn't give it a thought.
 6. Although not really necessary, I removed the dust shield before removing the spindle.
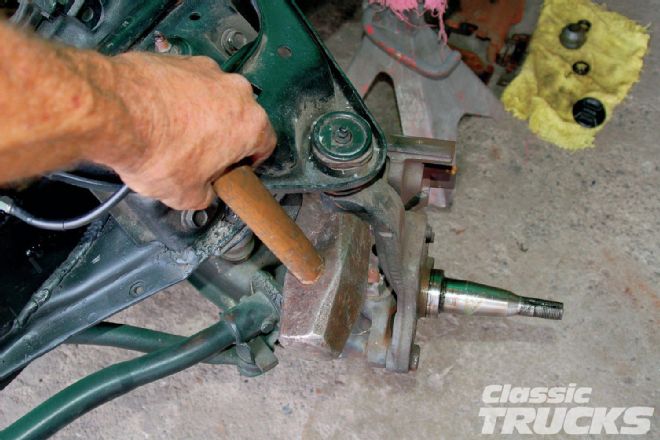 7. With all the cotter pins removed, I loosened the ball joint nuts and smacked the areas where they are. This will " shock " the ball joints loose. If you use a pickle fork, or ball joint separator, you will usually destroy the rubber grease boot. If you just smack the side of the spindle where the ball joint stud is, the shock will release the stud so you can remove the spindle and not hurt the grease boot.
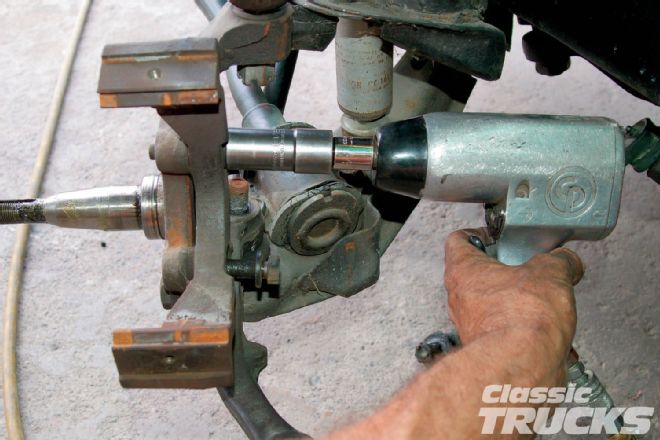 8. I used a 3⁄4-inch socket on the impact for the brake caliper brackets...
 9. ...and a 15⁄16-inch socket for the lower steering arm bolts. Both the caliper bracket and lower steering arm will be reused on the new drop spindle.
 10. Here is the comparison of the stock spindle to the 2-inch drop spindle. For the Volares this is an awesome way to regain some ride that you never knew you had. This additional drop of 2 inches will be cranked into the torsion bar to make the truck sit back where you want or had it, but now you have a good amount of additional torsion in the bars. This will result in a whole lot better ride.
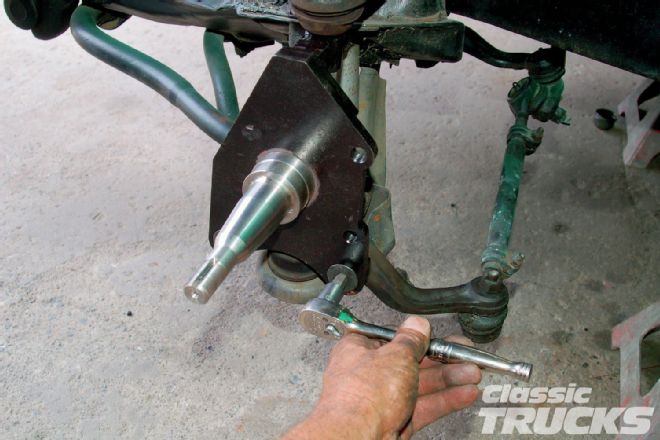 11. The spindle bolts right on with the provided countersunk bolts installed into the stock lower steering arm. I shortened the bolts to fit and used blue Loctite.
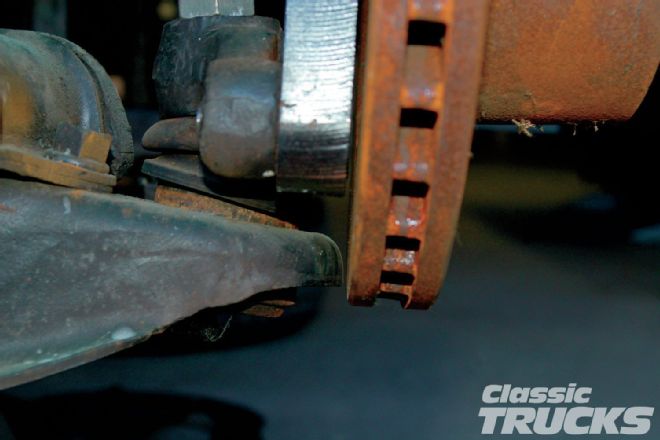 12. With the spindle bolted in place, I slid the rotor on to check its fit. I knew there was a clearance problem at the rotor and lower A-arm; I just didn't remember how bad. Mocking the rotor in place showed that it wasn't that bad.
 13. I made a few marks and removed the rotor and spindle. The white pencil line shows where I'm going to cut it.
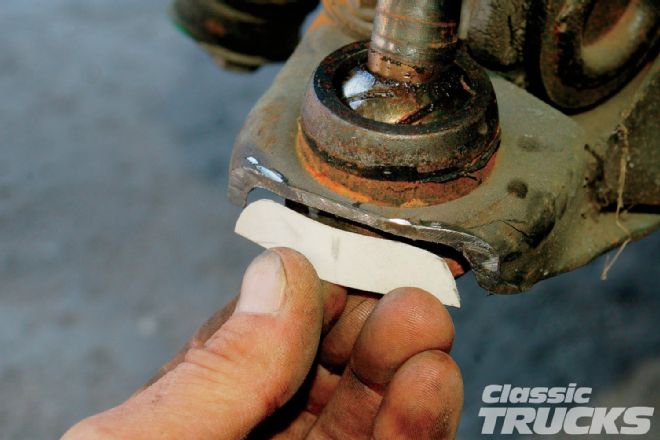 14. After I trimmed off the ends of the A-arms, I cut out a cardstock template for a fill piece. You probably could have left this as is, trimmed and been OK, but to me it just didn't look finished or even professional.
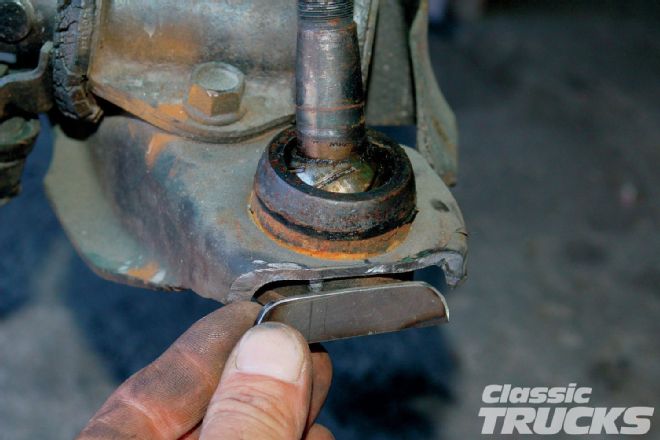 15. It didn't take but a few minutes to come up with the fill piece made from 1⁄8-inch plate.
 16. After a touch of grinding and a dress up with a small sanding disk, they were ready for a touch of paint. I gave them both a quick shot of satin black before final assembly.
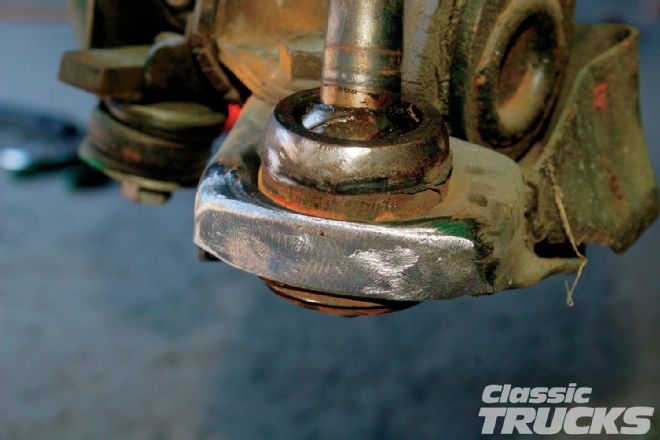
 17. Here we see the difference with the shortened end. Before, the lower A-arm could have hit the face of the rotor as the wheel traveled up and down. With the ends shortened and filled back in, this won't happen. I have plenty of clearance now.
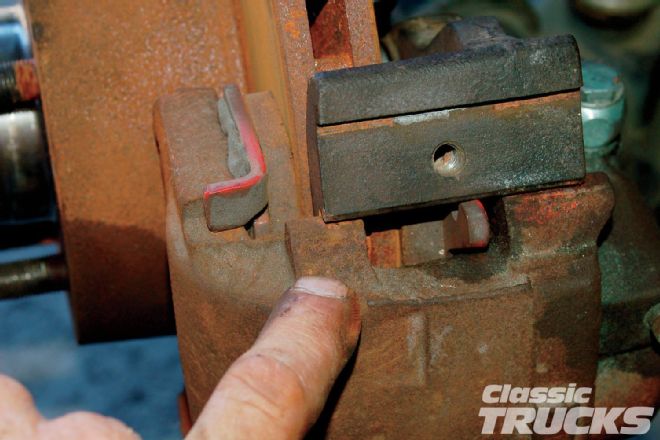 18. The brake caliper bracket needs to be spaced out so it clears the rotor as well. I found that one washer behind each bolt was enough. If you use too many, you will lose the mounting integrity of the bracket and caliper where the caliper is no longer being supported by the bracket (where my finger is pointing).
 19. What you're really shooting for is a caliper that is centered on the rotor when mounted on the bracket. Spacing the bracket brings this around.
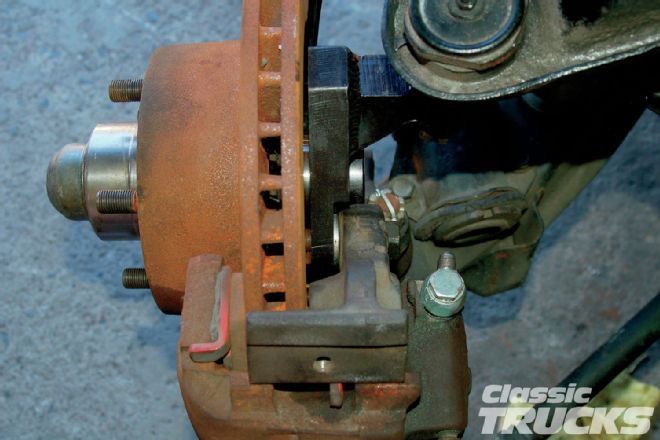
 20. Here we have the finished install. All nuts are tight and the cotter pins are installed. I didn't have any problem here with my brake flex lines because I have the needed adjustment at the banjo fitting on the caliper, but if you are running the stock Volare brake hose, you will need to gently persuade the metal tube part where it comes off the caliper to move to the inside a bit. If not, the hose will rub on the upper ball joint nut and cotter pin.