We spend a great deal of time focusing on the multitude of ways to improve the suspension and chassis on vintage cars since it's by far the best way to increase the overall performance and driving enjoyment, but there's a symbiotic system that also needs attention on any car to truly get modern handling characteristics: the steering.
Almost all cars prior to the mid 1970s used a recirculating ball-type gearbox. While there's absolutely nothing wrong with that method (it's still used on trucks and SUVs today because of its inherent strength), the problem is that they are often equipped with slow ratios. Couple that with the larger diameter steering wheels typical of the day and you get steering response that's relatively lethargic. That may be acceptable on mediocre stock suspension with skinny stock 14- or 15-inch tires since it helped keep drivers within the car's limitations, but it quickly becomes a major blockade to spirited driving once you've begun updating your car.
In some cases that problem is only amplified by stock power steering systems that are overboosted or just offer vague feedback for the driver. We can attest that 1960s Fords fall into that category; plenty of assist for slow motion moving, but too much for high-speed maneuvering and less than ideal feedback. That's partially because of the hydraulic ram-style system used that essentially links to the manual linkage and provides push and pull. It's a strong type of system; 4x4 guys with huge off-road tires convert to something similar all the time for its mechanical advantage. But those guys don't need the sensitivity and feel that we prefer for performance driving. It's one of the reasons you'll see most FoMoCo muscle on the track reverting to manual steering.
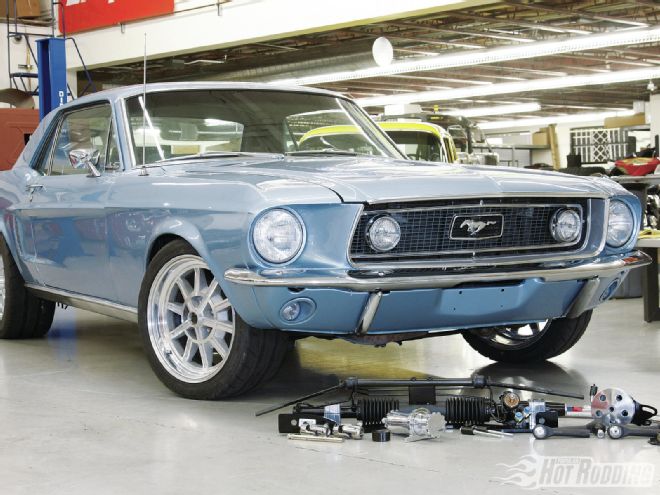
We'd been pondering the situation for our 1968 Mustang ever since we were underneath it installing the Hooker Headers for the "10 Bolt-Ons to Glory" story in the June 2013 issue. Drips and crusted grime told us the original hydraulic ram system wasn't in great shape, and then the growling power steering pump burned up during the dyno test. On top of that, we knew the linkage itself was getting a little sloppy. So we were faced with the same situation every vintage Mustang lover finds himself in: stick with stock, or go for the gold and do a modern performance steering upgrade.
Luckily, the aftermarket has been kind to Mustangs and there are a plethora of options. Like our suspensions, we're pretty particular about our steering upgrades, so we did our homework and decided that a full power rack-and-pinion conversion from Unisteer was an ideal solution. The kit provides a modern, more efficient pump, a rack with a stronger-than-stock integrated frame crossmember, new tie rods, and an upgraded steering shaft to replace the aged stock stuff. All that, plus the precision of a rack. While it sounds like a big job, the Unisteer swap is surprisingly simple and something most hot rodders can handle easily in their garage.
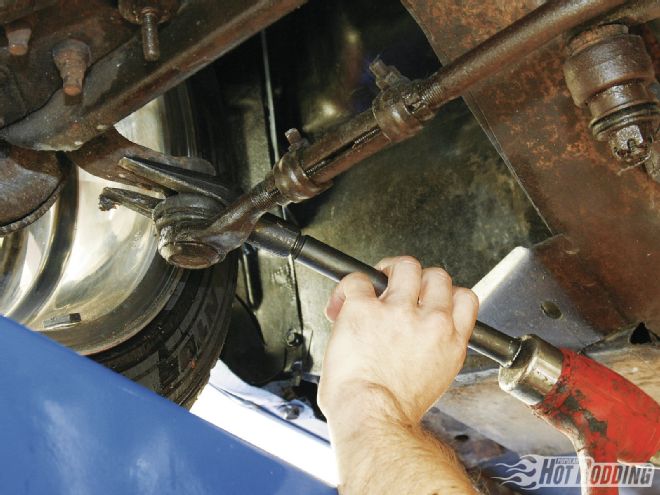 Before we install, we have to remove, so we pulled out the pickle fork and hammer to separate the tie-rod ends from the spindle.
 With those loose, we unbolted the ram drop bracket, as well as the idler arm from the passenger side. Leave one loose bolt in per side for now to hold the system up.
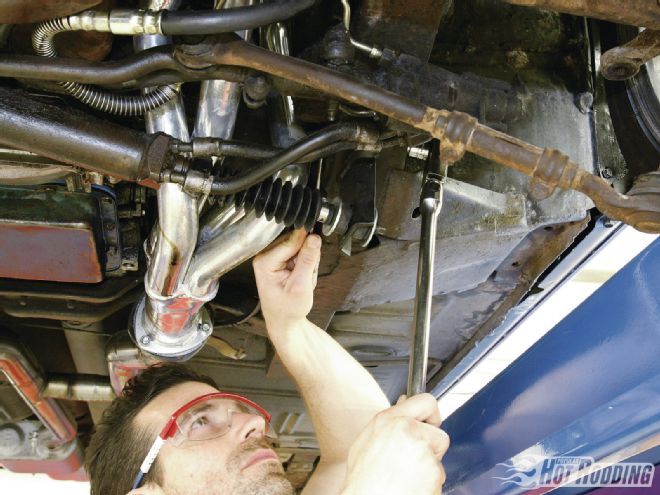
 Assuming your system still has fluid in it, now is the time to drain it before it creates a massive mess. Removing the fluid lines from the ram will allow the pump reservoir to drain fully. Once the fluid stops flowing, the pitman arm should be separated from the ram. The pickle fork will handle this as well. The whole assembly can be removed afterward.
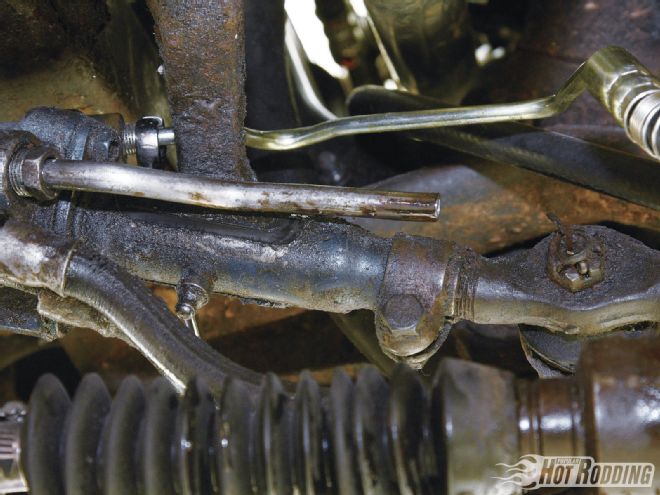
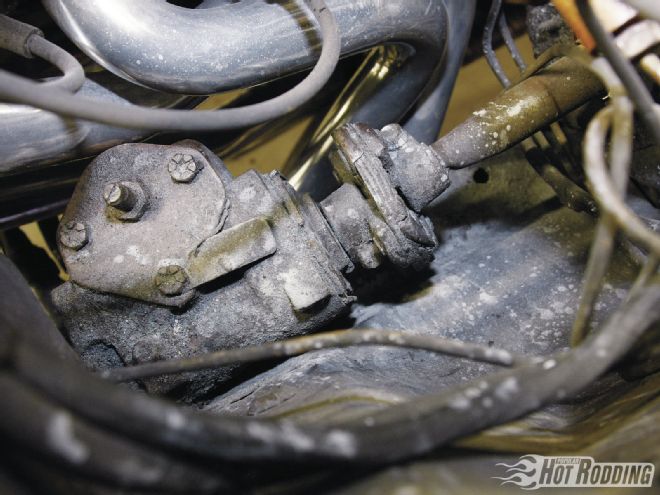 In pretty much all cases, the steering gearbox will need to be pulled from the topside. Four bolts hold it to the framerail, but the connection to the column will vary slightly depending upon what year Mustang you are working on. On our ’68, the rag joint can be unbolted from the steering shaft and the box, so everything will come out separately.
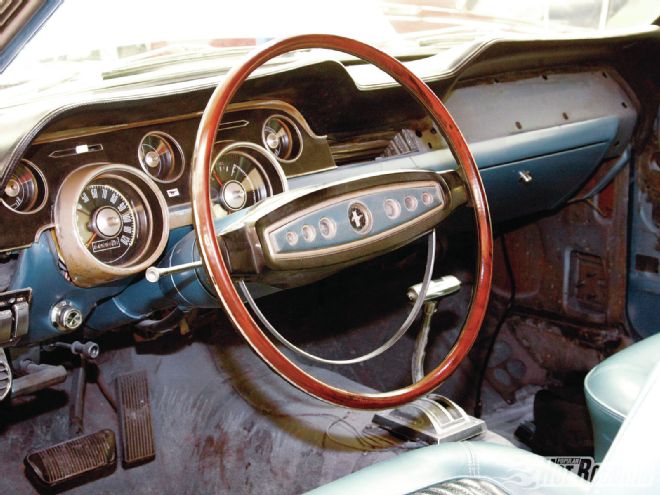
 To gain a little room, it’s a good idea to go ahead and pull the steering column; we need to do it anyway for the conversion. Remove the steering column firewall mount and the dash mount, and pull the wheel and column together. Don’t separate them!
 Most Mustangs will have a solid steering shaft that needs to have the rag joint cut off. Ours is a collapsible column, so it’s a bit different. On these, the steering shaft is not solid mounted and can be removed by pulling firmly.
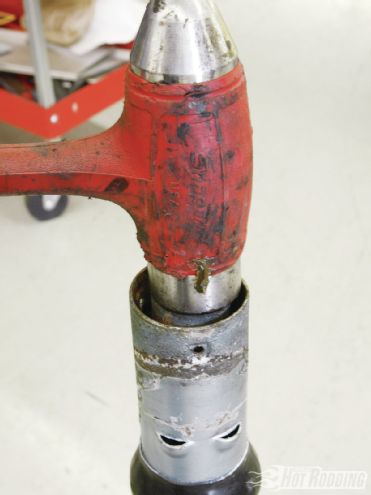 To make room for the lower bearing in the Unisteer conversion, a few solid taps from a wide hammer should push the inner tube back roughly 1 inch.
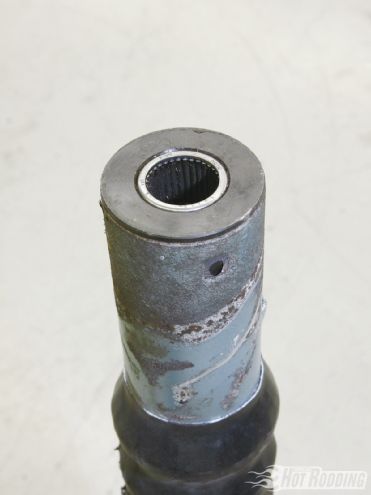 The bearing can then be tapped into place. This bearing provides support for the steering shaft since it will now connect directly to the rack via universal joints rather than to a solidly mounted box.
 On non-collapsible cars, the steering shaft should be extended roughly 1.75 inches from the face of the bearing. For collapsible columns, just cut off the tapered section and flange at the very end and slide it back into the column. Some sanding may be necessary to create a smooth surface for the bearing to roll on.
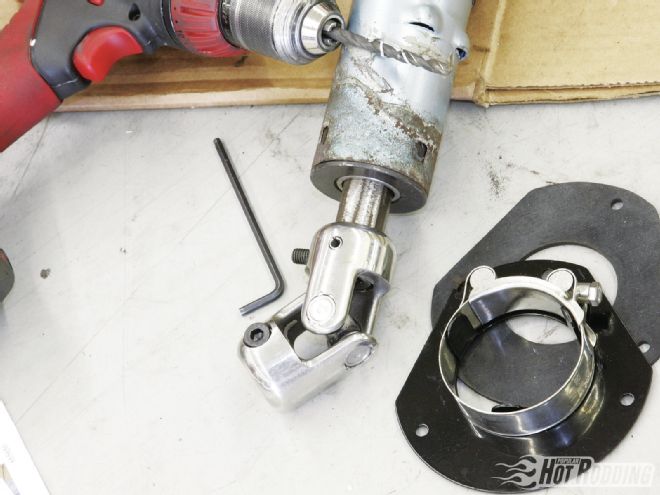 Now we’re ready to install the first universal joint. Unisteer provides the correct size drill bit to create a dimple in the steering shaft for the set screw to press into, as well as for drilling a hole for the supplied roll pin to be tapped into. Unisteer also provides this new mount and gasket that can be used when reinstalling the column into the car.
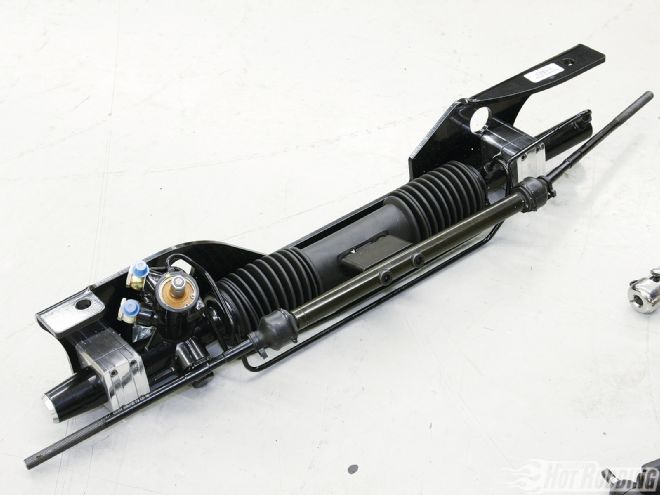 Here’s a close-up look at the Unisteer rack unit. The center-mounted steering arms keep bumpsteer at bay, and will provide for a near stock turning radius. Also note the extremely beefy mounting bracket—that is critical to resist the side loads that will be created by the rack, and because it replaces a piece of the Mustang’s front structure.
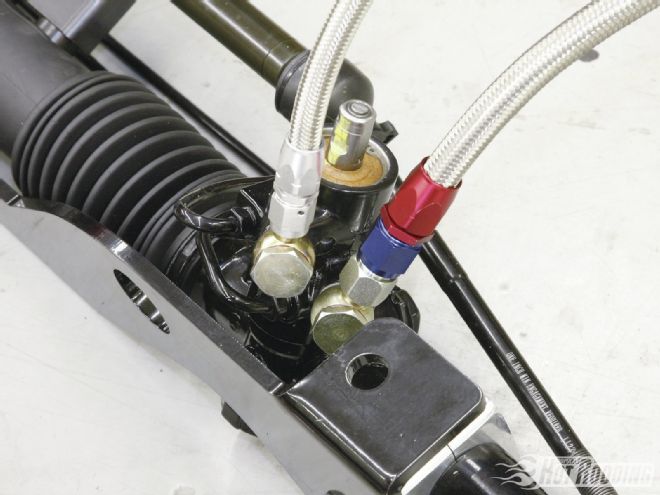 It’s a good idea to go ahead and plumb the AN pressure and return lines to the rack before installing since clearance gets a little tight. The top port is the return line, and the bottom is pressure.
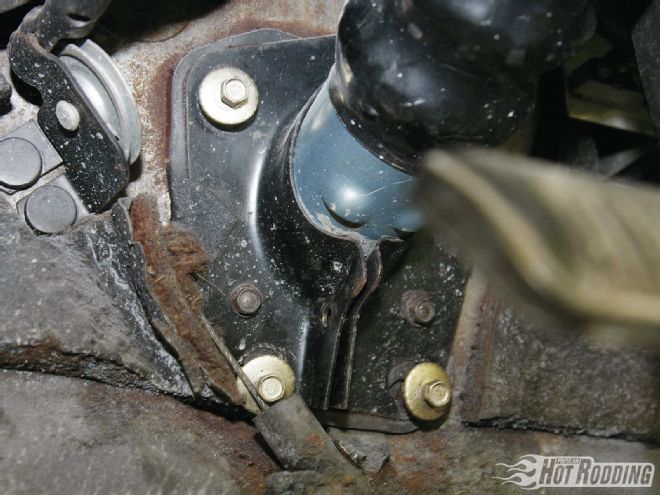
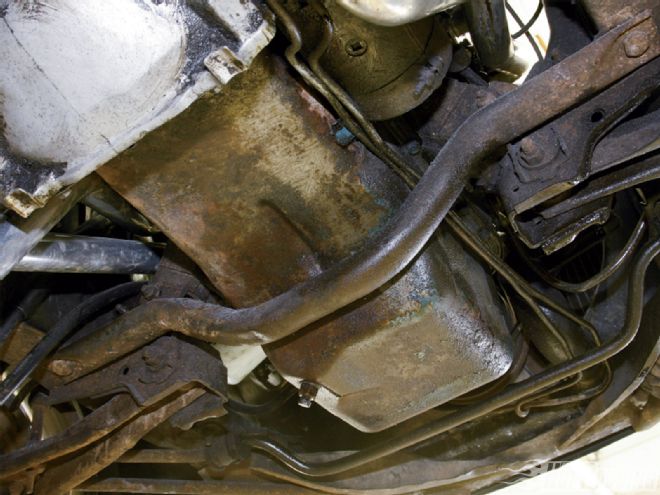 This is that piece of structure we are replacing; the tube under the oil pan is connected to the framerail just behind the lower control arm mount by a large single bolt.
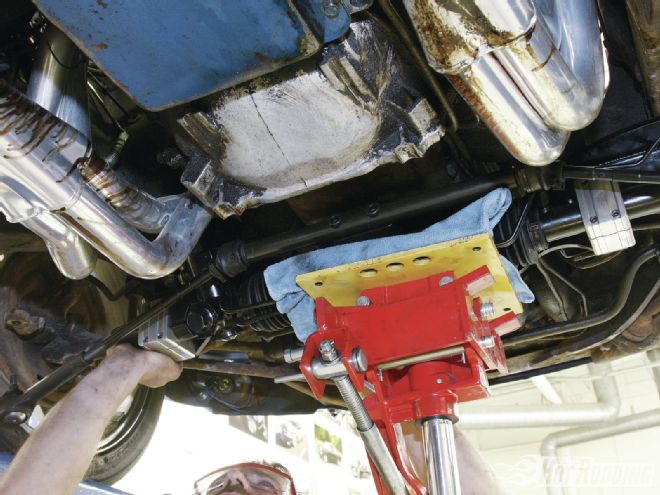 With the tube removed, it’s time to trial fit the rack assembly. It’s not overly heavy, but is too awkward for one person to install. You’ll need a buddy or a jack of some kind if you’re on your own.
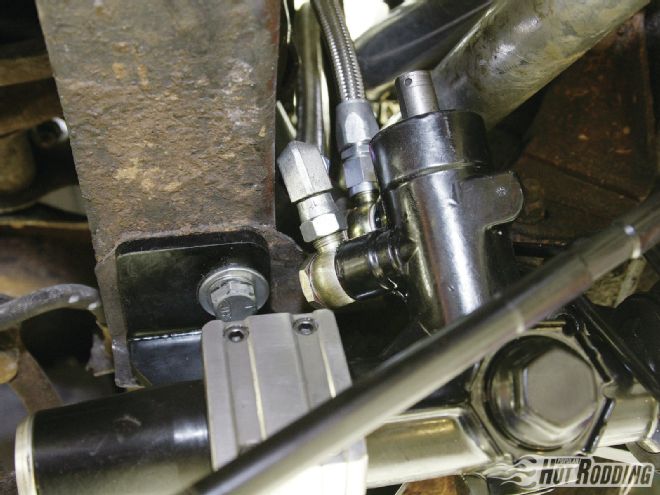 See what we mean by tight? We switched the pressure line to the provided 90-degree fitting and trimmed a little on the gusset just behind the fittings.
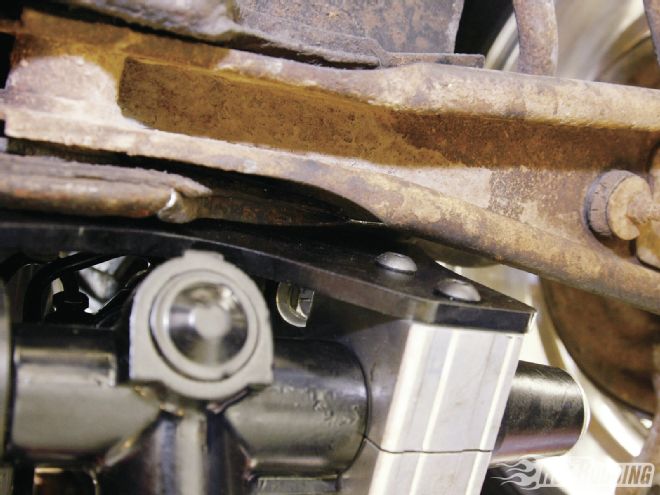 Speaking of trimming; to be able to bolt the rack assembly into place, it’s likely you will need to trim or bend the outer edge of the lower control arm mount. This is double-walled and strong, so don’t worry, but still only trim what is necessary.
 Assuming you haven’t moved the car’s wheels during the swap, the tie rods should thread on and be in almost exactly the same spec as before. You should still get an alignment, but at least the tires won’t fight you on the way there. Unisteer provides two different sets of tie-rod ends since there are two common sizes for 1967-69 Mustangs.
 Before we can link the rack and the column together, set the steering wheel straight. We can fine-tune during the alignment, but setting this now will get us close.
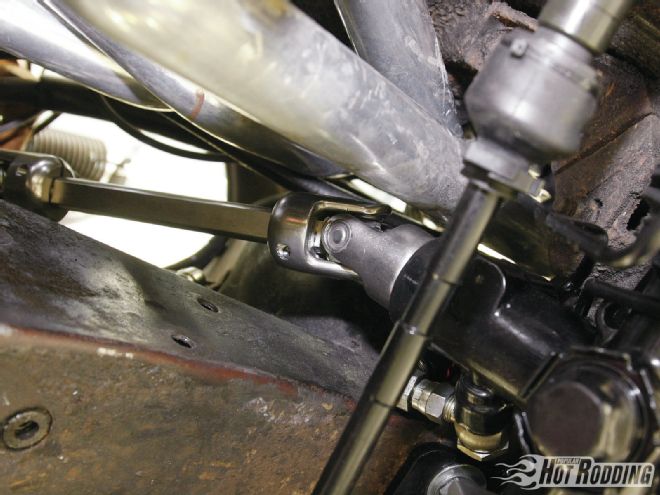 The Unisteer steering shaft installed easiest from the bottom for us. On non-collapsible columns, it may be necessary to keep the column mounts loose to finagle the shaft and universal joints into place. For collapsible cars, the shaft itself can be slid to accommodate. Ours required more length than the original 1.75-inch recommendation to connect with the Unisteer shaft. Also, note the tons of clearance provided by the Hooker headers; these are the recommended headers for the Unisteer conversion.
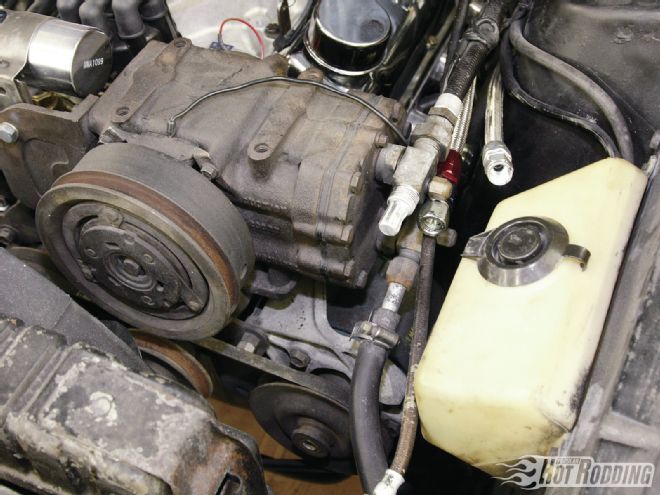 We’re getting close now! The kit comes with a new, modern-style pump, so the original and its bracket are removed. This can be done without pulling the A/C compressor (if you have one) by dropping the pump out through the bottom. The accompanying A/C idler pulley (only on A/C-equipped cars) is removed as well.
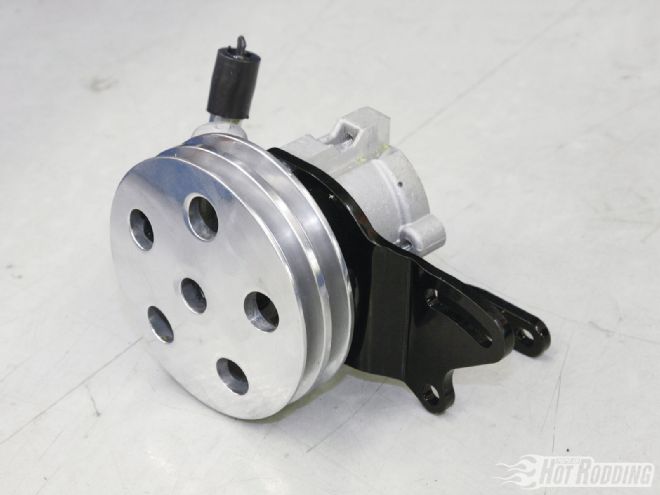 The new pump from Unisteer is about half the size and twice as efficient. We’ll have better boost and feel with less drag on the engine. It arrives with the brackets already in place.
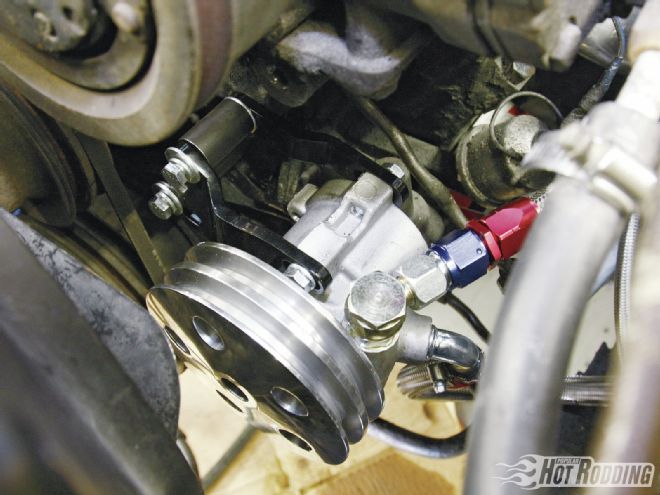 Using the provided long bolts and spacers, the pump bolts into place. Check for proper alignment with the other pulleys to ensure the belts can turn freely. It may be necessary to shim or trim slightly for a perfect fit. The AN hoses can be plumbed after you’re satisfied with the mounting position since we now have plenty of room.
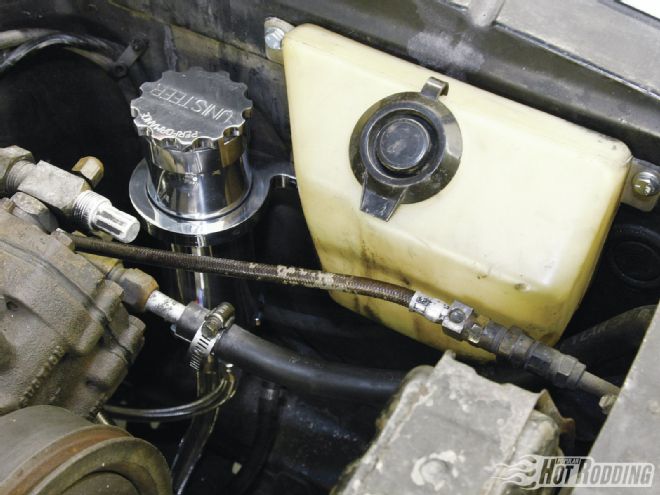 There is room for a pump-mounted reservoir, but our kit came with this super nice remote billet reservoir. We shifted the windshield washer reservoir forward a couple inches to create clearance, then mounted the reservoir and plumbed it. That’s it! Now you need to add fluid and install the belt. Watch for a video on our YouTube channel (YouTube.com/PopularHotRodding) to see how much tighter the steering is now!