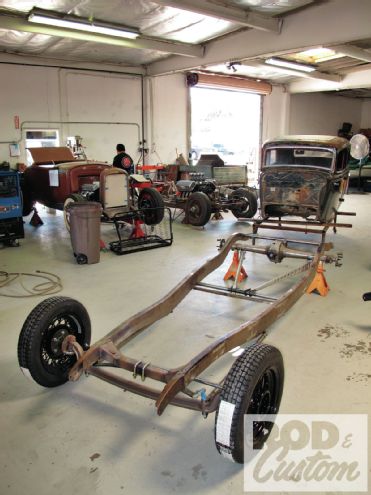
Last month we left off with putting the final touches on the frame of my ’33 at Circle City Hot Rods in Orange, California. To date, that portion has consumed the most time, with extensive labor having been dedicated to boxing (and finishing) nearly both full lengths of each ’rail, not to mention the first rounds of squaring everything up (further leveling/squaring continues with the suspension setup, which we’ll now address).
With the perimeter frame together, Jimmy White and I embarked upon installing and initially setting up the suspension. Now, if you know me at all, you know I’m a solid axle kind of guy, especially on open-wheeled cars as such. (That said, I just got done driving the STREET RODDER 2008 Road Tour ’33 roadster roughly 40 miles—and it was anything but rough, as it’s equipped with an independent frontend. Even with Coker’s ribbed Firestone bias-plies, I will admit, the ride was quite pleasing, very smooth, and basically nothing like the hot rod experience I’m used to. However, I won’t be making future plans of swapping the I-beam on my ’33 for an IFS anytime soon!) Solid axles—I-beams, specifically—go hand in hand with hairpins and split wishbones, and seeing as I’ve never fooled around with the latter, ’bones it be for me this go around.
Initially, Alan Johnson was more than gracious in allowing me to experiment with his Hot Rod Hole Shot aluminum radius rods/ladder bars from his shop’s new(er) line of Perfection Hot Rod Parts. Both styled after traditional Ford split wishbones, the rear ladder bars are fairly universal fitment-wise; the radius rods, however, were designed on a Deuce frame platform, which eventually posed a slight issue with the framerail mounting. Due to the ’33-34 ’rail kicking up further back, closer to the firewall than a ’32, in order to attain the desired amount of caster, we’d have had to mount the tie-rod ends hanging far below the bottom of the framerail. Another option would’ve been cutting the fixed-end tie rod off and drilling/tapping the radius rod for an adjustable end, but that’s not how Johnson designed them, and I’m not in favor of redesigning his parts! So, that said, we resorted to our third option—using Speedway’s longer steel wishbones. (It’s a bit of a shame that the rear ladder bars are more out of sight, but that’s just another reason not to run the stock gas tank!) The front suspension consists of Chassis Engineering’s forged dropped axle, spindles, transverse leaf, and stainless perches, all residing below Speedway’s ’33-34-ish crossmember. We’ll address the rear suspension in next month’s installment.
Lastly, I’ve elected to buck the advice of my elders and run drum brakes—at all four corners. Similar to my preference for bias-ply tires, I realize the limitations and drive accordingly—but by paying more attention, I feel that I’m a safer driver behind the wheel of an old car than most driving modern cars that do everything for them, leaving them to their social media habits more than watching the road. Speedway’s Lincoln-styled 12-inch hydraulic binders will slow the front; at the rear, 11-inch Ford drums capping the steel axle tubes of a Winters banjo.
Alright, enough talking—let’s get on with the building.
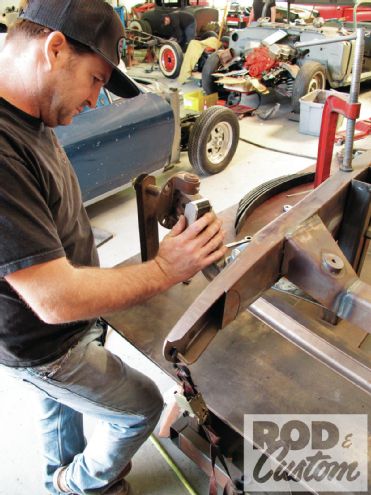
1 As noted, the frontal group entails one of Chassis Engineering’s finely forged dropped I-beams and multi-leaf ’33-34 spring.
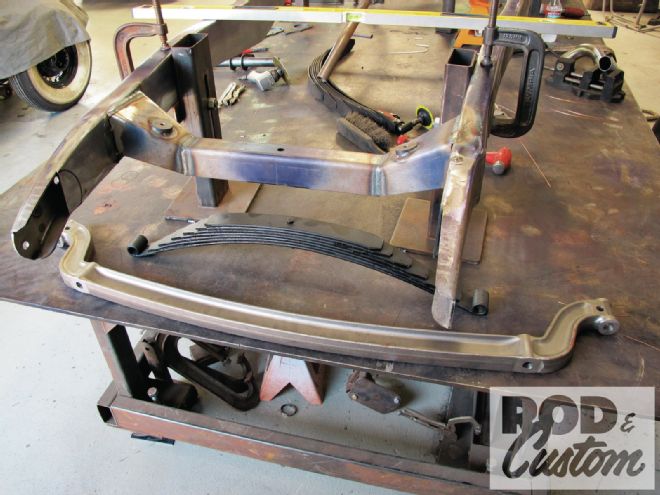
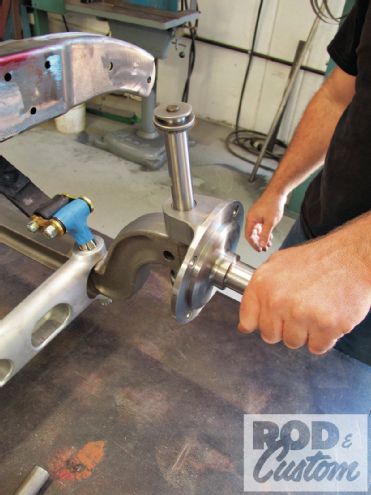
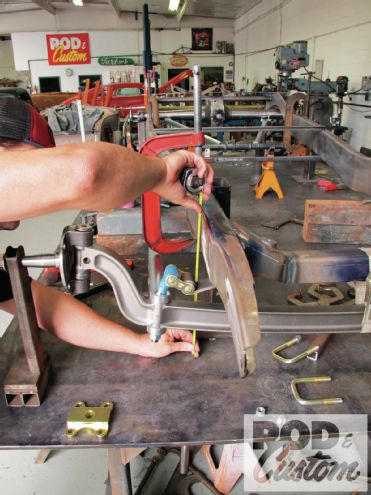
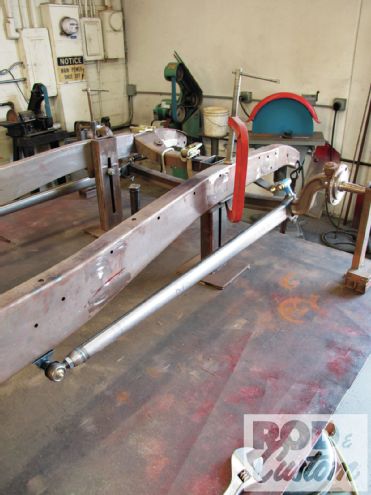
2, 3 In order to properly set the entire suspension up, it would first need to be loosely assembled, then put under a load to achieve desired ride height.
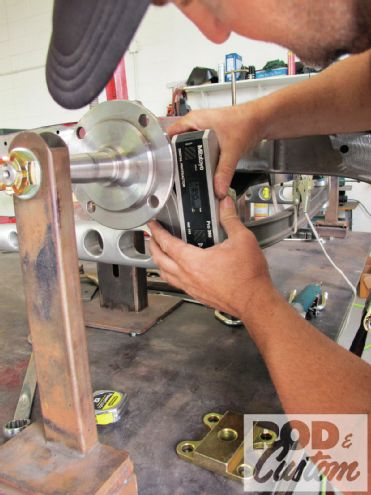
4 Once assembled and loaded, we could commence with the fine-tuning and set both ride height and caster (camber’s already built into the axle, obviously).
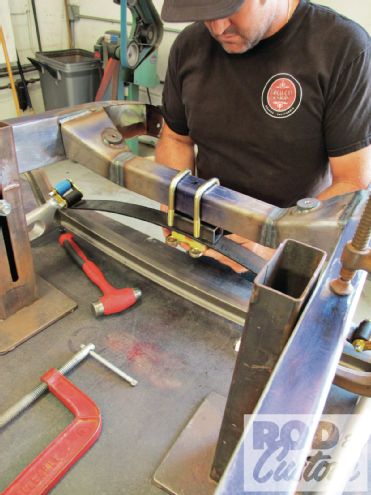
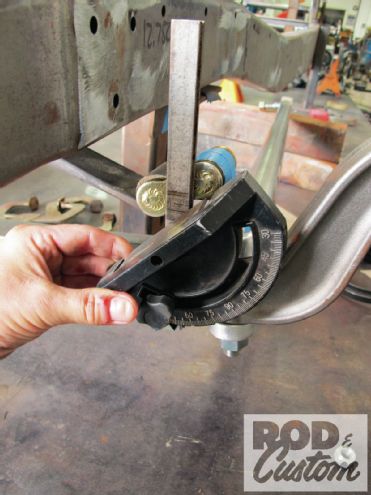
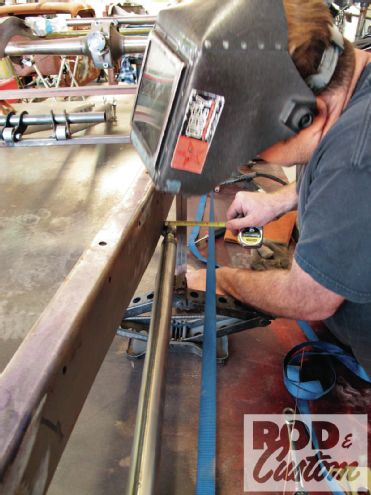
5, 6 Squaring and leveling were just part of the procedure …
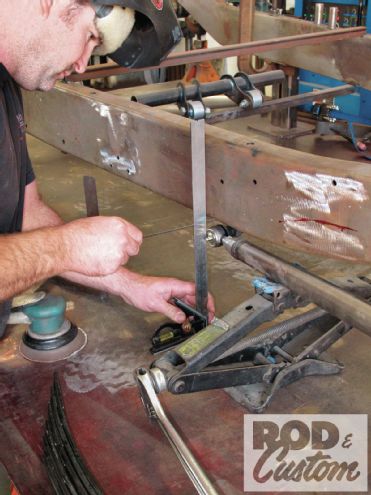
7 … the spring shackles also need to be within a certain limit angle-wise to ensure sufficient/correct spring travel.
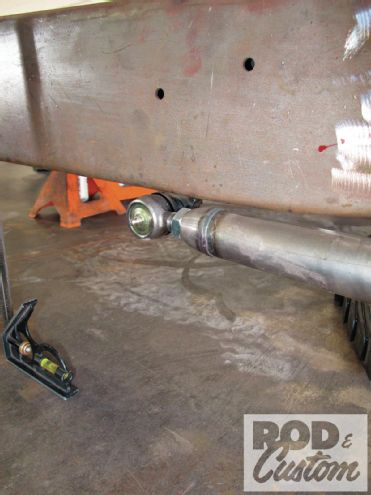
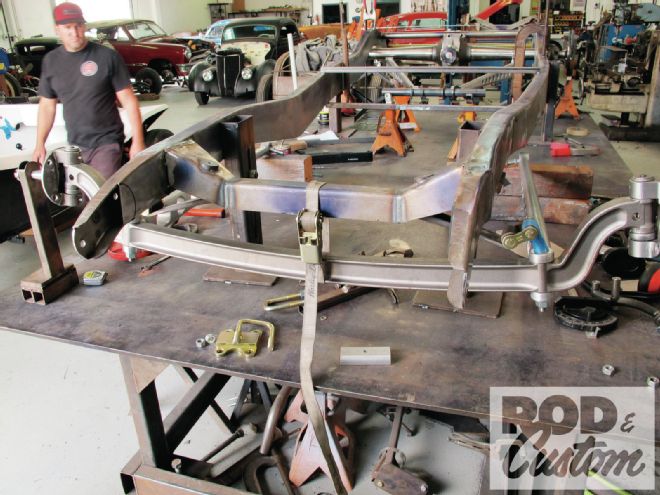
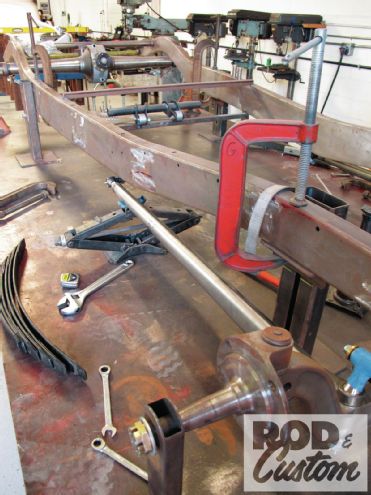
8 It was at this point that we determined the shorter radius rods from Johnson’s Hot Rod Shop (designed to fit a ’32 frame “fixed length”) were just a tad short for our ’34 chassis ...
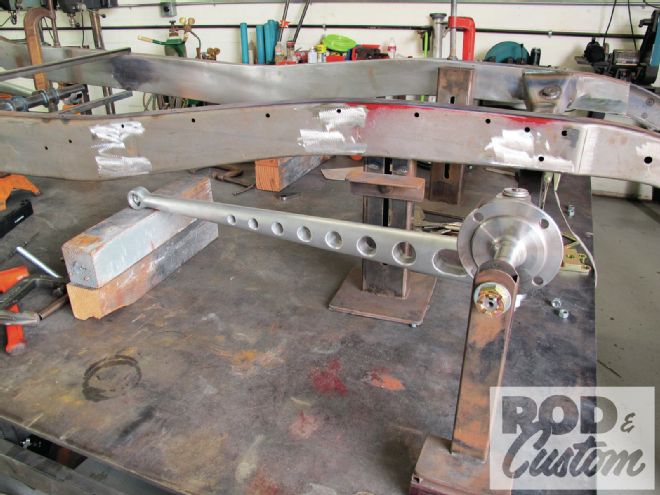
9, 10 ... but short enough not to allow enough axle caster (just 3 degrees if we mounted them to the bottom of the frame)—that is, unless a heavily dropped mount was used in the rear, which to us seemed to welcome potential clearance issues rather than solve the initial problem.
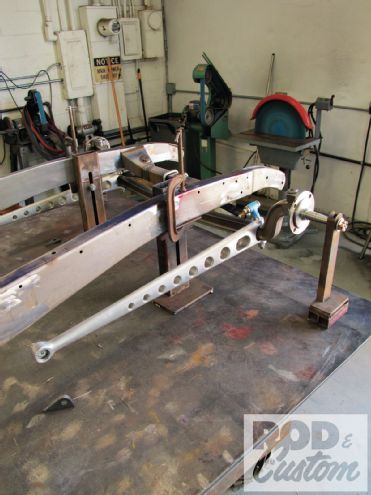
11 So, despite the desire to retain the Hot Rod Hole Shot radius rods, the solution was not to cut them up (and fashion an adjusted rod end to compensate for length), rather, utilize a set of Speedway’s steel-tube split wishbones instead.
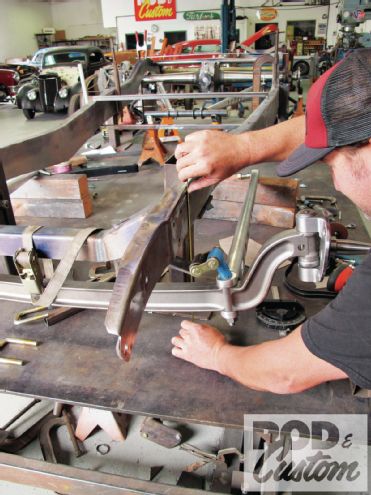
12, 13 As with literally everything else, Jimmy White pursued the alternative option by first leveling and squaring up the tie-rod mounts for the longer suspension arms.
14 Once set, we now had 7 degrees of caster in the axle, which will now ensure correct steering and travel.
15 Again, White made sure the mounts (which he’d just whipped up from plate steel) were even side-to-side prior to welding in place.
16 Again, White made sure the mounts (which he’d just whipped up from plate steel) were even side-to-side prior to welding in place.
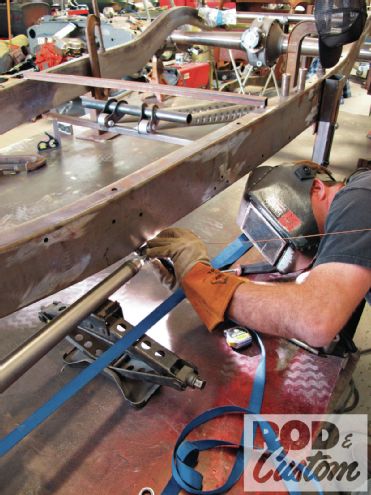
17 And with that, the front suspension is good to go, save of course for connecting a few weld lines here and there. Next month we’ll tackle the rear—without having to sacrifice a beautiful set of aluminum wishbones/ladder bars in the process!