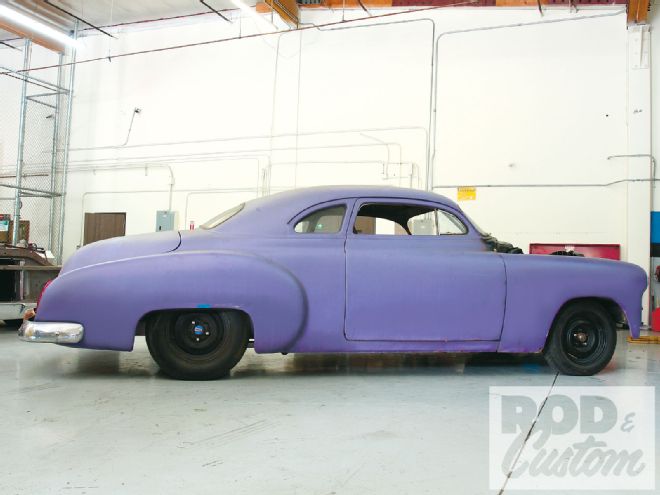
Following last month's installation of the ShockWaves and other main componentry of the project '49 Chevy's air suspension system, it's now time to mount the ride height sensors and wire and plumb the system. Though most ShockWaves are available with internal ride height sensors, the Black Series that I used is not. The Level Pro package of digital ride height sensors is available as an option as well as an upgrade for any compressor system. The RidePro e3 system fitted to the '49 can sense air pressure to adjust suspension height but combined with the Level Pro digital sensors, the system intelligently utilizes both air pressure and ride height information to accurately adjust vehicle suspension level. The RidePro e3 system's electronic control panel (as opposed to the analog gauges and rocker switches of the manual control systems) allows the user to control three preset height levels, as well as enable the system to maintain these heights with whatever loads are imposed on the vehicle, such as adding heavy weights in the rear.
Once I'd mounted the sensors and their link arms, ensuring no binding occurred, I set about wiring and plumbing the system. The airlines are simple to install, though care must be taken to ensure they are cut straight or leaks are likely to occur. I used a tubing cutter and experienced no leaks whatsoever on initial "air up". All RideTech's airline connectors are DOT-approved, push-to-connect style. Much like a regular air tool style fitting, once the airline has been pushed in, removal is as simple as pulling back the collar and pulling the airline out. Working from the air springs back to the valve block before cutting the lines to length, I attached them to the chassis 'rails at approximately 12-inch intervals, using plastic line clamps and self-tapping screws, as the Chevy's top-hat frame is too thin to drill and tap. The height sensor wiring was then zip-tied to the airlines from the front of the car, before passing through grommets in the floor behind the back seat, where the ECU is located.
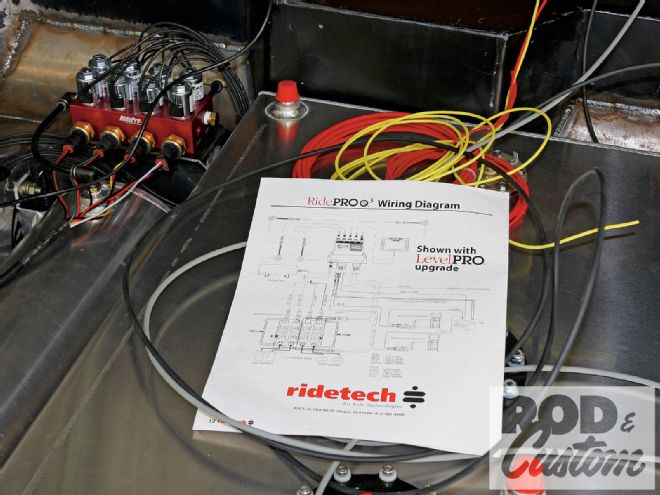
Wiring the compressor, ECU, and valve block was as easy as following the directions and wiring diagram, as each has a separate harness. If you're doing likewise, just ensure grommets are used wherever wiring, or an airline, passes through sheetmetal. Also check that neither can be trapped between moving parts, panels, or trunk hinges in the case of wiring. While I've fitted a basic airbag system before, the RidePro e3 is somewhat more complicated, thanks to the height sensors, the ECU, and its additional wiring, but it all worked the first time with no problems or leaks because for once I read the instructions. Guess that big "do not read" sign on the envelope works!