 The top teams that are running up front and winning a lot of races understand how important it is to hang a body correctly. I can guarantee you they spend valuable time ensuring they are getting the most out of their bodies.
The teams that are consistently running up front understand that the only way to do this is to ensure that every part bolted on to the car is working together. They know you can't have the best chassis on the market and be lacking 25 horsepower, yet still expect to win on a consistent basis. Not to say you won't get lucky every now and then, but the point is everything has to be working together to ensure that you have the best opportunity to win that A-main.
The body on your car is no different. It can either help you achieve your goals of winning or hinder it. The worst thing you can do is just to assume that a body is a body and not invest any time into ensuring that it is mounted perfectly.
I had a situation this year with our team where we struggled on the larger tracks. It seemed we could run top five at any place that wasn't a half-mile or bigger. But as soon as we unloaded at the larger tracks we struggled. We decided to have the body looked at before we went to Iowa Speedway because of the amazing speeds we were going to be experiencing there. We found that the body was 1 inch high and not fitting the templates perfectly. So we cut the body off and had it rehung. We went out and finished Seventh at Iowa. I attribute a lot of that to the body. Before, we had been punching such a large hole in the air and even though we run mostly short tracks it was still hindering us.
It doesn't matter if you're running dirt or asphalt, or the size of the track. Even if the fastest you're going is only 60 miles per hour, there's still speed to be found in the aero department. Stick your hand out the window next time you're traveling down the highway and put it parallel with the road and feel how little resistance there is with the air. But take your hand and tilt it straight up and feel how much harder it is to travel down the road.
 Being able to use a sheetmetal brake is extremely important when you're hanging a body. Even though we're hanging a fiberglass body, we still used this tool a lot.
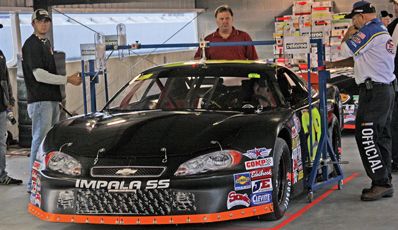
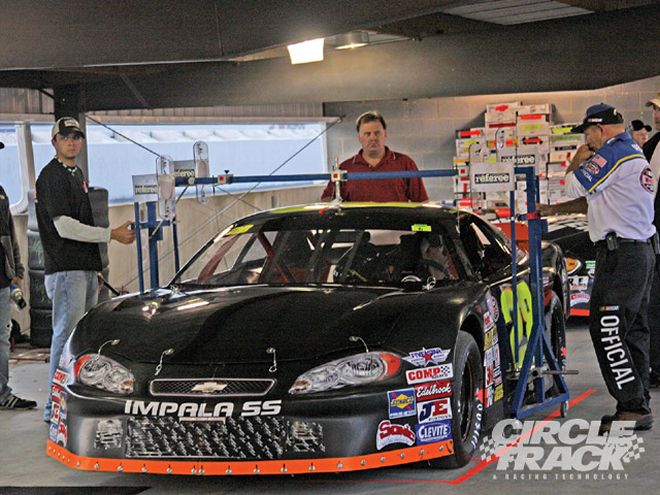
I'm not saying that all your problems lie with the way your body is mounted. But it's another place that you might be able to find a little speed this preseason. We were hanging our body on our project car recently at Leavitt Racing Components in Mooresville, NC, and I discovered eight tips when hanging a body. These tips will go a long way ensuring that your body is not only hung properly, but also that it provides you with the best opportunity to win the race.
It amazes me the amount of teams that will slap a body on the car without any consideration to any of the rules of the body. How can you know how wide the front nose can be without knowing the rules? I suggest getting a rulebook and then writing down all the important numbers in a notebook. Keep that notebook for when you're doing bodywork on the car. The numbers will include minimum roof height, front nose width, tail height, and more.
There are a few tools that are a must-have if you're going to be hanging bodies in your shop. Clecos are a great tool to have because they allow you to hold the body together without having to waste any rivets. You'll also need a ton of clamps. Clamp the body in place before you start welding any pieces to the chassis. And even though we were using a fiberglass body, the tool we used the most was our sheetmetal brake. It's a must-have for any shop.
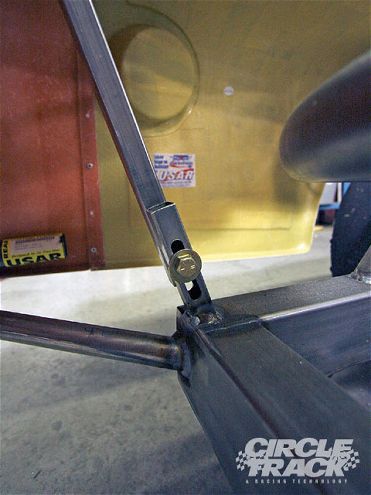 This is our decklid/rear bumper adjustment. All you have to do is loosen the bolt and then pull up on the rear bumper and it will raise the decklid height.
In no way am I saying to cheat here, but by knowing your limits with the rulebook you can push those limits to the max. For example, let's say your maximum nose width is 75 inches. You better believe that I'll be showing up at the first race with my nose width at 75 1/4. For the pavement racers, you want that to get as much air as you can to push the nose into the track. But understand where to pick your battles, when you roll through the tech line and you've decided to push the limits on every one of the tech numbers, you better be ready to do a lot of changes to the body, which leads me to our next point.
The only way you can push the limits is by building adjustment into the body. We've attached an adjustable arm for the decklid/rear bumper height, both bumper bar lengths, and the front nose width. With a simple turn of a wrench, we can raise or lower our decklid/rear bumper, widen our nose, or push our bumpers out. It lets us push the limits, but still easily remain legal.
I mentioned earlier having a notebook that you can write down all of your body notes, but while you're working on the body always carry a Sharpie with you so you can leave yourself notes on the body. We were constantly reminding ourselves by writing notes on the door, roof, rocker panel, and so on.
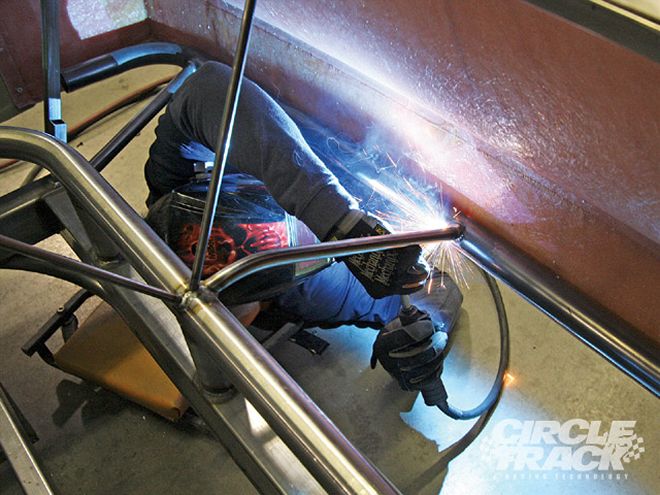
Once you have the body pretty well set on the car you'll need to start piecing it to the chassis. Be careful when doing so because once you start to weld and that metal heats up it will pull and flex from the heat. Make certain that you double-check your measurements to ensure that they don't change your heights.
 Try, if your rules allow it, to get the rear bumper bar at the height for the front bumper bar. This will mean if someone trys to get to your rear bumper they won't pick your rear tires up off the ground. It will just shove your car forward, which at high speed is a lot better than the back of your car being lifted off the ground.
Before you start hanging any pieces of the body on the car, make certain that your car is at ride height. We put the car at our ride height and then measured from the framerail to the ground at each corner. We then cut some square tubing to put under the framerail to ensure that the car remained at ride height.
If you've had trouble in the past of making your left side or right side weight limit, then why not move the bumper bars to where they hugged the left or right to help you out? Our car's bumper is placed so it's hugging the left side to help provide us with just a little more left-side weight.
This preseason, make certain you're getting the most out of your body. A few simple changes could help raise your team to the next level. Maybe even into Victory Lane!