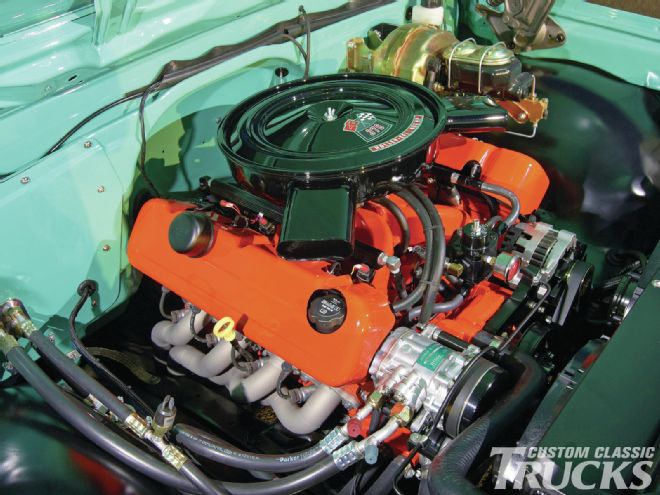
Over the course of the last couple months, I’ve really fallen in love with driving my C10 around, especially now that it’s got the Holley Avenger fuel injection system installed as well as the power steering and resized steering wheel. It actually feels like a new truck and exhibits all the traits one would expect. This makes me feel a little hesitant, perhaps almost guilty, to tear it all apart to install a new LS327 crate engine from Chevy Performance. The stock 307 runs really strong and ticks over like a finely tuned Swiss clock and I’m a bit nervous to mess with such a reliable setup. But I’m a hot rodder at heart and it’s just not natural to ignore something better off left alone. Plus the power and reliability that the LS series engines offer is too tempting not to jump in the fire and experience it firsthand.
When I started the ’68 C10 buildup back in the June 2011 issue, I had two different iterations of what I wanted to do. The first, which we’ve pretty much completed up to now, was to drop the truck and improve the handling and driving characteristics as well as overhauling the drivetrain and interior components to a restored-type status. During this initial segment, I didn’t want to deviate from stock too much when it came to the interior, exterior, or the engine compartment. That meant simple restoration upgrades like new weather stripping, window rubber and felt, a new floor mat, hood bumpers, etc., as well as cleaning up the engine bay and restoring the look back to a similar ’60s factory appearance. Though I did lower the truck and bolted up a new set of rollers, I left the bed long and didn’t alter the exterior appearance other than restoring the two-tone white on the cab and replacing all the brightwork.
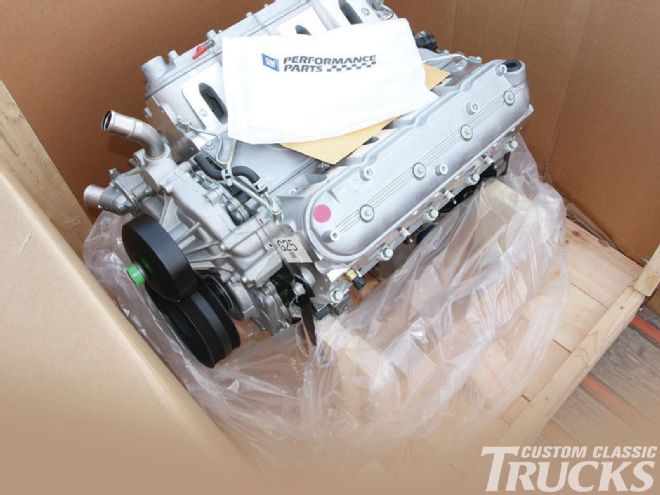 They’re called crate engines for a reason and when they show up at your doorstep, you’ll know why. This is how our LS327 looked once unwrapped, a pretty exciting sight for any gearhead.
But starting this month, it’s time for all that to change. I discussed in this month’s Haul Monitor what we’ve got planned for the Laggard Longbed build version 2.0, so I won’t bore you with repeating the details here, aside from the preliminary bit on preparing the LS engine and pointing out a few things worthy of mention.
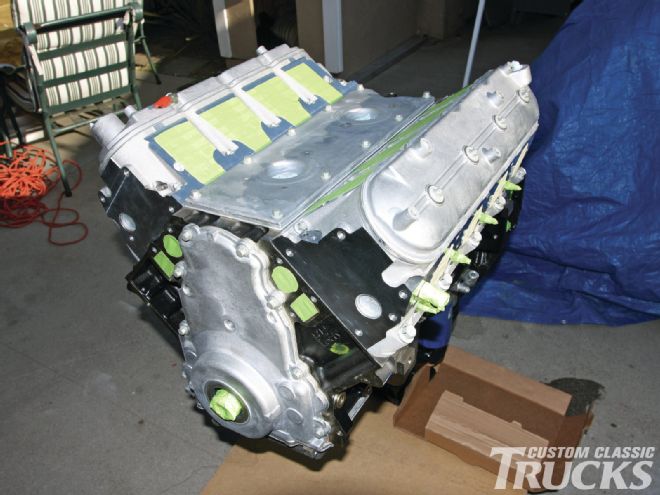
As previously stated, the plan is to install a Chevy Performance 5.3L/327ci LS engine between the ’rails of the ’68, replacing the stock 307ci engine that came with the truck from the factory. Based on the ’99-06 series of GM truck engines, the LS327 consists of an iron block with a 96mm bore and a 92mm stroke, topped with the same production aluminum heads and hopped up straight from GM with a Chevy Performance cam and Grafal-coated pistons. With these simple upgrades, the numbers jump up from a respectable 295 hp/325 lb-ft of torque to a much more impressive 327 hp/347 lb-ft. What makes the swap to the LS really cool is all the aftermarket hop-up products available that can easily take the LS into the 600 hp and beyond realm. We’re not gonna aim that high right off the bat, but we may do something a little more radical in the months to come.
This month, however, we’re going to get our little LS engine prepped and the initial bolt-ons installed before its time to mate the engine to the trans and slip her in the ’68. Over the course of the next few months we’ll keep messing with the combo, whether it’s in the truck or not, to give ya’ll a look at what’s possible with today’s technology.
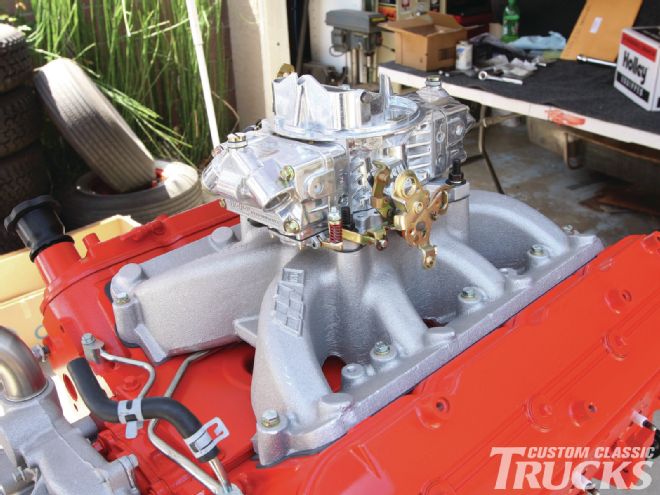 To feed the engine and provide some pretty decent fuel mileage to boot, Holley recommended a 570 cfm Street Avenger carb with an electric choke.
One thing to keep in mind, although we’re using a brand-new crate engine from Chevy Performance, nearly everything we cover can be done on a junkyard GM truck engine for pennies on the dollar, if that’s your thing. The only drawback is that you don’t know what you’re getting when you pull a used engine. But if rebuilding engines is something you enjoy, that would be a great way to put together a stump-pulling Chevy engine that runs like a clock, makes gobs of power, and accepts all the latest and greatest GM and the hot rod aftermarket have to offer. CCT
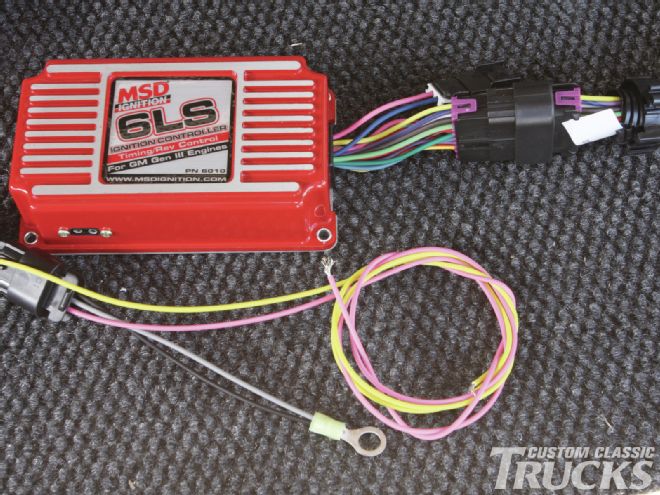 Wiring the engine is especially easy using a carb and GM’s factory coil harness, mated to MSD’s 6LS timing controller. The 6LS is a very versatile ignition controller in that it can be attached to the factory sensors and used with a carburetor (like we’ll be doing) or can be utilized to work in conjunction with a stock EFI application using an accessory harness from MSD (part number 88862). In both applications, the controller offers several programmable features that allow for RPM and timing adjustments via their supplied ProData+ software and a PC or with an optional hand-held programmer (part number 7550). Timing adjustments and selections can also be made with plug-in modules. Here, the main harness is attached to the controller (right), leaving a few wires disconnected. At the bottom of the photo, the black/gray wire should be run to a good engine ground source, while the pink wire is a switched 12V+ and the yellow wire is the tach signal. The connector at the upper right (pink and blue wires) is for a step retard for nitrous oxide applications and a two step signal to control two rev limits respectively.