 If you run an external oil pump, which is typical to dry-sump engines, a thrown pump belt virtually guarantees destruction of your expensive race engine. Fortunately, the chances of this kind of nightmare happening to you can be greatly reduced by paying a little attention to your belt alignment.
We all know that success in racing requires paying attention to the details. Too often, it's the little things that throw a monkey wrench into what would have otherwise been a successful night of racing-the kinds of things that slip your mind while you worry over other more important matters. It's like spending all day rebuilding the brakes and bleeding the lines only to forget to screw the cap on tight on the master cylinder. You can take comfort in the fact that these things happen to everybody, but you still don't want them to happen more often than you can possibly help.
One area where this is definitely true is the accessories on the front of your engine and the belts used to drive them. Everything may look just fine when the engine is idling with the hood up, but it can be a completely different story when the car is at speed. Everything in the engine compartment is vibrating like a 4-year-old on a sugar high, and small bits of rubber and other debris are flying off the track surface and getting caught between the belts and pulleys.
The key to ensuring your accessory drivebelts stay where they belong is making sure your pulleys are perfectly aligned and vibration free. You might think that they should bolt right up this way, but that is rarely true. Be prepared to spend a little time adjusting the pulleys the first time you assemble them on a new race engine, and then keep a close eye on them afterward.
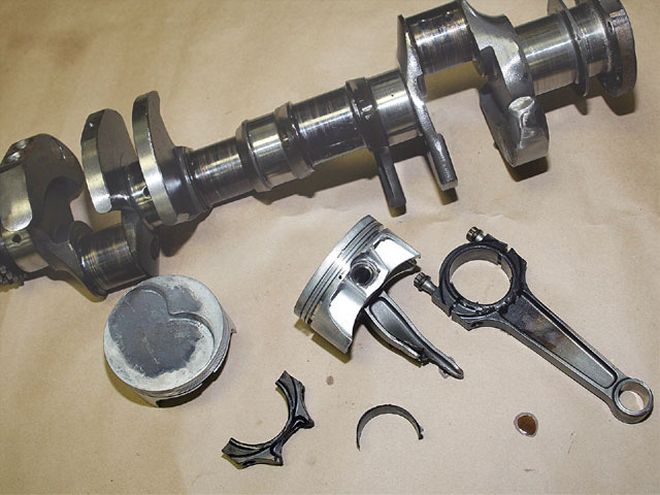 If this was a psychology magazine, we'd call this negative reinforcement. This kind of destruction happened when the engine threw its oil pump drivebelt, starving itself of oil. The resulting damage is catastrophic not only to the engine, but potentially also to your bank account if you have to pay for an unexpected rebuild. Don't allow this to happen to you.
If you are running stock pulleys and accessory brackets, you may be forced to resort to fabricating your own stuff. But if you are able to run race-specific pulleys and brackets, there are usually a lot more tuning options. If you are running V-belts, the pulleys don't have to be absolutely perfect because the belts seat in the deep grooves of the pulleys pretty well. But if you are running a serpentine system that uses a wide belt with several V-grooves molded in, you should try to keep the pulleys aligned within 0.015 inch. Serpentine belts are extremely strong and durable, but it's easy to throw a belt if you get one of those tiny V-grooves off track. Another secret is to keep your accessories as close to the drive pulley (usually either the crank pulley or the water pump pulley) as possible. A long bracket allows more vibration of both the bracket and the belt, and the bracket is also more likely to flex.
We got an eyeful recently when we stopped by KT Engine Development in Concord, North Carolina. Owner Ken Troutman showed us the carnage that resulted from a thrown oil pump belt: spun bearings, broken and bent connecting rods, destroyed pistons, a ruined crank, and a depleted checking account. The damage was catastrophic, but it was also completely avoidable. If you run an external oil pump, throwing that belt has to be one of your worst fears, because it means your engine will very quickly do its best impersonation of a hand grenade. Troutman says he often allows his customers to install their own accessories, but this time he's bolting the entire pulley and belt system to drive the pump to help this customer avoid this situation again. To see how KT Engines installs a bulletproof belt system, we followed along as engine builder Craig Hibdon returned the engine to competition-ready status.
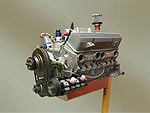
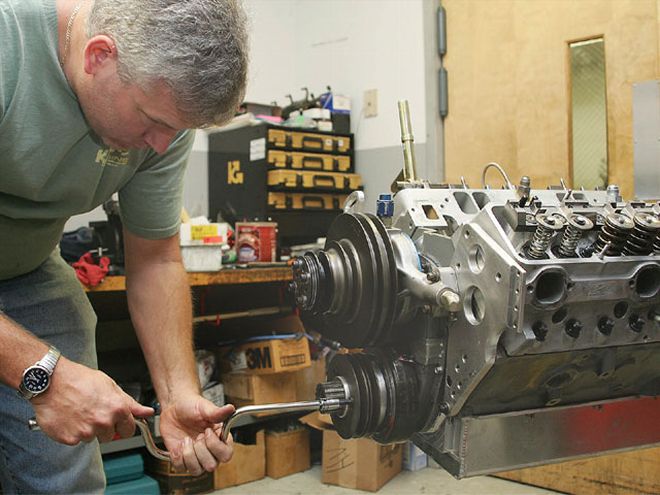
Step 1: Here is our foundation. The water pump and balancer are already in place on this Chevrolet. A motor plate secures the engine to the chassis, but that doesn't affect the process.
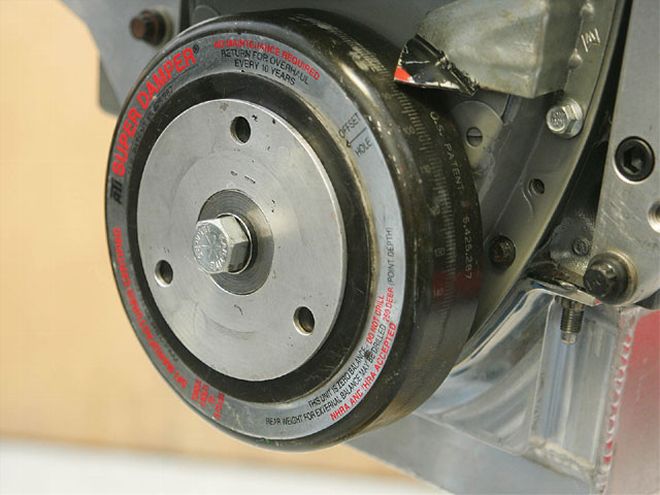
Step 2: Engine builder Craig Hibdon is using an adjustable pulley set from CV Products to make sure the belts stay lined up within 0.015 inch. This spacer plate is used to move the crankshaft pulley out. Notice how snugly it fits around the crank bolt spacer washer.
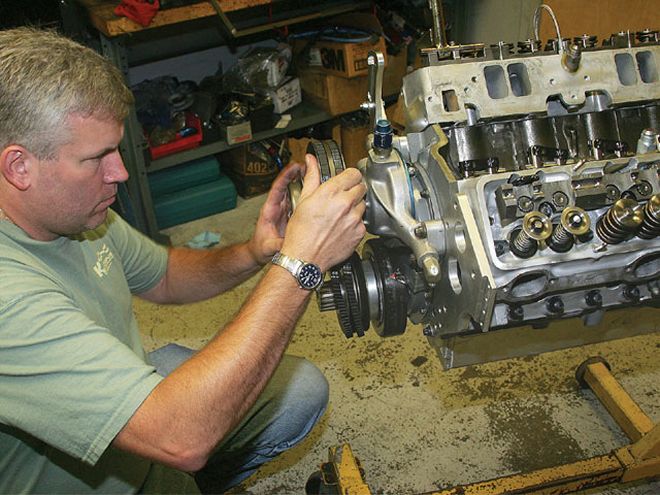
Step 3: The main pulley is already in place on the water pump. Next, a secondary pulley (either for the alternator or a power-steering pump) is installed. Hibdon stresses that you must make sure the hub of the secondary pulley fits snugly in place over the nose of the water pump. If you use a pump designed for street use, it may have a smaller bearing and a smaller nose. If the hub is too large, you will be depending on the bolts to center the pulley and hold it steady, which isn't a good idea.

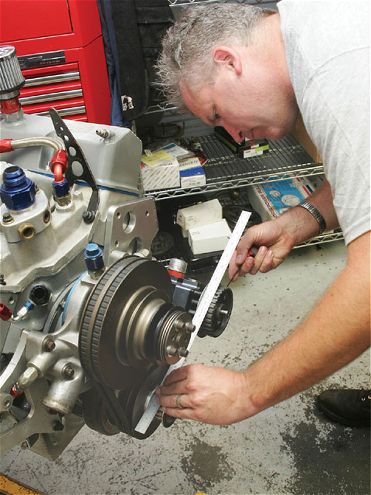
Step 4: This setup is good for high-rpm applications because it uses two V-belts to drive the water pump pulley and all the accessories attached to it. Hibdon uses a straightedge to ensure that the spacer he installed earlier has the rear pulleys aligned.
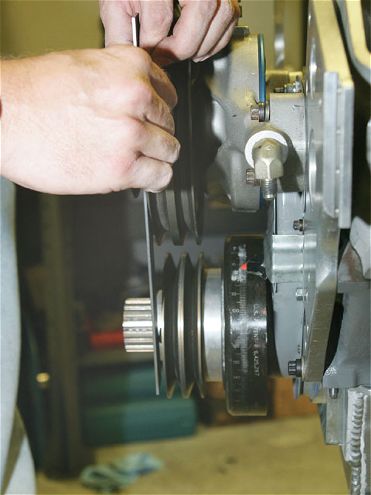
Step 5: Next, he moves to the front set of pulleys. The upper pulley on the water pump has more space between the V grooves, so the front set of pulleys does not match up.
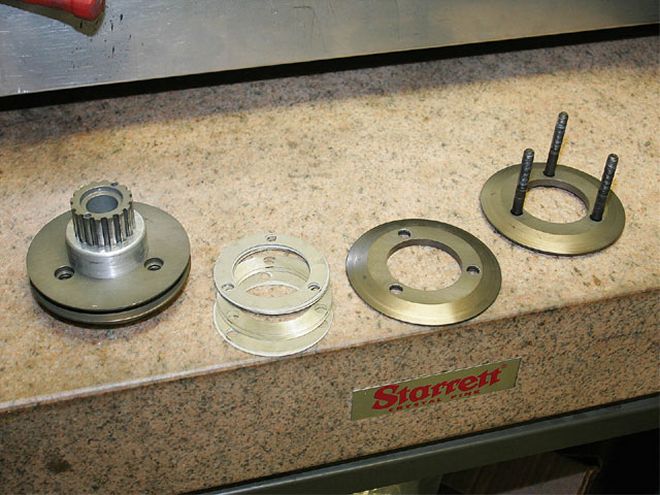
Step 6: To aid alignment, the crank pulley breaks down into several components. Shims are used between the two pulleys to move the front pulley out. The pulleys also come in two pieces so that spacers can be used to adjust belt tension. For example, adding a spacer widens the V groove, allowing the belt to sit deeper in the pulley, thus lessening the tension.
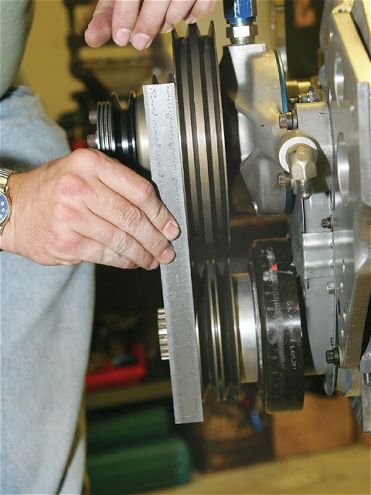
You can see how much better the fit is now.
Step 7: Now that the correct amount of spacers has been determined, the lower pulley can finally be bolted up.
Step 8: Hibdon unbolts the upper pulley set, drops the two V-belts into place, and then bolts everything back up.
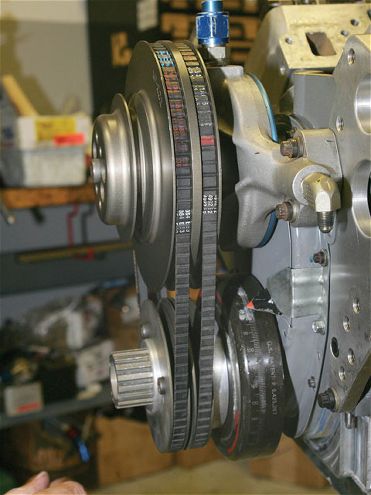
Step 9: Here, you can see the belts with the proper alignment. They run perfectly parallel to each other. Make sure both belts have the same tension so that one won't wear more quickly than the other.
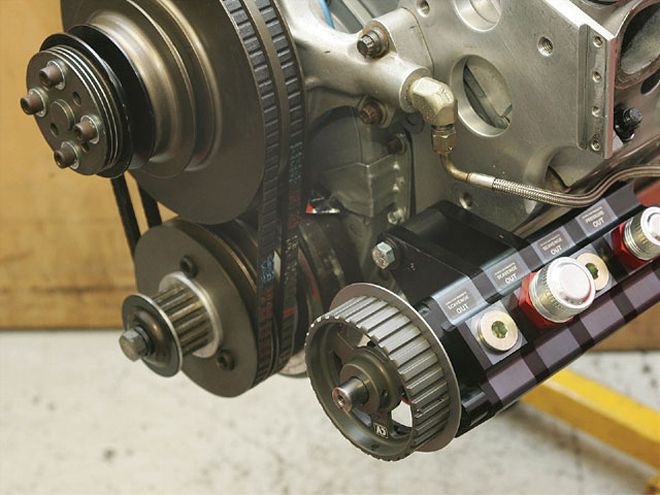
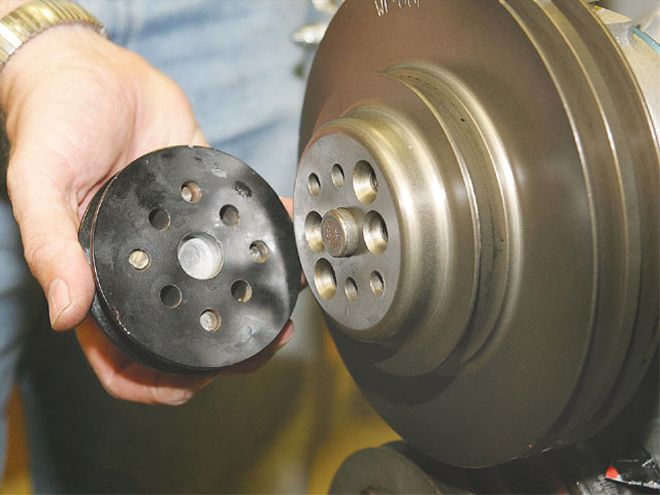
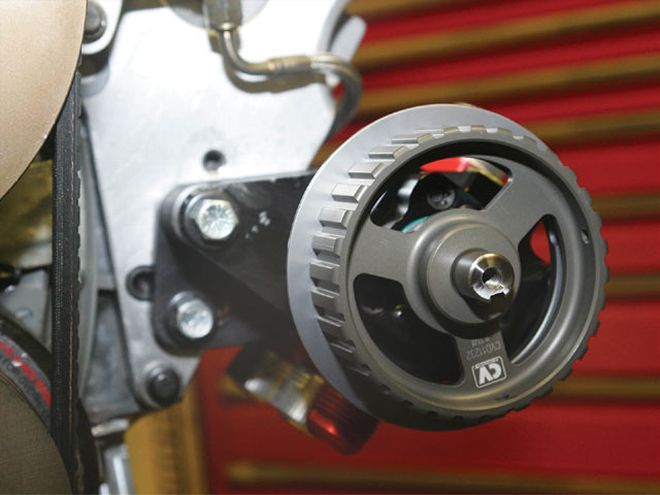
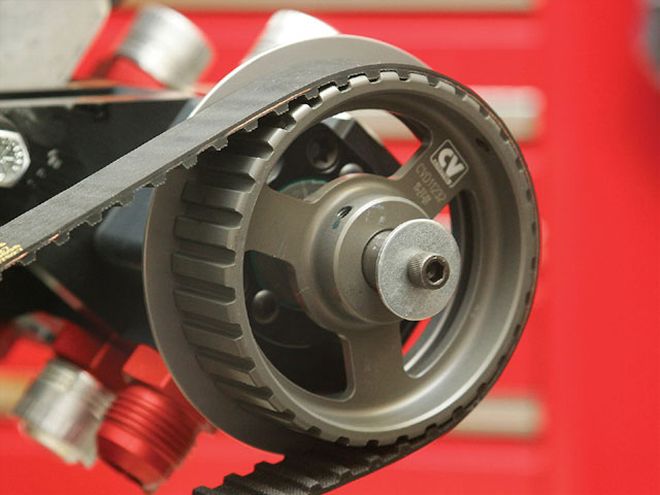
Step 10: The oil pump uses a toothed drivebelt with a pulley setup so that the pump spins at 50 percent of crankshaft speed. The pump pulley has no shoulder on the front to make removing the belt easier whenever you need to prime the oil pump.
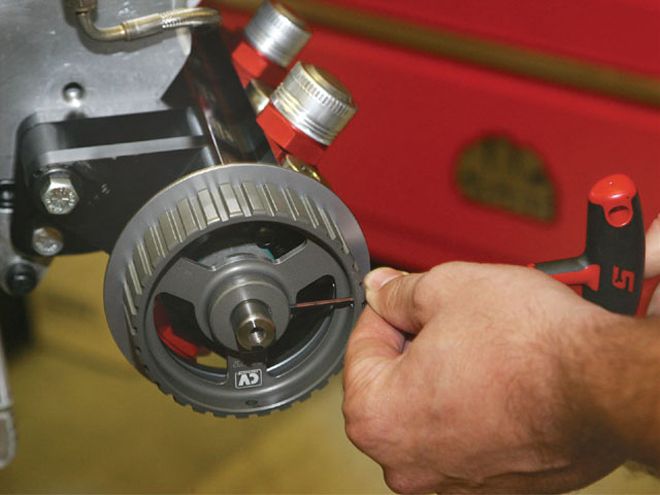
Step 11: The pump pulley slides on a shaft. A keyway is cut into both the pulley and the shaft and a key is used to keep the pulley from spinning on the shaft. Once the correct depth is found for the pulley, it can be locked into place with four set screws.
Step 12: Hibdon uses the straightedge method again to determine proper alignment. This time, however, he says you should move the pulley on the oil pump back so that there is a gap about 0.010 to 0.020 inch. This is because you don't want the drivebelt riding up on the inside shoulder of the pulley.
Step 13: Once you have everything where you want it, apply a little blue Loctite to the set screws and tighten everything down.
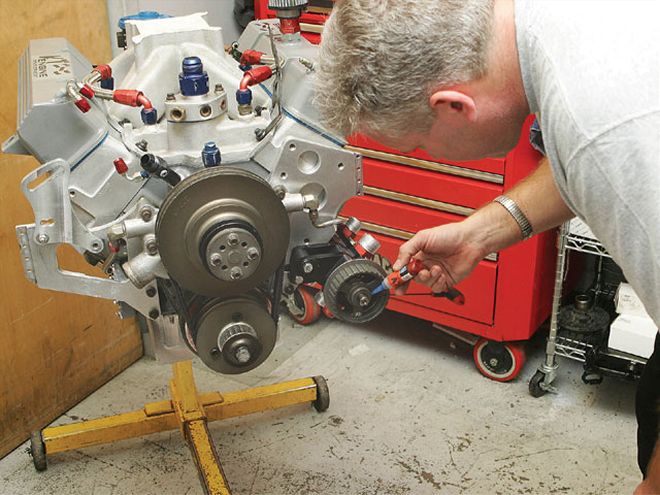
Step 14: Belt tension is adjusted by loosening the lower mounting bolt and sliding the pump in or out.
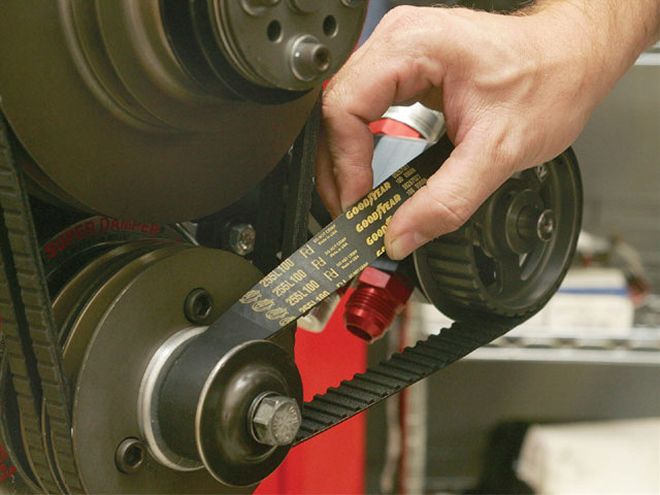
Step 15: Once you are ready, slide on the drivebelt.
Step 16: You don't want the drivebelt to be much tighter than this. The teeth on the belt won't allow it to slip, and keeping the belt this loose will allow a piece of trash that gets caught between the belt and pulley to move through without breaking anything. It also makes the belt easier to put on and take off.
Step 17: The end of the pump shaft has a threaded hole that allows you to screw in a hex bolt or a socket head cap screw such as this. Now, before cranking the engine you can spin the bolt with the correct socket on a cordless drill (with the belt off, of course) to prime the oiling system.
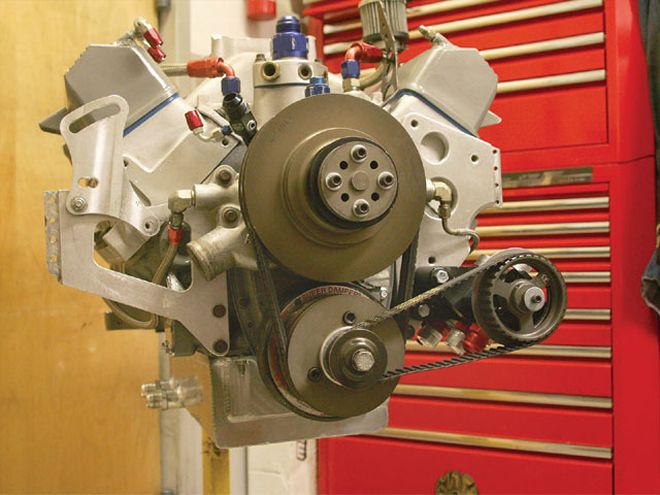
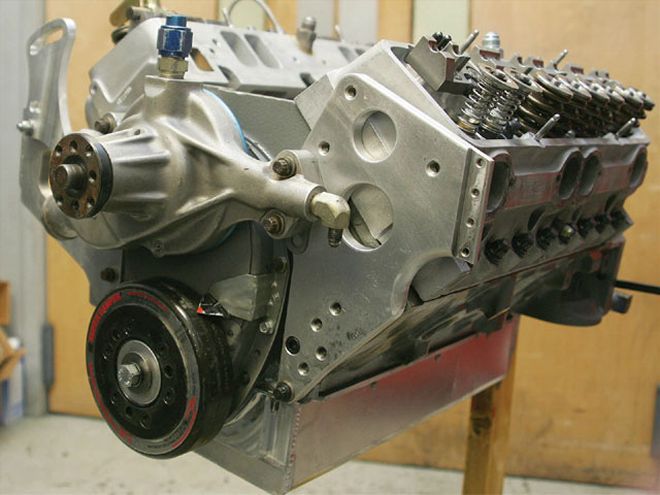
The finished product You should apply the same practices to any other beltdriven accessories, such as the alternator and power steering pump.