Like a rolling stone … back in 1965, when Bob Dylan first sang about an uppity young lass that rode on a chrome horse with her diplomat, the instrument panel on the recently introduced 1965 Chevelle was a chrome-plated wonder from one end to the other. A wonder in the sense that half a century later one wonders what the designers and engineers at GM back then were thinking.
There’s nothing quite as irritating as climbing behind the wheel of a classic ’65 Chevelle, powered with a high-performance drivetrain, just to discover the stock instrument panel packed with idiot lights and poorly lit gauges is still in place. Add 50 years to the mix and it’d be a wonder if anything still works.
Such was the case for our buddy Jason Baucher’s ’65 Chevelle bought from another friend in our circle of fast friends about 10 years ago. Gone is the stock 283, under the hood these days there’s a late-model center-bolt 350 with a bigger four-barrel carb and a lumpy cam, with great-sounding dual exhaust. But there’s never been any way to know how much oil pressure, how hot, how many volts, or how high the 350 was revving. And to make matters worse, even if the stock Chevelle instrument panel was packed full of gauges instead of warning lights, their poorly lit faces were impossible to read. There was too much glare in the daylight, and not enough light at night.
From the earliest days of the automobile, the installation of supplemental gauges into, on, or around the stock dashboard hasn’t been all that rare of an occurrence, but it wasn’t until 2002 when Classic Dash pioneered the use of molded ABS composite that there was a clean alternative to supplant the stock dashboard entirely. Classic Dash’s new production method allowed designing a dashpanel that blended with original Chevelle three-dimensional styling, plus provided plenty of room for a full assortment of gauges.
In keeping with a higher standard, Classic Dash’s gauge manufacturer of choice since its 2002 origins has been Auto Meter, a company founded in 1957 with a reputation for high-quality instruments known for accuracy, reliability, and ease of reading.
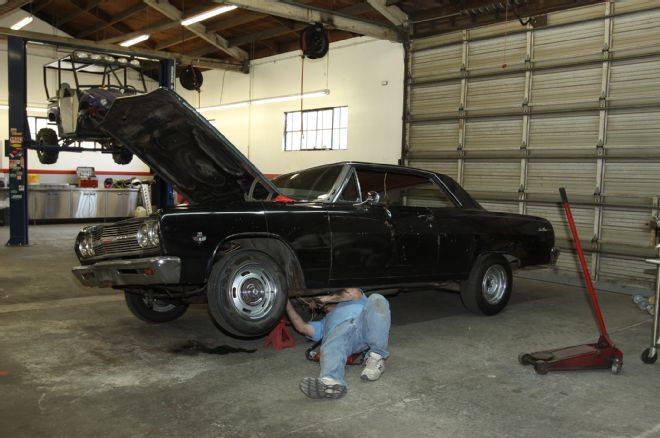
01. Connecting the speedometer speed sensor to the transmission and the fuel gauge sending-unit to the fuel gauge required jacking the car up high enough to gain access.
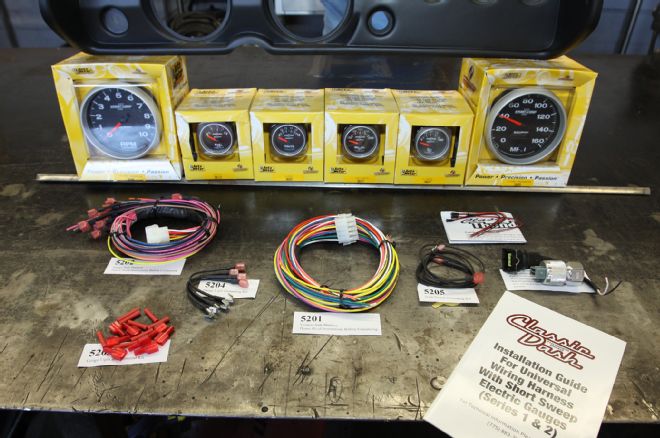
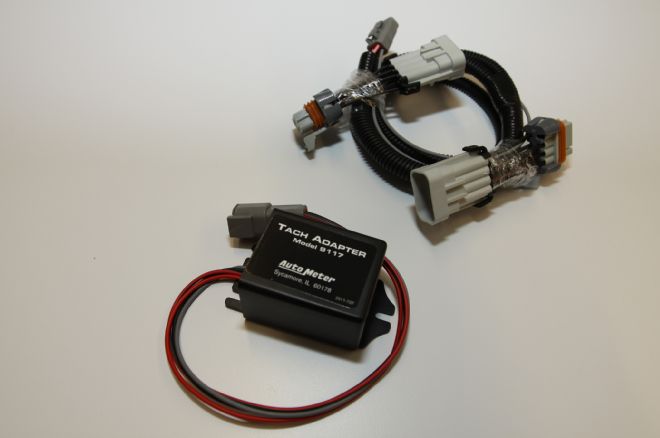
02. With the Classic Dash instrument panel partially visible on top, here’s everything that’s included. Notice all parts are neatly packaged separately and come with identifying tags. Also note a thorough assembly guide is included, making the installation of a Classic Dash gauge panel an easy, step-by-step process.
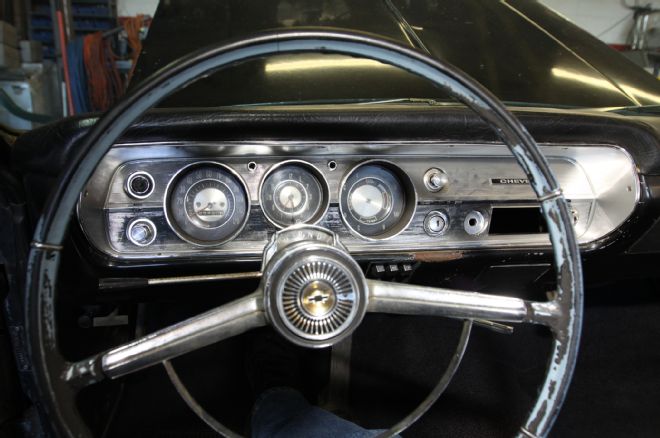
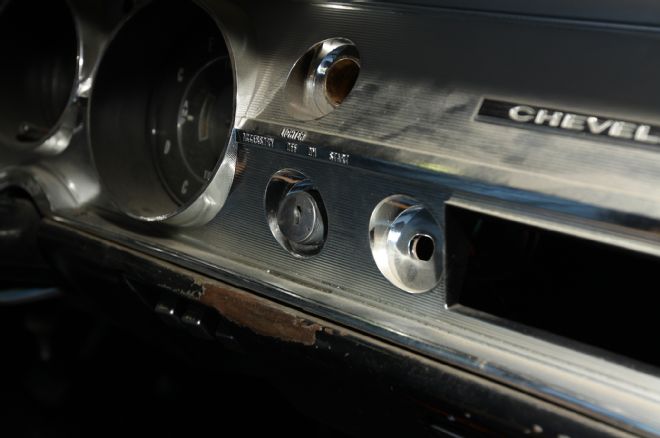
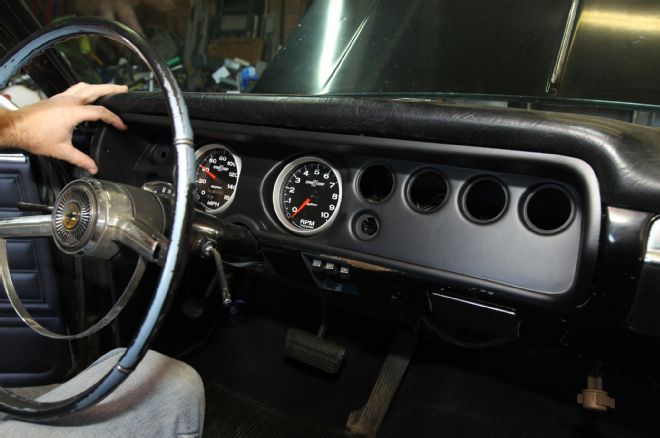
03. Observe the stock 1965 Chevelle dashboard arrangement is housed in a highly reflective chrome bezel with central emphasis on a clock, with idiot lights instead of proper gauges.
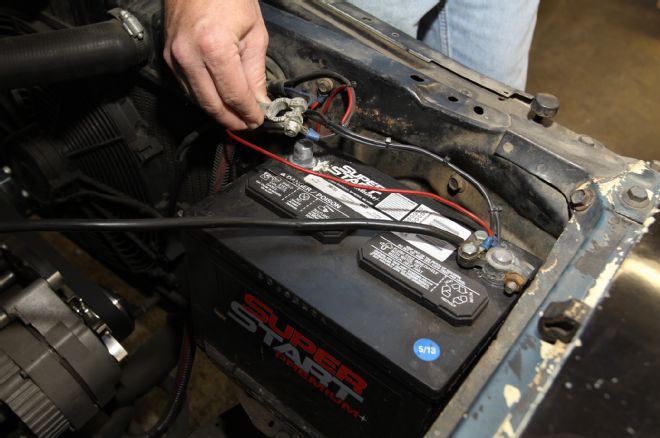
04. To avoid the startling situation known as “hot wire surprise,” the first step was to disconnect the battery.
05. To remove the original Chevelle gauge cluster from the dashboard it was necessary to detach the switches. The headlight switch is removed by pulling its knob all the way back with one hand while reaching behind the switch (behind dashboard) and depressing the release button.
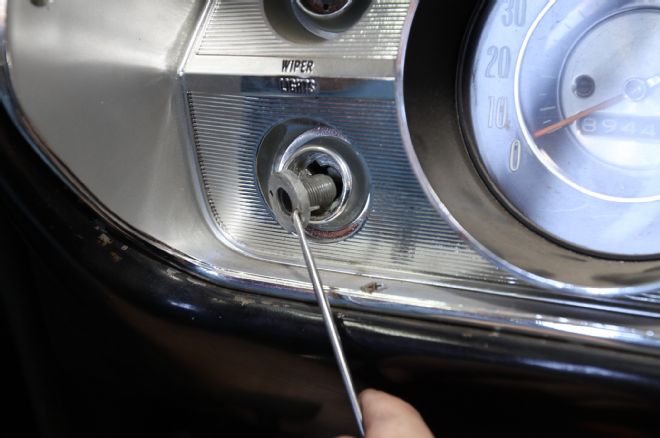
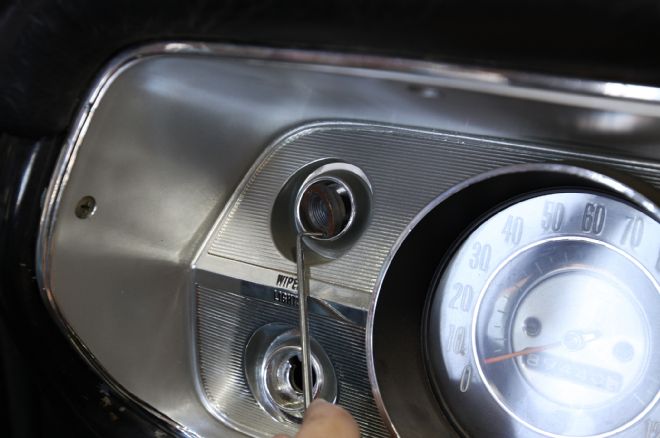
06. Next, the collar retaining the headlight switch body was unscrewed counterclockwise with snap-ring pliers, and then a single hook sufficed to undo it as the collar loosened.
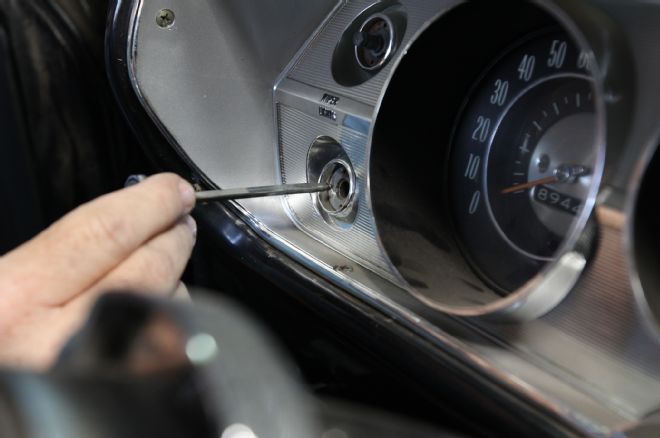
07. The wiper switch was removed by taking off its knob and then removing the retaining collar, using the same method as for the headlight switch.
08. Previously, someone used pliers and rounded off the removal detents on the ignition switch. With a homemade socket or special tool, the collar comes off counterclockwise.
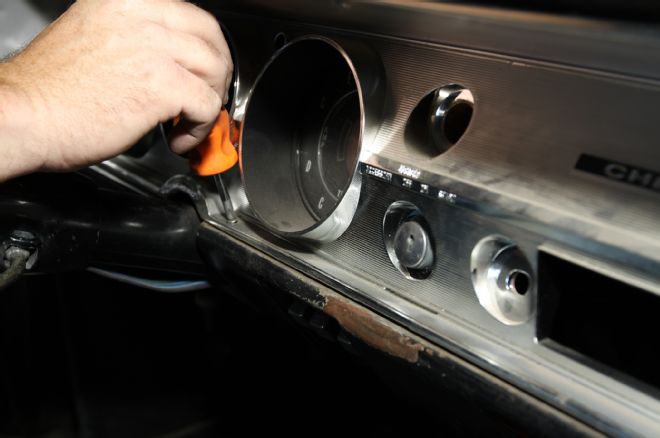
09. Removing the Phillips number two screws located around the perimeter of the bezel (instrument cluster) releases the bezel from the dashboard.
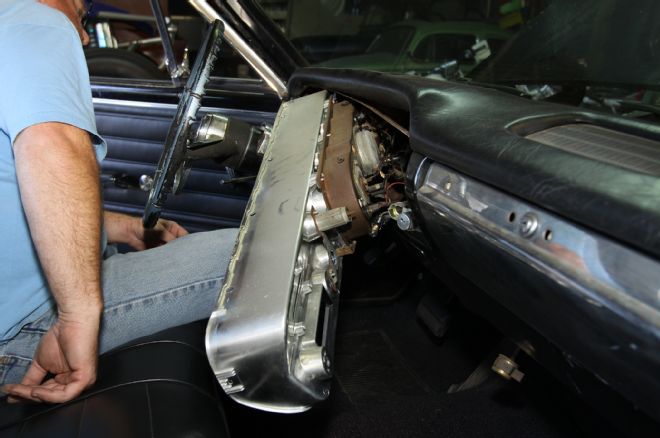
10. Next, the instrument cluster was pulled towards the steering wheel and then moved to the right (passenger side), making sure all the connections — lights, switches, etc. — were released. Moving the column shift lever from Park to Low creates more space.
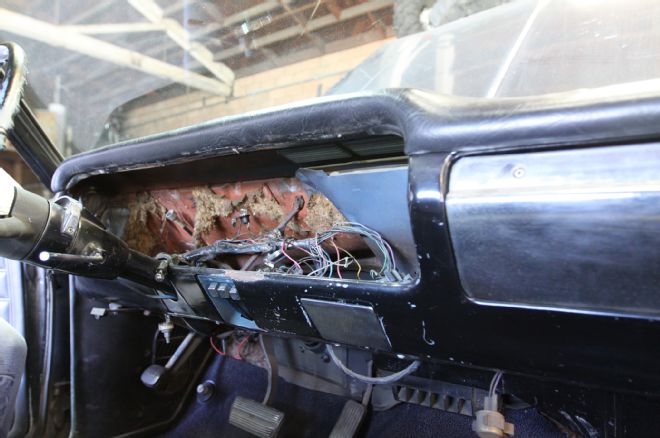
11. Since the new Auto Meter gauges are lit (illuminated) exclusively with LEDs there is no need for the stock incandescent dash lights. We chose to leave the bulb wiring in place by covering the sockets with electrical tape. For a cleaner look where no one will see the bulb sockets, the wiring can be eliminated.
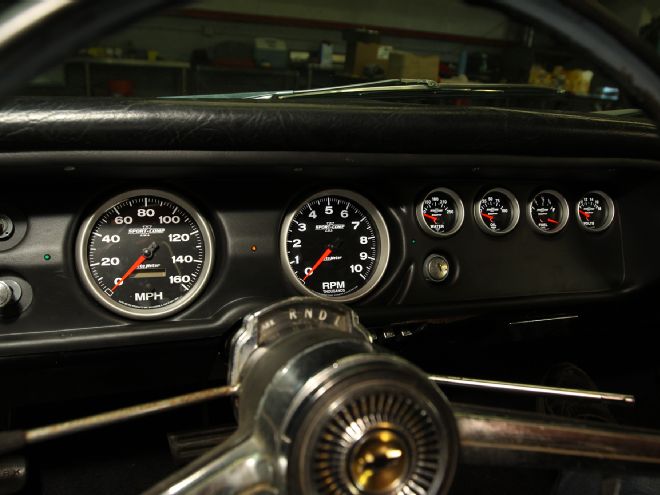
12. Before wiring anything, effective gauge placement was a concern. Where one wants to place each individual gauge is up to them. In terms of visual hierarchy we chose to give the tachometer priority over the speedometer.
13. Often, the steering wheel can be an obstruction to reading gauges. After a mockup revealed where the blind spot was we chose the voltmeter as the least immediate of emergencies.
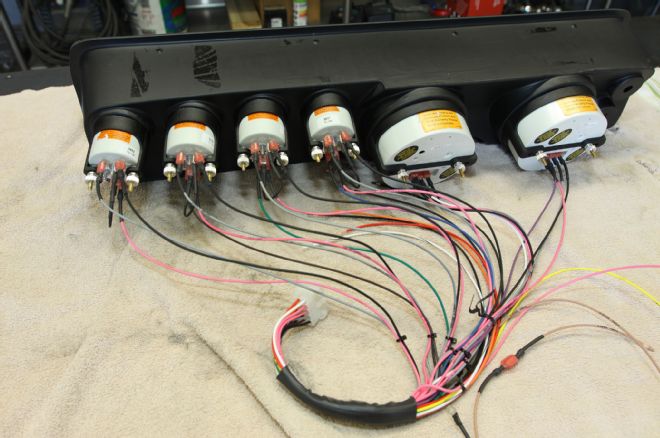
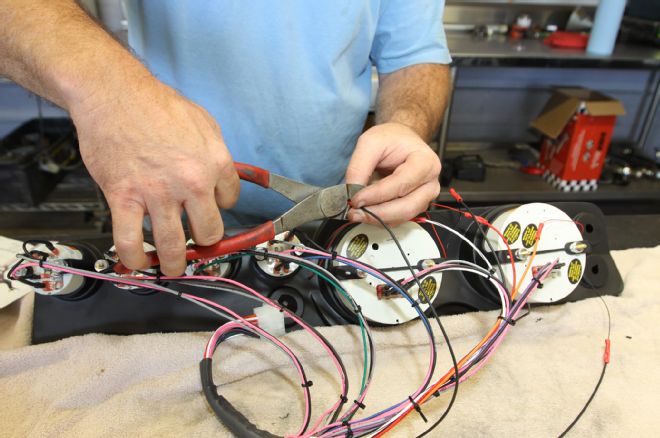
14. Thanks to Classic Dash’s comprehensive instruction manual, wiring the gauges is easy. Beginning from the right (driver side) we started wiring at the speedometer, tachometer, and then down the line.
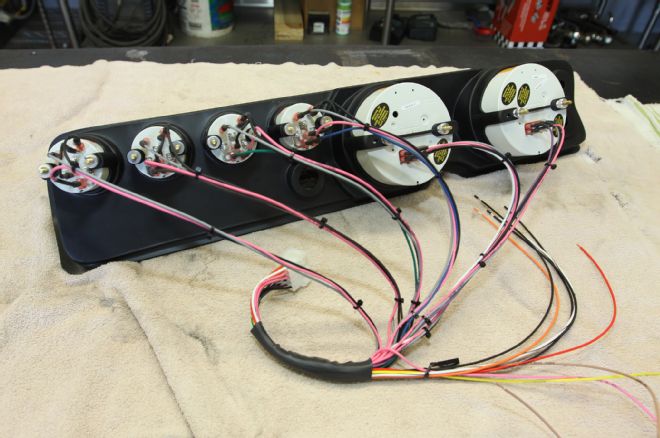
15. Notice how using small tie-wraps holds the wires together and produces clean results.
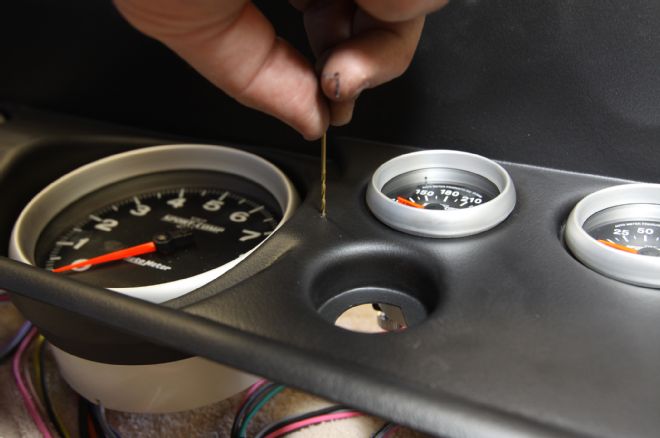
16. To install the LED high beam and turn signal indicators into the dashpanel we used a very sharp tiny drill bit to hand drill a pilot hole.
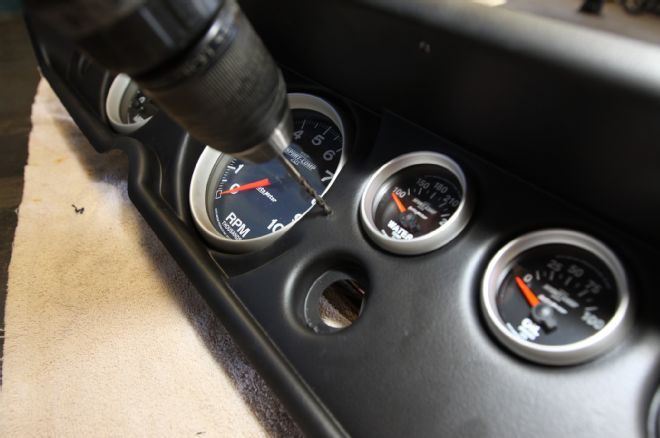
17. Next, for a snug fit a hole corresponding exactly to the outside diameter of the LED indicator was drilled to retain it to the dashpanel. Placement of the LED indicators (turn, parking brake, high beam) is up to the installer.
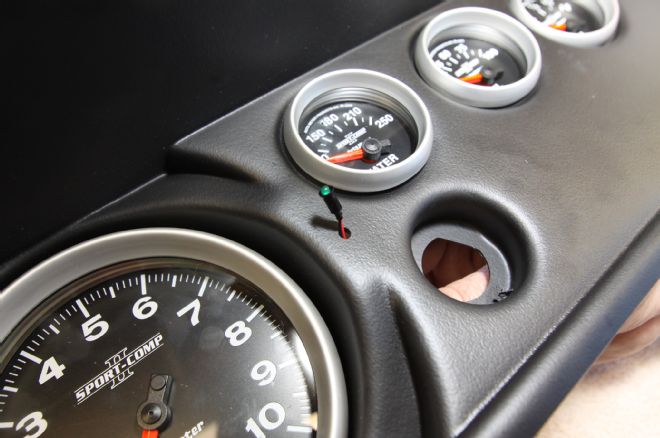
18. We chose to spread the LED turn signal indicators to the left and right side of the panel with the high beam indicator dead center. No parking brake indicator was used for this car.
19. The LED indicators were pressed into the dashpanel with a finger and then butt connected (butt connectors included) into the gauge wiring harness with crimpers.
20. Currently, a center bolt 350 powers the Chevelle, but the owner has future plans for an LS conversion. For an early-small-block-to-LS engine conversion, the beauty of Classic Dash’s instrument panel is versatility. All it takes to make the gauges work is to retrofit an LS adapter harness.
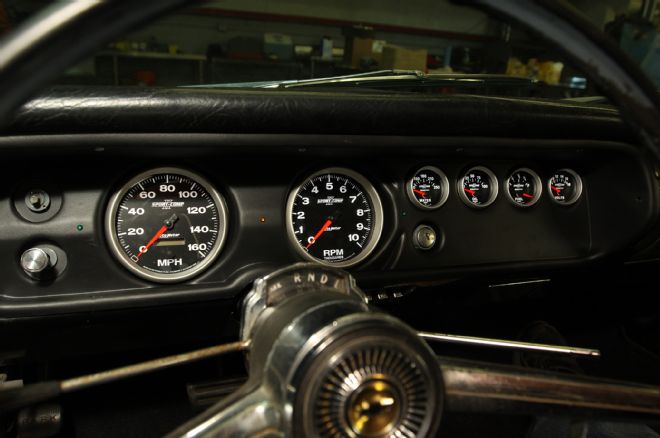
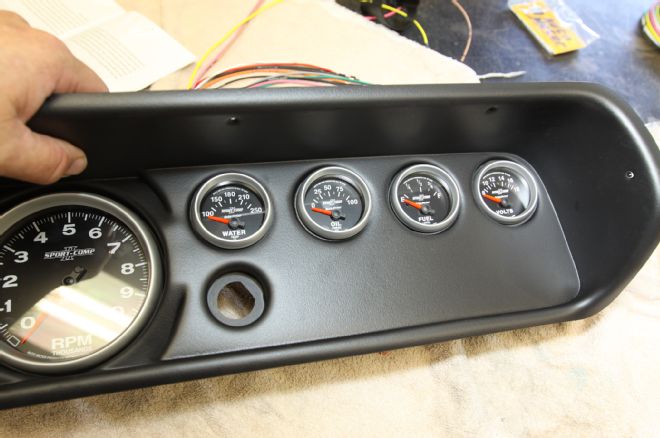
21. How’s that for easy-to-see and read gauges? Notice the Classic Dash panel comes with a radio delete fascia. This allows installing any brand of head unit, or streaming from an iPhone.
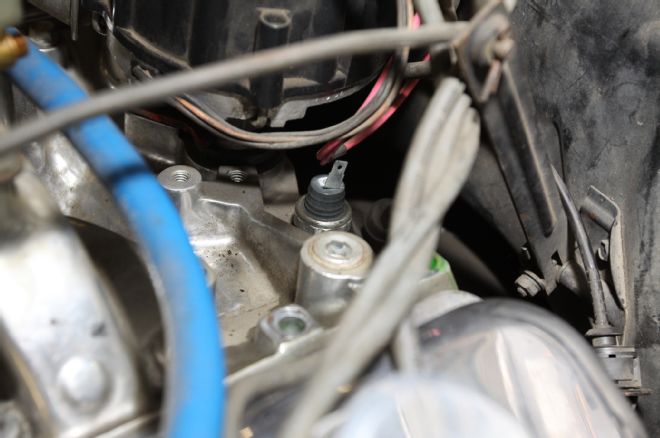
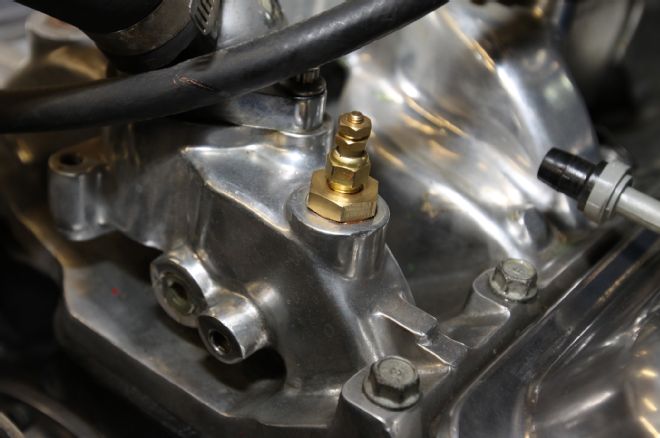
22. To install the Auto Meter oil-pressure sending unit, the stock idiot light sending unit next to the driver side of the distributor base must be unscrewed and removed.

23. The Auto Meter oil pressure sending unit, due to clearance problems with the intake manifold, must use an adapter (not included) to install. Then the wire marked oil-pressure sender is attached to the sending unit.
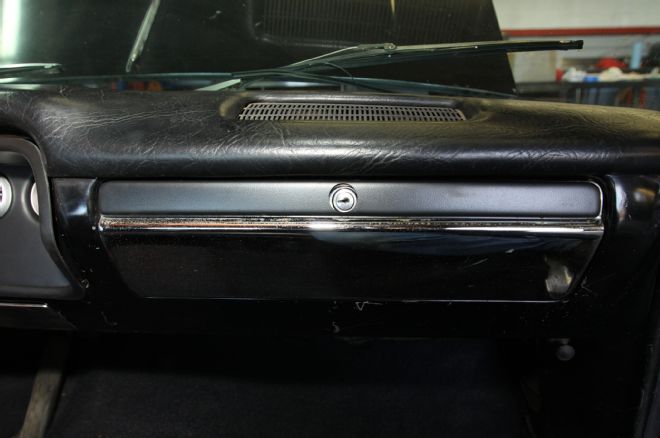
24. A nice touch, Classic Dash includes a finishing strip to match its dashpanel to attach to the glovebox door. The custom chrome glovebox door in this Chevelle doubles as a makeup mirror.
25. The Auto Meter coolant temperature sending unit installs in the usual position at the front of the intake manifold. Equipped with an air-gap-style manifold, the wire was run inside the gap.
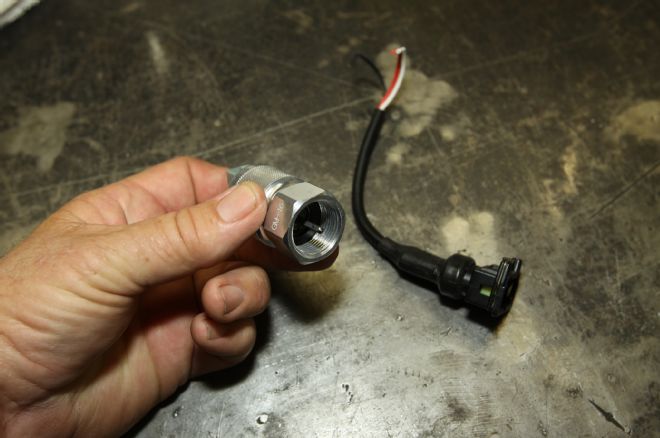
26. A simple conversion to undertake, the stock Chevelle mechanical speedometer drive located on the transmission accepts this sending unit to operate the Auto Meter electrical speedometer. After installation, the speedo must be calibrated as described in the Classic Dash instruction guide.