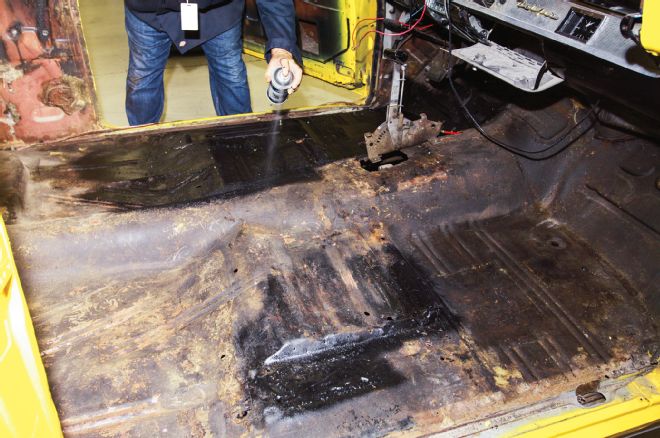
Perhaps our credo at Chevy High Performance should be, “We make all the mistakes so that you don’t have to.” Case in point is the Mexican bee-yellow ’57 Bel Air coupe that has appeared in tech articles in previous issues. The goal was simple enough; we’d gut its cheesy black TJ tuck ’n’ roll job and slap in a totally bitchin new factory-correct interior kit from the folks at CARS Inc. It seemed like a solid enough plan, but that’s where it all went bad. Day one into the gutting process with nothing left in sight but bare floors, we discovered we barely had floors. What at first appeared to be solid steel were in fact sheets of galvanized tin lathered into place with filler, brass brazing rod, and rivets. On top of all that was a 1/2-inch thick layer of black tarry goo.
In our defense, we absolutely intended for the ’57 to go up on a lift first thing to inspect the floors from underneath, but there wasn’t a lift available in the tech center at the time. Apparently, the next best thing was tucking the ’57 between shelving where thousands of toilet paper rolls, as well as an old Suburban, are stored. The moral of the story without exception is to always raise the car high enough into the air to verify that the floors are good before considering interior work.
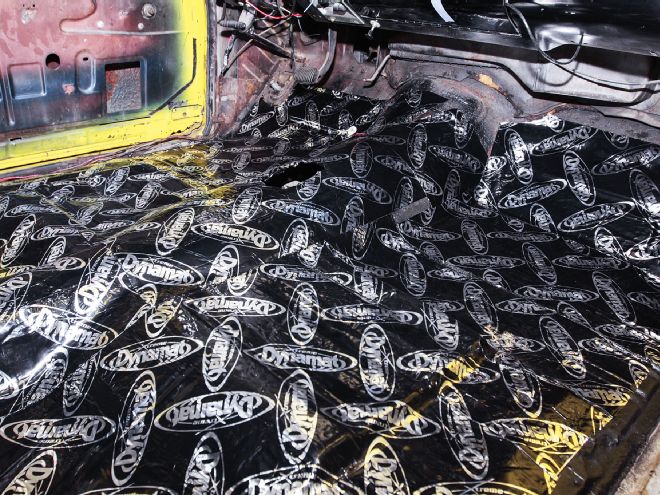
The silver lining is that we did discover an additional use for Dyanmat in addition to keeping the heat, or cold out when not wanted, or to lower sound levels considerably, it works great to plug up rust holes. That said, whether one is installing Dynamat into a high-dollar build where finicky attention must paid to perform a clean installation, or just a good car that deserves to be made better, the following tips will make the job go a lot easier in much less time.
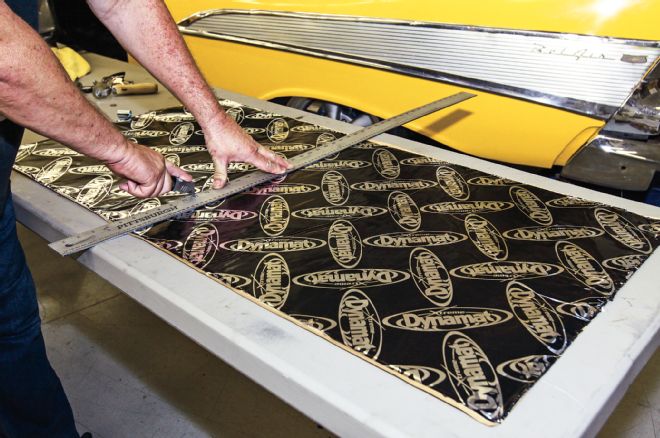
01. Work from a comfortable height and use the edge of the table along with a framing square to draw square cut lines. A mat knife or single-edge razor works well for cutting.
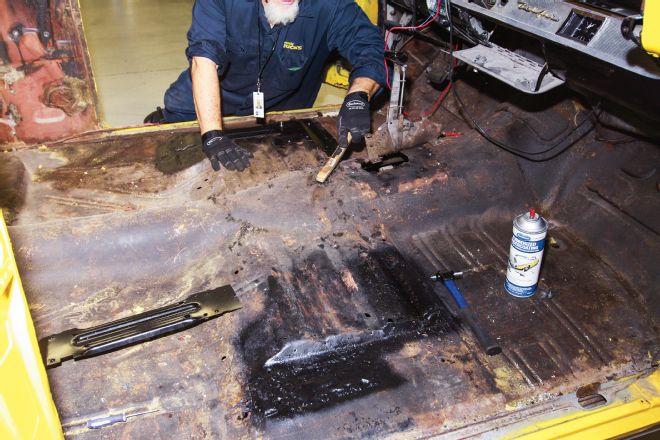
02. Use a wire brush to loosen and remove rusty scale that if left in place will diminish adhesion and produce lumps in the Dynamat.
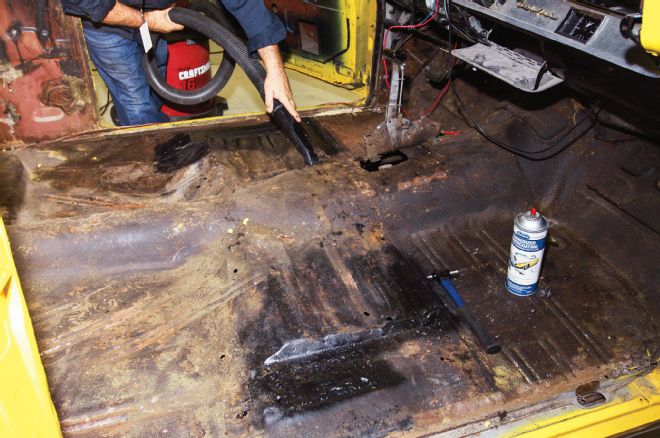
03. A shop vacuum works better than using compressed air to blow loose, rusted scale out.
04. Using Eastwood’s rust encapsulator directly over heavily rusted areas stops rust, and then finishing (sealing) with Eastwood’s rubberized undercoating provides a waterproof surface.
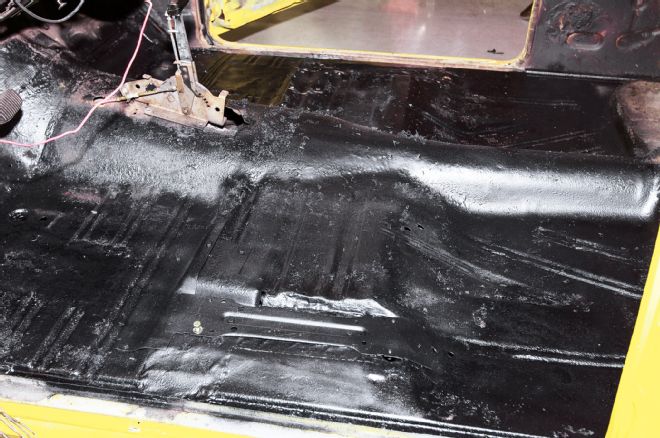
05. We used CARS Inc.’s patch panels to section in good metal to rusted areas and restore seat bolt holes.
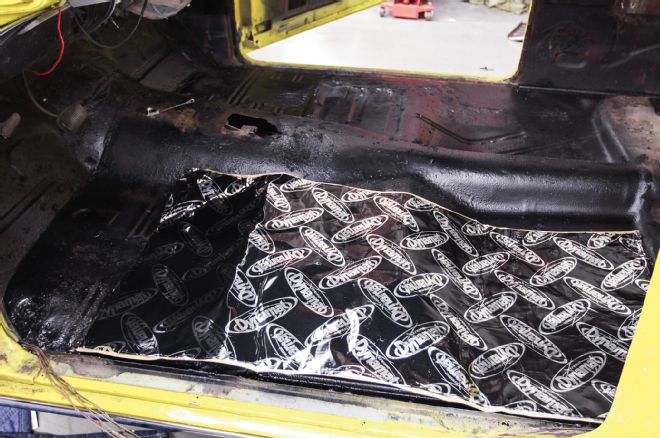
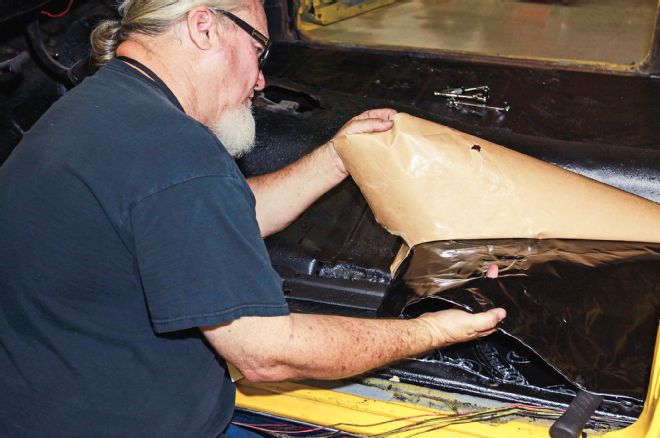
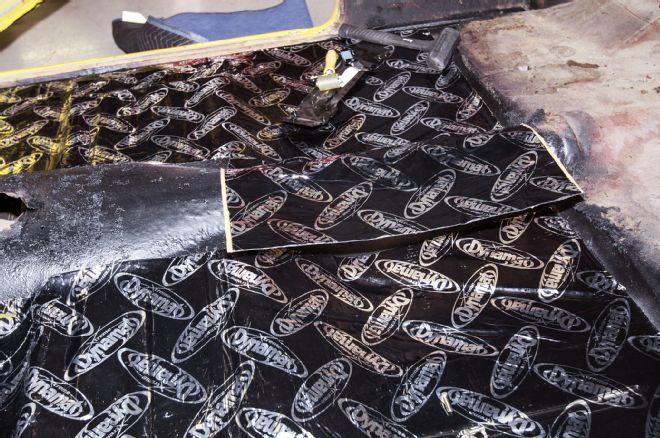
06. As a test-fit, we started by covering the largest area possible with an intact sheet of Dynamat. Notice the Dynamat sheet was pre-formed at this stage.

07. The section shown of brown paper backing was peeled off, allowing the Dynamat sheet to be tacked into place and compressed with a Dynamat roller.

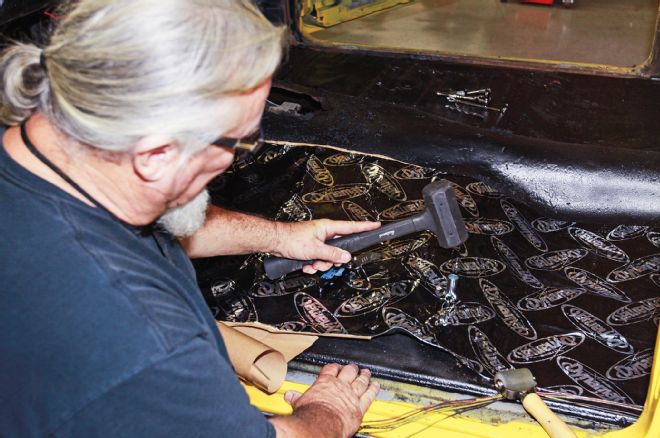
08. We lifted the Dynamat sheet upward and peeled away the rest of the backing, remembering that once the sheet is laid down into place you don’t get a second chance.
09. We screwed a 5/16 Allen bolt into the seat bolt hole and then pressed hard onto the Dynamat-located the bolt hole.
10. We then tapped a sharpened piece of tubing and cut a clean hole clear through the Dynamat.
11. Half of a second sheet of Dynamat was needed to complete the driver side floor. Note it was preformed before peeling the backing.
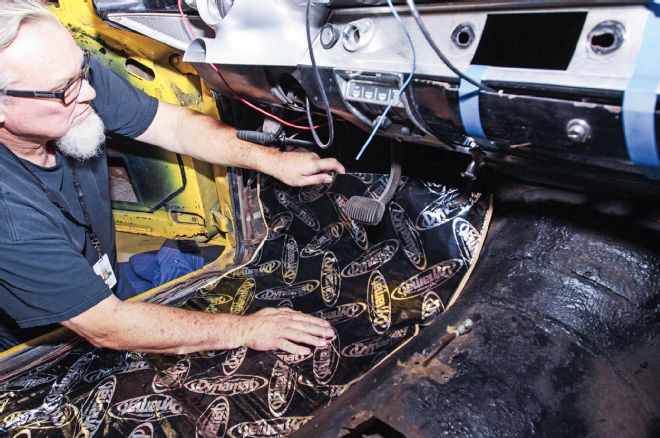
12. Notches were then cut in the Dynamat to clear the base of the gas pedal.
13. After the driver-side floor was completed, we moved to the passenger-side and completed that area.
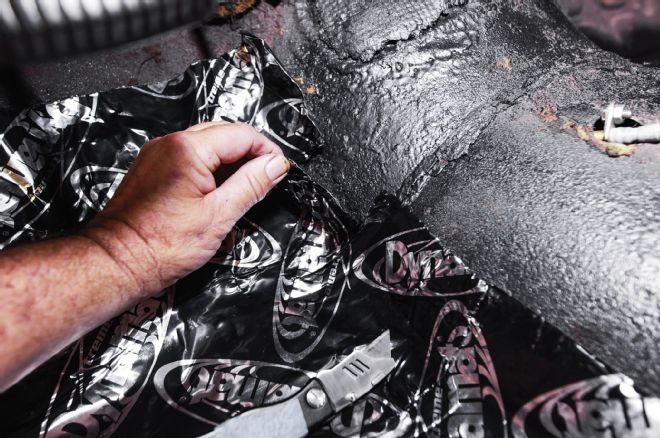
14. Next was to cover the driveshaft tunnel starting from the back seat area. Note the tunnel curvature was formed before peeling the brown backing paper.
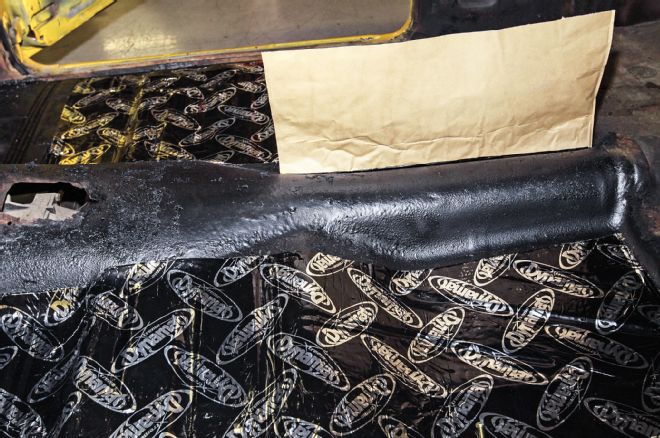
15. Notice the tunnel section of Dynamat was butted up to driver-side and tacked with most of the backing left on.
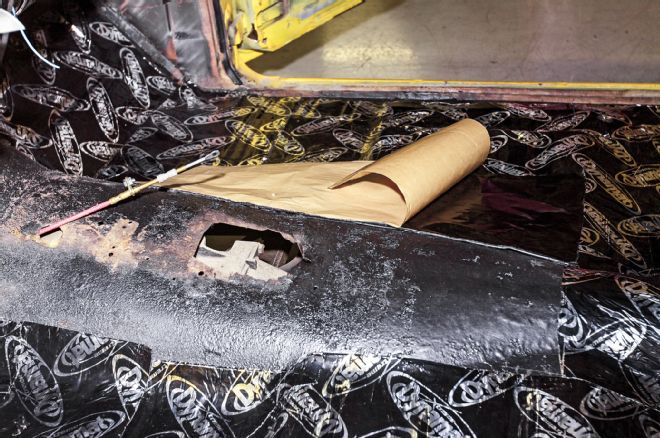
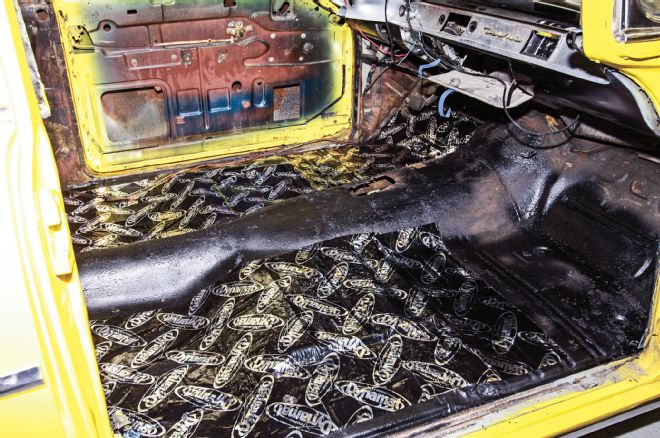
16. After the rear tunnel section was stuck into place, the last section to cover was the transmission tunnel.
17. Pressing our hand onto the Dynamat in place over the tranny tunnel with the backing in place showed the area needed to be cut out for the floor shifter.