For those of you who have asked yourselves, "Can I paint my car myself?" note the efforts of an ambitious car enthusiast named Ray Jackson. Ray worked the railroads in Chicago for 42 years and is now retired. His entire life has been augmented by a strong aptitude for anything mechanical. Ray crewed for a boat racing team that ran a 426 Hemi-powered speedboat for more than a decade. He is an active member of the Chrysler Airflow Club and has restored a couple of them. One of those beauties is currently owned by Jay Leno. Though Ray is not a paid professional painter, he certainly would fall into the advanced amateur category.
Ray and I first met at the grand opening of the Eastwood store in Crestwood, New Jersey. Ray arrived in a Hemi-powered 1965 Plymouth Belvedere I post car. He had restored the car himself, save for the machining of the engine and trim restoration. He explained that he would soon be painting his '65 Belvedere wagon. When asked how he was able to pull that off as an amateur, he said he had learned some skills along the way and had worked with people in the past to make it possible to get the job done.

The starting point for paintwork on any car is access to a shop with a paint booth. Ray has connections from his boat racing days with Doug Oram, owner of Fleet Specialty Painting in Joliet, Illinois. Doug and Ray worked out an arrangement for Ray to use his shop to paint the wagon. Ray purchased a quality rotisserie from Accessible Systems and proceeded to get the car ready for paint. He installed a new floor from AMD, fixed a few rusted areas, and straightened the body. Ray did the entire paintwork, from start to finish, on his own after hours at Fleet Specialty Painting.
Anything Ray needed done on his cars, he either learned on his own or by getting necessary information from vendors and/or experts. Along the way, he has made a number of friends to round out his automotive enthusiasm. Can you paint your car? In most cases, the answer would be "yes," provided you possess or are willing to gain skills, make friendships in the hobby, and see a project through to the end.
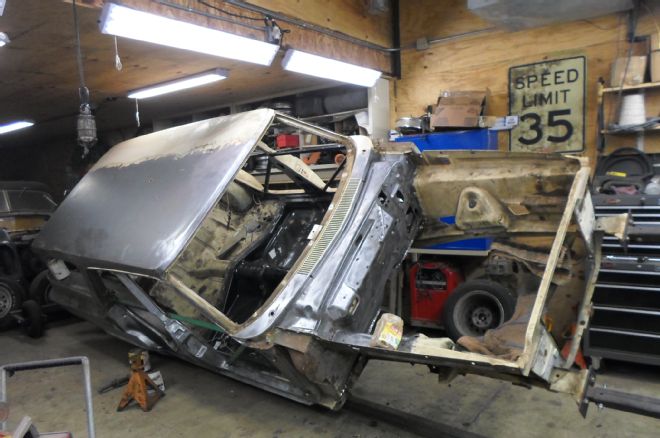
1 Ray purchased the '65 Plymouth Belvedere wagon to build it into a station wagon version of his Plymouth Belvedere I two-door post. The car was stripped using Klean Strip Aircraft Stripper. Ray installed a full AMD floorpan, and then performed other minor bodywork to get the car ready for paint.
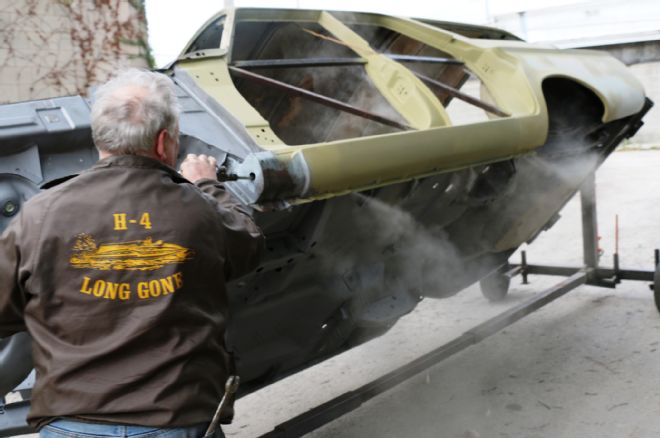
2 Just prior to bringing the car to Fleet Specialty Painting in Joliet, Illinois, Ray had the undercarriage mediablasted. Once the wagon was back from the blaster, Ray used an air hose with a long metal wand to blow the extra media out of crevices. Do not skip this step, as a lot of media gets trapped in these hard-to-reach places.
3 Ray applies about three medium wet coats of Dark Gray PPG primer surfacer DPS3057 to allow for enough material for block sanding. A black guidecoat is then lightly sprayed on the DPS3057 in order to reveal high and low spots. Block sanding is a tedious process, but when done properly, results in a perfectly smooth and straight surface.
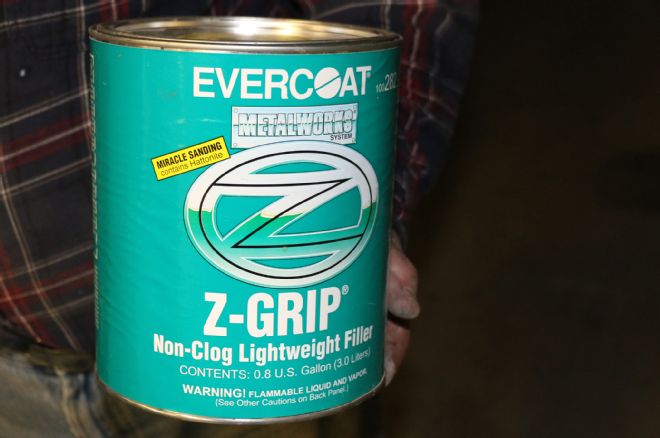
4 Any low spots in the metal receive a thin coat of Evercoat Z Grip lightweight filler. Small spots are addressed by Smart Premium Glaze polyester finishing putty.
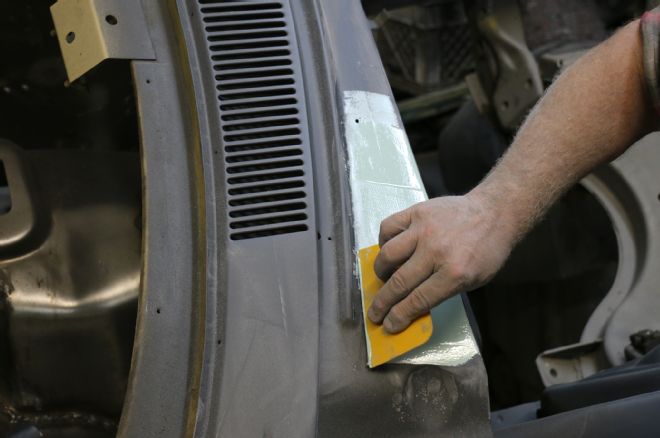
5 This ledge inside the engine compartment was a bit wavy, so Ray applied a thin coat of the Z Grip filler. He then sanded the area with a small block using 180-grit paper, re-primed the area with DPS3057, then worked it until smooth.

6 Ray began block sanding the entire car with water and 400-grit paper. Opinions vary as to how far to take the surface. Some painters will block sand the car to 600-grit. Metallic paints might need to be blocked with 800-grit paper. Different size blocks are used to prepare the surface for paint. Care is taken to avoid burning through the body lines, corners, or other sharp edges.
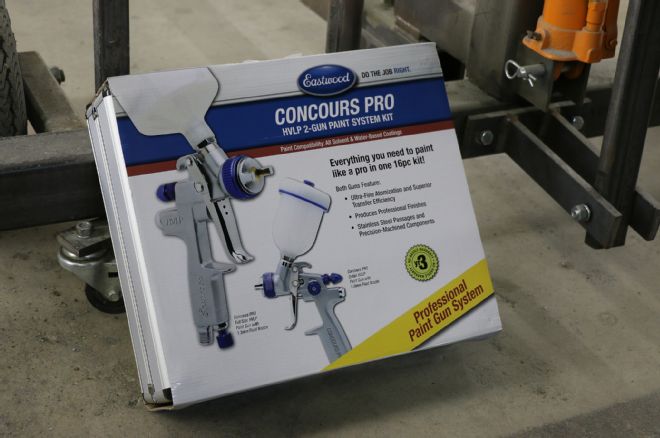
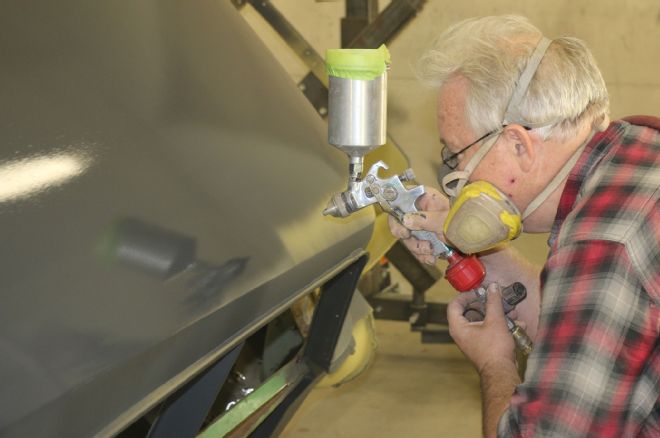
7 Eastwood's Concours Pro paint gun kit includes a Concours Pro fullsize HVLP paint gun with 1.3mm fluid nozzle and a Concours Pro detail HVLP paint gun with 1.0mm fluid nozzle. Both guns feature stainless steel passages and precision machined components for "ultra-fine atomization and superior transfer efficiency," Eastwood says. Ray used the fullsize gun and found it easy to use and reliable.
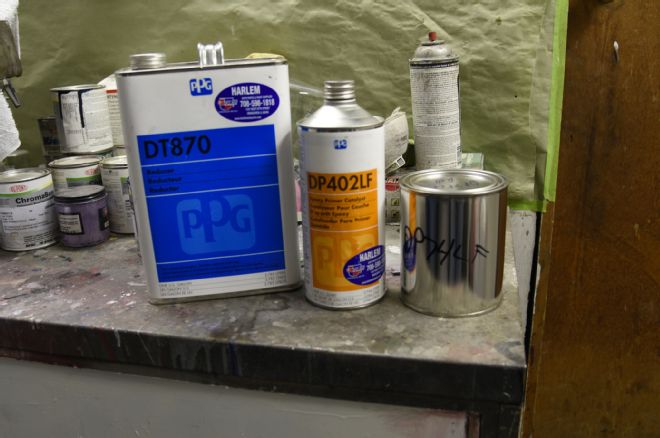
8 There are a few options that serve as sealers once the car has been block sanded. Ray uses a PPG DP74LF non-sanding epoxy primer and mixes it with DT870 reducer and DP402LF primer catalyst according to instructions. Only one coat of the epoxy primer is necessary.
9 Ray masks the car from the windshield back, as well as the front portion of the undercarriage, so that the engine compartment and front framerails can be painted separately. Drying times for the PPG DP74 LF epoxy primer are found on the label.
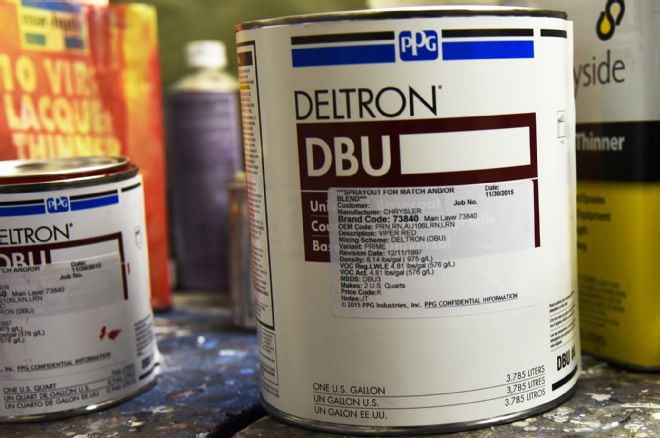
10 Ray mixes the PPG Deltron DBU basecoat, in Chrysler 73840 Viper Red, with the PPG DRR1170 reactive reducer.
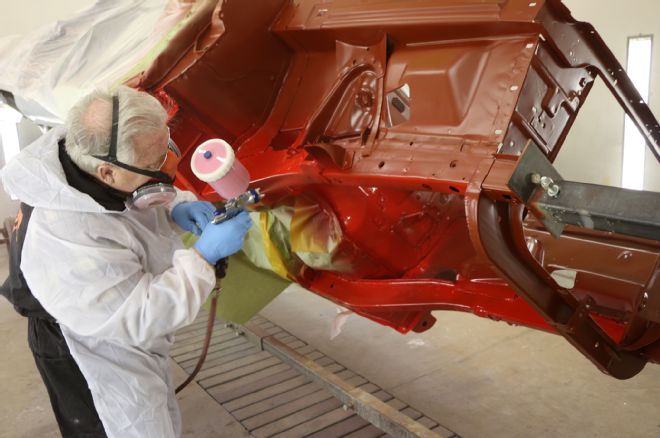
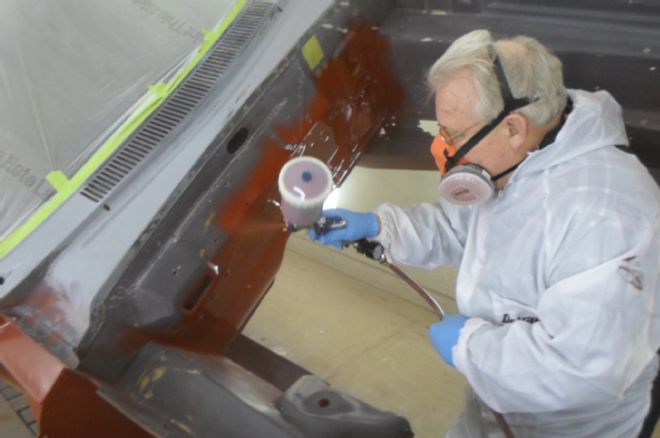
11 The Viper Red basecoat is shot on the front engine compartment, framerails, and radiator support. Three to four coats are applied according to instructions. Painting the car in sections minimizes overspray.
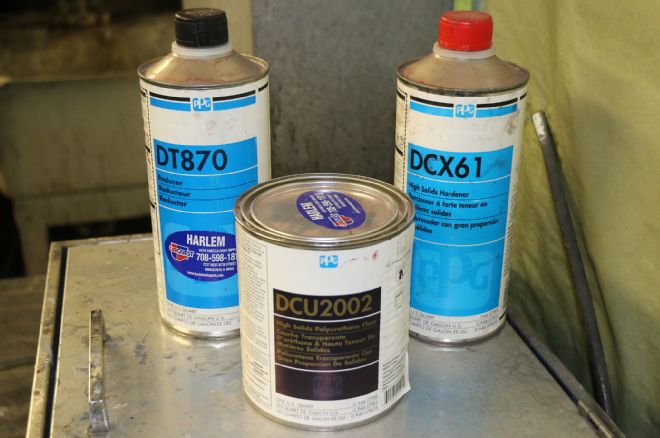
12 Once the basecoat is applied, it must dry for at least an hour at 72 degrees. Ray then mixes the PPG DCU2002 high solids polyurethane clear with DT870 reducer and DCX61 high solids hardener. Three to four coats of the clear are then applied.
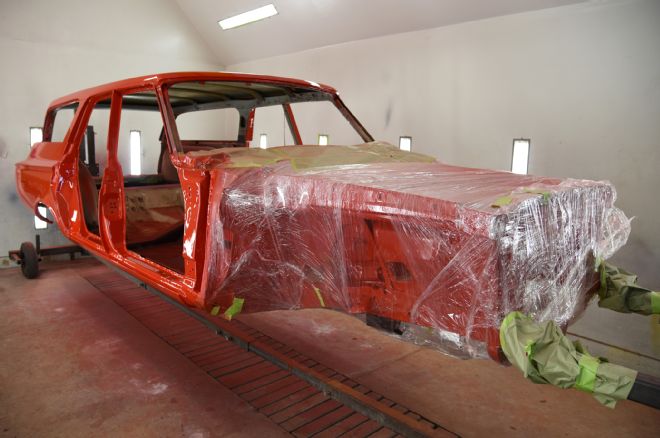
13 Ray masks off the newly painted engine compartment using a combination of masking tape, masking paper, and industrial clear plastic wrap.
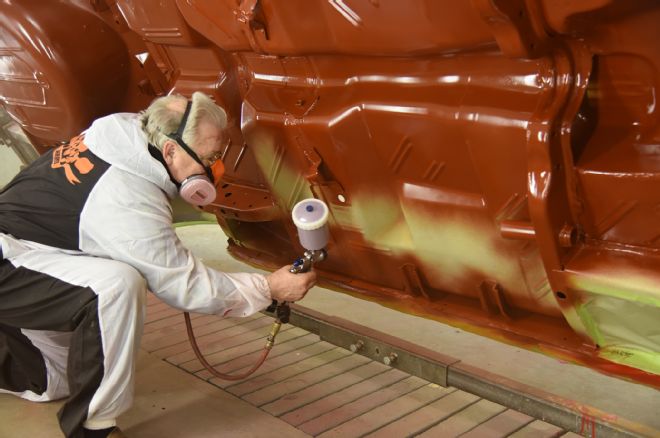
14 He also masks off the rockers and then paints the undercarriage with the PPG DP74LF epoxy primer. When ready, the Deltron basecoat/clearcoat system is applied to the undercarriage.

15 Once the undercarriage is painted, Ray masks it off in order to avoid overspray from painting the exterior panels. Those panels are painted with PPG DP74LF epoxy primer from top to bottom.
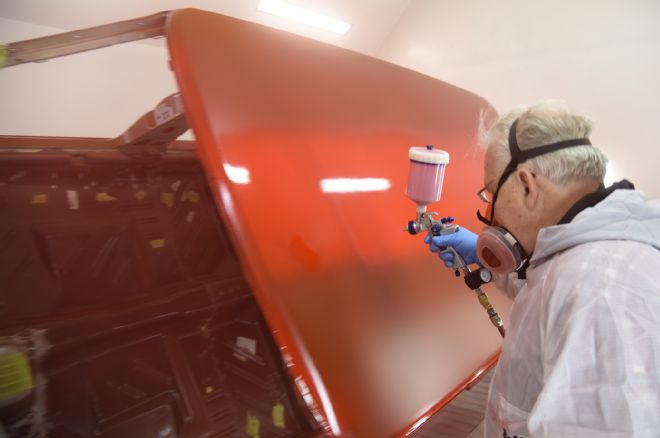
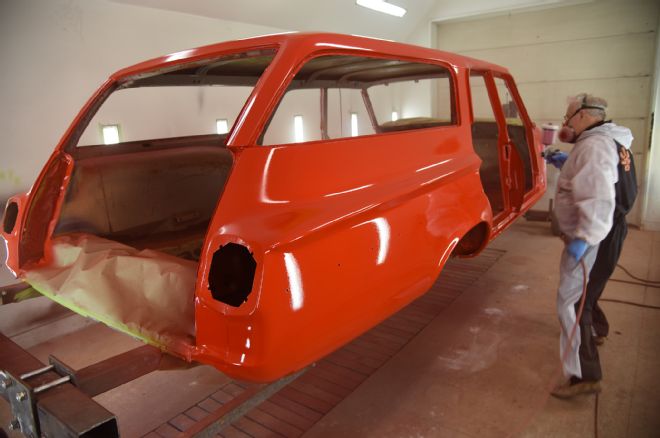
16 Once the DP74LF had been applied to the entire unibody shell, the car is now ready for Viper Red basecoat. The process includes three to four coats of PPG Deltron basecoat. The first coat will not achieve 100-percent coverage, as is evident with this photo of the initial coat going on the wagon's long roof.
17 The first coat is applied horizontally. Successive coats of basecoat are applied at different angles, first vertically, then diagonally.
18 As with the engine compartment, the basecoat on the body panels must dry for at least one hour at 72 degrees. Ray then applies three to four coats of DCU2002 high solids polyurethane clear to insure enough material to allow for color sanding and buffing.
19 Once the painting is complete, a step back from the car reveals impressive results. The paint is deep and wet, ready for color sanding and buffing. The unibody shell is rolled out of the paint booth to make room for painting the fenders, doors, and tailgate.

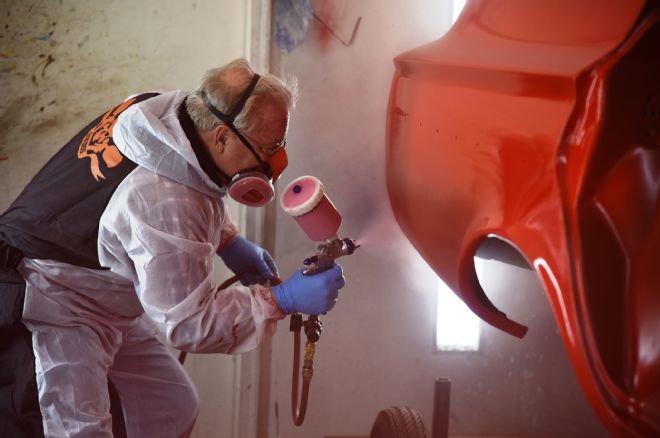
20 The fenders are painted separately using the exact same process as the body shell. Positioned properly, the fenders receive paint inside and out.

21 All four doors and the tailgate are also painted with epoxy primer, basecoat, and clearcoat. Ray is especially careful to cover all window channels and door edges.
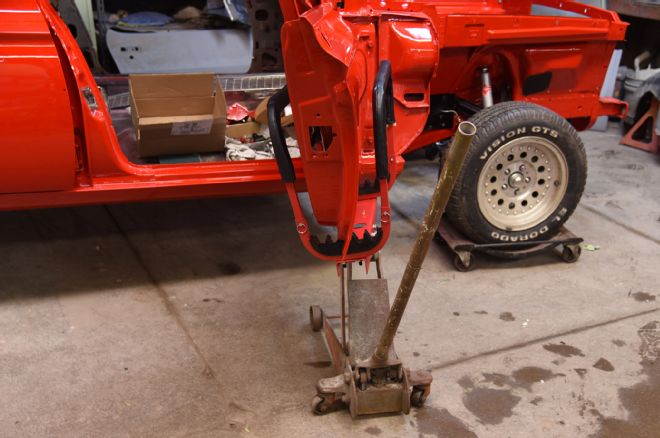
22 Eastwood makes this E-Z Rest door hanger that allows the use of a floor jack to properly position a door for installation. Using this tool, door installation can be accomplished by one person. However, having two people to install a door is always a good idea.
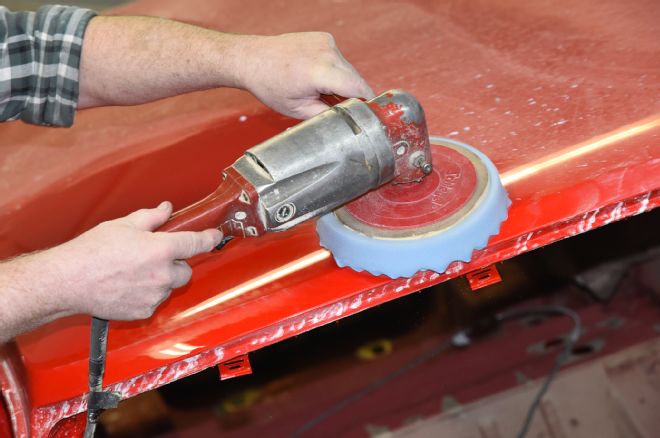
23 Ray will take the car home to finish color sanding and buffing. He will start color sanding (with water) using 800-grit paper, moving to 1,000-grit and then 2,000-grit paper. Then he'll switch to a DA sander (with water) with 3,000- and 5,000-grit paper. Once happy with the surface, Ray will use 3M products for buffing: rubbing compound 05973, machine polish, and Perfect-It ultrafine machine polish.
24 A combination of 3M buffing pads and 3M Perfect-It polishing pads is used for final buffing. Buffing paint is not as easy as it looks. Great care must be taken to watch the rotation of the buffer to avoid burning through the paint, especially along all edges and body lines.
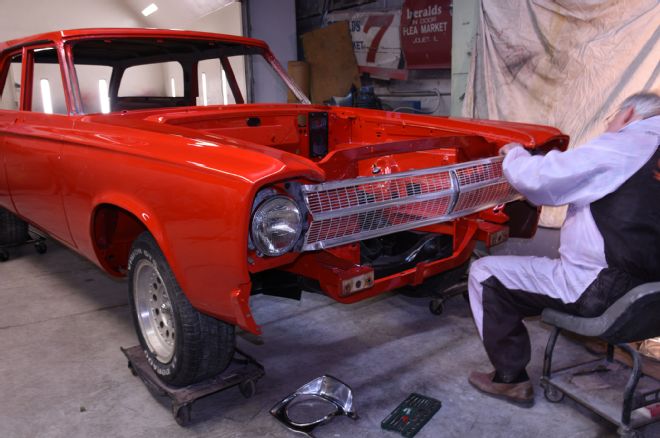
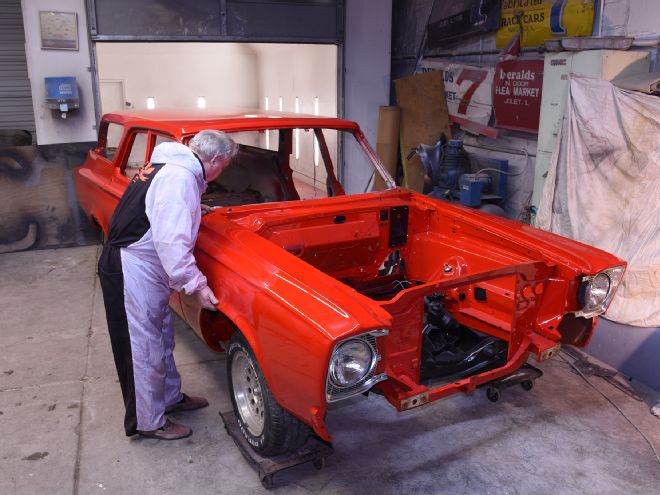
25 With fresh Viper Red paint, the car is ready for assembly. Total bill on materials used for this paint job came to about $4,500. Labor costs were $0.