Let's face it dents and dings happen, unless you keep your hot rod under permanent lock and key, garaged, and covered. But where is the fun in that? The bottom line is that if you're going to drive your car, you're probably going to eventually get a dent.
There are two basic ways to repair a minor dent in your car, one uses a hammer and dolly, the other uses a dent puller or a stud gun and pull pins. When you have access to both sides of the area of the dent, it's easier to use a hammer and dolly. If access is inhibited, you'll need to use a dent puller. To get a successful repair it does take a little skill, but if you've never done it before worry not, we conned the guys at The Finer Details into showing us how it's done. So follow Scott Dowdy's recommendations and you'll find that you too can get a show-quality finish in repairing a dent.
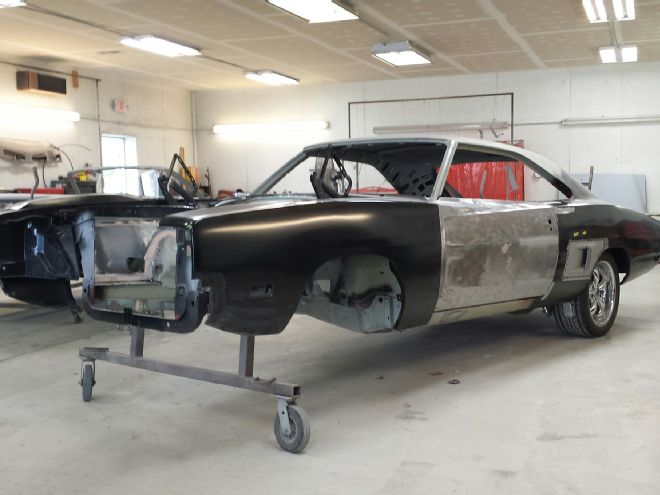
1. In one of the doors of our 1969 Dodge Charger project car you can clearly see the dent we want to fix.
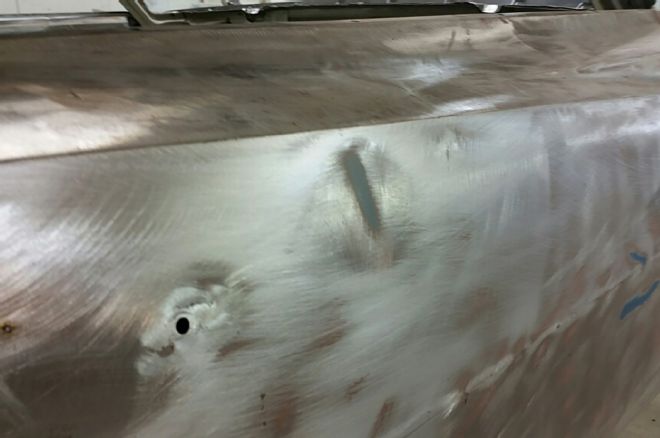
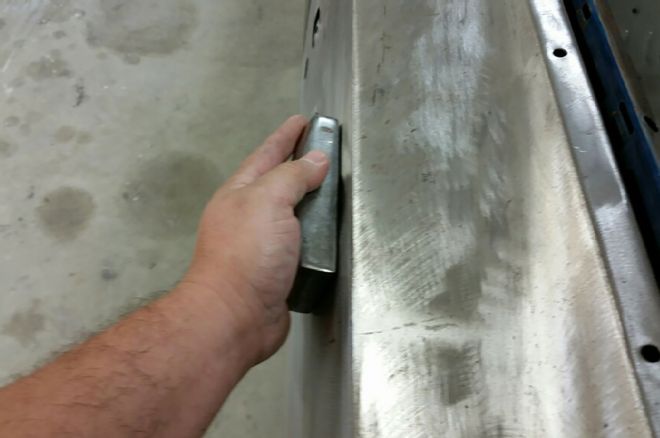
2. Obviously, this car has yet to be painted so all The Finer Details' Scott Dowdy had to do to prep the surface was scuff down the primer that was on the car to the bare metal. As he scuffed you can see where the dark spot developed to fully show the extent of the dent.
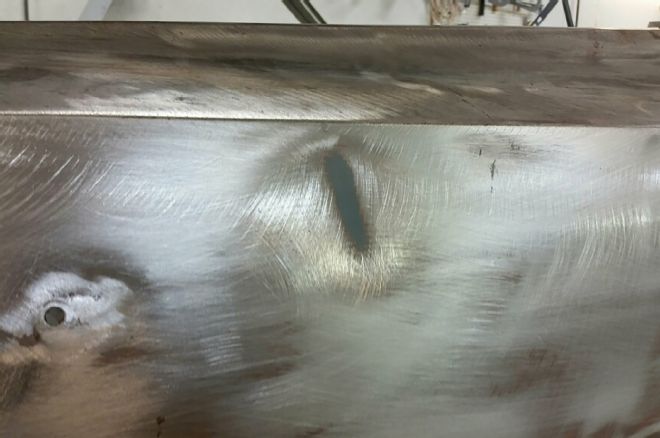
3. Since our Charger is a full-on work in progress and the interior of the car is not in place, we have the option of using a hammer and dolly.
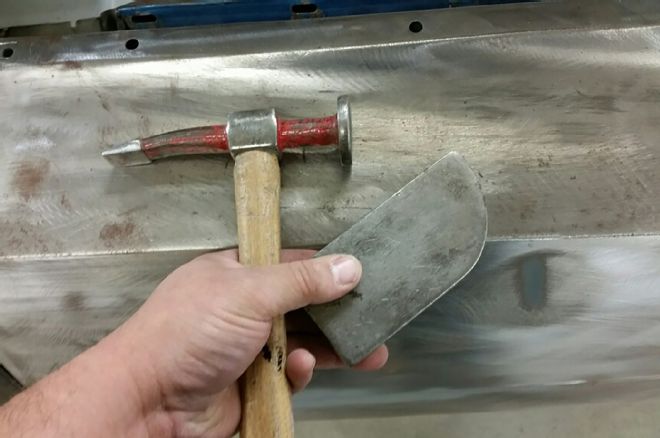
4. Dowdy holds the dolly firmly against the location of the dent while reaching around the other side to use the hammer to bump the dent out. You should use steady consistent taps as you work around the dent. Don't be afraid to put some oomph behind it but remember you're not driving railroad spikes into the ground either.
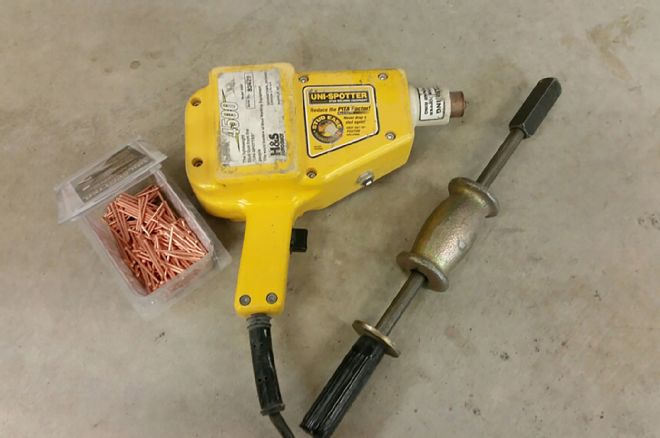
5. If you don't have access to the other side and cannot use the hammer and dolly method, then you will need to use a dent puller or a stud gun with pull pins. Also called a stud welder system, these tools range in cost from $200-$600 depending on the manufacturer.
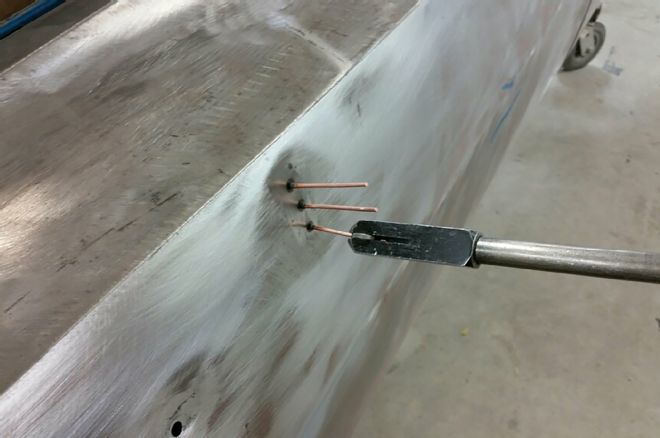
6. Using a spot welding system is a fairly straightforward process. You spot-weld the pins down the center of the dent and then pull the slide hammer to smooth out the dent. With the dent minimized, you snip the pin off and grind any remaining pieces down.
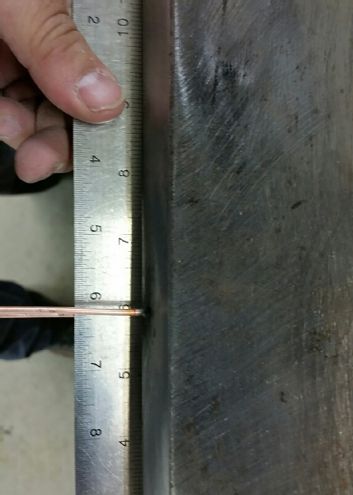
7. Before pulling out the pins, make sure that you check the depth of the dent. You want no more than 1/8-inch depth for the filler.
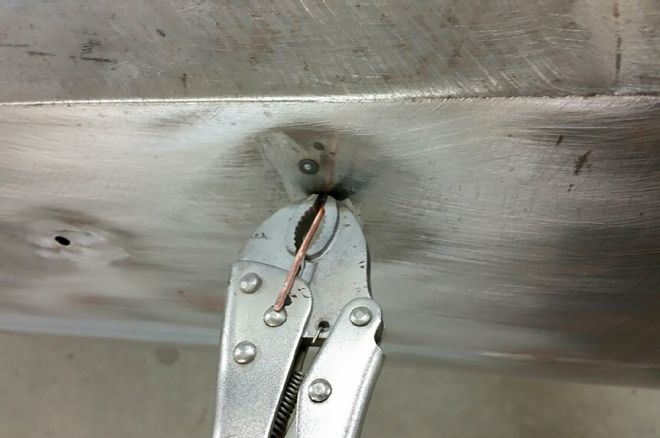
8. With the depth checking out fine, Dowdy clamps and twists the pin off cleanly. Any remaining pin parts can be ground off.
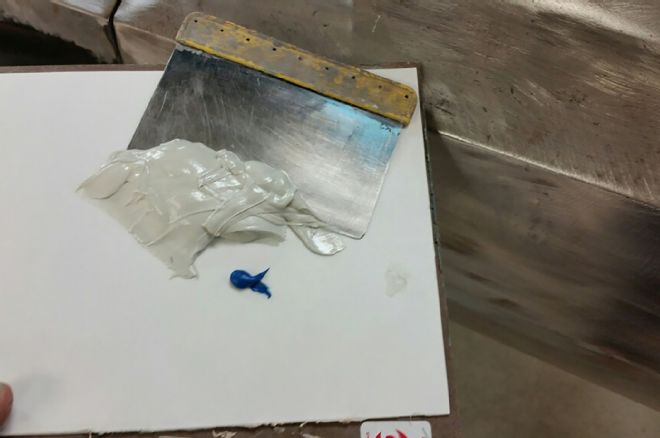
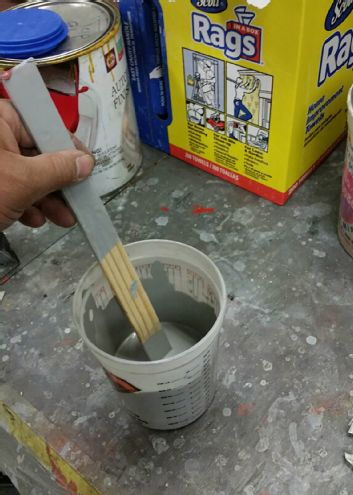
9. Dowdy uses a two-part filler called Duraglas. If you've ever used two-part epoxy glue it's basically the same thing. You just measure out the base and hardener according to the instructions.
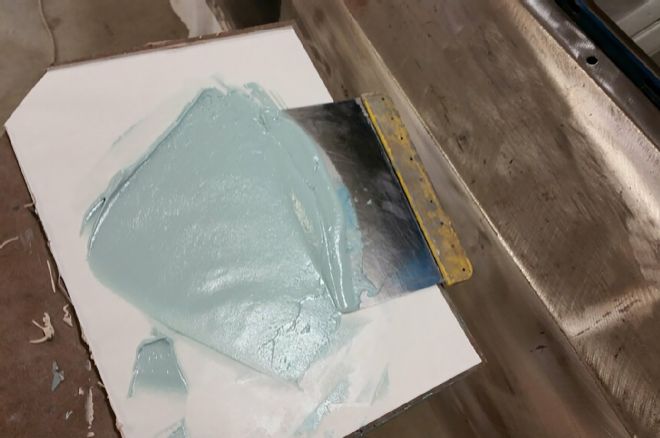
10. Mix the base and hardener together until you get a nice consistent color throughout.
11. It's important that you thoroughly mix the filler before you start spreading it on the dent. You'll want to use a flat spreader like this one to keep the surface thin, flat, and uniform.
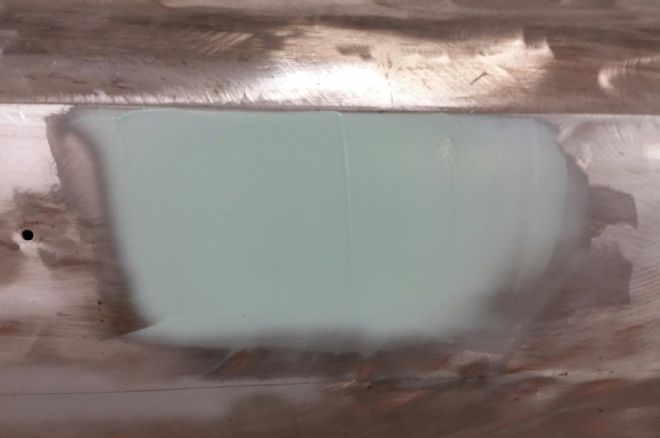
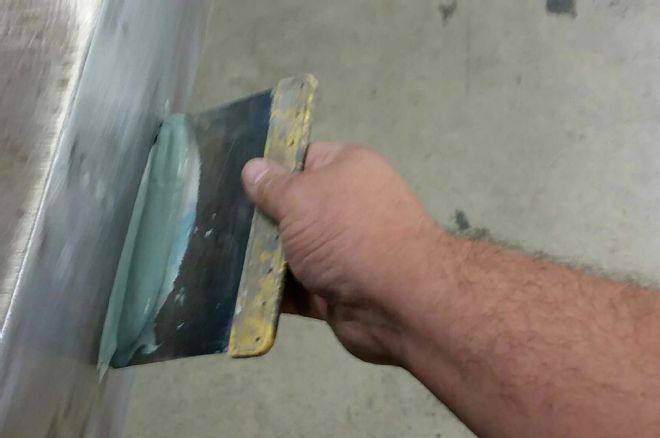
12. You want to try to spread the filler evenly over the entire repair area. Note that Dowdy has covered a great deal more area than just the dent, probably somewhere in the neighborhood of ten times the size. This approach helps ensure a laser-straight finished product.
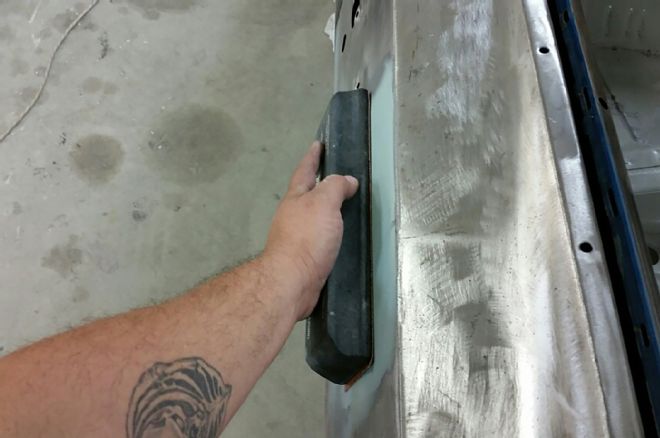
13. Dowdy will block sand the area first with 80 grit paper, followed by 150-grit paper.
14. The large filled repair field allows Dowdy to use long smooth sanding strokes across the entire filled area to create an even finish across the dent.
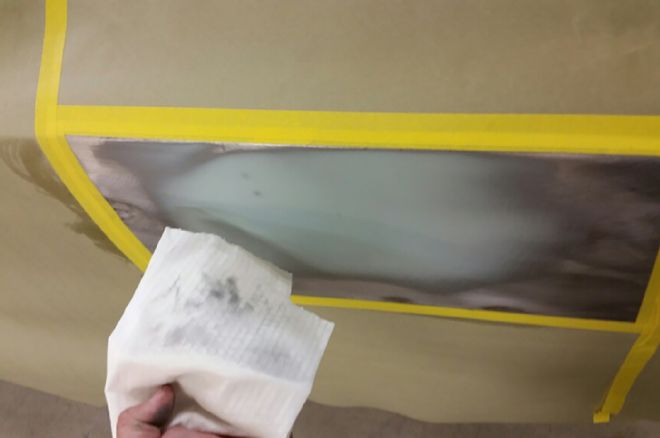
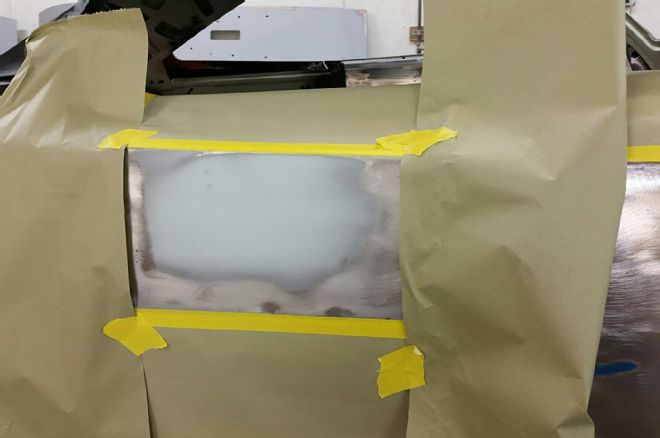
15. Tape off the area and use a clean cloth and a good quality wax/grease remover to clean the entire area.
16. Mix up some primer according to the manufacturer's instructions.
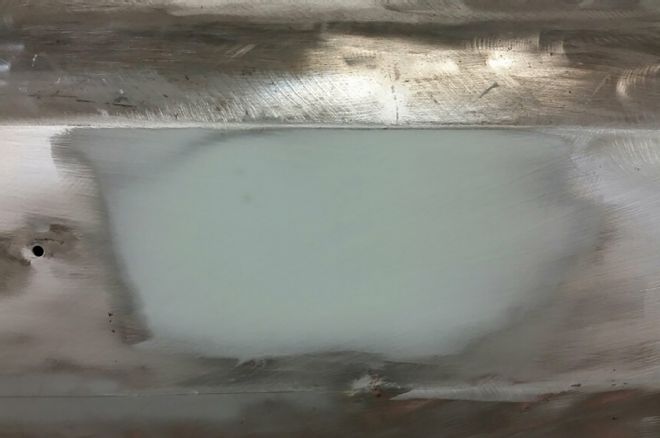
17. The goal is to not create any hard-line edges in the primer as you are spraying.
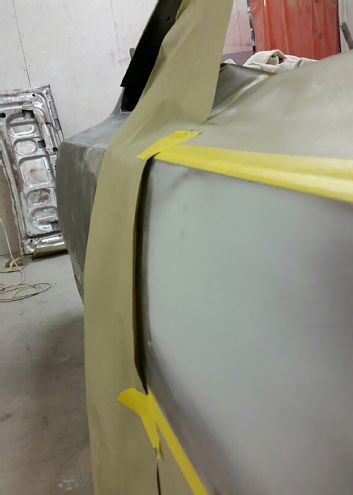
18. Dowdy applied three coats of primer and as you can see there aren't any hard edges.
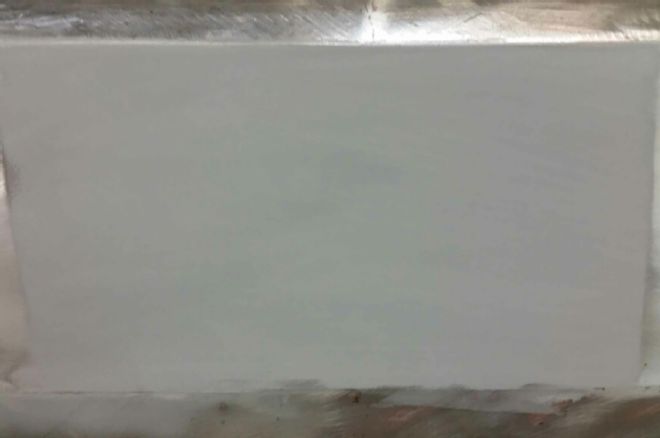
19. The secret, however, to a level surface is using a guide coat while you're block sanding. Dowdy applies a light misting of darker guidecoat over his primed surface to highlight low and uneven areas. He then block-sands the area with 320-grit paper. He keeps sanding and applying guidecoat working his way to 500-grit when ultimately the guide coat disappears. The final step is to clean and seal the area before applying your paint. Of course, we're going to paint our car all at once, which we'll be getting to in future stories.