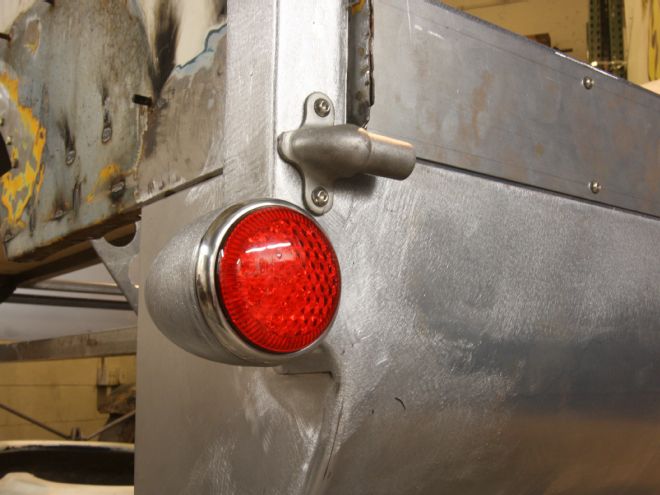
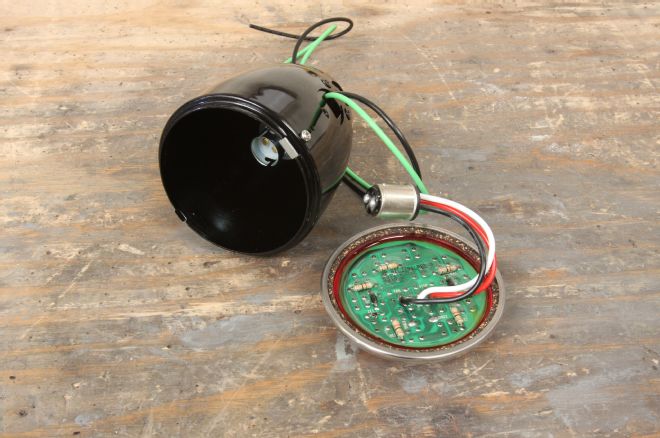
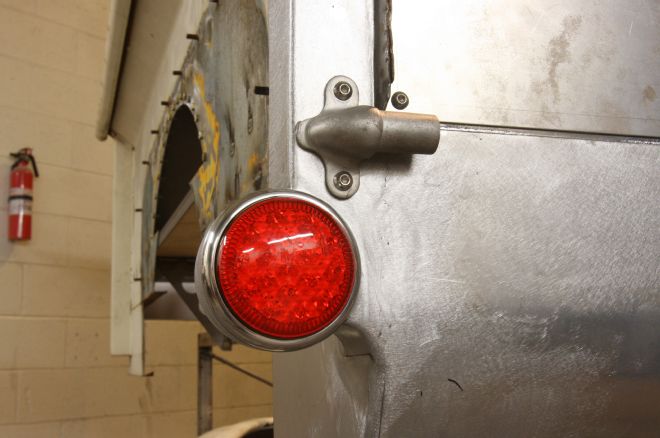
When we installed the roll pan on our 1956 F-100, we left the lower sections of the beat-up stake pockets unfinished, as we were still undecided as to how to finish them off, and how to mount taillights, or even what lights to use. Our solution was to partly recess 1937 Ford taillight buckets into the pockets rather than mount them on stands, somewhat disguising the rather square and abrupt ends to the pockets, as well as hiding all wiring within the bodywork. We chose LED taillights, sourced from Speedway Motors, for added safety.
Slightly less taxing, but no less important, our bed front panel desperately needed replacing. Dennis Carpenter Ford Restoration Parts supplied a new panel, allowing us the opportunity to easily install the new bed floor support once the old panel was removed. The new panel was a perfect fit, and we welded it in place rather than using rivets.
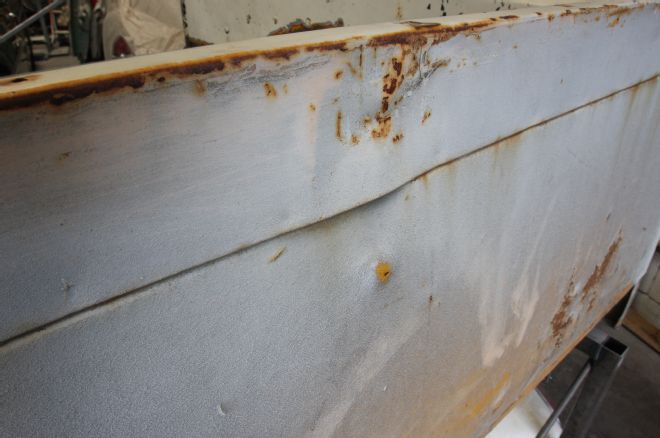
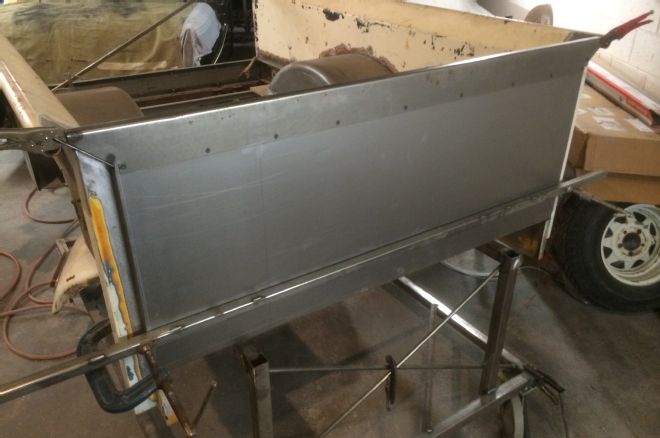
Suddenly the bed is done, with the exception of a cutout in the pan for exhaust tips, ready to go for media blasting to rid the only original parts, the bedsides, of more than a few coats of paint.
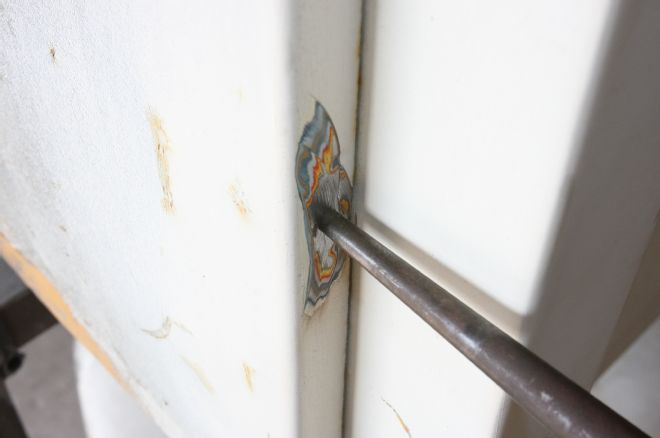
1 As with most pickups, our F-100 bed had seen plenty of use, the front panel dinged, dented, and bowed toward the cab.
2 The panel had also suffered this damage to the top edge at some point. Time for a replacement.
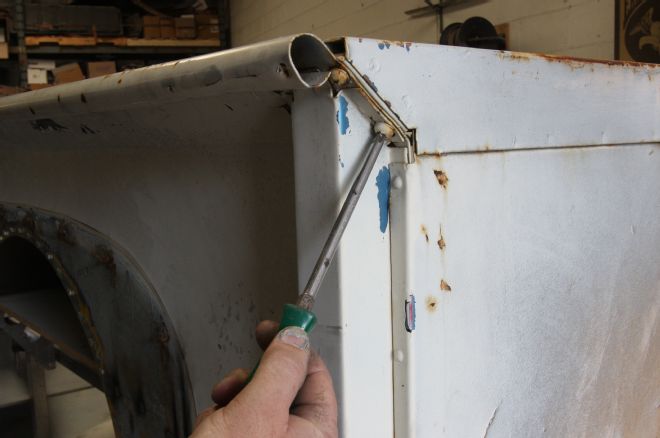
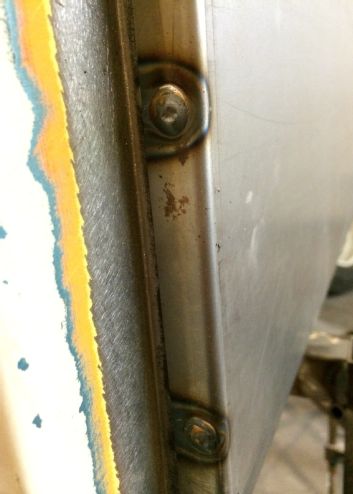
3 For some reason Ford chose to attach the panel to the stake pockets with Phillips-headed bolts, though the rest of the panel is riveted and welded in place.
4 After grinding the heads off the rivets at each end of the panel, we drifted them out using a punch. A previous F-100 of ours had welds rather than rivets, which would need drilling out.
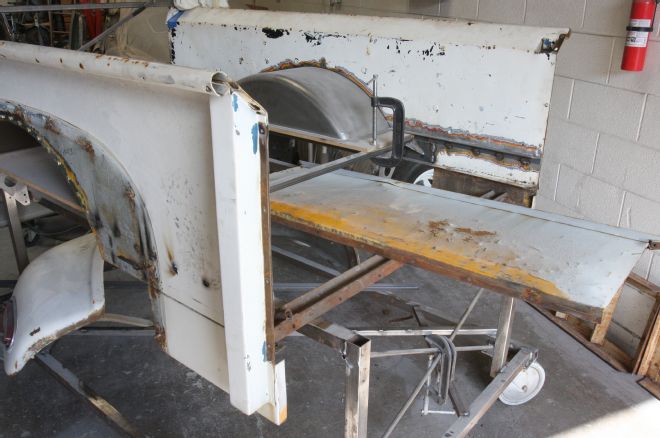
5 With the panel removed, we cleaned the flanges and exposed edges, prior to welding the new Dennis Carpenter panel in place.
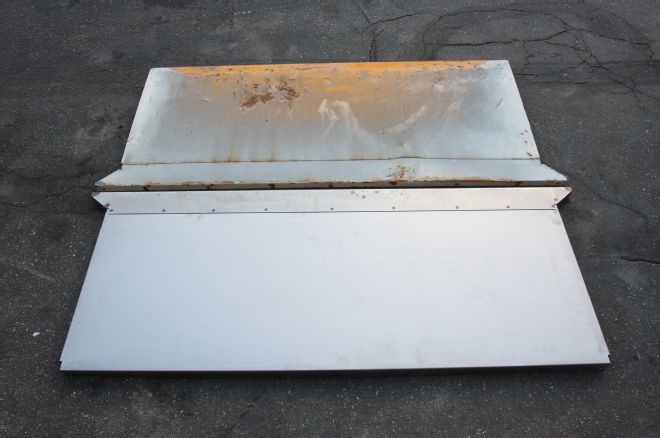
6 A very accurate reproduction, the only visible difference was the lack of captive nuts for the previously mentioned bolts.
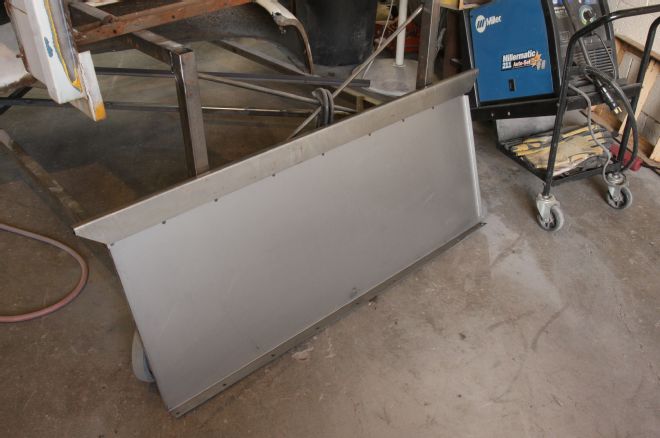
7 Supplied in bare steel, no cleanup of the panel was required prior to welding.
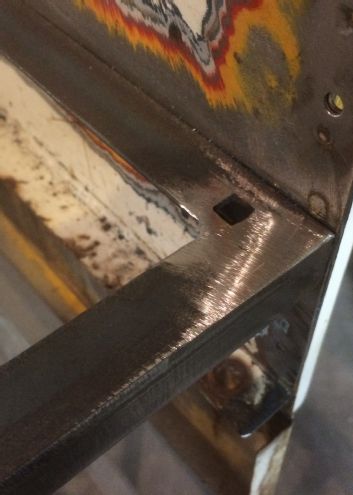
8 & 9 While the panel was off, we closed off the stake pockets. This way we could dress the welds easily, as the panel sits above the weld closest to the end of the bedrail.
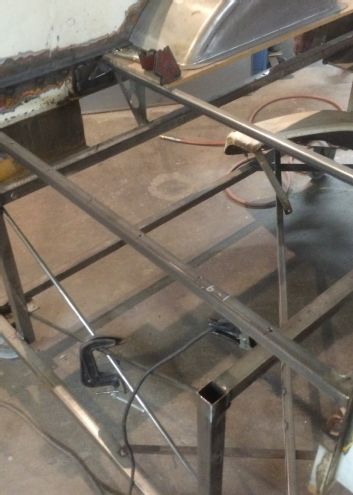
10 If you’ve been following this build, you’ll know we raised the bed floor by 4 inches to clear the stepped chassis rails. We could now add the final floor support, after drilling the mounting holes to match the original crossmember.
11 The floor support was welded to the previously installed side support and the welds dressed, impossible to do with the front panel in place.
12 An Eastwood spot weld cutter was used to drill holes in the flanges for plug welding.
13 Five welds on each side secure the panel. These were then ground smooth. With no captive nuts in the top rail, we used the existing bolt holes to plug weld the panel here too.
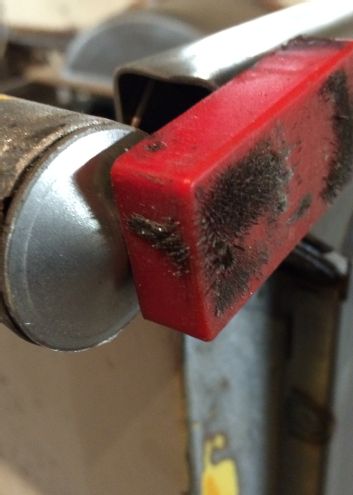
14 We clamped a length of thick wall 1x1-inch box section across the panel to hold it in place during welding.
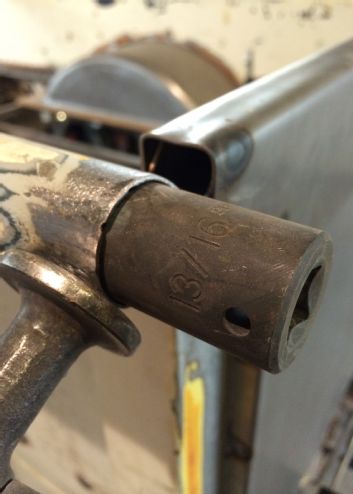
15 As with most beds, the rolled ends of our rails were squashed and out of round. A 13/16 socket made a perfectly sized “dolly” to hammer them back into shape.
16 We discovered these slightly conical discs at our local metal supply store during a previous build. They make great caps for the bedrail ends. We used a magnet to hold it in place…
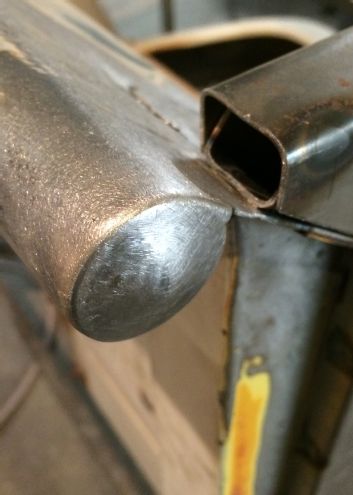
17 ...then welded it, ground the welds and finished them with a file and 150-grit on a DA sander.
18 With the top of the bed finished, we could move on to the part we’d been contemplating for a while, adding ’37 Ford taillights to the bottom of the stake pockets. These were sourced from Speedway Motors.
19 We opted for the LED versions, which give out a much brighter light than regular lamps, something to consider given they’re mounted so low and are small in comparison to modern lights.
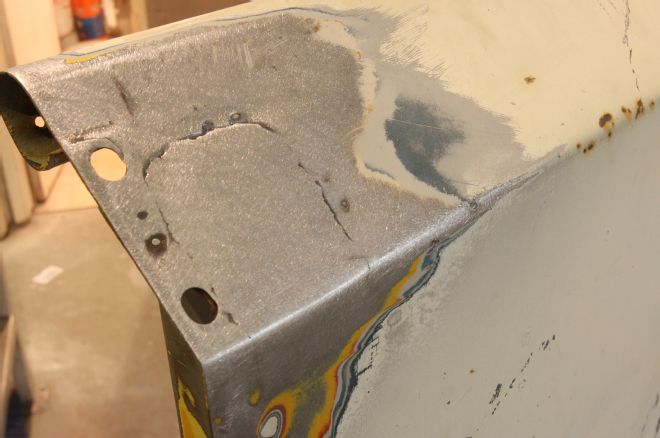
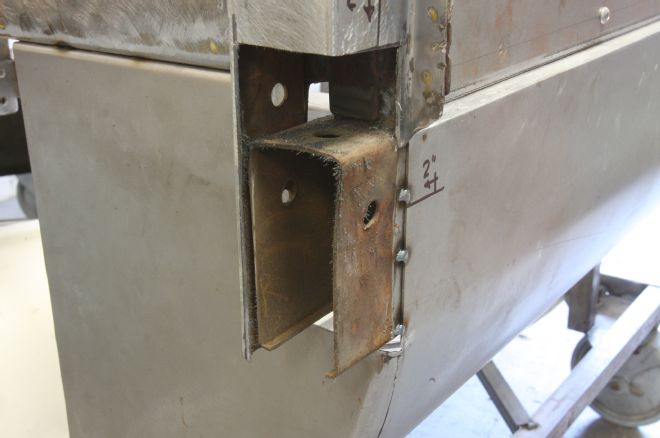
20 The lower sections of our pockets had seen better days, not only were they split, but also squashed from the tailgate hinge bolts being tightened too much.
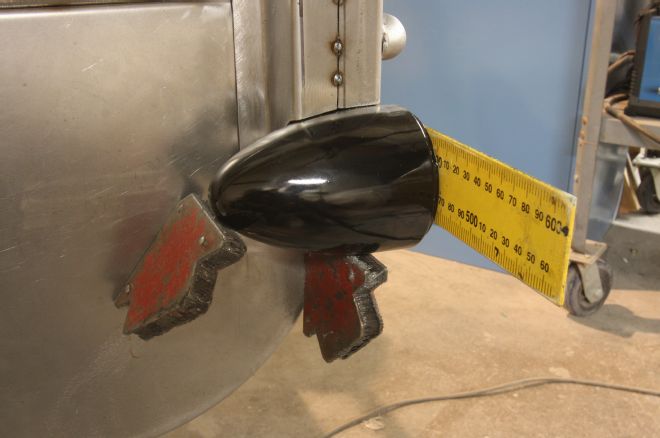
21 With the outer skin removed, you can see the rear crossmember continues into the pockets, presumably to provide a little support for the lower hinge bolts.
22 After much measuring, template making, and guesswork, the crossmember was trimmed to allow for the light assembly to fit flush against it.
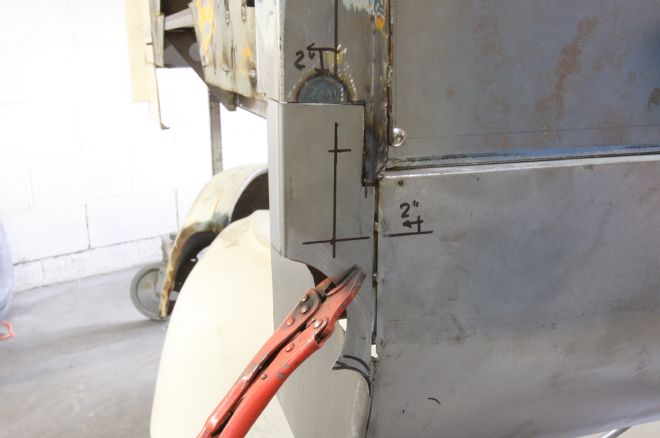
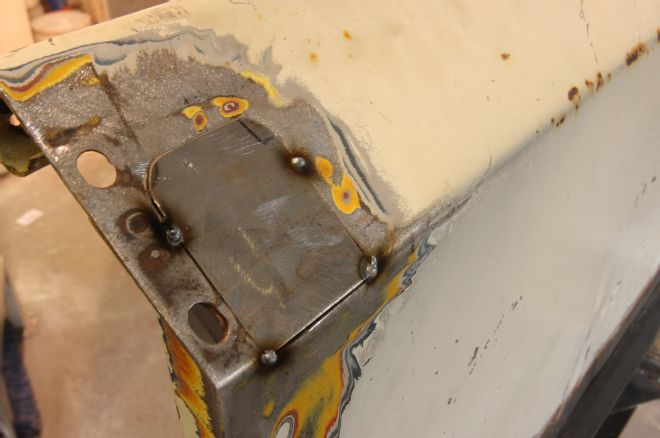
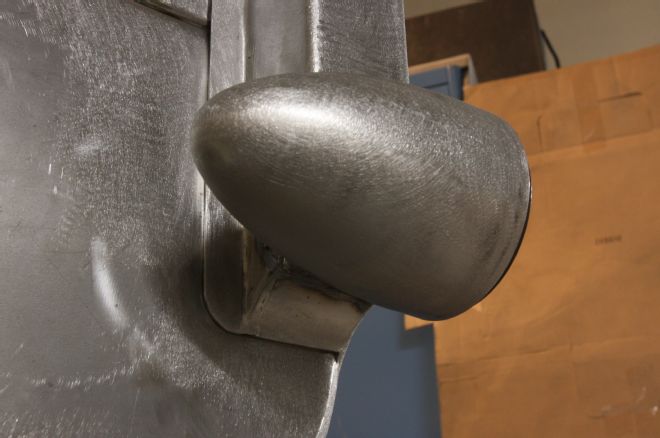
23 We then fabricated a lower outer skin, complete with proposed radius to blend the roll pan into the light body. Note the marks denoting where the hinge bolt holes were located.
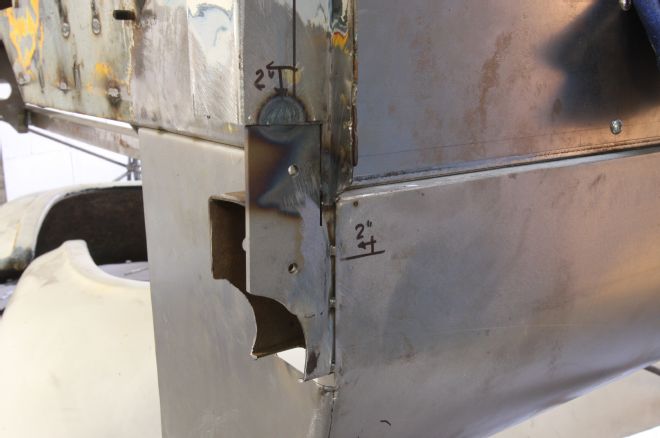
24 To eliminate the crushed post problem associated with bolts passing through the pocket, as well as to clean up the backside, this 3/16-inch plate was drilled and tapped to accept the hinge bolts, and welded in place. The skin will sit flush with, and be plug welded to, this plate.
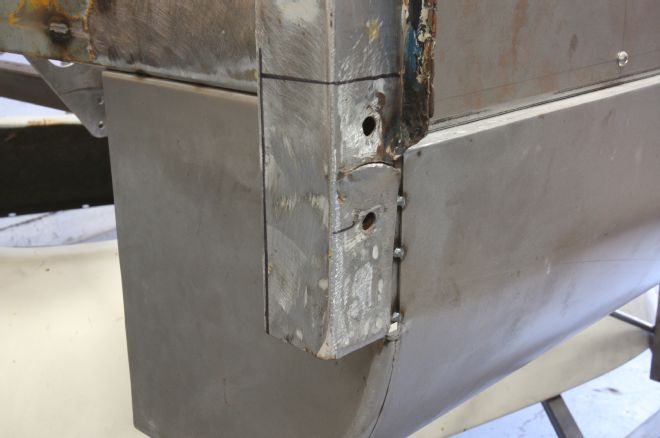
25 Drilled, and with the hinge bolted in place, the skin was tack welded in position.
26 We could then repeat the process for the second half of the skin, which also has a flange to weld it to the lower side panels.
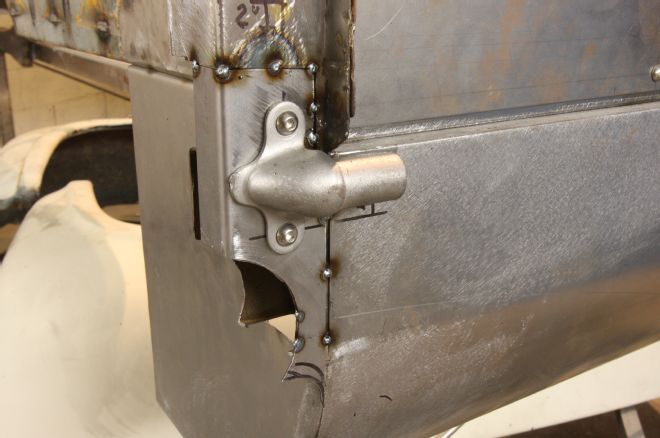
27 The hardest part of this whole job was carefully trimming the panels so the taillight fit closely while being recessed, as it is curved and tapered. A couple of magnets held it in place for welding…
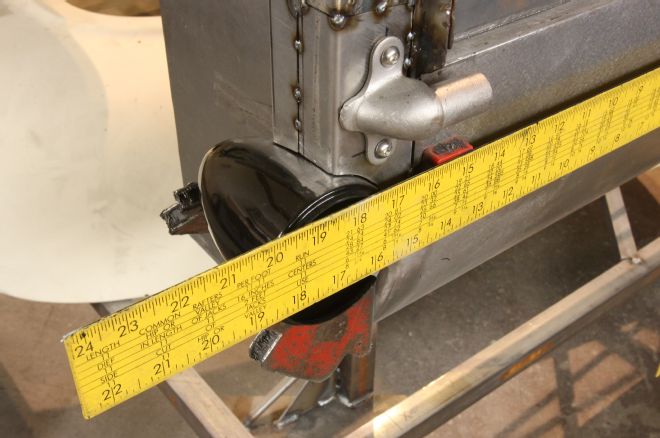
28 …while a straight edge held to, and spaced out from, the pan by a couple of rectangular magnets, ensured the lens remained perpendicular to the pan.
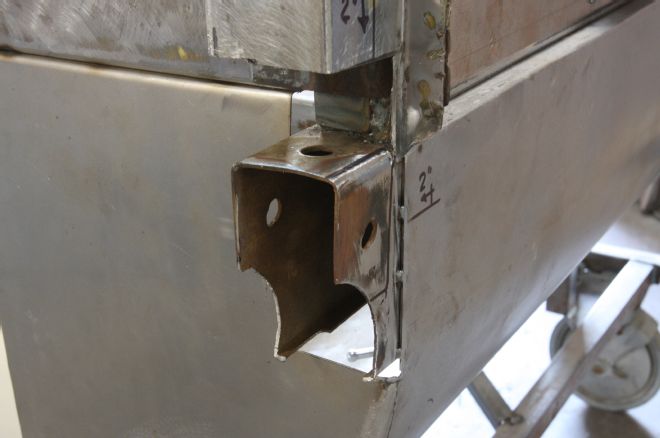
29 The bottom of the stake pocket now curves up and out to meet the taillight.

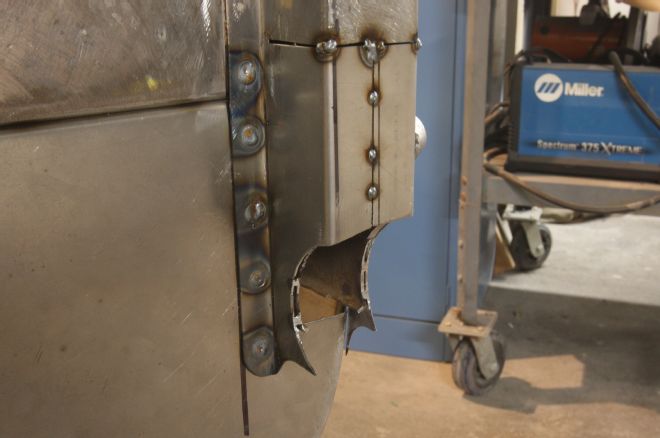
30 The radiused edge of the pan continues up to the taillight, while the wiring will pass through the stock hole in the bucket, and through the stake pocket.
31 Mounted far enough out that should the tailgate fold all the way down, it will clear the lights, the ’37 buckets are a neat solution to how to finish off the bottom of the stake pockets.