Let's just admit it: There are some parts of a restoration that most of us are a little too intimidated to tackle. These are the kinds of tasks that you only get one chance to do right and if you mess up it means a lot of wasted time, money, and materials. Paint is an obvious one. Installing a new vinyl top is another.
What's a bit scary about installing a vinyl top is that it's a pretty big piece of material that must be properly positioned not just left and right and fore and aft, but also the seams must run straight and parallel with the car. The scary part really is that once it's down, it can't be repositioned, so the very first portion of it that touches the car determines the fit of the entire thing.
The reason for that is it is glued in place with a heavy-duty contact adhesive that needs to be applied to both the car and the vinyl. After an appropriate drying time, both parts are pressed together for an instant, and a permanent bond is created.
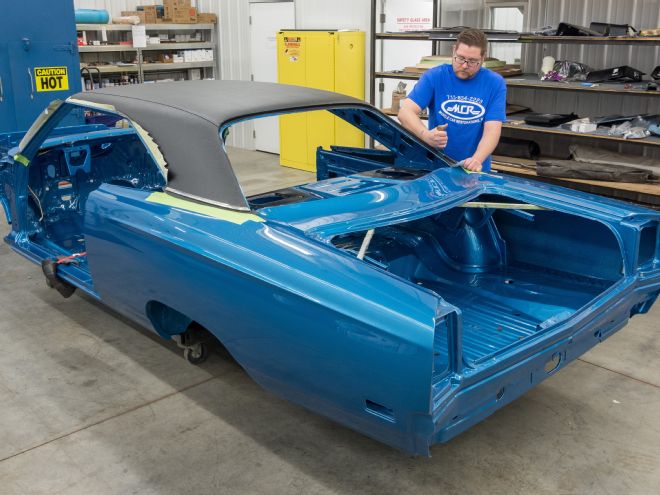
To learn some of the tricks that will take the fear out of tackling a vinyl top install, we hovered over the guys at Muscle Car Restorations, in Chippewa Falls, Wisconsin, as they installed a top on a 1969 Plymouth Road Runner.
Possibly the most important trick actually has nothing to do with the install at all but rather how the top is handled prior to installation. MCR will not order the top until they are ready to install it, and when it arrives they immediately remove it from the box and lay it out to avoid having any permanent creases form in the material. They have had to throw out customers' new-in-the-box tops because they had to be stored in their shipping box for years, and the creases that formed simply could not be removed.
While Muscle Car Restorations uses Weldwood Contact Adhesive in an industrial spray grade, a brush-on adhesive will also perform very well and, in fact, might be a bit easier for a first-timer to manage. The trick with this is to brush on the adhesive and bond the vinyl in smaller sections.
Like most things that seem difficult to do, preparation is the key to getting it right. That, and an attitude of "do" or "do not," because with this job there is no try!

1. Even when a car is going to receive a vinyl top, MCR still does the bodywork and paints the roof so the top will lay perfect. Before installing the top, the paint is sanded with 500-grit paper to remove any paint nubs or any other imperfection that could raise a bump in the vinyl surface as well as providing a really good tooth for the glue to grab on to. The surface is then thoroughly cleaned with PPG DX330.
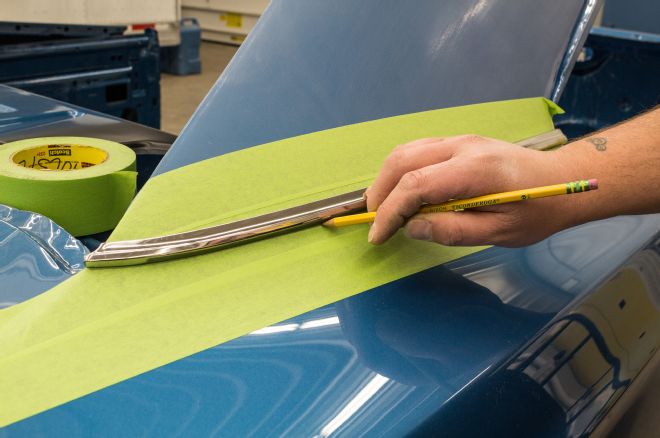
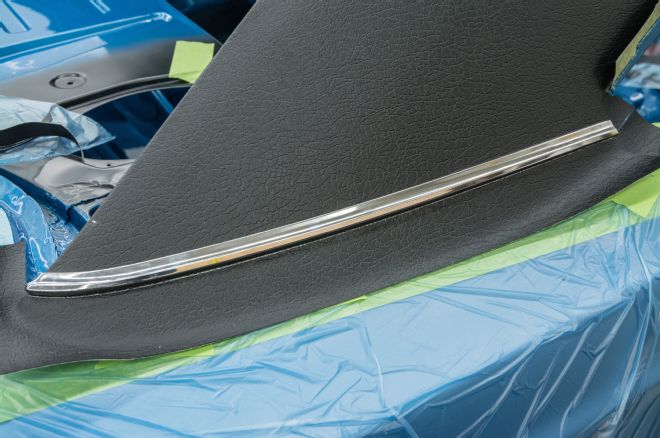
2. The trim piece that separates the vinyl from the paint is installed over some masking tape and a line is drawn along the bottom edge to use as a reference.
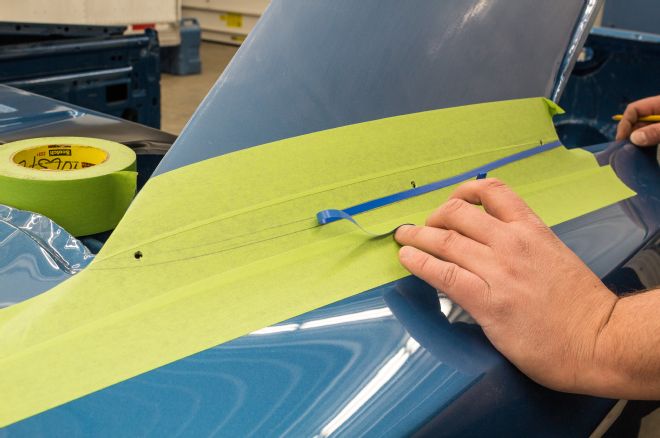
3. A 1/4-inch piece of striping tape is applied along the line and another line is drawn on the top side of the blue tape. This marks the line where the vinyl will end under the trim. The surface will be sanded to this point after the masking tape is cut along this line and removed.
4. Hard-to-reach areas like behind the drip rail can be scuffed up with a red Scotch-Brite pad.
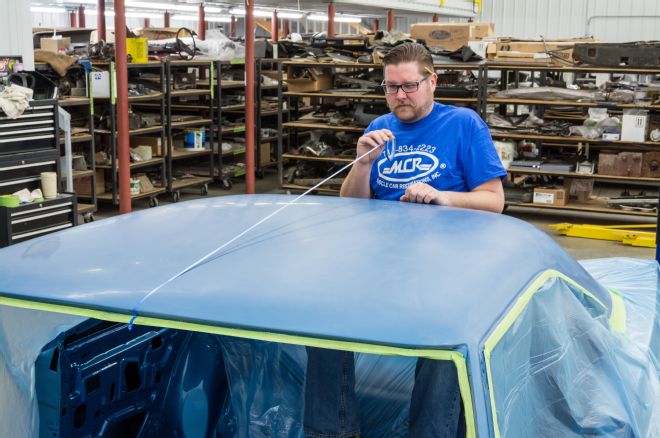
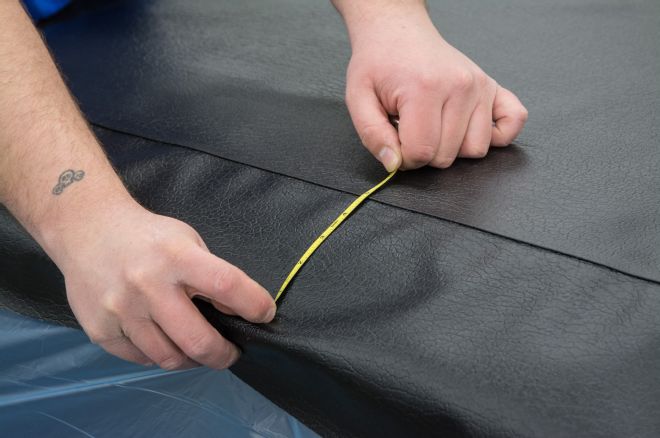
5. Measuring carefully, the center line of the roof is determined and a strip of tape is applied so a pencil line can be drawn along the edge of the tape. The tape is then removed. A straight edge is used to draw a similar line on the bottom of the vinyl.
6. If you can, it's a great idea to lay your top on the car and leave it out in the sun for a day, but at least lay it out flat or drape it over a railing as soon as it arrives to avoid creases forming in the material.
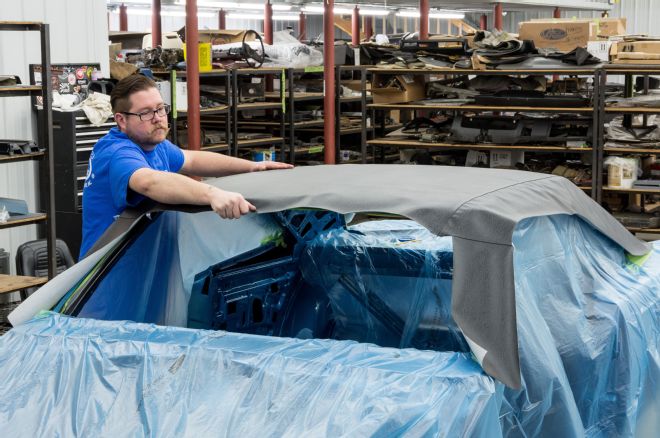
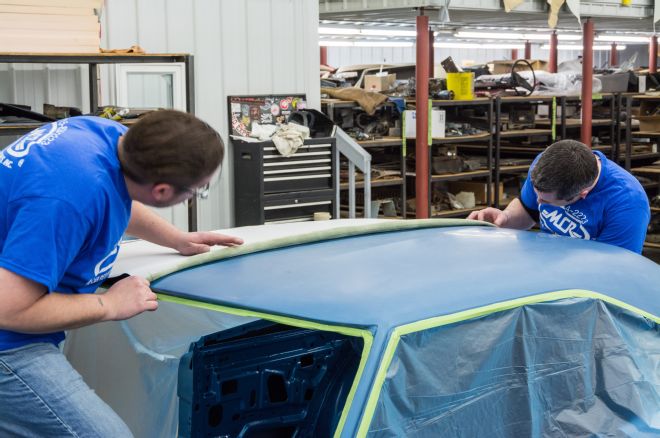
7 & 8. Test-fit the vinyl to the roof to be sure it's the right piece and that it reaches all four corners with some to spare. You'll also line up the centerlines you've drawn and determine the best fore and aft placement. Draw another line on the bottom of the material to mark where it meets the leading edge of the roof.
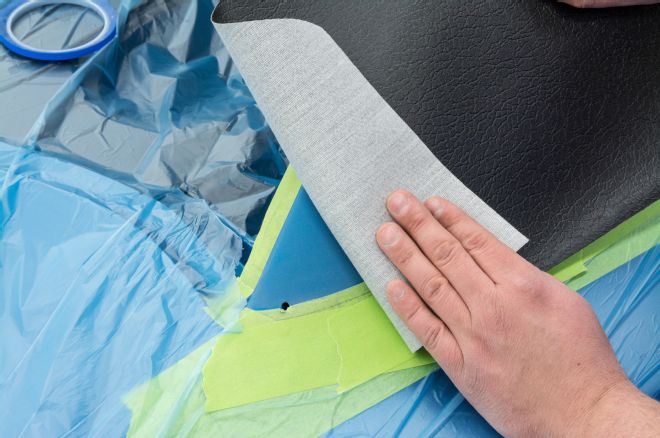
9. Brush about a 1-inch wide strip of adhesive along your centerlines, line them up and stick this narrow strip to the roof.
10. Lay out the top on both sides and measure to double check that the seams are straight and properly centered.
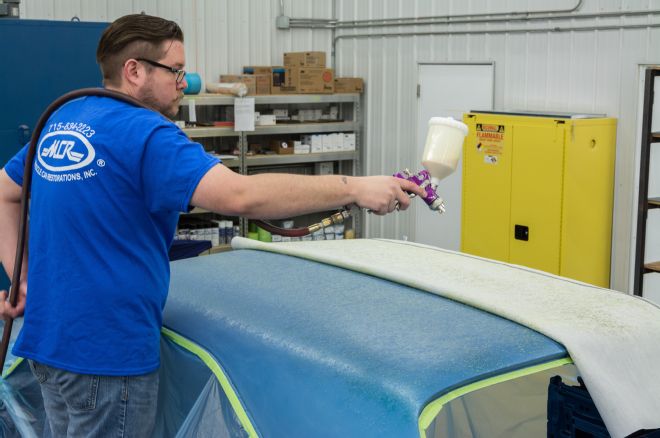
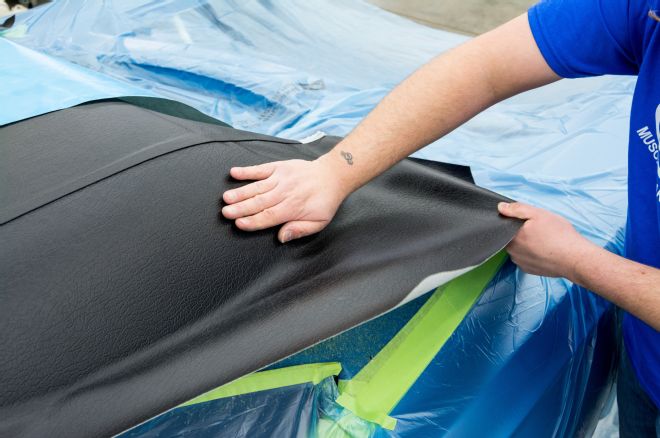
11. Because it's quicker and a bit easier to apply evenly, MCR prefers to spray on the adhesive, but brushing it on works just as well. If it's your first time, you might like to only coat about half the roof and the vinyl and glue it down in two or three sections until you get to the sewn seams.
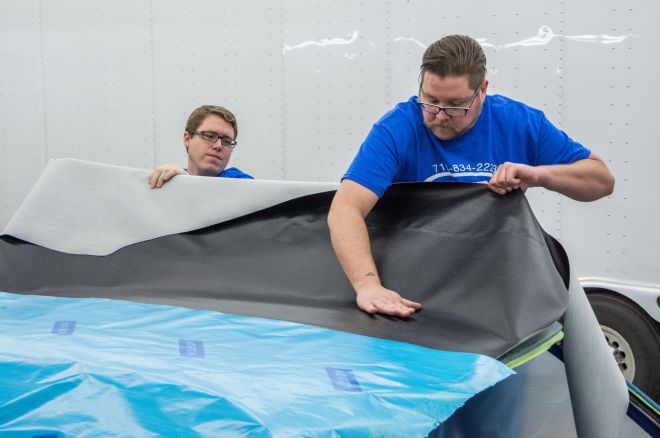
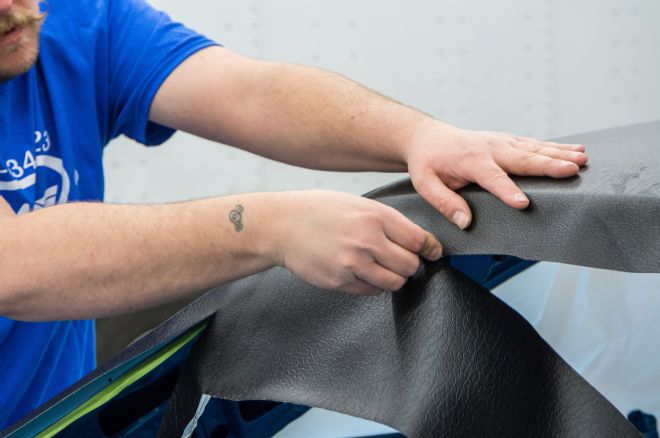
12. An extra pair of hands will be a big help as you work the vinyl onto the top of the car from the center outward. Follow the adhesive manufacture's recommendations for drying time before you bring the vinyl and roof into contact. Go carefully. This is a contact adhesive so you can't pick it up and start over if you miss place it.
13. Glue and work the compound curve area at the back corner of the roof separately so you can pull hard on the vinyl as it forms around the curve. The top is not formed to this shape so you may need to stretch the vinyl a bit as you go.
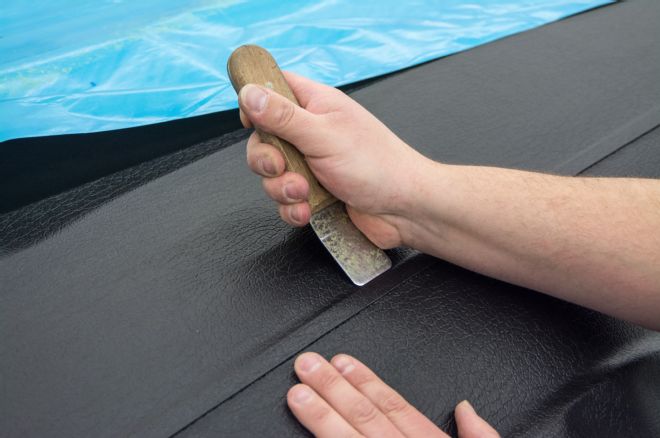
14. MCR uses an upholstery tucking tool (much thicker than a putty knife and no sharp corners to cut the vinyl) to press right up to the sewn seam to produce a nice sharp edge.
15. Be very careful when trimming the excess material that you don't inadvertently remove too much.
16. Go back to a 1-inch brush to coat behind the drip rails, along the A-pillar, and in the corners.
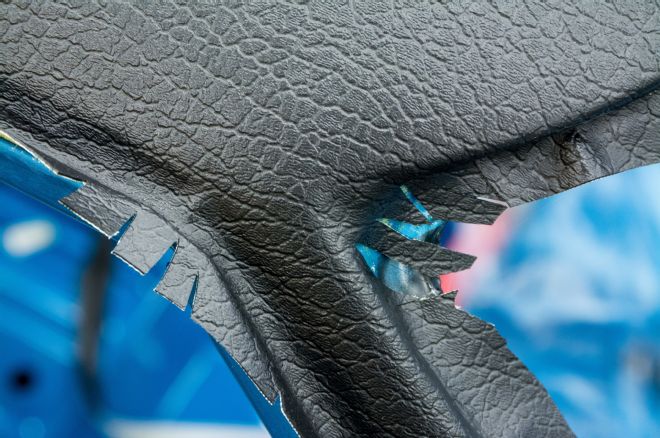
17. Relief cuts will need to be made as you work around the corners and edges. Again, be really careful you don't cut too deep.
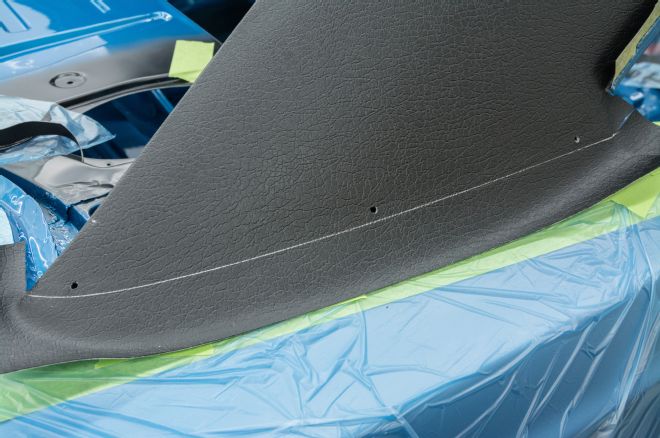
18. Before you press the vinyl in place around the windows, mark the location of the trim stud holes on the top of the material so an awl can easily find the holes in the body through the vinyl.
19. Installing the quarter trim and drawing a line under it will provide a reference to trim the vinyl under the middle of the trim.