We've been busy on the project 1955 Chevy wagon with some sheetmetal replacement and rust repair. Now, we don't have a high-end shop, or indeed any professional shop, doing this for us, but we do have a relatively well-equipped shop of our own and a little knowledge (though that's a dangerous thing, right?). This project is a budget build, meaning we're doing the work ourselves, and even fabricating panels, or using sections from donor cars, in the process. Yes, the same way most of you would do it! So, enough talk, let's roll our sleeves up and get to replacing windshield pillars.
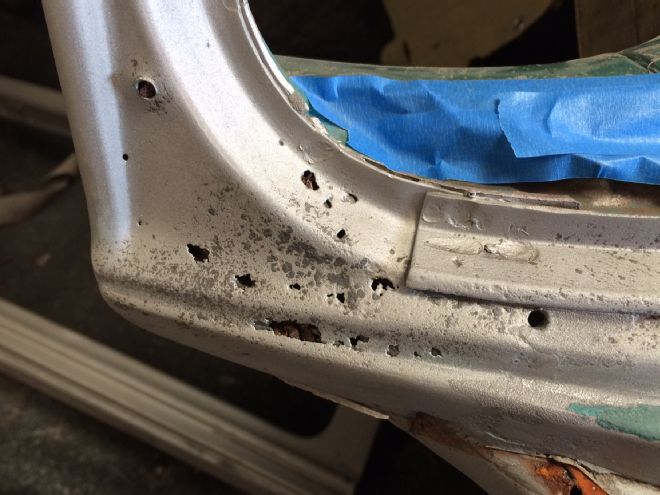
Once we brought our wagon back from being media blasted, the couple of rust scabs on the A-posts by the cowl had turned into rust holes most of the way up both windshield posts and throughout the cowl corners. Not too much of a problem, except no-one seems to manufacture repair panels for this section.
However, several junkyards nationwide specialize in classic cars, and we found the sections we needed in a yard in Arizona. We lucked out on finding a 1955 for the passenger side, but had to settle for the section from a 1957 for the driver side. The post is the same, but the cowl curves from the door, without the 1955's straight section. We'll make that part. With our "new" sections home, we split the outer skins (the part we'll need) from the inner framework using an Eastwood spot weld cutter, then media blasted them inside and out. Sure, they have some pitting, but are way better than our rusted originals. Next we removed a section of the lower windshield lip that located the glass seal, as we wanted to join the new to the old under this lip. We then removed the rusted section and found just how bad the rust was inside the post. Some work with a stripper wheel and we treated the rust with Eastwood's Rust Encapsulator. We also coated the inside of our repair section.
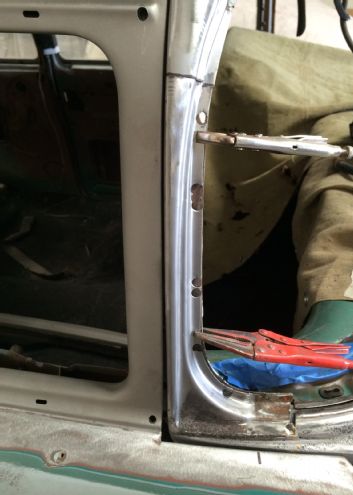
With the "new" section clamped in place, and the door shut line aligned, we simply plug welded it using the same holes left from when we drilled out the original spot welds. The windshield lip was then replaced in a similar fashion. Once dressed with a grinder, the repair was as good as new. Now for the other side …
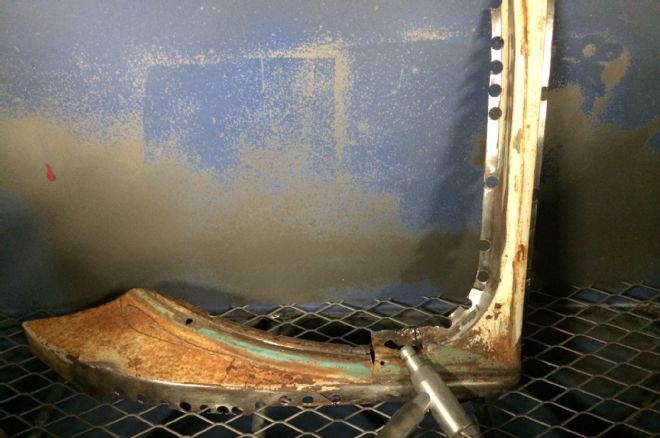
This is the 1957 section (see text) for the driver side in the media blast cabinet. Note how the cowl curves, unlike the 1955.
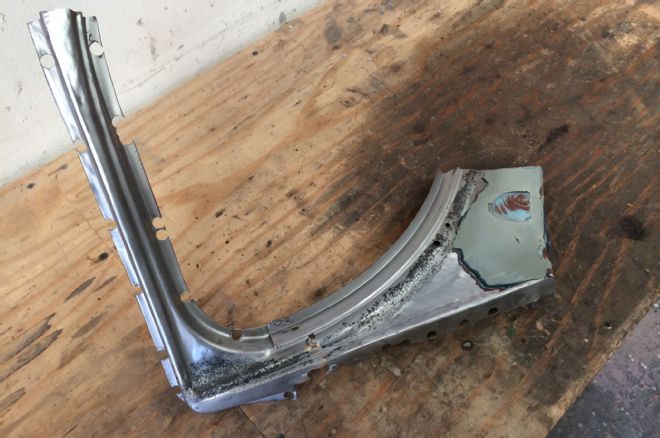
The passenger side outer section blasted and ready to fit.
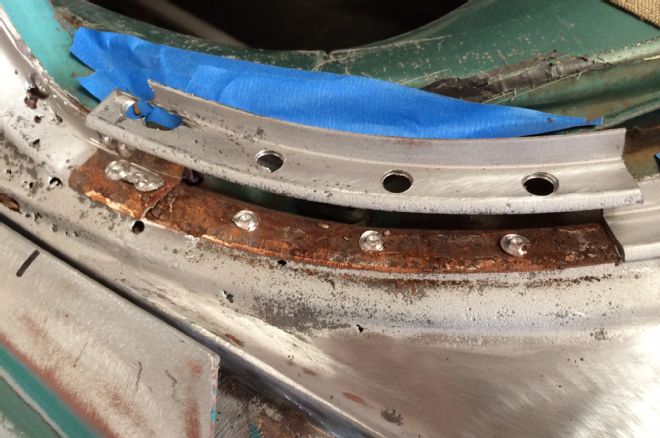
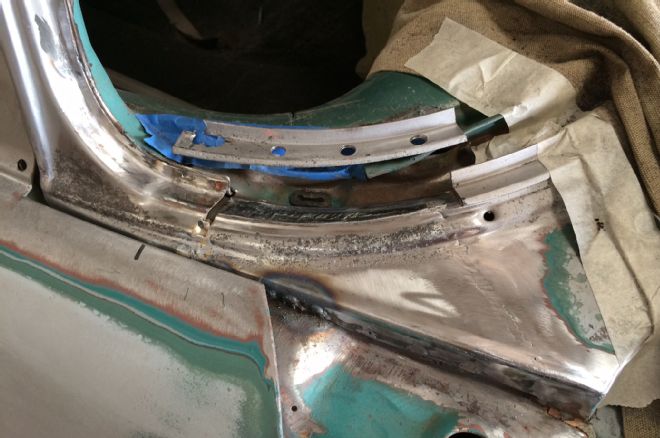
We removed this section of the windshield gasket lip, as we'll join the new and old under here.
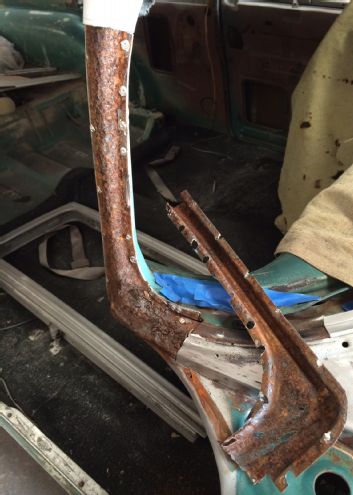
With the old outer skin removed, the extent of the rust was revealed.
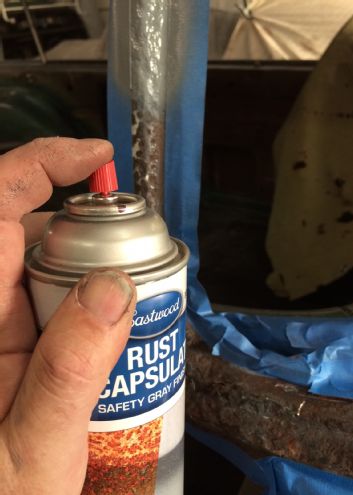
After cleaning with a stripper wheel, Eastwood's Rust Encapsulator was applied, the areas where we'll be welding masked off.
The rust treated, we trimmed the replacement section to fit.
Clamped in place, we used the old spot weld holes to weld the new section in.
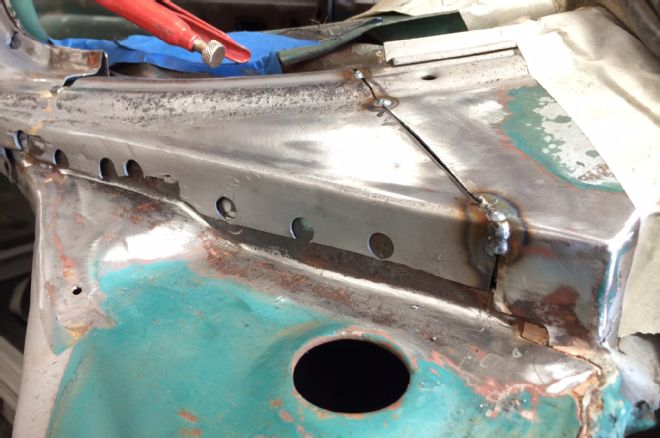
The spot weld holes were again reused along the cowl side, while we butt-welded across the cowl.
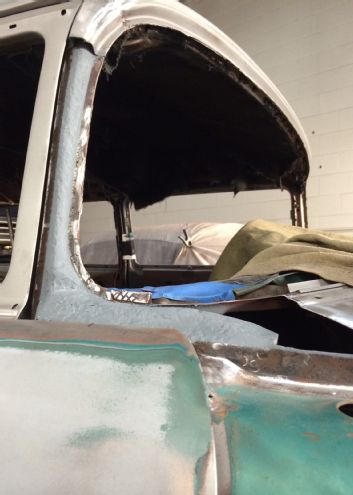
With the new section welded to the old, the small section of windshield lip was replaced over our welded join.
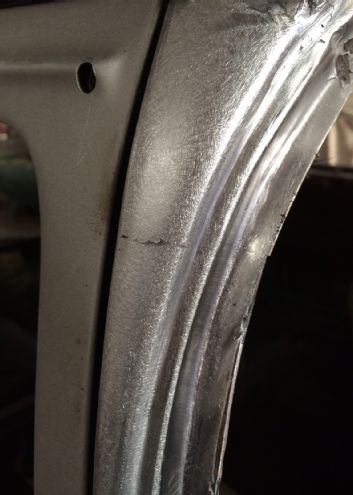
Careful alignment of the panel and the door gap meant the join was barely visible.
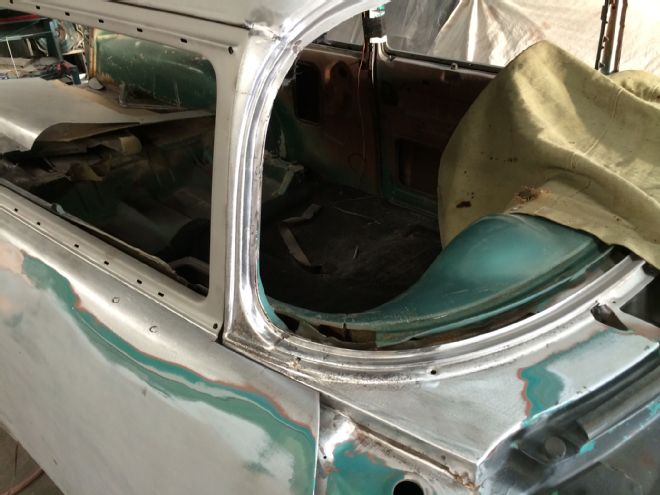
Passenger side complete, we could turn our attention to the driver side.