If you’re one of us who likes to “do it yourself,” then you’ve probably wondered if painting a Mustang is really any different than painting a Camaro or a pickup truck, or Corvette, or a bicycle. Truthfully, the paint doesn’t care what kind of vehicle it sits on, only about the conditions in which it is sprayed. However, each model of vehicle has a specific set of issues that are unique to that design, and since our early Mustangs are instantly identifiable, they’ve obviously got some unique challenges and problems to navigate when it comes to laying down a great paintjob.
We wanted to share with you some of the idiosyncrasies that we’ve run into over the years of working on these Mustangs, including my own 1965 Mustang “Jaded” project, and some ways to get even better results from your paint- and bodywork. We took a road trip to Kiwi Classics & Customs in Franklin, Tennessee, and spoke with owner Chris Slee, who passed on some great tips and showed us examples of how he’s been able to navigate some Mustang-specific issues that come up, or even improve on what is considered original and standard on a good restoration.
A good paintjob is all about the foundation you’re painting on, and the good news is that technology and the aftermarket is on your side with awesome new products and parts that are easy to use, inexpensive, and a phone call away to be delivered to your door. So whether you’re going for MCA concours Bob Perkins quality, or a Ringbrothers-style restomod custom build, these proven and effective insider tips will help you get the results you’re looking for and save you some time, money, or both, while you’re on your Mustang paint and body journey!
01. This is Jaded, a 1966 hardtop built by the author and some great friends that has been extensively modified on almost every corner and crevice, but still retains the suggestion of a classic Mustang. Obvious changes are the 2005-’09 Mustang headlights, Forgeline custom wheels, giant 14-inch Baer disc brakes, and flush-mounted glass. What helps retain the original flavors of an original car are the design queues that stayed unmolested, such as door handles, driprails, and cowl vents. But a Mustang is a Mustang, and there are areas that present a unique challenge, regardless of the direction of the build.
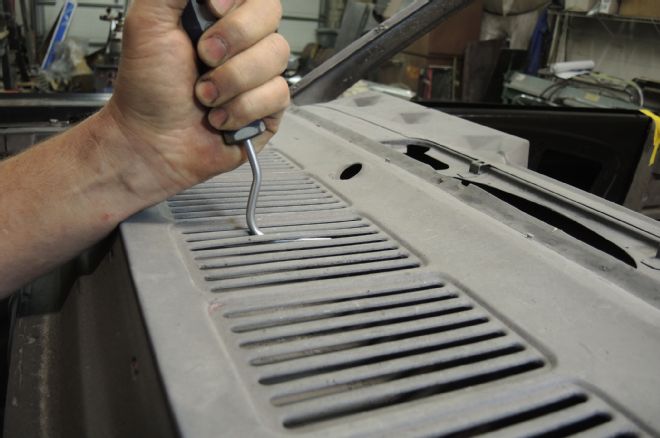
02. The cowl grille can be an overlooked spot, and with the weak single wall construction of the stamped panel, the fins are subject to damage. A radiator hose tool is a great way to straighten and align the fins back to an acceptable shape.
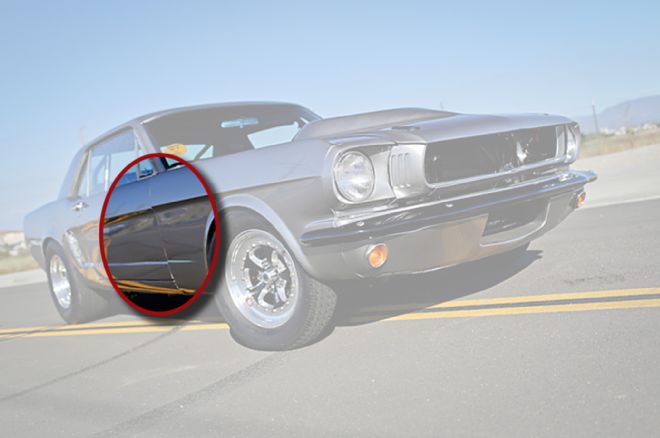
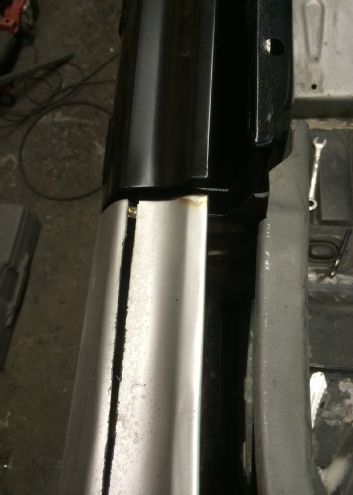
03. The alignment of the fender to the door on a Mustang is hard to manage. The upper body style line tends to “drift” upward because of the stack of shims that hold the position at the rocker and the ridiculous body flex that is inevitable across many generations of Mustang (note the drag radials on this car; it’s subject to a ton of body flex on launch).
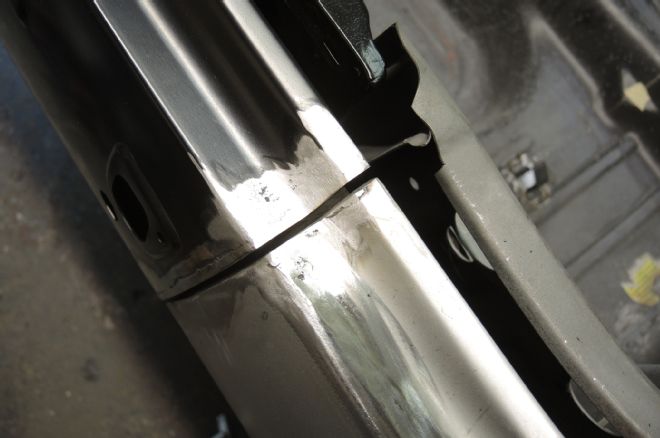
04. Chris Slee of Kiwi Classics and Customs has a solution for keeping the style line “drift” from happening. This solid round stock gets welded into place after careful alignment of the fender to the door and a measurement is established. The solid tubing won’t shift on the fastener like a stack of shims or washers, and the fender is locked into place.
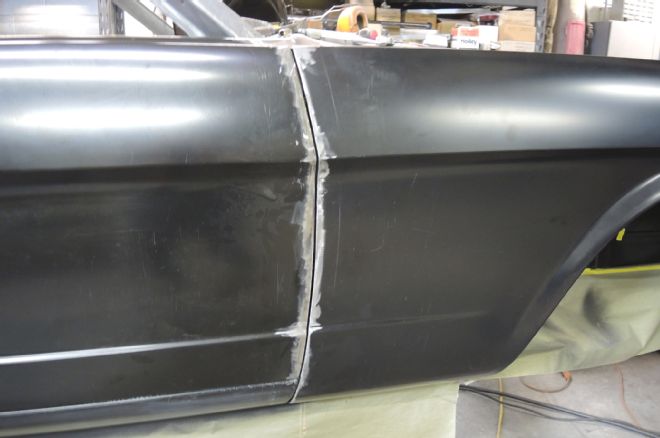
05. The results of this mod are obvious here—nice style line flow and perfect 3/16-inch panel gaps are no accident!
06. Reproduction panels have been a savior of our Mustang hobby and lots of cars are on the road today because of them. The fact that factory tolerances on ’60s cars were just not that great to begin with, combined with reproduction panels made 50 years later, can set you up for misaligned panel gaps. This is not a dig on reproduction panels. I spent years as a body tech and OE panels can be just as difficult to fit! It’s just the nature of replacement panels, but these inconsistencies can be more obvious when marrying original and reproduction panels.
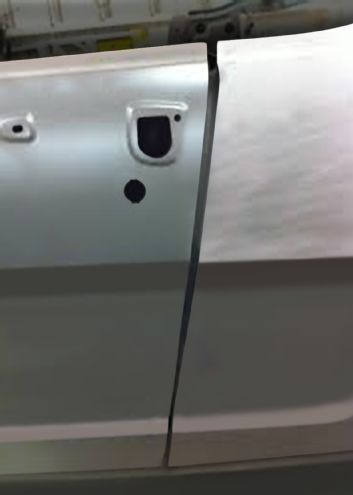
07. This early convertible has a reproduction door and original quarter, and the fit is less than perfect.
08. This early convertible has a reproduction door and original quarter, and the fit is less than perfect.
09. The result is an excellent fit, and this is before fillers, primers, and paint.
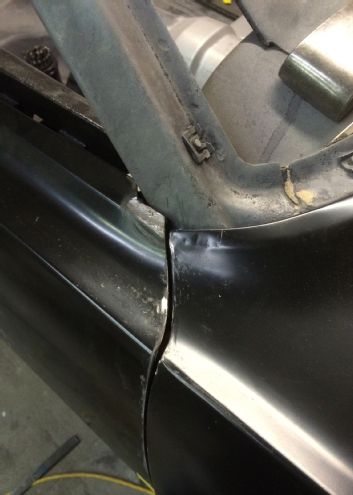
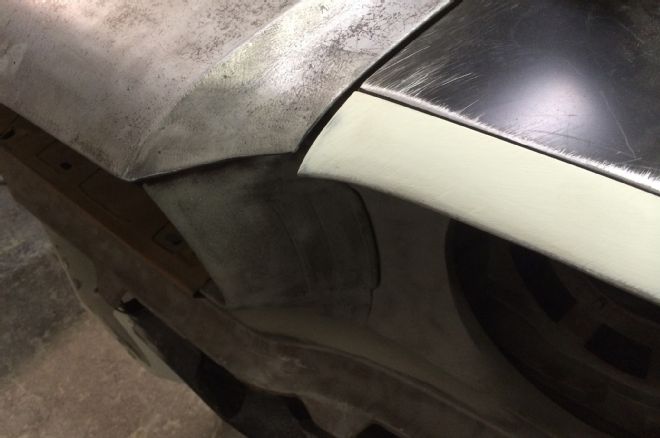
10. The top leading edge of the door is unique in early mustangs, with several style lines, and a lot of geometry that has to come together. This is an intersection between two reproduction panels and it is far from ready for paint!
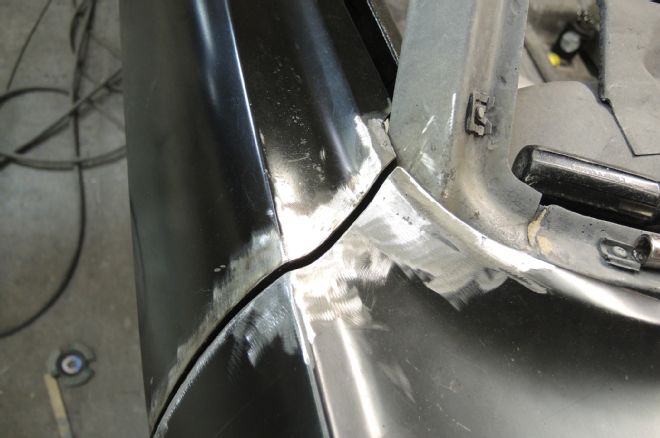
11. After Kiwi Classics & Customs’ magic, the seam is ground down, welded, and gapped. This is a subtle mod that is easy, better than factory, and will go virtually unnoticed with a finished paintjob.
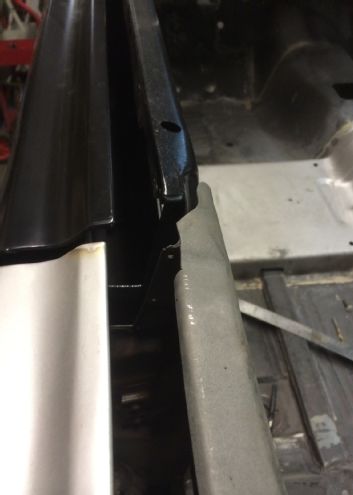
12. The gap between the door and rocker is sometimes forgotten, but it’s a detail that can really enhance a restomod build. Slee has a great trick for gapping door bottoms and larger flat panels.
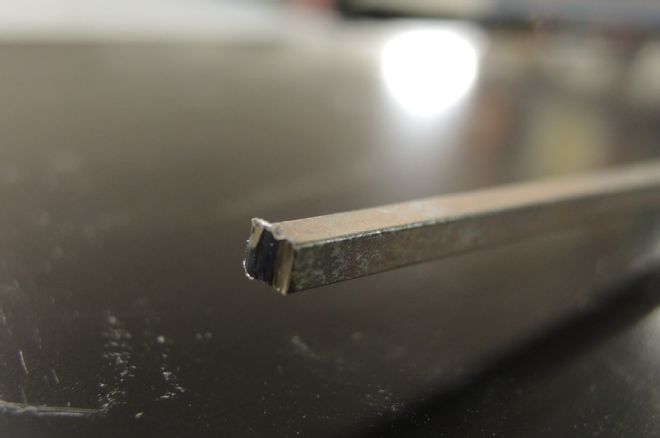
13. The 1/8-inch square stock is perfect for adding a very consistent edge to many panels. It’s inexpensive and easy to find at your metal supply.
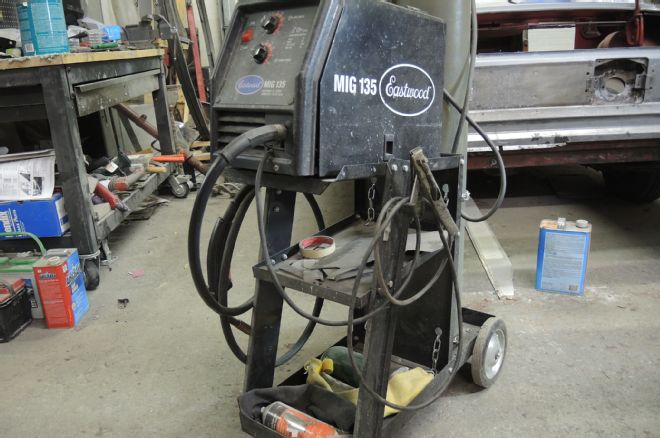
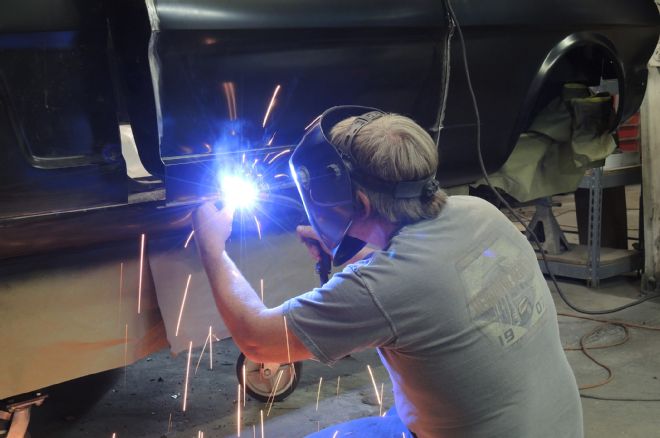
14. Obviously a welder is important, but the right welder for sheetmetal is important too. A 110V MIG welder, such as this Eastwood MIG 135 is perfect for sheetmetal, with a more focused (and lower) heat range, with infinite controls instead of notches makes it easier to dial in your heat and wire feed settings to match the OE or thinner reproduction metal.
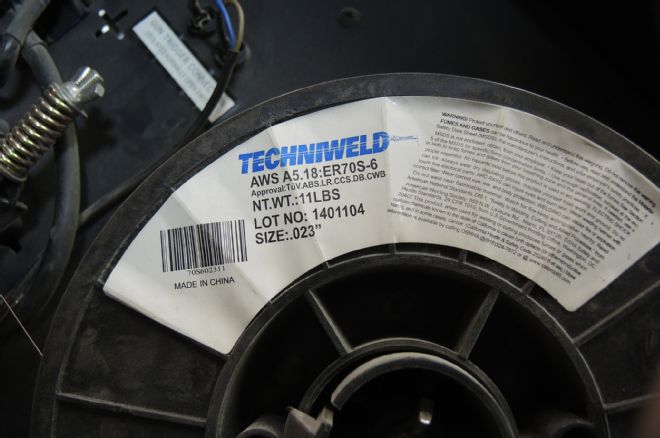
15. As important as the welder is, the correct wire size is crucial. Use 0.023-inch solid core wire, which is very thin and easy to control the smaller weld pool, without pushing a bunch of heat into your sheetmetal. Flux core wire is never the best choice for good metal finishing on vintage tin!
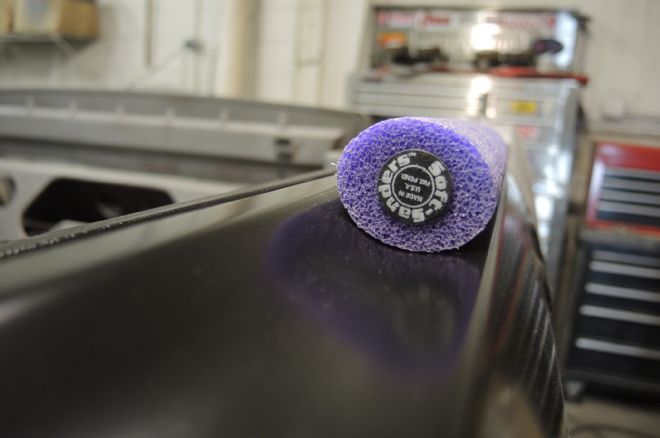
16. When it comes time to block sand fillers and primers, the correctly shaped block is as important as good technique. Softsanders from Eastwood offer a variety of shapes that are actually mapped from original vintage vehicles, as is the case with the purple oval shape. This is an obvious benefit.
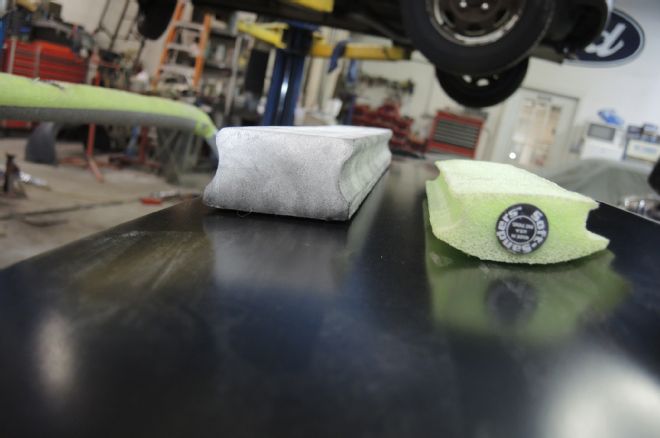
17. Here you can see the benefit of different-style blocks for different shapes on the sheetmetal panels. The idea is to match the shape of the block to the shape of the panel you’re trying to recreate or resurface.

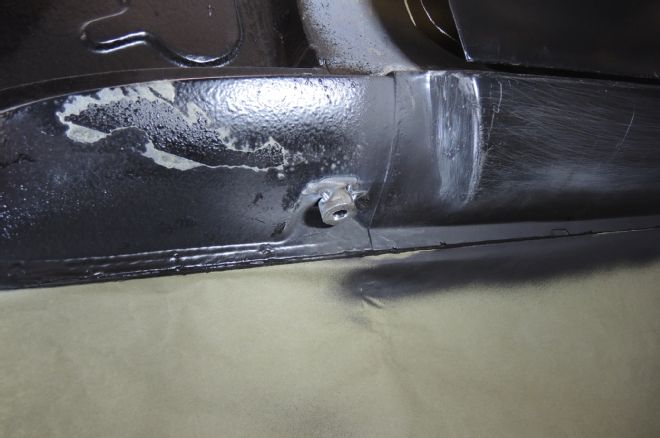
18. If you’re going restomod, this is a cool mod that often goes unnoticed until you look closer. The rear valance is seam-welded into the quarters, and the stock backup lights were media blasted and painted to match. It still speaks “Mustang” but is much cleaner. Note the detail on the pinch weld as well; clean and simple to do.
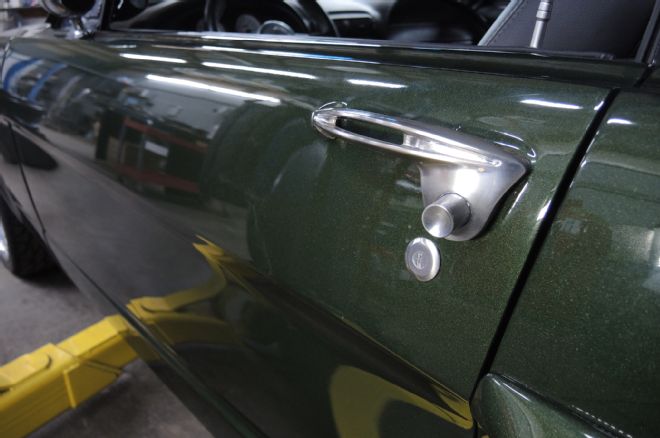
19. This is a decision more than a technique, but is still important to consider. Nothing has been done to the door base, but Ringbrothers door handles give Jaded a custom look with the ease of a bolt-on product.
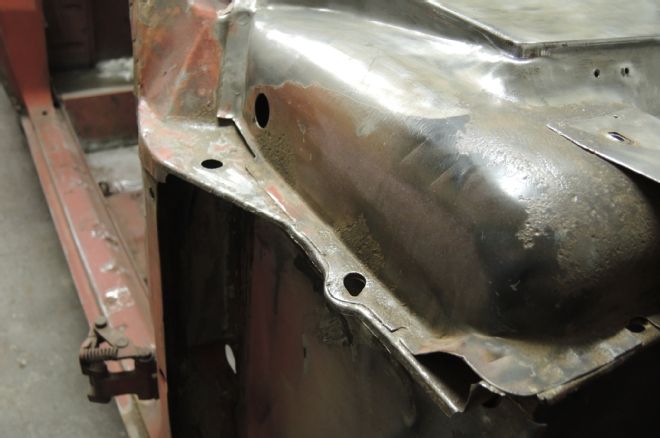
20. Don’t overlook the cowl balloon assembly on first- and second-generation Mustangs. They always rust and eventually leak. Look at the pitted rust on this Comet panel, even after cleaning with a wire wheel. If you see rust on your cowl, dig deeper and do the repair.
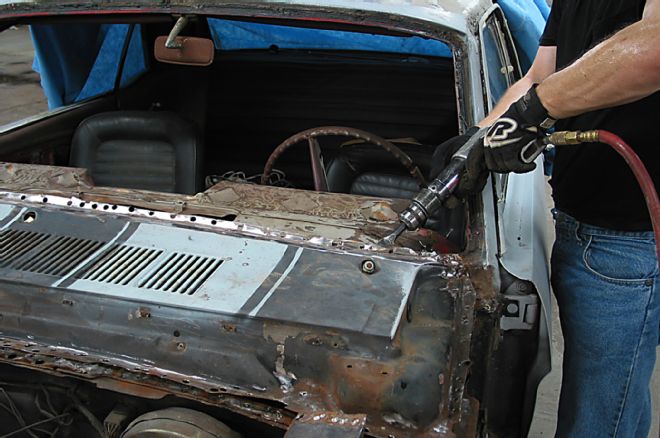
21. Removing the cowl vents is tedious, but not difficult. A few dollars invested in an Eastwood Spot weld cutter set and a few hours of drilling the 120-plus spot welds will give you access to the nastiness that you’re almost guaranteed to uncover.
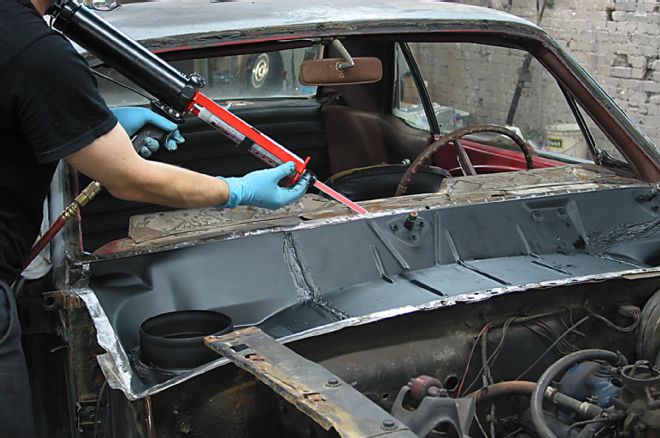
22. NPD offers replacement cowl hats that are easy to weld in once the top has been removed. You’ll thank yourself for doing this whether you keep your Mustang forever, or are able to use this as a selling point when you flip it. Commit! Do the job right!
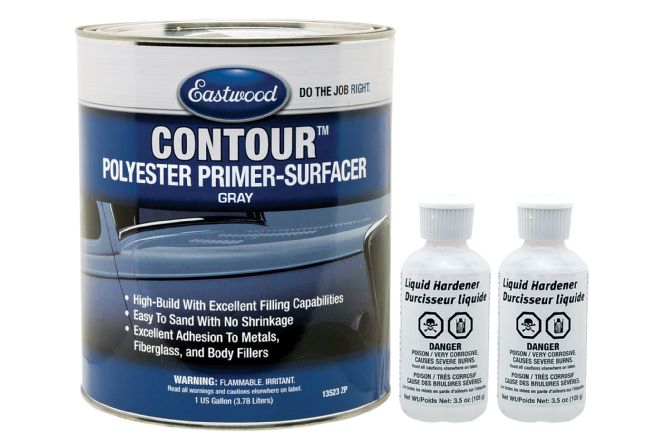
23. A newer player in the paint and body restoration world is polyester primer-surfacer. This product was first introduced into the aftermarket as a quick fix for hail damage, among other things. With its capacity to tolerate ridiculous film build thickness with no shrinking back (like lacquer and urethane primers) it’s a necessary step in most modern restoration shops these days.
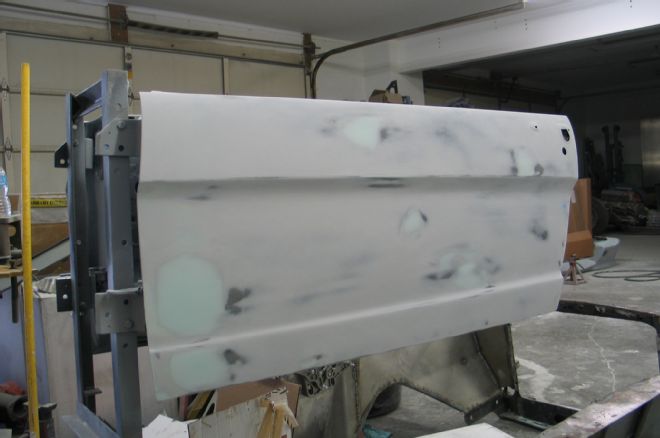
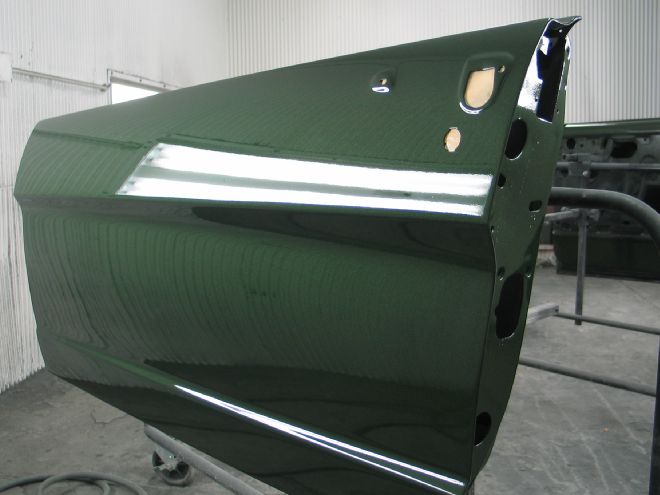
24. This is a door from Jaded at Brian Finch’s shop, Hot Rod Transformations (note the homemade door stand where the panel can be mounted where both sides can be worked and painted—nice tip Brian!). It’s been worked and coated in Eastwood Polyester High Build, then blocked. The good thing about poly is that it’s chemically the same as Eastwood’s Glazing Putty, so fillers can be applied over the top if corrections need to be made.
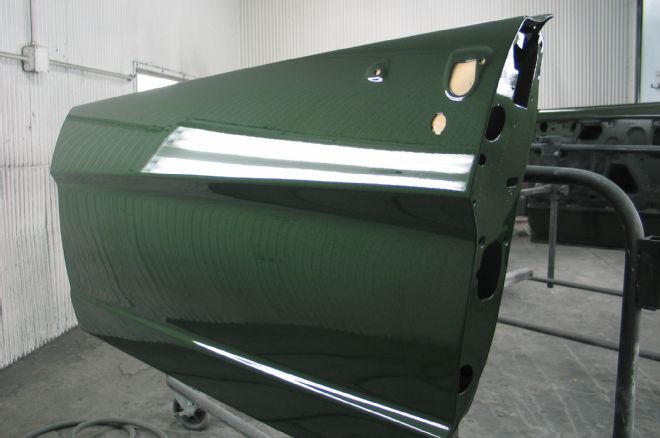
25. The painted door tells the story of diligent bodywork and proper use of materials. This is right out of the gun at Paintucation studios, and before any sanding and buffing. The reflections tell the truth, and they’re laser-straight!
26. Our headlight bezels are made of a low-grade cast pot metal and can’t be welded with a MIG welder. There is a common problem with alignment as well.

27. Welding extra metal onto the hood is the solution to this problem, and allows you to modify the hood easily for a great match.
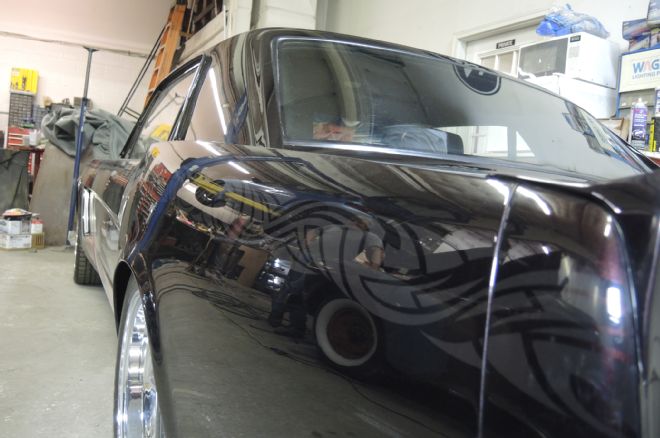
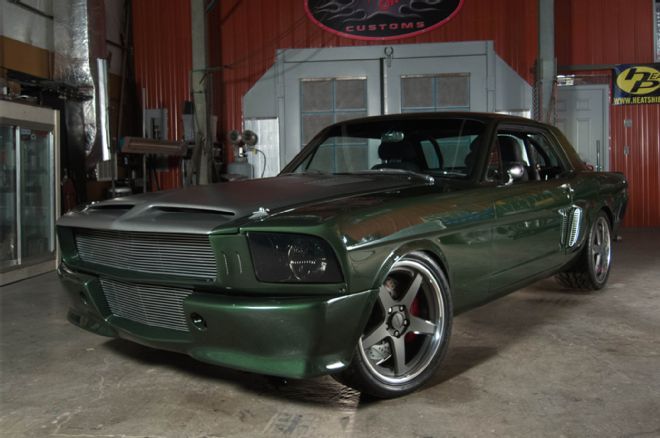
28. Chris Slee’s KVS 9000 restomod has an insane amount of body mods, including a subtle widebody conversion, but the fundamentals are the same as a restoration. Hours of metal working, blocking the fillers, blocking the primers, and even paint correction techniques after the paint is sprayed, all pay huge dividends. The quality of light reflection is perfect.
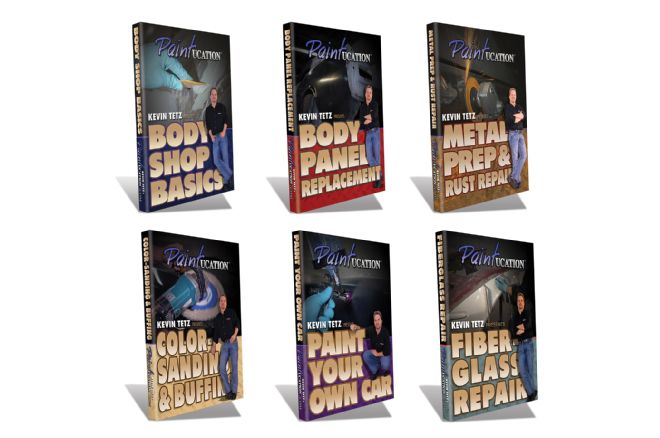
Paintucation.com offers this set of instructional DVDs that can teach you techniques that get results! The Body Panel Replacement DVD shows Jaded getting its quarters replaced, as well as proper doorskin replacement on a 1970 Mach 1. These videos are great guides if you want to improve your skills or just educate yourself on how to talk to a shop about specifics. Our Mustangs are unique and wonderfully styled cars, and with that comes unique challenges. Good solid restoration techniques are universal and will stay with you for a lifetime. Invest in yourself as well as your car! It’s worth it.