
When our Chevy pickup project went under the knife for its transformation into a Fleetside shortbed from a Fleetside longbed, shortening the frame and matching up the driveline and suspension was only half the battle. Next in line was to discover the most feasible approach to acquire and install a short Fleetside bed.
When chopping 2 feet from a truck's frame, there are several ways to mend the fences in terms of installing a bed. For starters, the same operation on the frame can be applied to the bed by taking 8 inches from the rear and 12 inches from the front. However, that act alone entails more work than it's worth. The other option is to hunt down a shortbed and drop it on. However, that too can be tricky for a number of reasons, one being that you need to find a box that's worth buying because, after all, you don't want to spend more buying a longbed truck and a shortbed box than you would if you just bought a shortbed truck in the first place. Keep in mind that you'd have to find a quality box, which may take more work than chopping a longbed box down to a shortbed. The third option is to purchase a mail-order bed that comes ready to assemble from LMC Truck.
LMC Truck specializes in new aftermarket products for a variety of trucks, including '67-72 Chevy/GMC trucks. Somewhere between their immense catalog of trim, interior pieces, grilles, hardware, and more is sheetmetal. From front to back and top to bottom, LMC Truck carries pretty much every piece of tin to restore your truck, including bed pieces. In fact, LMC Truck has every panel, brace, nut, and bolt (designed off the original factory pieces) to assemble your very own bed. That's right, there's no hunting or gathering necessary. All it takes is rattling off a few part numbers over a phone call and the entire bed assembly shows up at your door. LMC Truck even has the pieces to assemble a wood or steel bed.
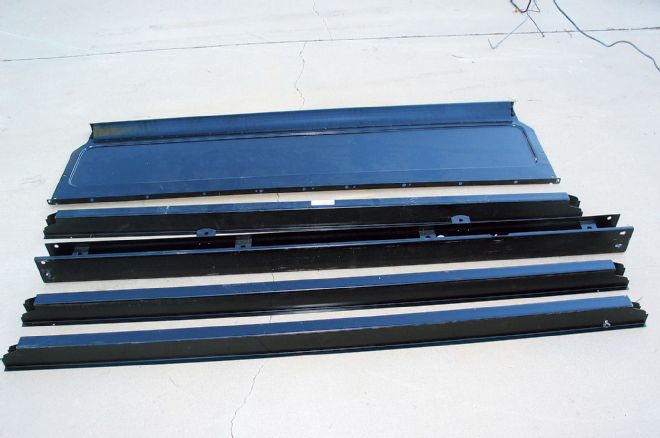
With just a phone call to LMC Truck, all of the bed components, including the bedsides, front panel, tailgate, crossbraces, wheel housings, brackets, and hardware, arrived at our doorstep ready to assemble. When we installed the pieces, everything mated right up for a true, accurate fit. On the flip side, we did run into a few snags with alignment, but that was just a 30-second quick fix. All in all, though, this bed truly is an accurate bolt-together piece that is perfect for any project.

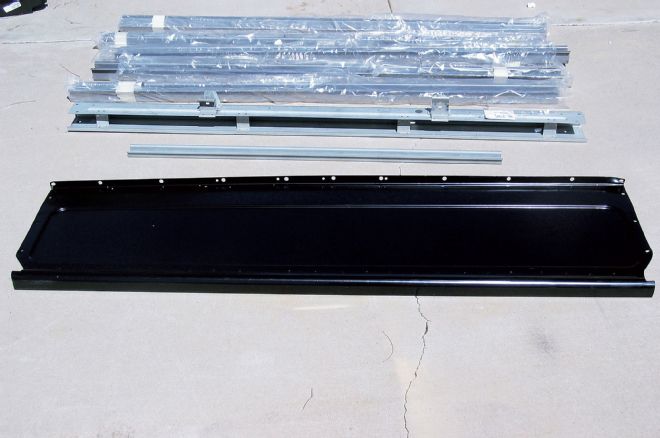
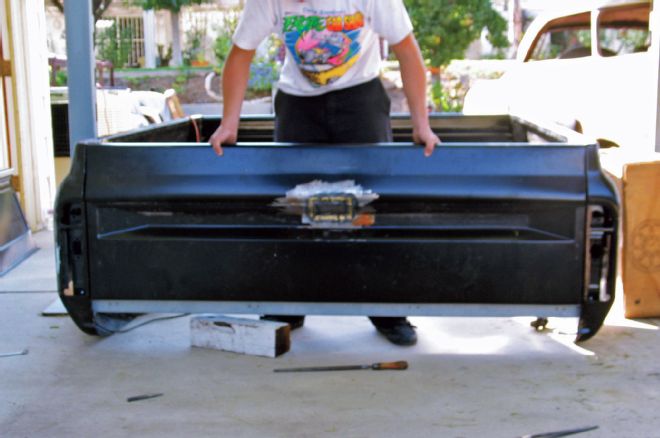
01 Fresh out of the cardboard box is the new LMC Truck bed. All the panels are accounted for and ready to be installed.
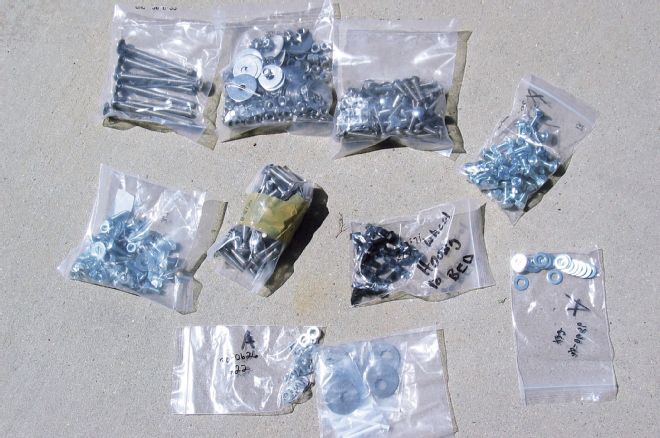
02 Besides having all the bed pieces shipped to your door, LMC Truck also has the hardware to assemble the bed, which makes the assembly process that much easier.
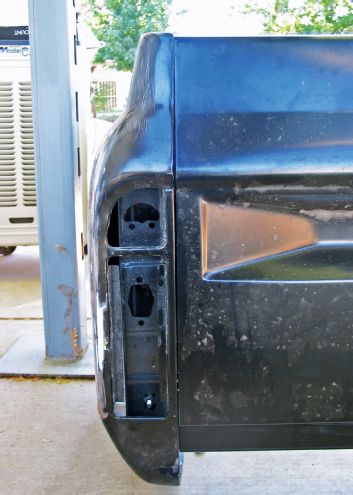
03 Although one might think all '67-72 shortbed boxes are the same, that isn't the case. The bedsides, tailgate, and wheel housings are all the same, but that's really about it. The front bed panels, crossbraces, and rear braces vary drastically between a wood and steel bed floor. Luckily for everyone, LMC Truck carries both styles. For our install, we are going with a wood bed.
04 In pictures they seem the same, but this steel bed setup is quite different from its wood cousin.
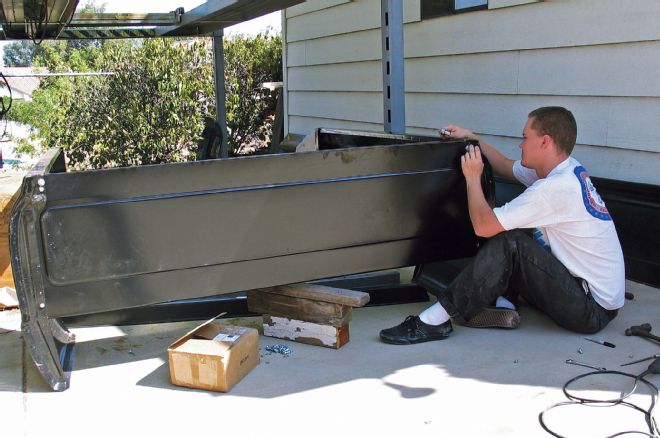
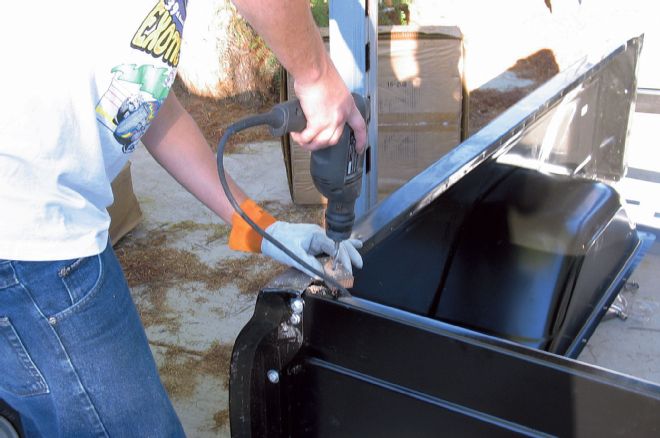
05 Our first step was to install the front bed panel to the new bedsides.
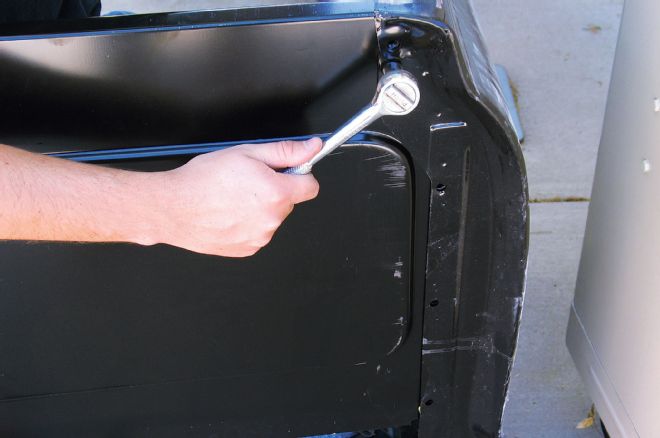
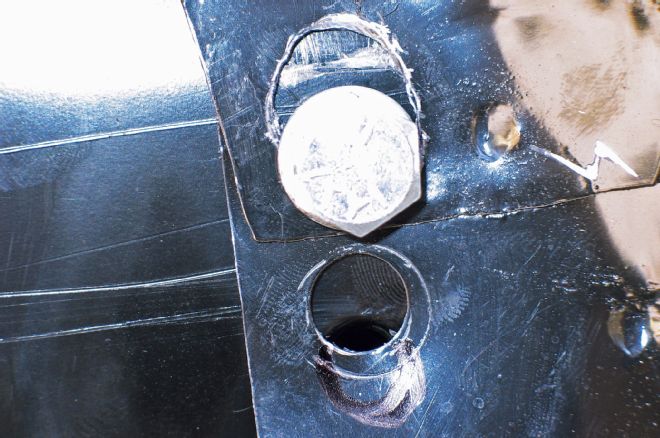
06 When bolting the front bed panel to the bedsides, the two top bolts thread into a boss on the panel. As for the other mounting locations, it's simply nuts and bolts. For now, the only bolts we installed were the threaded bosses and each lower bolt on the panel.
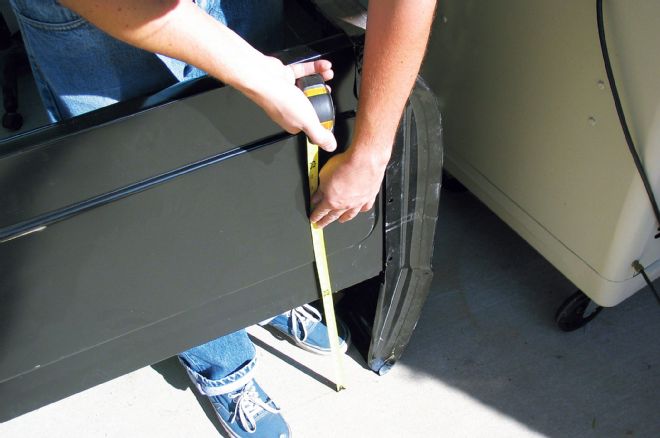
07 Because we want the box to be congruent all around, we measured to make sure the bed panel was mounted at the same height.
08 As it turned out, the right side was about a ¼-inch off, but that's no big deal. We simply oblonged the holes on the bedsides and shifted the bed panel to even things out.

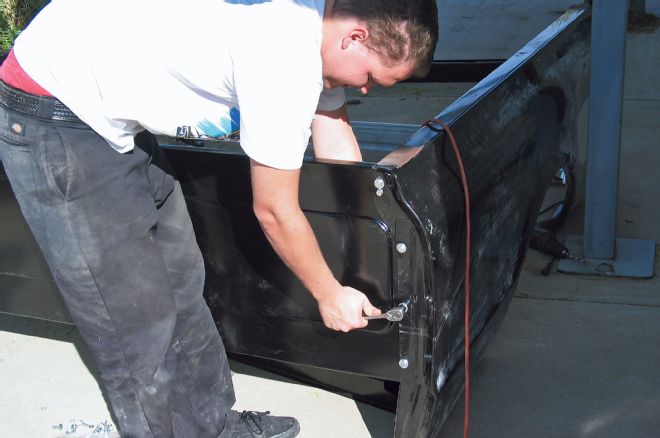
09 The next step was to install the rear crossbrace. As a note to self, at this point only finger-tighten the two bolts that attach the brace to the bedsides so they can be adjusted accordingly.
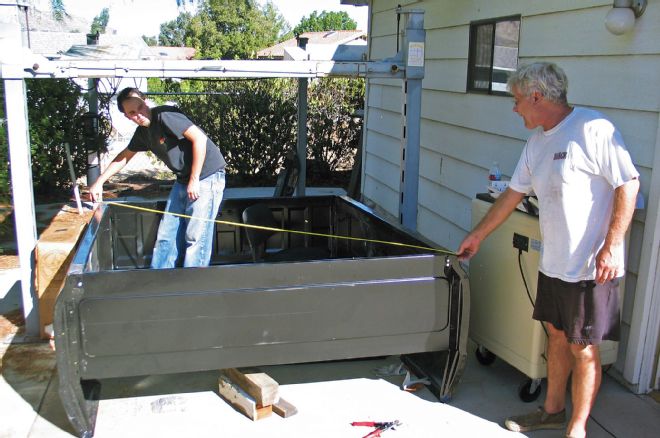
10 Before we went any further, we made a few measurements to make sure the box was squared up. Our first measurement was from corner to corner. Once the distance was equal, we moved to the next measurement.
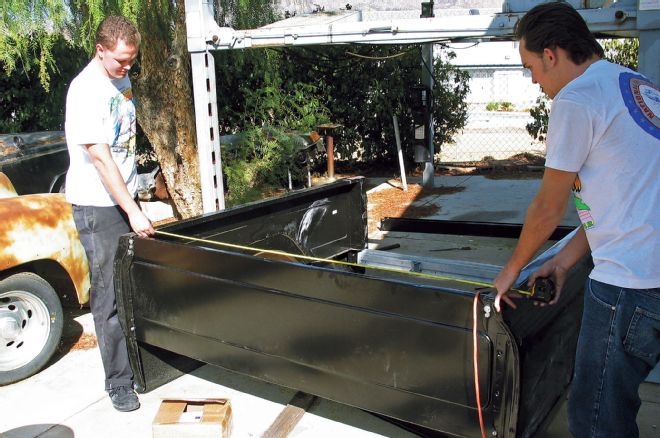
11-12 Next, we measured the distance between the bedsides at the front bed panel and at the rear crossbrace. As it turned out, once again we were off by about ½ inch at the rear of the bed, which again is nothing to sweat. We simply oblonged the mounting holes on the rear crossbrace and split the difference to match the front distance at the bed panel.
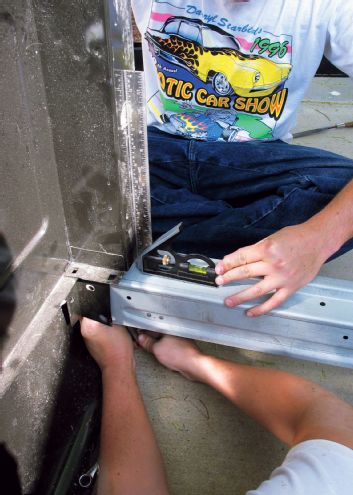
13 With the distances set, the next step was to square up the bedside to the rear crossbrace. By placing this 90-degree T on the brace, we positioned the bedside and tightened down the mounting bolts.
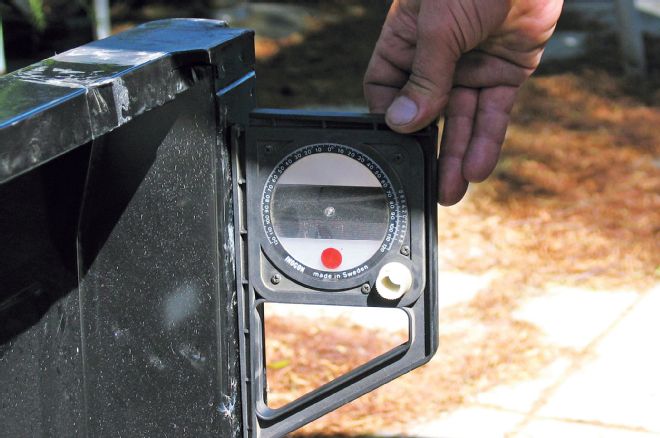
14 Just to make sure everything was still where we wanted it, we went back and re-measured everything. We also used a level to double-check that the bedsides were at the desired 90-degree angle.
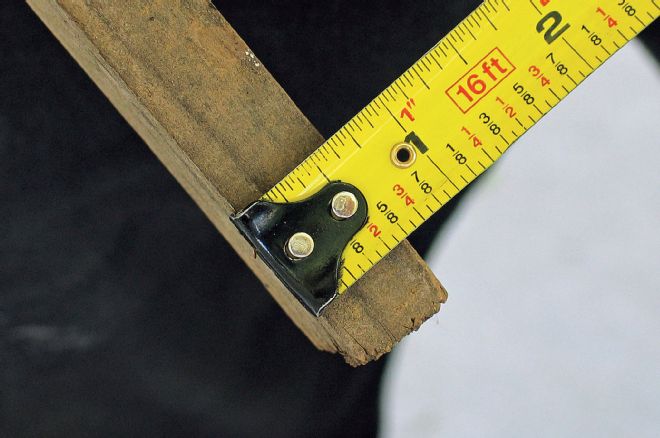
15 We also test-fitted the tailgate.
16 As it turned out, things were right on the money with what is more or less a ¼-inch gap on each side of the tailgate.
17 Now that everything was squared up, we installed the rest of the bolts on the front panel.
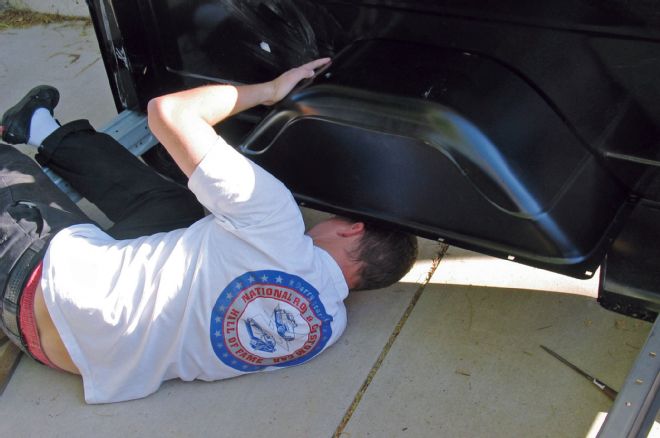
18 The next step was to bolt the wheel housings onto the bedsides.
19 Although we didn't have the bed wood to install in the bed, we wanted to finish installing the bed just to make sure everything is kosher when the time comes to slide in the wood. We found these 3⁄4-inch strips of wood (the bed wood in these beds is 3⁄4-inch thick) to fill the void for now.
20 The bed, bed wood, and crossbraces mount up by placing the bed wood on top of the brace and under a metal lip on the inside bed panel, and then bolting all three of them together with a carriage bolt that drops in from the top. In order to mount things up, we drilled a hole in the wood accordingly.
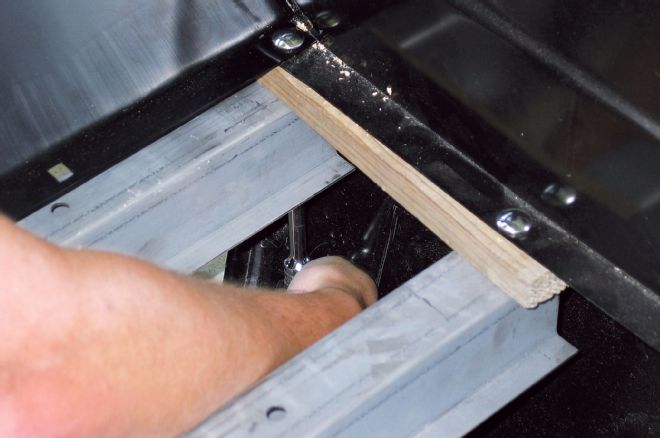
21 Next, we installed each of the braces in their positions by dropping the carriage bolts down the specified location on the bedside lip, and then bolting the wood and brace to the lip.
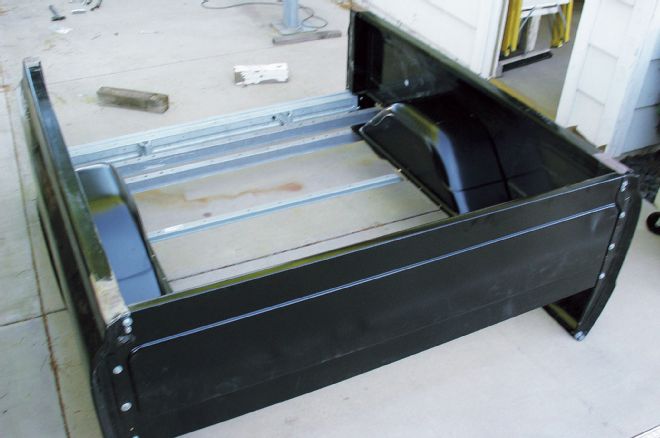
22 And there you have it, a brand-new LMC Truck bolt-together bed.