Any major B-Body restoration will involve the meticulous alignment and spot-welding of major sheetmetal panels. We show how it's done.
When you think of a front end alignment, you are likely imagining steering linkage and wheels and tires, not sheetmetal. Yet when replacing body panels, their proper alignment is critical.
"…this car was so badly rusted that about the only major parts they were able to save were the firewall, rear package shelf, and rear seat support."
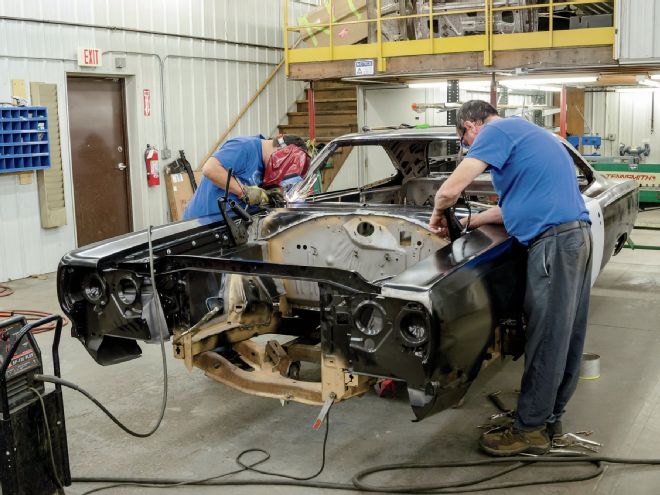
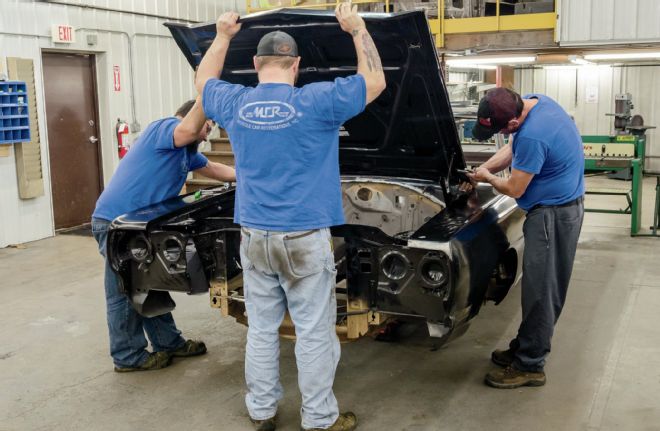
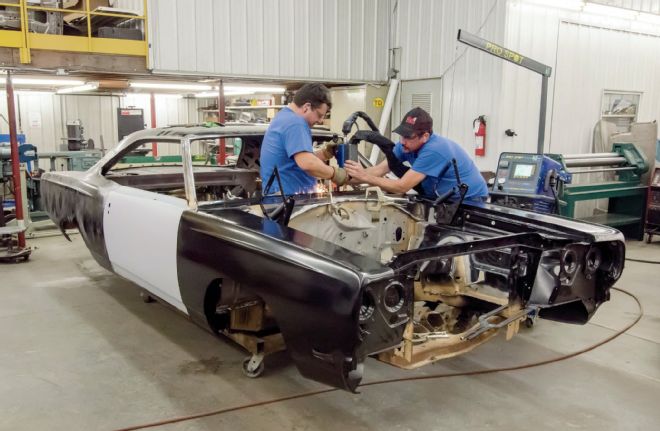
We recently were out at John Balow's Chippewa Falls, Wisconsin, resto shop, Muscle Car Restorations, and got to watch his crew replace the front clip on a '69 Road Runner hardtop. Actually, this car was so badly rusted that about the only major parts they were able to save were the firewall, rear package shelf, and rear seat support. By the time we got there, most everything had already been replaced, except for the front clip.
But that's why we were there. You see, attaching body panels is not like assembling an entertainment center from Ikea. Each piece must be individually fit to all the others so that all of the gaps and seams are even and straight. And front clips are more complicated than the rest of the car, not only because of the number of parts, but because there are doors and a hood that need to open and close properly.
"…attaching body panels is not like assembling an entertainment center from Ikea. Each piece must be individually fit…"
Usually when we say front clip, that means all of the bolt-on panels, but in this case the top of the cowl, both inner fenders, and the core support are also included, which means we'll have to deal with the bolted-on parts and the welded-on ones too. MCR's tip is to preassemble the entire front clip using clamps and Cleco fasteners, checking panel alignment as you go. Once they are sure that everything fits perfectly—and this can take some fussing around—they will begin to weld the originally factory spot-welded seams. Here's what's involved …
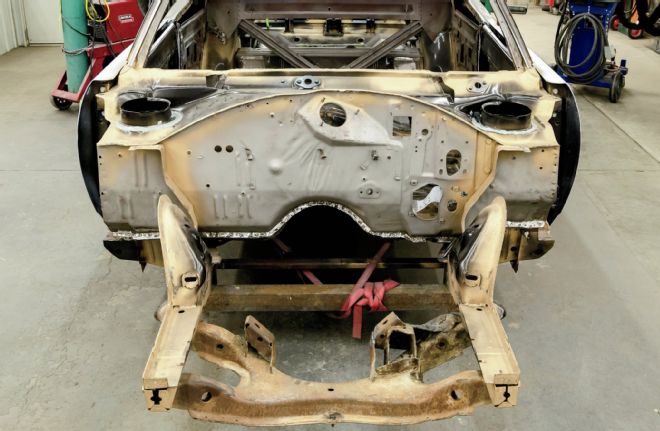
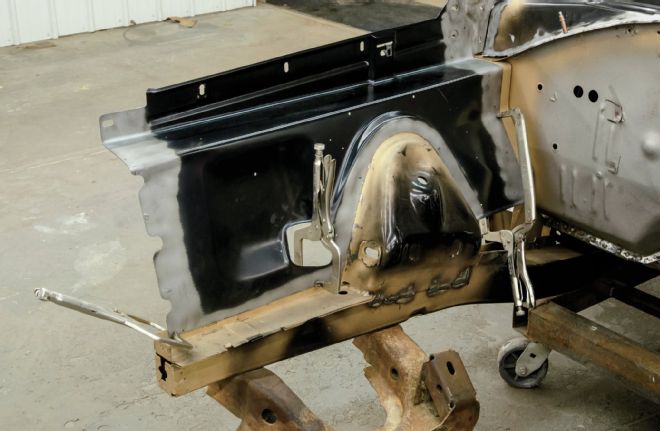
1. Here is our starting point. About the only thing original to this part of the car is the firewall. MCR has already replaced the lower cowl, framerails, and shock towers with AMD parts. The K-frame is an old piece that MCR used to help with the framerail alignment. It's there to be sure the framerails don't move.

2. The first part that is set in place is the upper cowl panel.
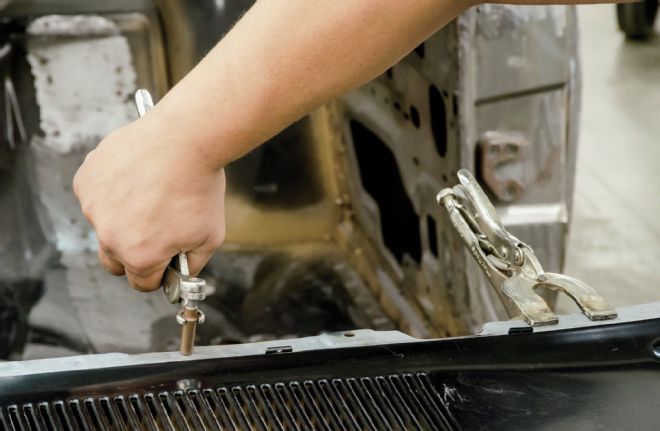
3. Using their best educated guess, the MCR crew will use a combination of clamps and Cleco fasteners (small sheetmetal screws work just as well, just slower), to position the cowl panel.
4. With the cowl in place, the inner fenders are next. Though a Cleco pin may be used here and there as necessary, clamps are really preferred at this point as everything will need to be repositioned probably multiple times.
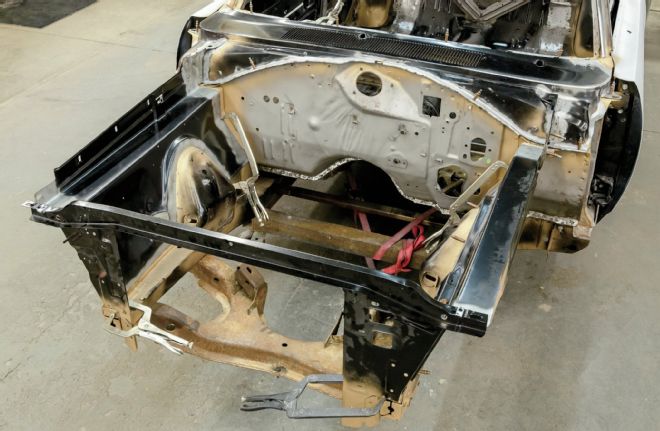
5. With the inner fenders in place, the core support is next. These parts will eventually be permanently welded in place. The fenders and hood, of course, are designed with adjustable attachment points and they will be mounted next to be sure that proper panel alignment can be achieved within the normal adjustment points on each one.
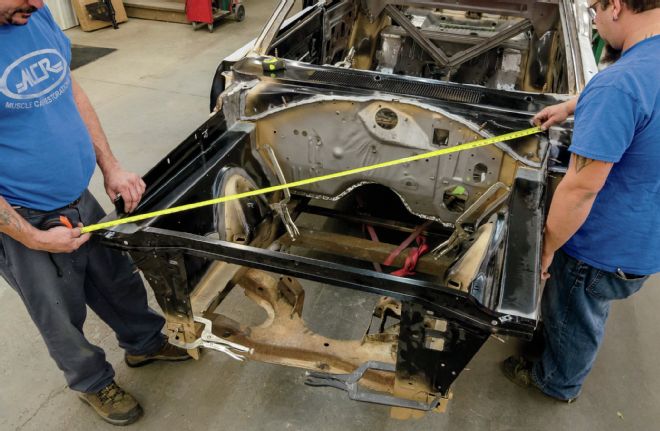
6. Here's a really great tip. Cross measure the inner fenders to be sure they are square with the body. You want to adjust the panels until the cross measurement produces the same length.

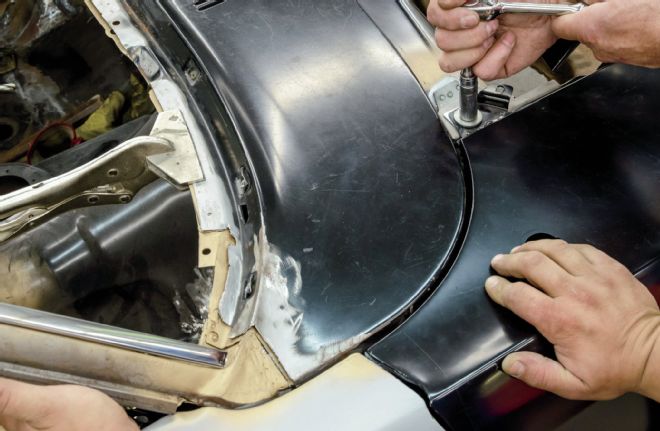
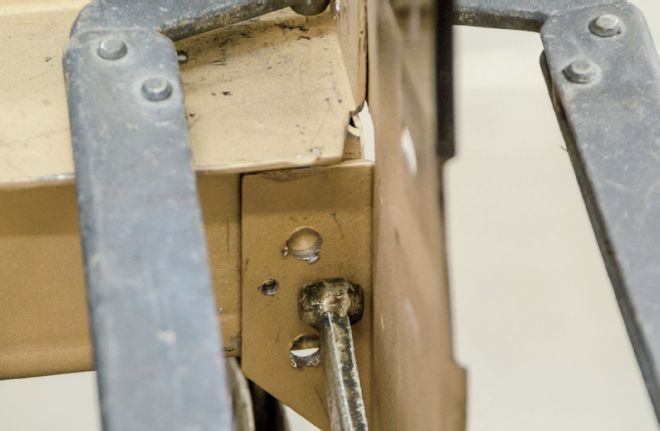
7. Believe it or not, this little bracket that attaches the cowl to the inner fender is a big key to getting everything to fit right. It determines the exact inner-fender-to-cowl alignment and therefore also influences the outer-fender-to-cowl, fender-to-door, and fender-to-hood relationships. MCR literally clamps and bolts together the entire front clip and confirms that every part can be aligned before they determine this part's location and tack it in place.
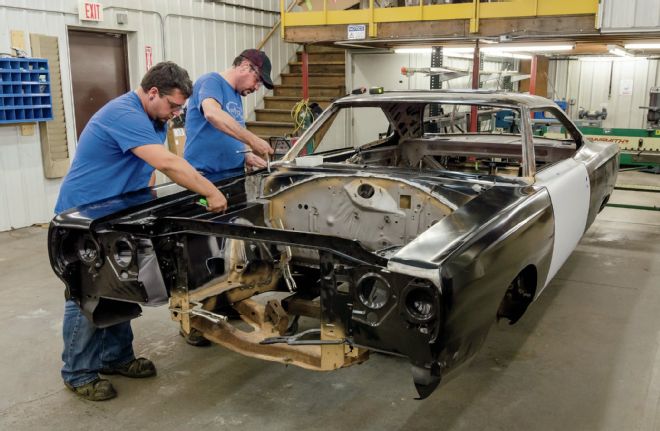
8. The next step is to bolt on both fenders and roughly align them with the cowl and doors.
9. The next obvious step is bolting on the hinges and hood.
10. Here's where the fun starts, and it's also the most critical part to get right. Since the door position is mostly determined by its relationship to the rear quarter and the rocker panel, the cowl and front fender will have to be adjusted to align with the door. In this case, the cowl had to be moved forward a little to get all the pieces to fit properly. Keep in mind that the inner fenders are also still adjustable if necessary.
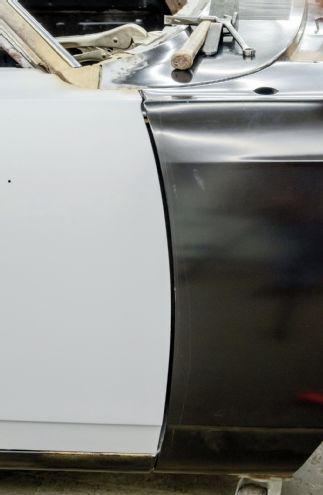
11. As the cowl, fender, and door gaps are being adjusted up top, it is also critical that an eye be kept on the vertical door-to-fender gap.
12. MCR will also mock up the lower window trim to be sure that it fits properly with the cowl.
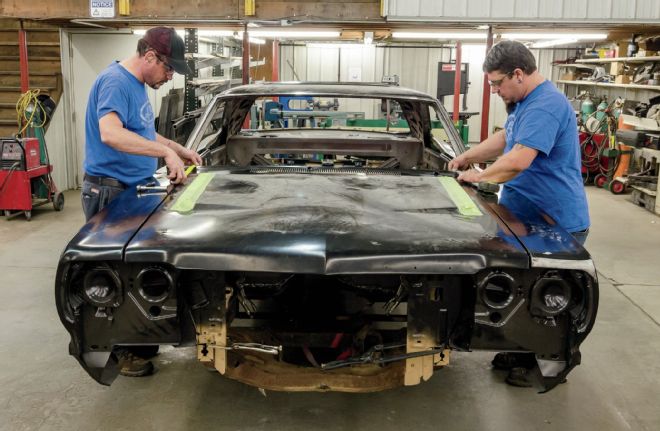
13. Measurements are taken from the cowl to the back of the hood to check that it's square with the rest of the body. Hopefully the hood centers well between the fenders so that the cowl-to-fender-top gaps and the door-to-fender gaps won't need to be disturbed, but remember that nothing is permanently fixed at this point. Every time a gap is tweaked, it affects the others around it, so the guys re-clamp, loosen, and tighten as often as it takes to get the whole assembly fitting perfectly.
14. Only when everything fits perfectly does the welding begin. Progressing in pretty much the order they assembled the parts, MCR starts with the cowl and then moves on to the inner fenders all the while keeping an eye on the panel gaps to be sure nothing moves.

15. MCR prefers to spot-weld as many of the panel seams as possible and use a professional factory-level unit for most of their work, but there are hobbyist-level welders that will work just fine in many of the locations.
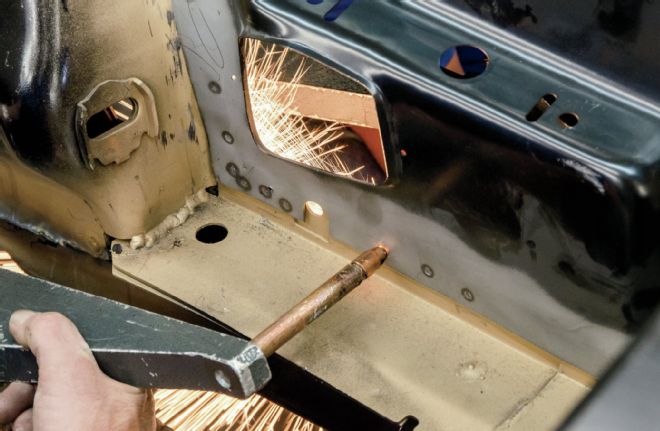
16. It's in these difficult-to-reach areas that a hobbyist spot welder will simply not be able to reach. In these cases, plug welding is a perfectly acceptable alternative.
17. There are certain locations, like the end of the framerails, where spot welding just isn't possible so MCR will plug weld where they have to.
You saw that Muscle Car Restorations uses a state-of-the-art computer-controlled spot welder that is literally used by the major car companies. It has all kinds of options and attachments and can do anything any spot welder can do and reach anywhere a spot welder can reach. And it produces the most consistent and beautiful spot welds you've ever seen.
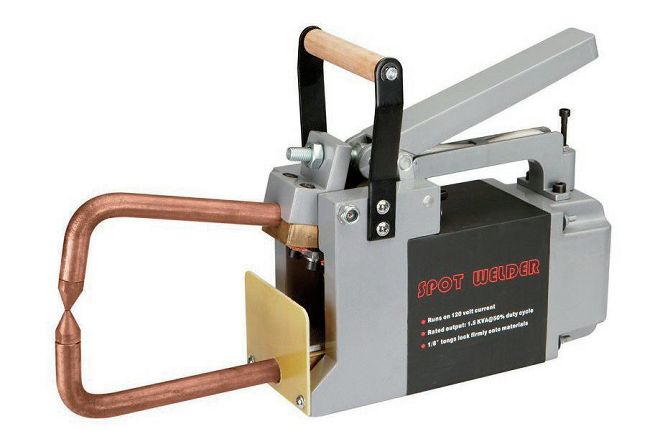
But what if you don't have over $20,000 to invest in that level of technology? Are there any alternatives? Of course there are. Harbor Freight has a handheld manual spot welder for under $200 (PN 61206 for 240-volt, PN 61205, 120-volt; $174.99 before any applied coupons). It will do a fine job with the thickness of the replacement body panels we're talking about here.
How well do they work? Well, they are totally manual with no power adjustment, and you must manually adjust the tong pressure, experimenting with how long to apply power with a simple on/off toggle switch. The tongs are 6 inches long so you won't have a lot of reach, but they do have replaceable tips. The duty cycle isn't real long, but that's OK since you aren't working an eight-hour shift on the Chrysler assembly line here. All that said, they will produce a factorylike weld once you become proficient. The $19,800 you save will buy your next two project cars!