It's a really good idea to buy a parts car with major projects that you undertake. The trouble shows itself when your project vehicle turns out to be not much more than a parts car itself—rust, missing pieces, and anything that's left over needs to be refurbished or replaced. That's just the way it's been with ZedSled. Whether it's rose-colored glasses or just plain dumb optimism, we're trudging forward with this car, and the sheetmetal is probably the most serious challenge. Since we're on a shoestring budget, we'll turn the tide on this build by replacing the rusted metal using scraps as well as carefully chosen, high-quality replacement panels. Unibody vehicles, including F-Body Camaros, are prone to rust. We found an ally in National Parts Depot, which offers almost every part and piece for first- and second-gen Camaros, and with the company's strategically placed warehouses, parts are never out of stock and never far away.
You'll need some handtools to do this job right; we worked with Eastwood because it had everything we needed: spot-weld cutters, a welder, shears, and coatings are among the items we ordered, and the rest is up to creativity and hard work. Follow us as we tame the tinworm the same way we're building the rest of the car—on a budget.
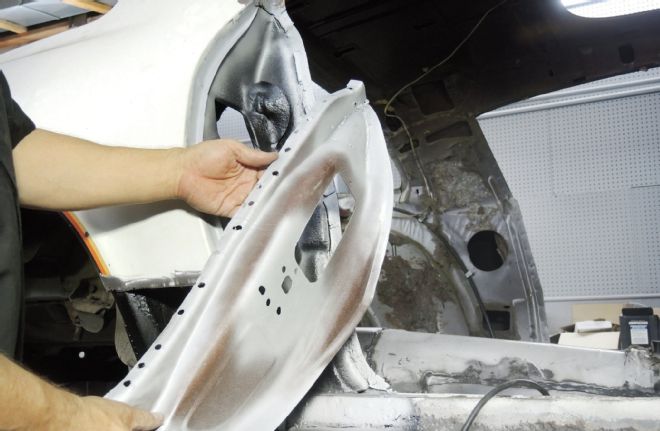
1. National Parts Depot offers a full floor replacement panel for our 1978 Z, but the left and right partial panels are more affordable. The stampings are accurate, and they're more than adequate for typical floorpan rust.
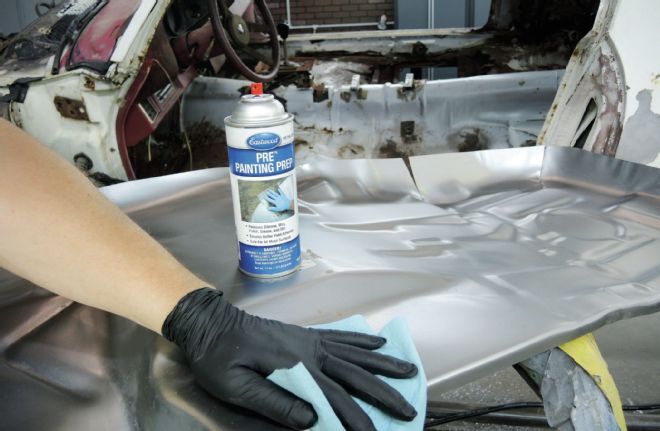
2. Sheetmetal without black EDP coatings are shipped with a protective goo that needs to be wiped off for welding and painting. Eastwood's Pre Painting Prep is perfect for this step.
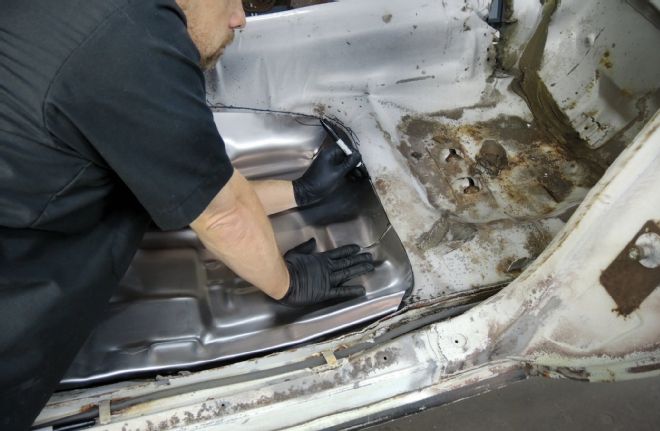
3. With the pans set into the car, a Sharpie traced around the edge gives us an outline to guide the first of many cuts and trimming that is required to fit the new metal.
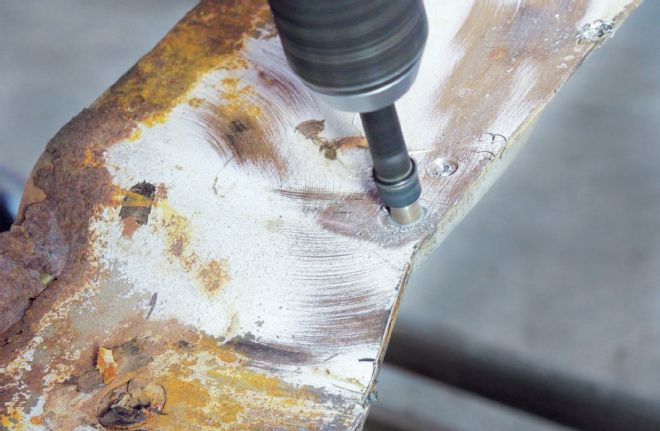
4. A spot-weld cutter is something you'll become very familiar with using during sheetmetal replacement. Using a low speed is important to keep your cutter sharp.
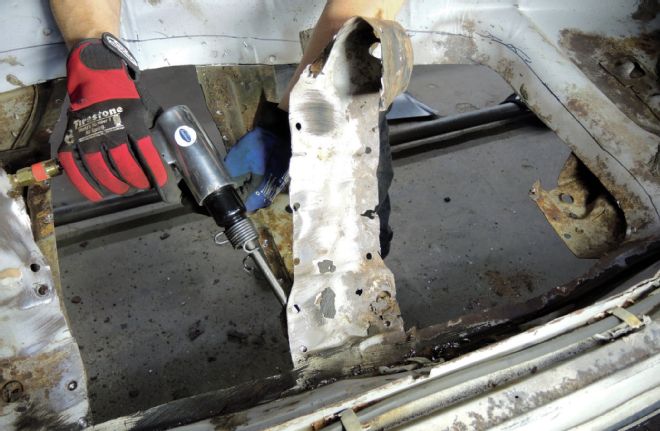
5. We've cut the floors around the braces from the bottom side first, which reveals the edges that are spot-welded from the factory. This made it easier to find the welds for drilling, then finally separating, from the mating panel.
6. The NPD pans are stamped like the factory panel. We're saving time by removing this flange at the edge and welding the outside of the floor to metal from the original that's still solid. Thinking your way through these repairs will show you ways to save time without compromising the repair.
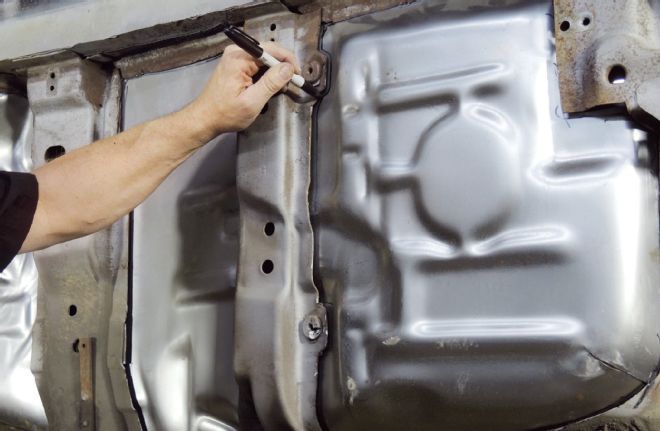
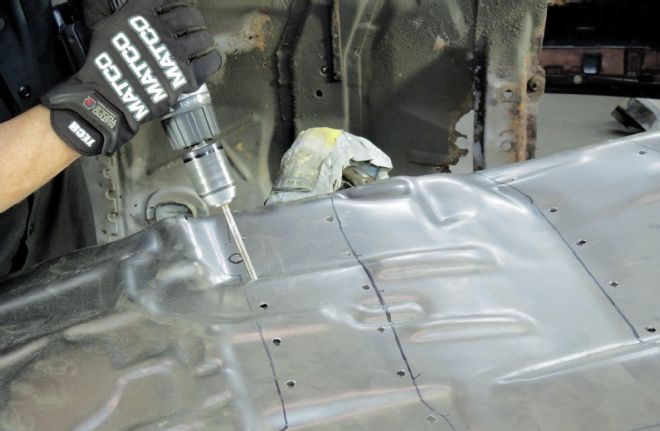
7. We trace around the braces and edges from the bottom with a marker so we know where to drill holes for rosette welds, which are sometimes referred to as plug welds. Here you can see the strategy for the flange we removed from the NPD pan and what we're going to weld the outside edge of our pan to.
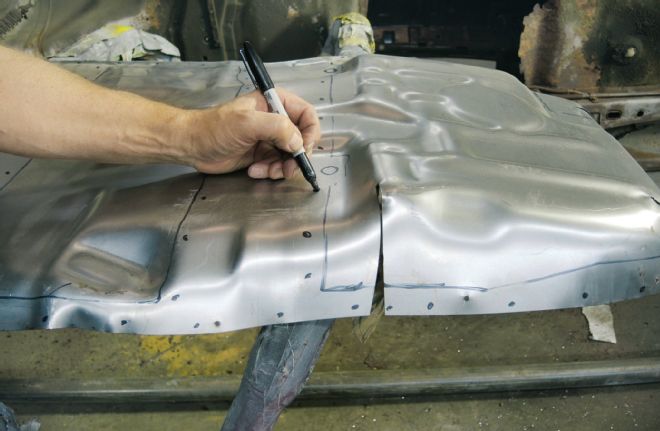
8. Now we can mark where holes will be drilled for welding. Spacing isn't critical, but three fingers between welds are close to factory specs and easy to remember.
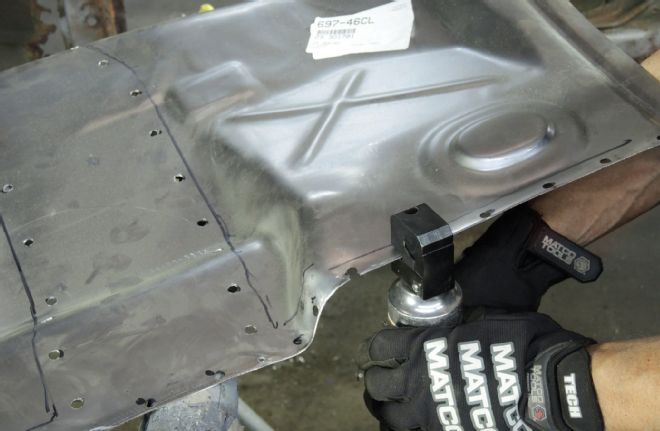
9. A pneumatic panel punch is a tool that will sit in your drawer a lot, but it sure is nice to have one when you need it. This tool forms flanges on one side of the head and punches perfect 3⁄8-inch holes on the other side.
10. A 3⁄8-inch bit works great where the panel punch can't reach. Remember that this is a unibody car and that the body is the frame. Don't skimp on plug welds. They're important for safety and to help your car stay rigid in corners.
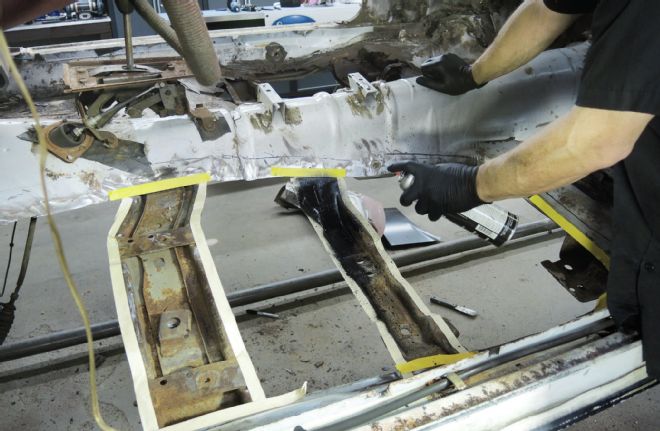
11. To prep the floor braces, we used a wire brush to remove the surface rust and Eastwood's Rust Encapsulator to seal and stop the remaining surface rust from growing.
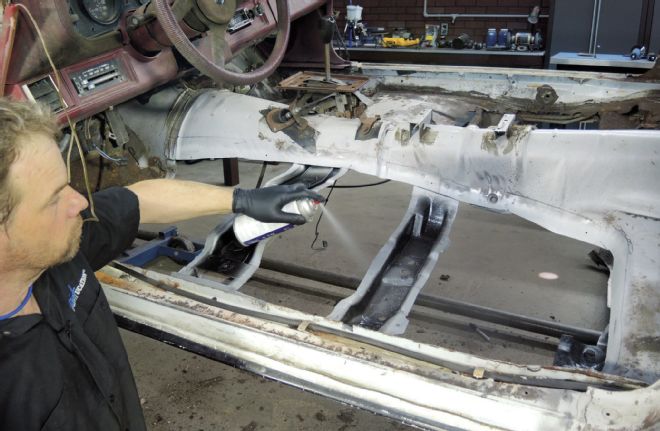
12. Weld-through primer contains zinc, which protects metal from rust and allows you to weld through it. It's great insurance for a professional repair.
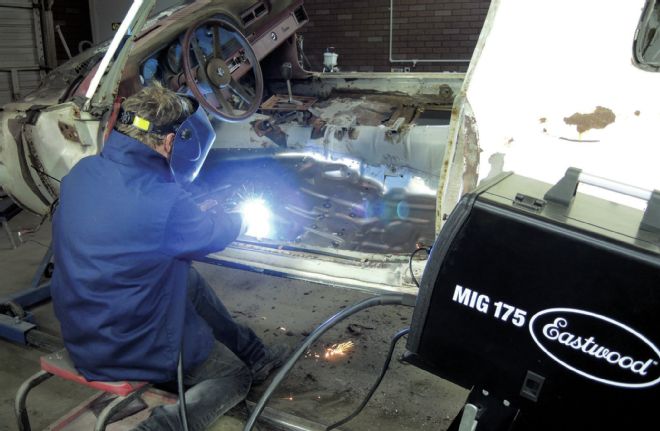
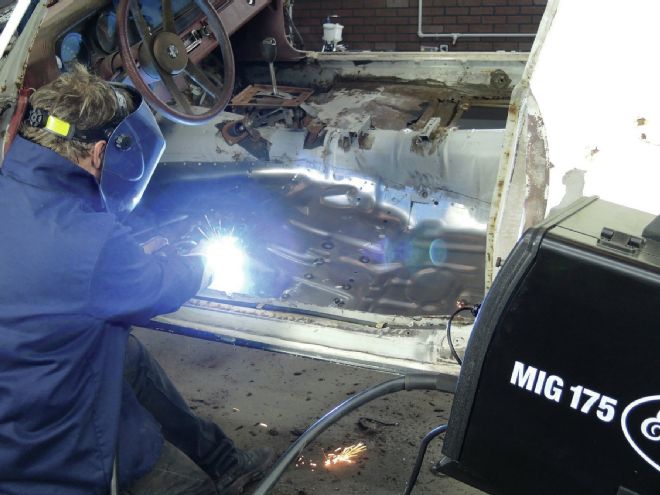
13. The pans are held in with sheetmetal screws while welding takes place. Eastwood's MIG 175 can easily handle this task and has infinite voltage and wire feet control knobs (instead of notches) for fine-tuning your welds.
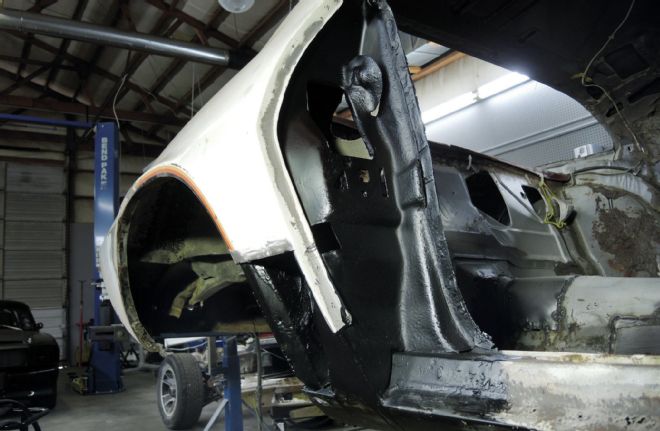
14. Our passenger lock pillar was rotted completely from leaks around the 1980s-era sunroof. We've cut out the rust, wire-brushed the surface rust from the inner structure, and coated anything we could reach with POR15 rust-preventative paint.
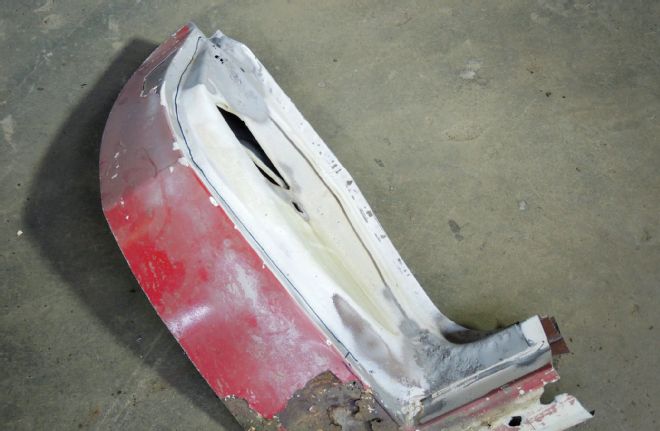
15. Replacement lock pillar panels aren't available separately—as of now, they only come with a full quarter-panel stamping—so we rounded up a used lock pillar for cheap. After blasting the edges, we found out why it was cheap: it had quite a bit of rot itself! There was still enough useful metal to make the repair, however, so we stuck with the budget plan.
16. Cutting the panel out to match our cut on the car gives us a flange to weld and also to locate the panel to the correct spot for door-latch alignment.
17. With some weld-through primer on the backside and a small patch panel welded in at the top to get rid of tinworm, we're ready to install the new lock pillar.
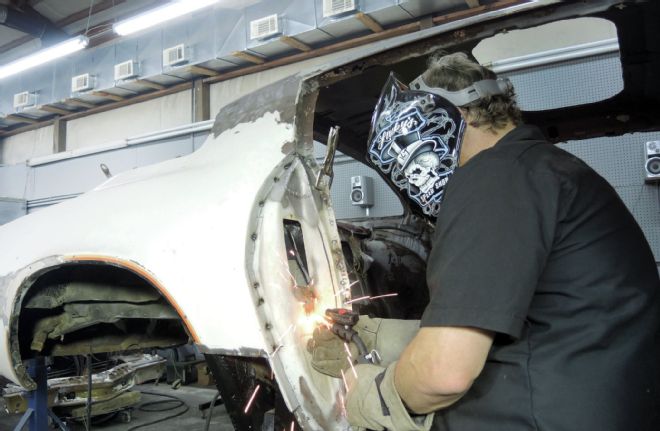
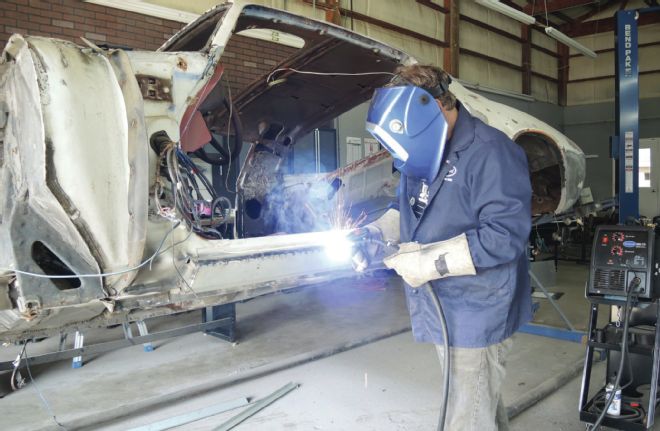
18. Tack-welding the panel is straightforward and is a pretty basic process for most panel replacement. Running beads warp sheetmetal, so use patience and get used to spacing your tack-welds until they become a continuous weld around your panel joint.
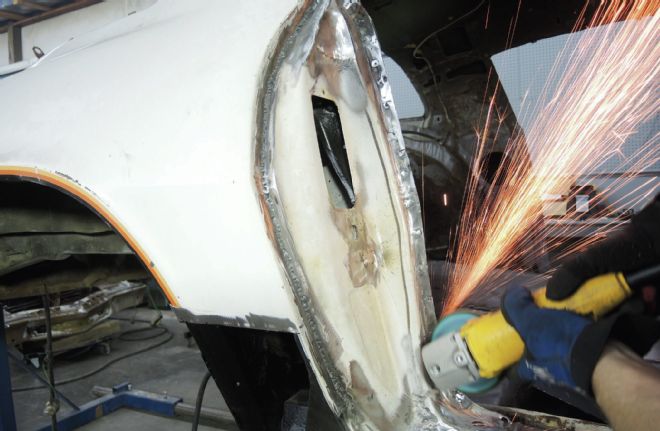
19. A 40-grit flap wheel surfaces the excess weld material while keeping your metal as cool as possible.
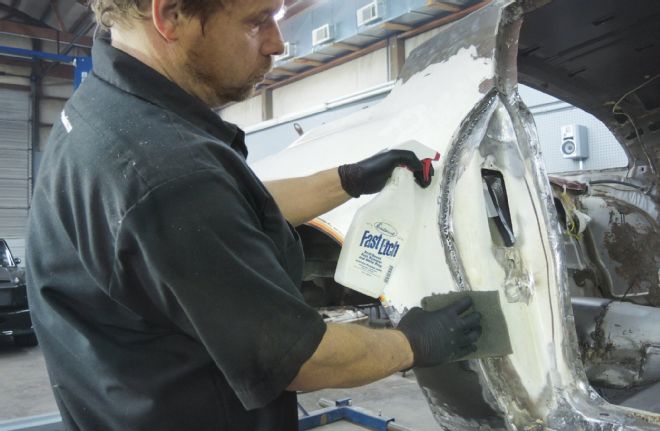
20. After grinding the welds flush, wiping with Fast Etch converts any flash rusting to phosphate. It then gets wiped off with acetone or Pre Painting Prep to remove any excess coating. This stops flash rusting in its tracks and preps the metal for fillers or primers.
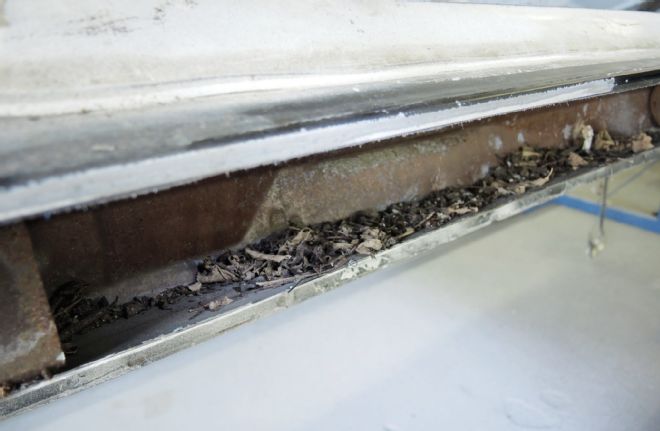
21. The driver-side rocker was bashed in from some kind of Banzai ditch stunt, so rather than fill it full of mud, we decided to just skin it with a new NPD panel since they're quite affordable. The junk inside is a time bomb, so it's good that we can clean this out before welding in the new panel.
22. The new rocker skin is tacked in place the same way the rest of the metal is welded—spacing the welds and letting them cool between tacks.
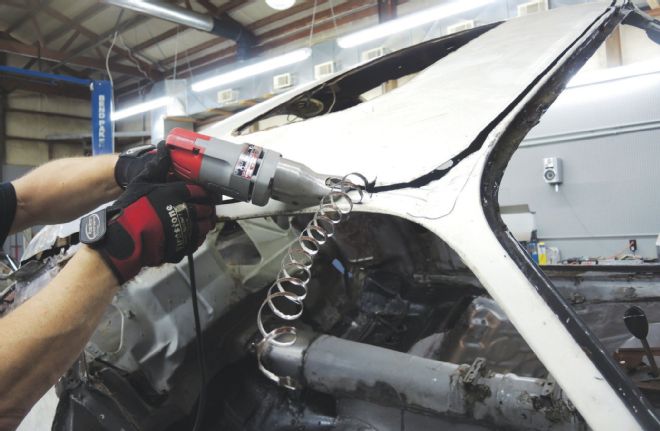
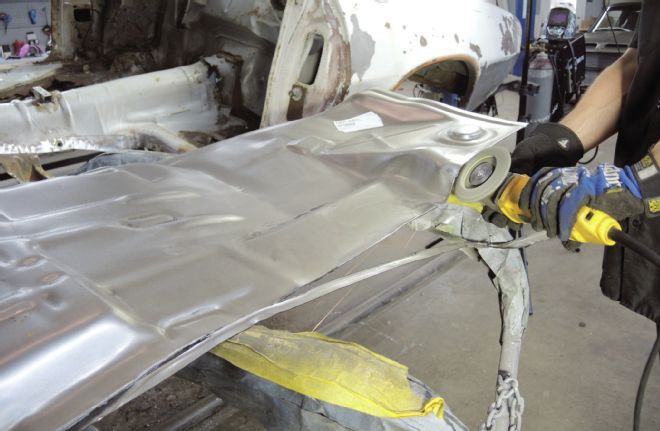
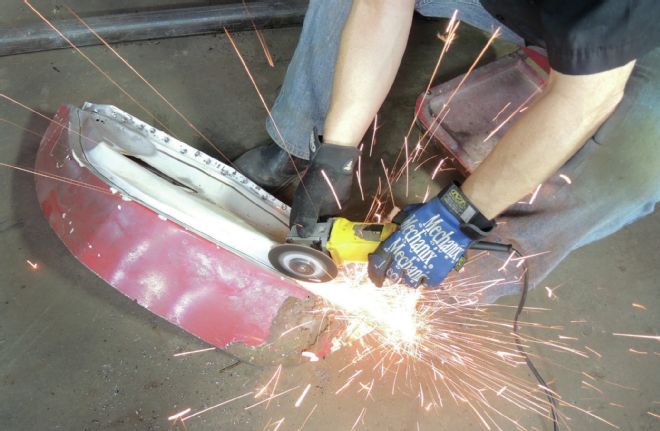
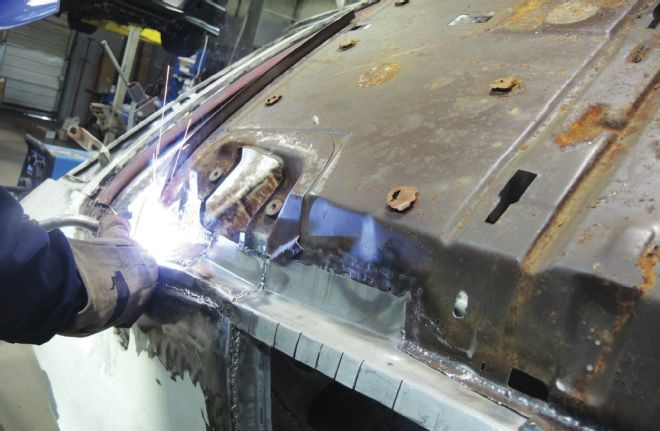
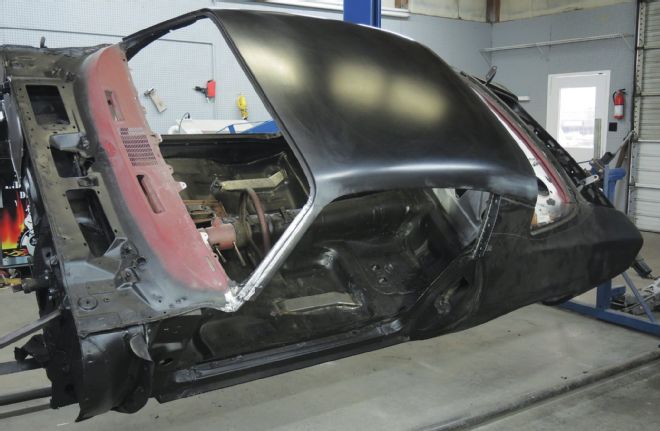
23. The roof needs a skin, no question about it. Not only do we need to eliminate the horrible aftermarket sunroof but also the rust and stress cracks at the corners. An electric shear makes quick work of removing most of the outer panel.
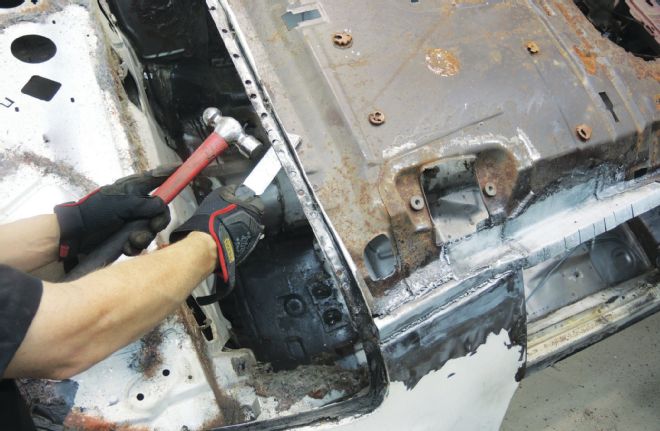
24. After drilling another 40 or so spot-welds, we used a panel-separator knife and hammer to remove the rest of the outer skin, leaving the inner panel to mate the new roof to.
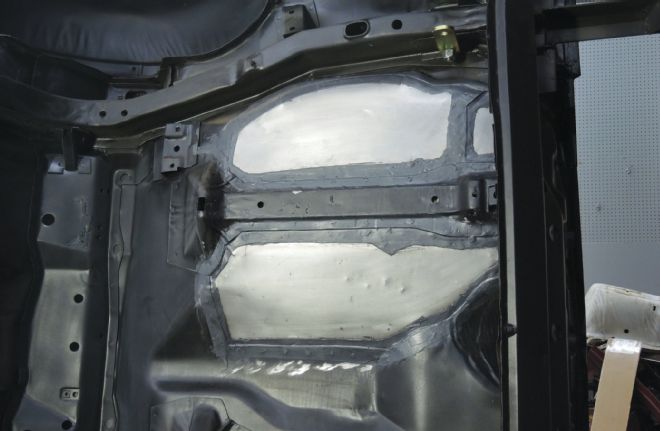
25. The sunroof took its toll on the inner structure, so we rebuilt the rotted sections using scraps from the rocker skin, as well as some random 18-gauge scrap metal we had saved from a previous repair.
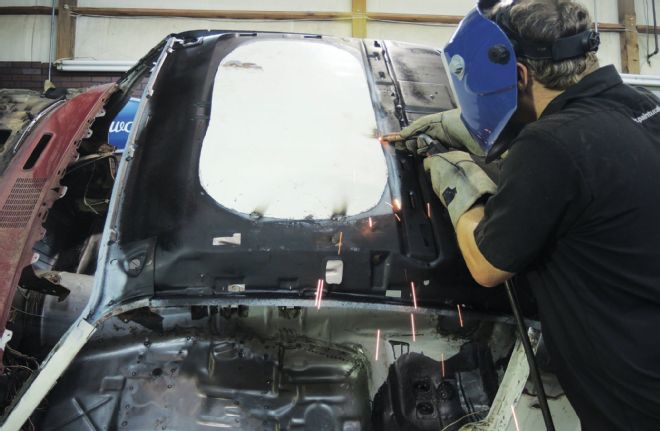
26. The inner roof panel was patched using the original outer panel, giving it back some strength, sealing out moisture, and, most importantly, it was a free patch!
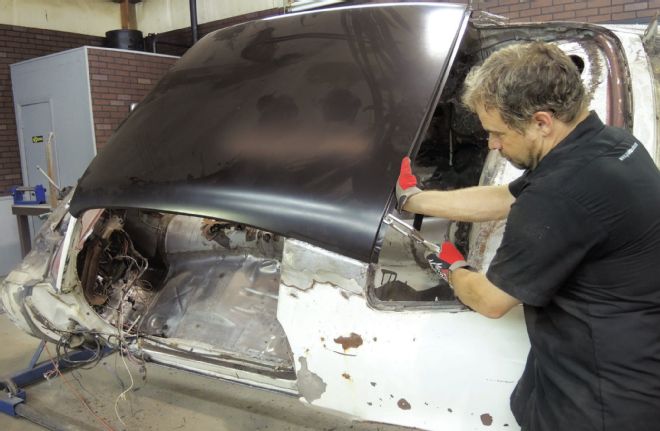
27. With all the prep taken care of, the outer roof skin can be clamped down for welding at the windshield, quarter-panel, and backlight flanges.

28. The sides of the skin fold over much like a doorskin and are slowly and carefully worked with a low-crown body hammer and dolly.
29. The trunk floor was Swiss cheese as well, so we made our own panels from scrap 20-gauge and welded them to the braces, which were still in good condition.
30. With the metalwork on ZedSled finally done, we can focus on suspension mockup and bodywork. Notice the DSE subframe connectors poking through the floor? Yes, we're building this one to perform and handle! ZedSled is a labor-intensive project, no doubt about it, but the rewards will be worth it.