You know that little voice in the back of your head? Yeah, that one. We all have one and while we generally listen to this protective device, often we hit the override button and roll the dice. It happens to all of us, particularly those of us "of a certain age." And so Randy Lorentzen, photographer extraordinaire decided to climb to new heights in his garage. Oh sure, "the little voice" was talking to him, telling him the ladder was awfully close to his oh-so-cool vintage 1940 Ford Coupe, but this would only take a second, he assured himself. It was on the way down that it happened, a simple misstep with one foot, a twist of the ankle and as the little voice was saying, "I told you so" Lorentzen's knee landed squarely on the back fender of the coupe, before he crumpled to the ground.
Yes, Lorentzen has just fallen from a ladder and we know exactly what our readers are thinking, "Oh, my goodness, that's horrible, is the fender repairable?" In different circles the primary concern may have been Lorentzen's badly twisted ankle, but hey, we're car guys. Happily both the car and owner were able to mend, with some basic treatment. While we won't go into the medical treatment, mending the fender was worth a closer look.
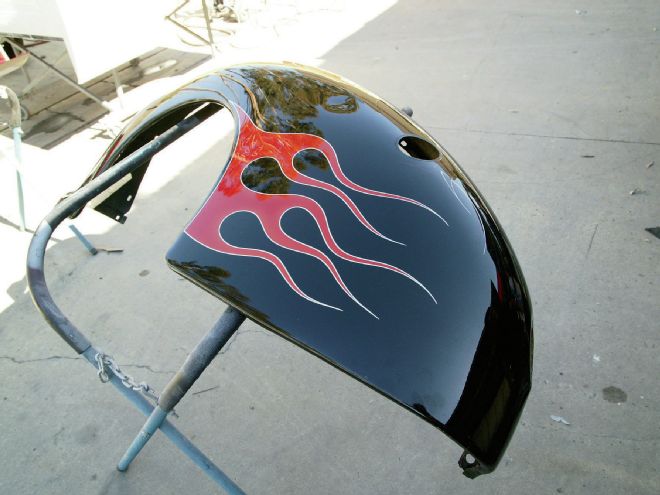
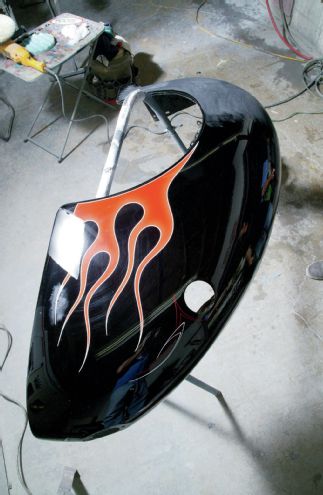
The Lorentzen coupe is a super traditional hot rod with some very tasteful and artfully blended flames behind each wheelwell. The concern for Lorentzen was how could he possibly duplicate those intricate blends to match the front flames. This question and a softball-sized dent, complete with cracked paint, prompted a call to his good friends Jeff Styles and Max Gilmore at South County Autobody in Lake Forest, California. While the call didn't help his swollen ankle, it did provide a solution for repairing the fender.
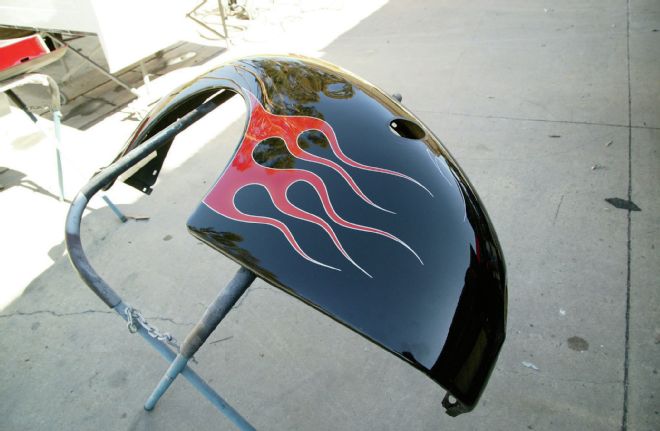
1. When Randy Lorentzen came flying off a ladder he landed on his very traditional '40 Ford. The results were two sizeable dents in the rear fender and one very swollen ankle. We'll show you how to fix the dent without hurting the flames.
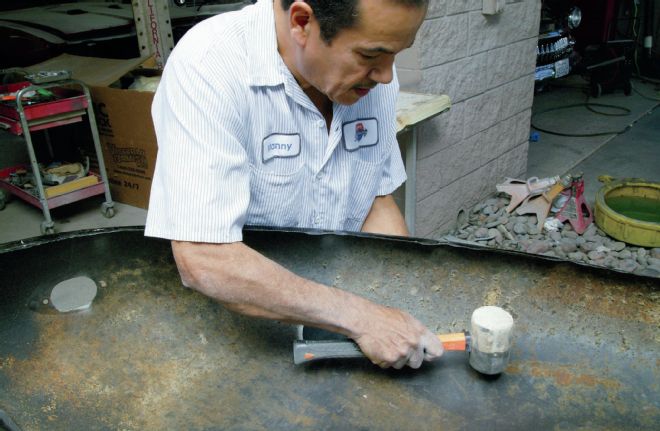
2. The fender was brought to Jeff Styles and Max Gilmore at South County Autobody in Lake Forest, CA. The first step was to have Manny carefully hammer out the softball size dent.
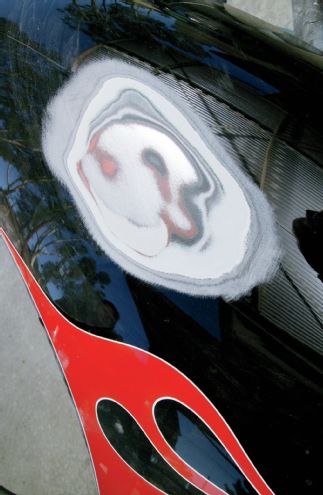
3. Using an orbital sander with some 80-grit paper removed the cracked paint caused by the dent and also feather edged through the layers of paint and primer on the fender.
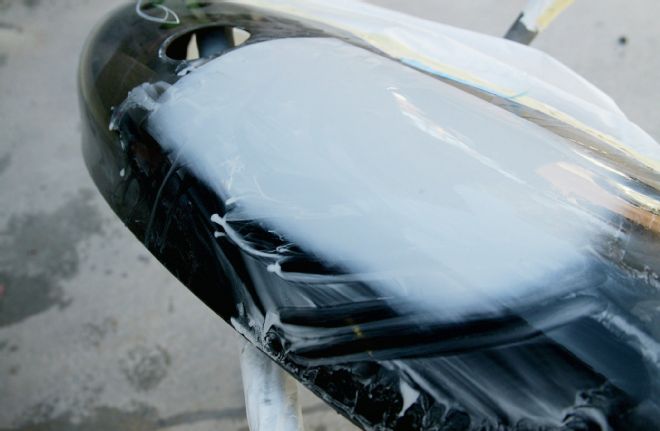
4. Since matching the flames would be extremely difficult, they were taped off for protection. Note that a skim coat of body filler has been applied to the dented area.
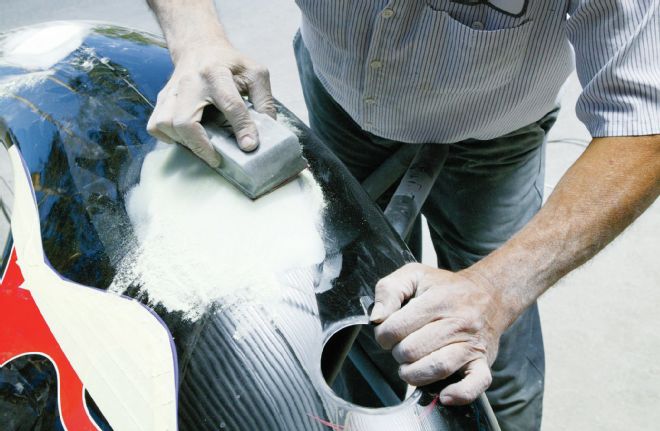
5. With the flames protected by masking tape Jeff Styles cuts the body filler down with an Eastwood flexible block and some 120-grit.
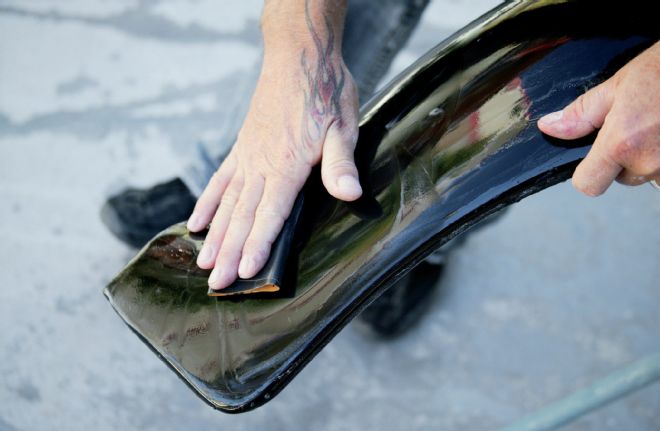
6. Using a second, thinner soft block the filler is sanded by Styles with 800-grit paper, taking special care to feather the edges of the new primer into the existing topcoats.
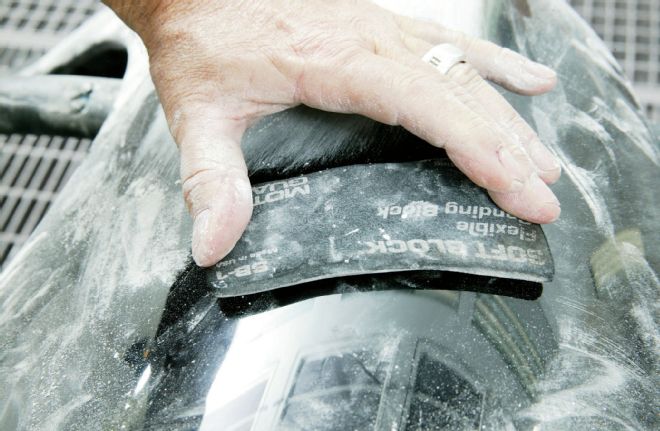
7. The thin soft block follows the contour of the '40 fender while still cutting a straight surface. These blocks eliminated the chance of dreaded "finger lines" often caused by using handheld sandpaper.
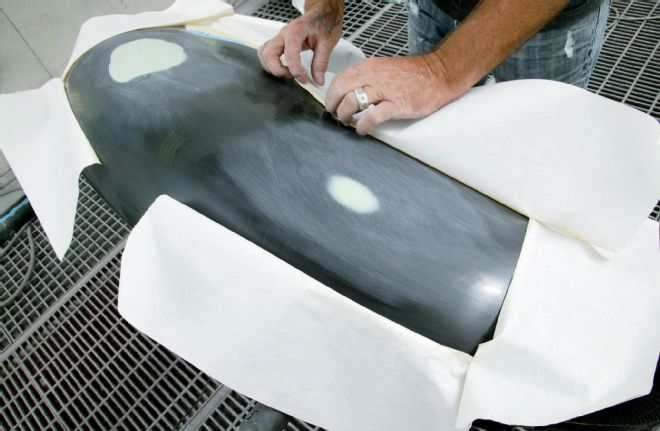
8. Here is the sanded body filler ready for primer. Note the tape and paper is protecting the vintage flames on the fenders and notice how perfectly the body filler is feathered into the existing paint.
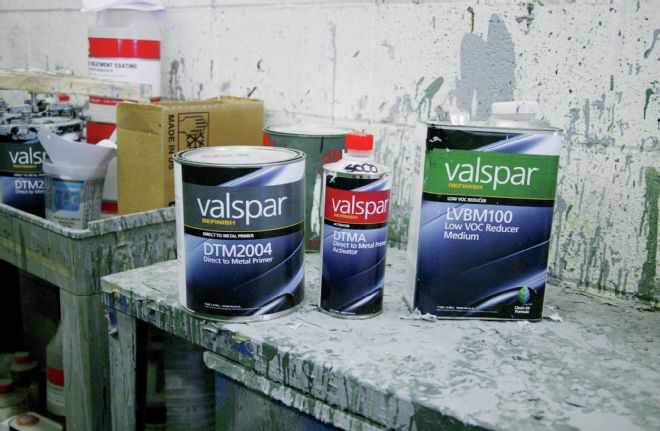
9. DTM 2004 primer is mixed with VBM 100 reducer and DTMA activator. Always use the same family of paints from start to finish as this greatly reduces the chance for paint problems.
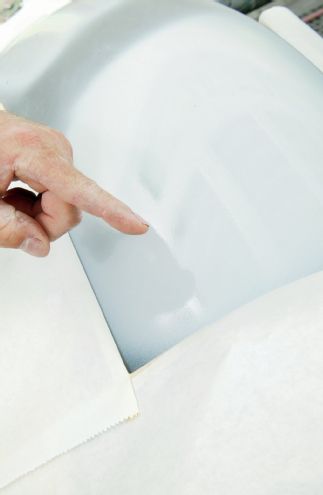
10. After laying down two wet coats of primer there was some evidence of shrinkage where the old paint had been feathered around the repair. This is not uncommon but after the primer cured the Valspar primer was sanded smooth, eliminating any problems.
11. While there is a hard tape line in the primer, notice how feathered the primer coat is quite thin at the tape. This will make blending the primer smooth with the old paint much easier.
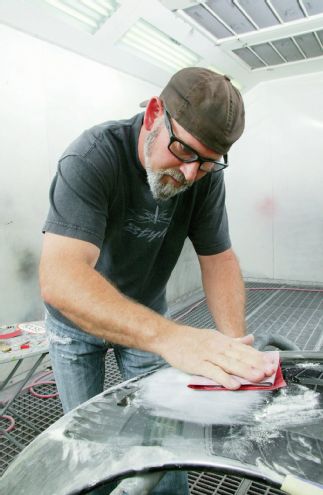
12. Wet sanding the primer with a soft block and 800-grit 3M sandpaper eliminates all orange peel, pinholes, and blends the primer to the old paint. That is followed by 800-grit wet on a soft block in preparation for the black basecoat.
13. The remainder of the old paint was wet-sanded with 800-grit paper to provide a good adhesion surface for the soon-to-come black basecoat.
The dent in the fender was dangerously close to the flames, which were blended and outlined with a white pinstripe. However it was determined that with careful work the fender could be repaired without disturbing the flames, but it would be tricky, delicate work.
After carefully hammering out the dent, a light coat of body filler was required to provide a surface straight enough for black paint. Then the trick would be blending the black with very little room between the dent and the flames. The answer was to use a base/clear black. The basecoat could be blended, and then after a little careful prep work the entire fender would be clearcoated, including the flames and the pinstriping. Follow along as we repair the fender, and, please, when you're home working on a ladder, move the car in case you come crashing down.
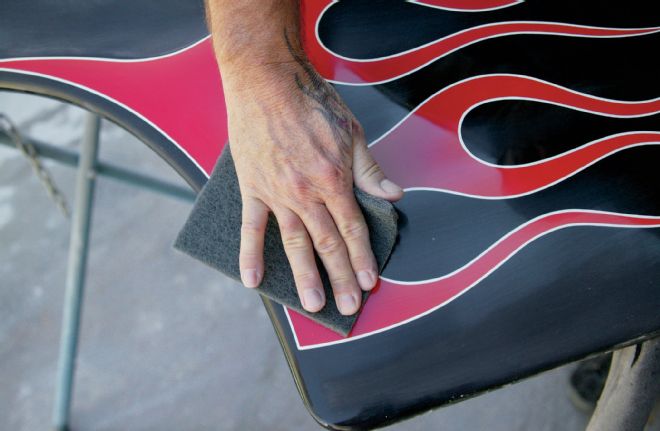
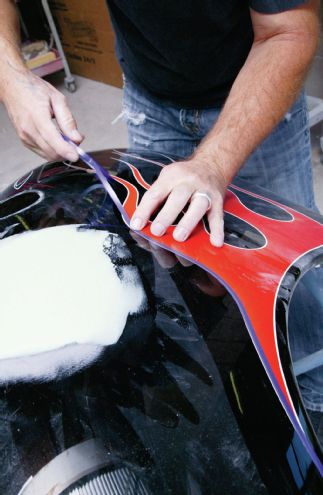
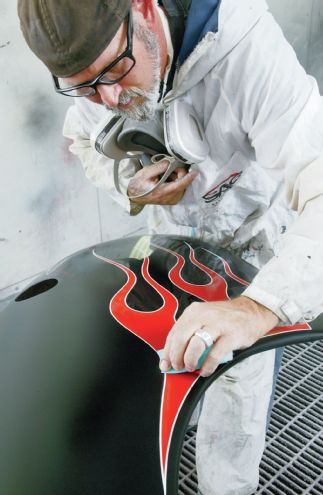
14. Now here's the tricky part, sanding those vintage flames. The trick is to use 3M Scotch-Brite gray and lightly scuff the paint to a dull finish. Be extra careful when going over the white One Shot paint flame outline as it is easy to remove bits of the paint when sanding.
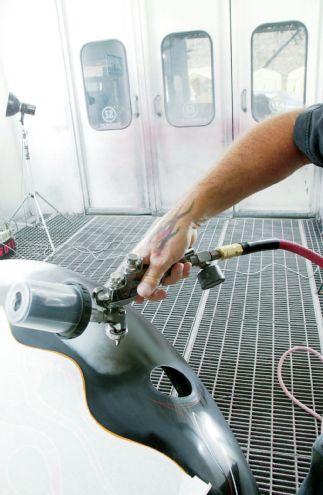
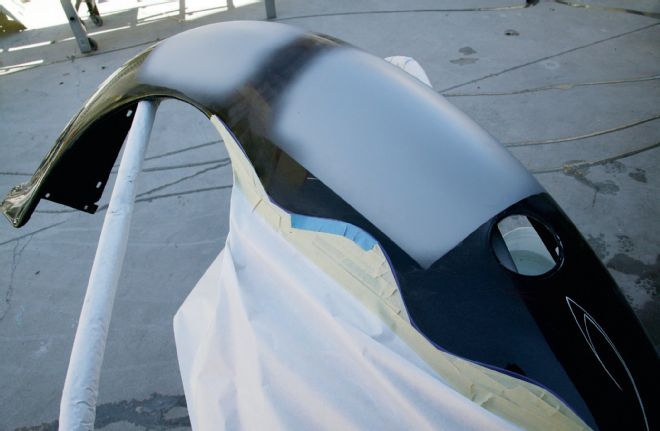
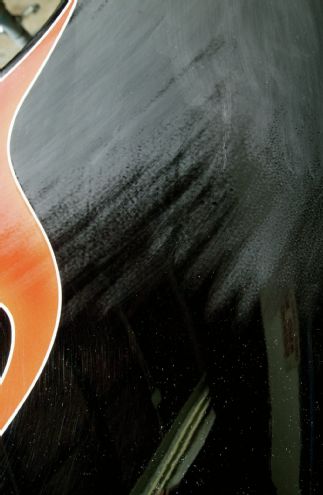
15. After the entire fender has been scuffed, wiped clean with Eastwood Pre-clean and a tack rag the Valspar black basecoat was applied.

16. The black basecoat laid down perfectly smooth and any signs of Lorentzen's body damage is gone, well, except for the swollen ankle.
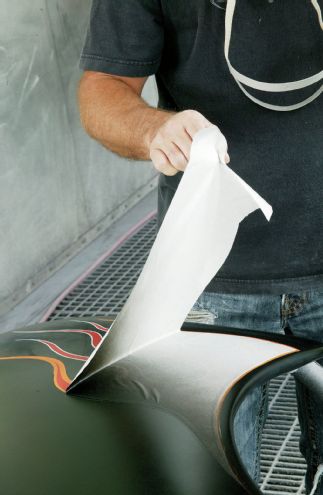
17. Now Styles very carefully removes the tape and paper that was protecting the flames. Pull the tape back over itself on a low angle to minimize the risk of lifting any paint from the old flames.
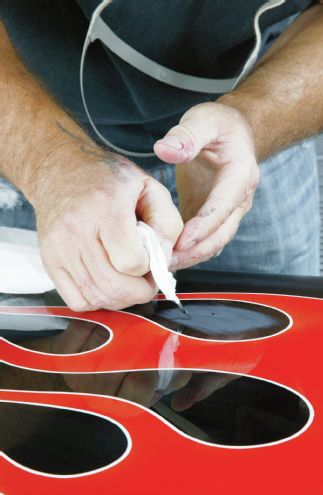
18. Styles found a few very small chips in the old paint. A twisted paper towel serves as an applicator to fill these small defects, followed by very light sanding.
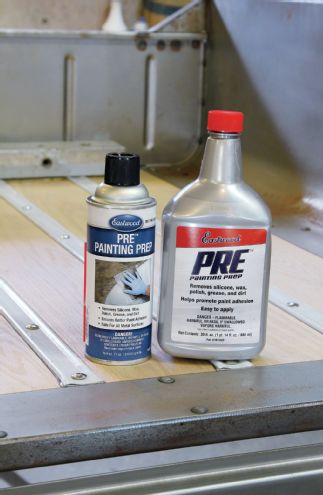
19. Using a clean rag dipped in Eastwood PRE painting prep, Styles carefully wipes any overspray off the flames that may have found its way under the paint and paper. Examine everything very closely for any imperfections before mixing the clear topcoat.

20. Once more the fender was carefully wiped with a tack rag and blown clean with compressed air to remove any lint, dust, or minor dirt. Then, and only then, the fender ready for the Valspar clearcoat.
21. After allowing the urethane topcoat to cure, the fender was removed from the spray booth. One look at the superior finish on the fender is a testimony to the skill of Jeff Styles. Now the flames and the pinstripe border are all buried in clear, along with the black basecoat.
22. While that fender may appear perfect, it still needs to be color sanded and buffed. Be very careful when color sanding over the flames as the border pinstripe is still higher than the black basecoat and you don't want to sand through the clear.
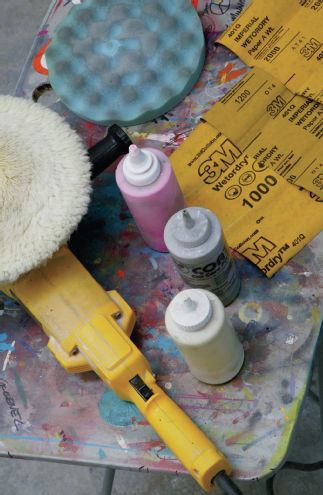
23. The clear paint will first be sanded with 1,000-grit, followed by 1,200-grit and finally with 2,000-grit wet sandpaper prior to buffing. Be certain your sanding bucket holds only clean water and rinse the sandpaper often.
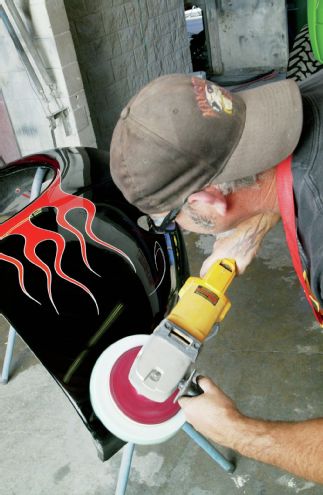
24. Styles carefully buffs the fender first with a wool pad followed by two different foam pads with a polishing compound, followed by swirl removal and then a machine glaze.
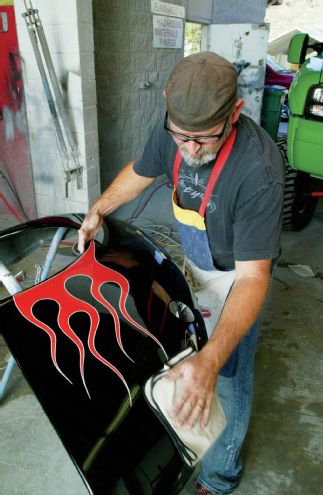
25. The final step is a hand glaze applied and removed with a clean polishing cloth. The results are a fender that is actually better than before because the flames are now encapsulated in a top coat of clear.
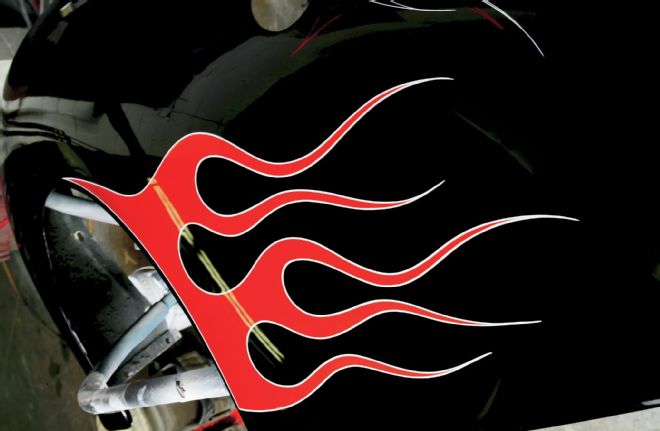
26. A closer look at the fender shows a flawless finish with absolutely no sign of ever being damaged or refinished; nice work.