As we all know, using a Deuce grille shell on a Ford Model A is a time-honored and extremely popular hot rod modification—a practice that I have to believe owes its roots to the days when replacing an A's banger with a Flathead V-8 was a nearly universal. Obviously dropping those V-8s in place of the original four-cylinder engines required the use of the larger V-8-specific radiator, which in turn necessitated the use of the '32 shell and grille as well. As time passed and the much more powerful overhead-valve V-8s became available, hot rodders found that the Deuce grille shell afforded enough room to house modified Flathead V-8 and/or early custom-made radiators that'd work at keeping the new higher displacement engines cool as well.
Following this time-honored tradition (and to ensure adequate cooling) we'll be outfitting a muscular small-block, Ford-powered, Model A, closed-cab pickup with a new radiator from U.S. Radiator, a cooling fan and control assembly from Derale, a Deuce grille shell, insert, hood top from Brookville Roadster, and installation hardware from Speedway Motors. It's an easy and good-looking bit of traditional-style alteration for any Model A, so follow along.
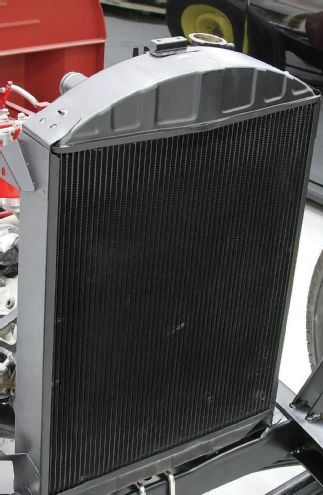
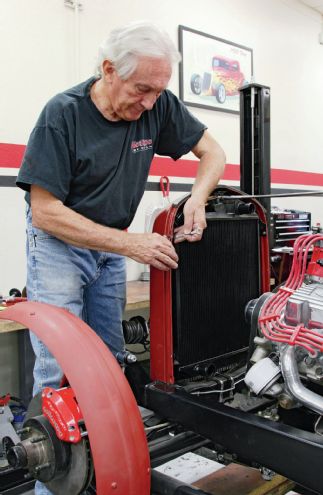
1. Since this little pickup is powered by a more than muscular small-block Ford and destined to be a real driver rather than a pampered weekend cruiser it was important to outfit it with a quality cooling system that'd stand up to the rigors of everyday traffic. To that end we chose to utilize the best radiator, cooling fan, and fan controller we could.
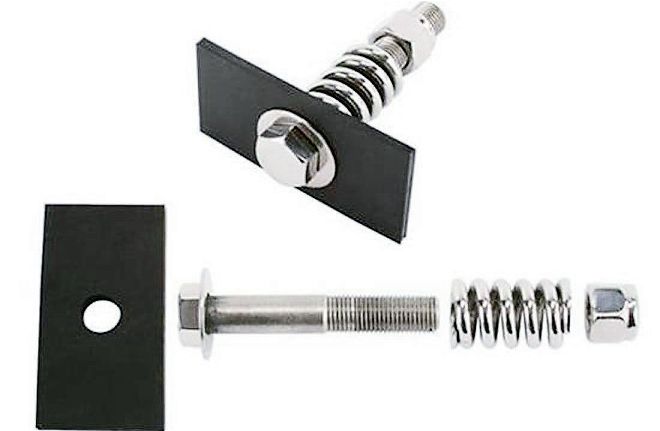
2. When it comes to mounting a radiator in a hot rod like we have here it's a very good idea to utilize an OEM-style mounting assembly. Here we're using a stainless radiator mounting kit from Speedway Motors (PN 91132056). Using factory-style spring and pad hardware eliminates radiator Damage due to frame flexing. Rigid mounting exposes a radiator to quite a bit of stress that'll take its toll in short order.
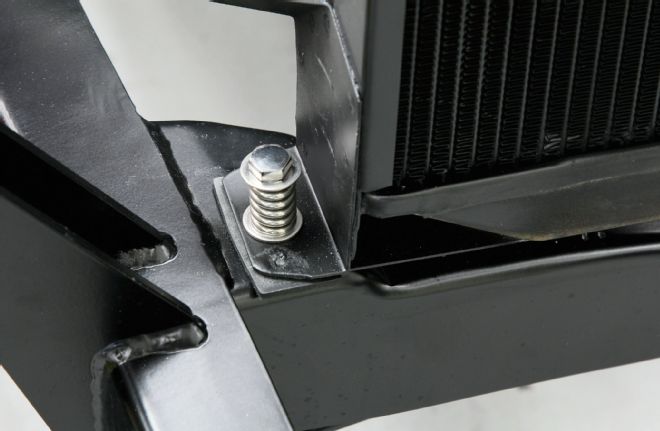
3. When mounting the radiator using hardware such as this, the rubber pad goes between the frame and the radiator mounting flange. The spring can sit either above the radiator mounting tab or down below the lip of the frame, whichever one prefers. The bolt and applicable washer go through the mounting hole and spring and is retained by the included lock nut. The nut is tightened enough to put tension on the spring in the desired amount and thus letting the radiator absorb frame flex or twist by compression of the spring.
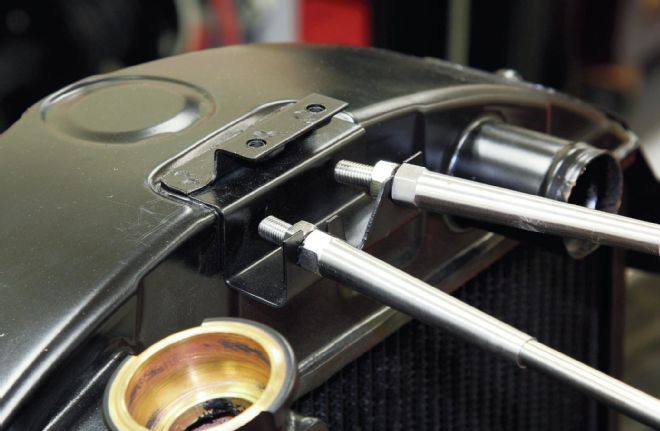
4. Once the radiator is in place, the next order of business is installing the support rods. The stainless support rods and firewall brackets were sourced from Speedway Motors as well (PNs 91124001 and 91104015, respectively). The stainless support rods used were for '32-36 Ford, measuring 32 inches long. Standard '28-31 support rods measure up at 26 inches and because the small-block Ford engines are longer than their Chevy brethren (from water pump to back of the block) the longer rods worked out in this case.
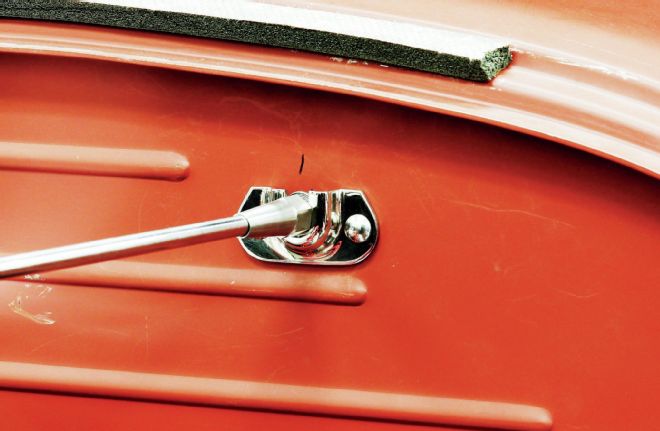
5-6. Radiator support rod installation is pretty straightforward. I've found that attaching the firewall mounting plates to the rear of the support rods and then attaching the front of the rods (one side at a time of course) on the radiator bracket (hand snugging the retaining nuts on both ends) will pretty much self-locate the rearends of the rod(s) at the correct angle for marking the position of the firewall brackets. Once the rod(s) are in the correct position and the firewall marked, you remove the rods from the radiator and the brackets from the opposite ends and check to make sure the firewall marks are equally located on both sides of the firewall. With bracket positions checked for symmetry you can center the firewall bracket(s) at the marks (as shown) and mark, drill, and install the bracket(s) to the firewall.
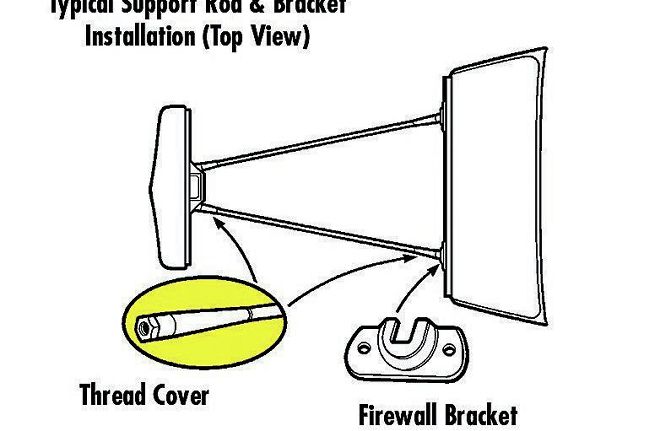
7. This illustration shows an overall view of a standard support rod setup. The design of the radiator rod mounting bracket assembly is such that it provides a good indication of the rod spread from the radiator to the firewall.
8. With the radiator mounted and the support rods in place the next step was mounting the Brookville Deuce grille shell assembly.
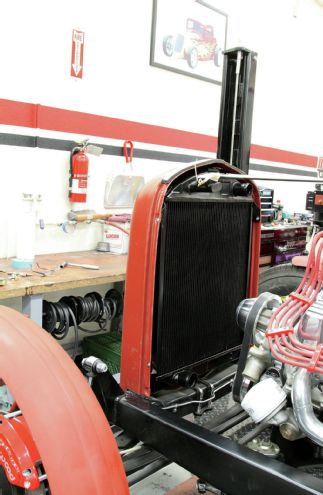
9. The U.S./Cool Craft radiator provides the OEM-style radiator shell mounting brackets for a hassle-free shell installation.
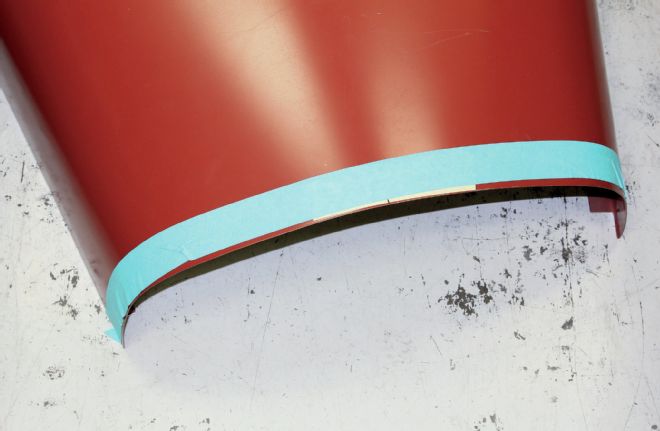
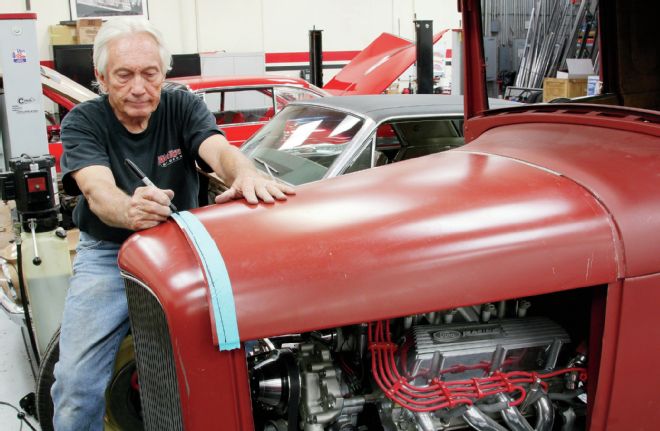
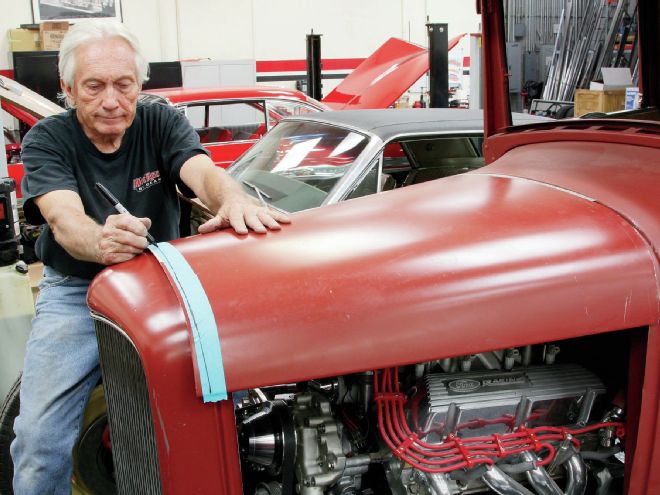
10-11. After the grille shell came fitting the Brookville '32 hood top. Fitting the hood to the Model A cowl took a bit of re-forming but the guys at Hot Rods by Dean handled it in short order. As you can see, the length of the Deuce hood top needed a bit of attention as well. Since the rear of the hood top had already been re-arched to match the Model A cowl the trimming would be performed on the front. After a bit of measuring and marking, the appropriate amount of metal was trimmed and the hood fitted to the grille shell.
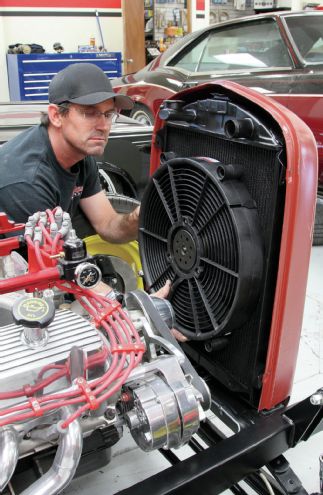
12. With all of the metalwork on the hood top handled it was time to finish off the job by installing the new cooling fan assembly. Rather than using a standard mechanical cooling fan a powerful electric unit was chosen. And here you can see why. The lower stance of the engine located the water pump pulley much lower than the center of the radiator, a Derale electric fan and shroud assembly handled that problem easily. Now we are one more step toward the completion of one heck of a cool hot rod and a good looking conversion for any hot rod Model A.