Rust—it's nasty, insidious, and is clearly Mother Nature's way of telling you to kiss her posterior. Always disconcerting to discover, if rust can be seen in some spots, chances are it's hiding in other places as well. And so it was with our '64 Chevy.
When we dragged our pickup home we were aware that some rust repair would be required. Surprisingly, the cab corners were solid, but the floor on the passenger side had obvious rot where it joined the cowl as did the transmission tunnel where it joined the floor. It appeared that during the years it spent in the wrecking yard water collected in those areas and rust was the result.
All things considered, we were confident making the necessary repairs wouldn't be all that difficult so we ordered a right-side floorpan from LMC and went to work—that's when things got interesting. Before it took its place alongside other vehicles that had outlived their usefulness, our pickup spent its life on a ranch and rolled up a fair number of miles on dirt roads. As a result, every nook and cranny collected fine, powdery dirt. Over the years the drain holes in the right-side rocker panel plugged up and the accumulated crud acted like a sponge, and rust was the inevitable result.
Since the rust worked its way from the inside out (which is usually the case) it couldn't be seen until the floor was removed, then the extent of the needed repairs was obvious. The front cab support and the inner and outer rocker panels would have to be replaced along with the floorpan and part of the transmission tunnel. Another call to LMC and shortly thereafter we had an outer rocker and a new floor support. As for the unusual location of the damage to the trans tunnel, we'd have to fabricate our own repair panels.
Armed with an array of tools including cutoff wheels, reciprocating saw, Eastwood combo hole punch/flanging tool, our trusty Miller welder, and loads of optimism we went about repairing our rust-damaged Chevy. Take that Mother Nature.
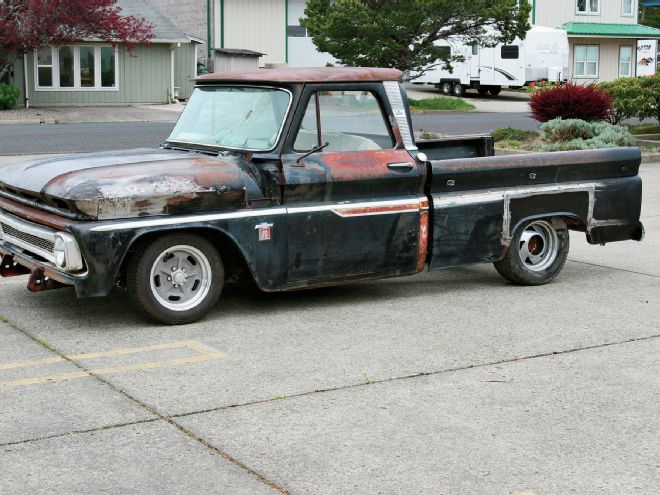
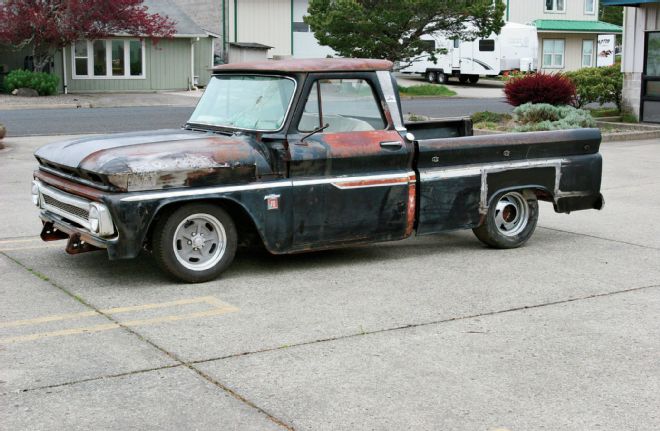 1. At this point most of what’s been done to our ’64 Chevy pickup is hidden. The chassis has been updated with a Scott’s IFS and rear four-bar kit. Now it’s time to work on the cab.
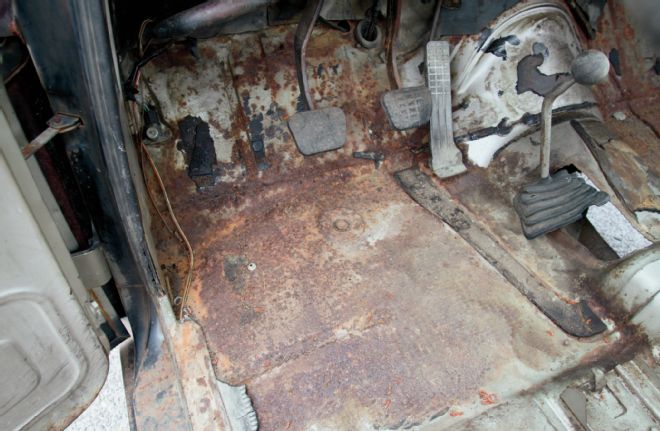 2. Normally it’s the driver-side floor that’s in bad shape. In this case it’s solid, although the same can’t be said about the passenger-side.
 3. The rusty section of the passenger floor was removed, and since the top of the rocker had pinholes from rust it was cut out as well.
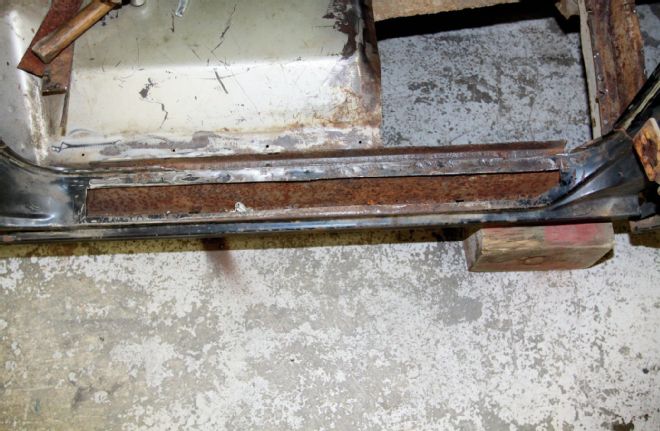
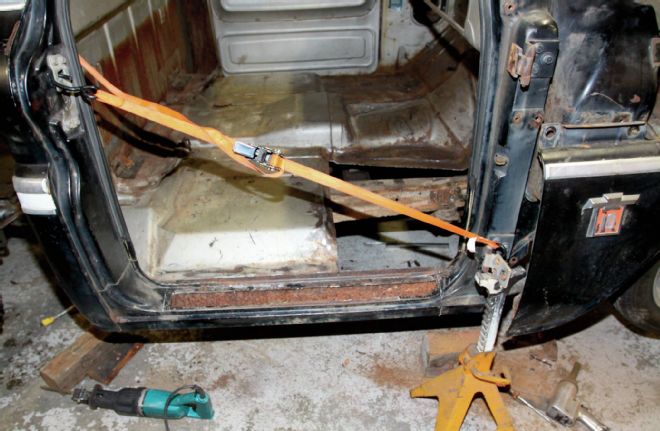 4. With the rocker opened up it was obvious it would have to be cut out and replaced. As the door opening would try to spread when the rocker was cut out, measurements were taken and a ratchet strap was used to maintain the integrity of the opening.
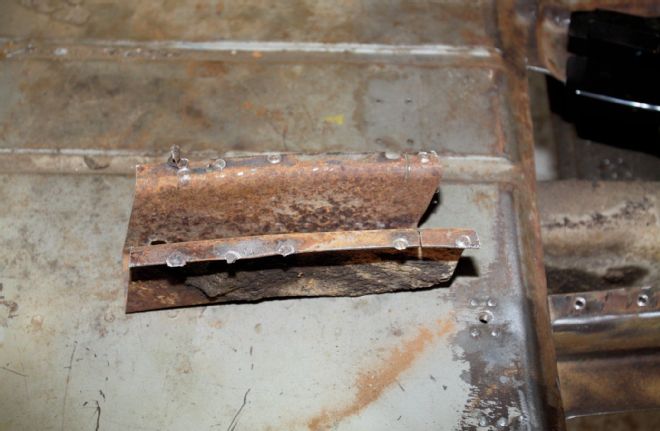 5. Another surprise was the wasted floor support. It was packed solid with dirt and the outside end had rusted away.
 6. An Eastwood spot-weld cutter was used to separate the original floor panel from the support below it.
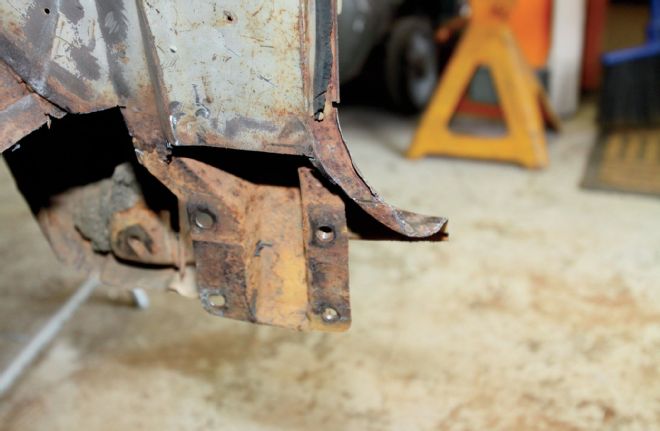 7. The floor support bolts to the cowl structure and the outer flange of the floor panel is sandwiched between the two; it had completely rusted away.
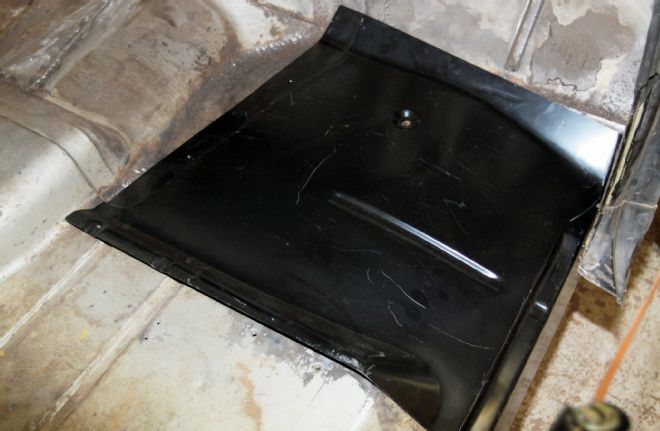
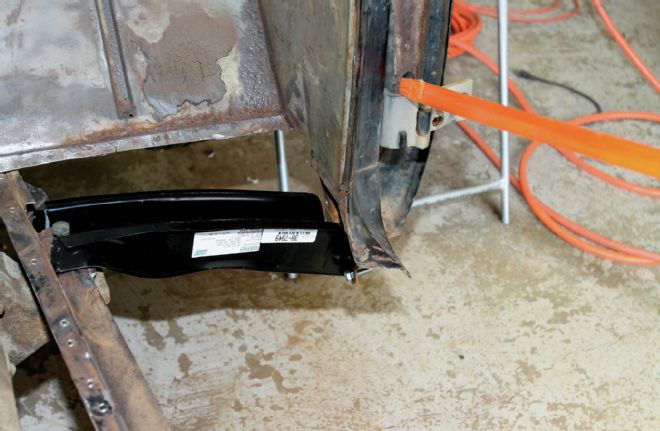
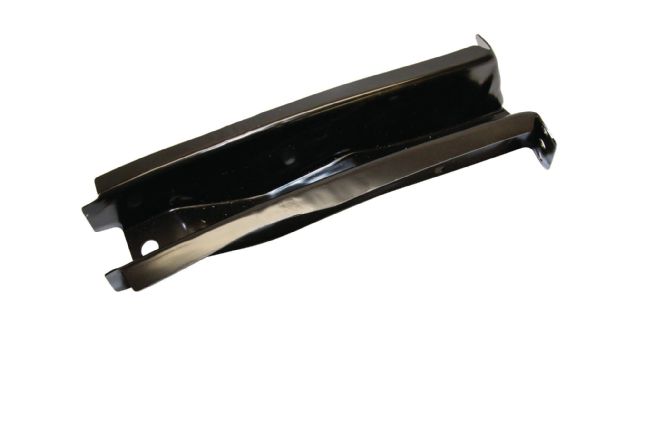 8. This is the new floor support from LMC. It bolts to the cowl and welds to the inner cab structure.
 9. A test-fit of the floor support confirmed it fit properly. We also learned the floor panel goes in first, then the support goes in from the botom.
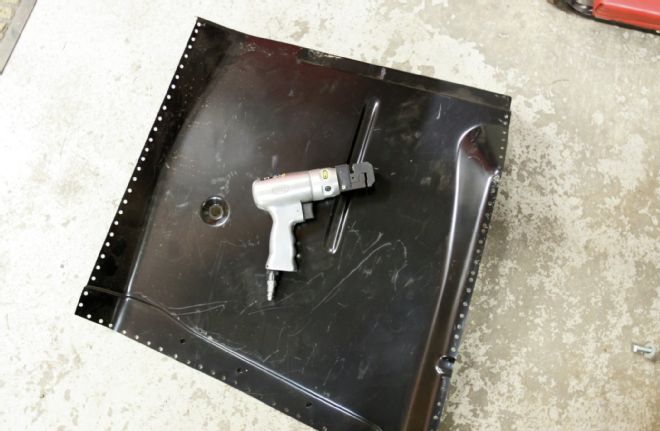
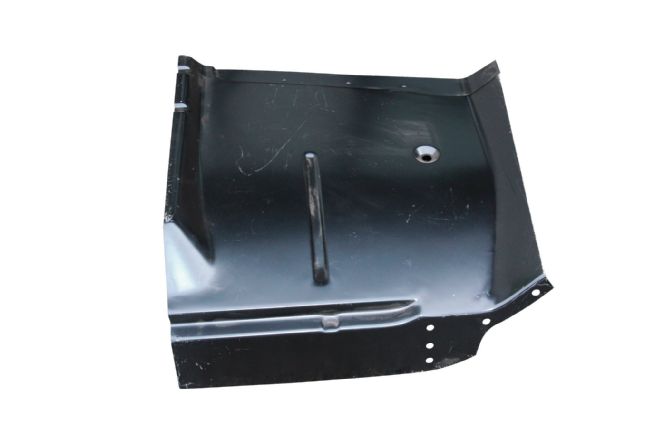 10. LMC has a variety of patch panels for Chevy and Ford trucks, this is the front floor section for our ’64. Note that it includes a section of the inner rocker panel.
11. A test-fit of the patch panel confirmed it fit properly. Unfortunately, the rust in our floorpan extended past the amount of material on the replacement panel. Rather than replace the entire floor we elected to patch the damaged areas.
10. LMC has a variety of patch panels for Chevy and Ford trucks, this is the front floor section for our ’64. Note that it includes a section of the inner rocker panel.
11. A test-fit of the patch panel confirmed it fit properly. Unfortunately, the rust in our floorpan extended past the amount of material on the replacement panel. Rather than replace the entire floor we elected to patch the damaged areas.
 12. We kept cutting until we hit sold metal and this is the hole we ended up with. The lip of the transmission tunnel would still require trimming.
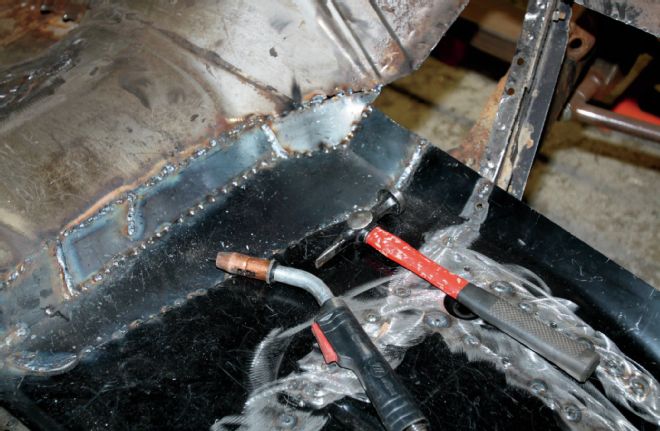
 13. To make the installation easier we elected to overlap the original floor section with the replacement panel under the seat. We used our Eastwood flange/punch tool to make holes for rosette welds.
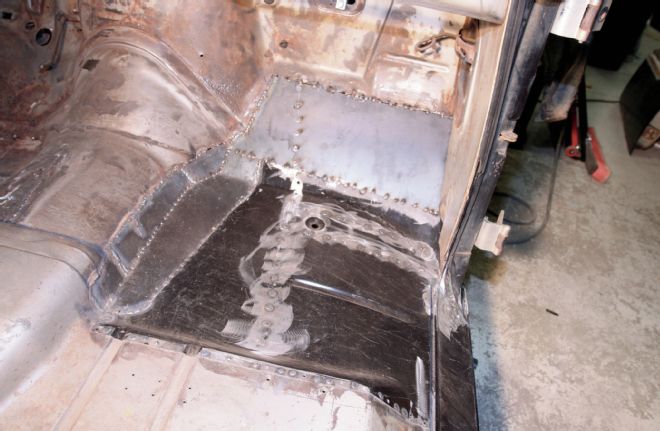
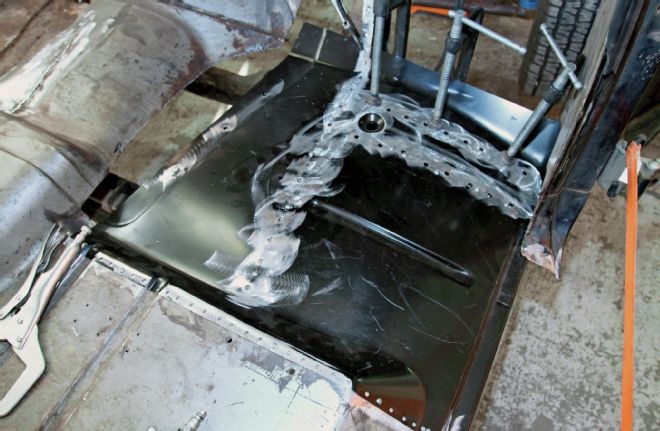 14. The new floor section was secured with clamps and self-tapping sheetmetal screws then it was rosette welded to the original floor and the lengthwise support below.
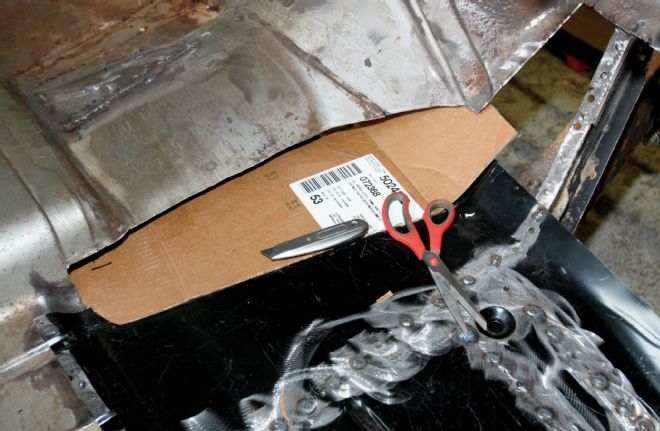 15. A cardboard template was made for the gap between the replacement floor and the transmission tunnel. The filler piece would be made from two sections.
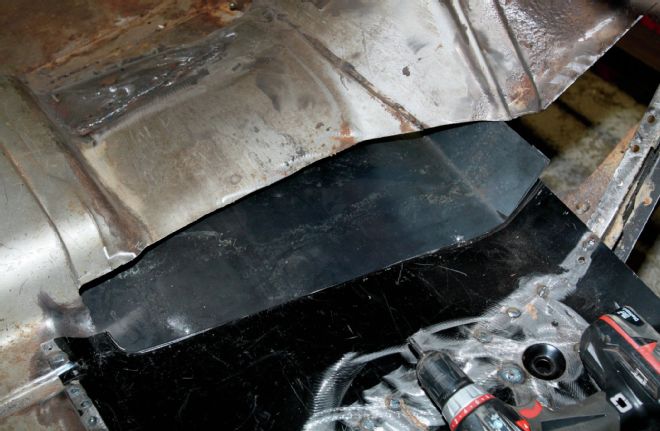 16. The flat section of our fabricated patch was temporarily attached to the floor with a self-tapping sheetmetal screw. All the screws used were temporary and the holes were welded up when they were removed.
 17. Additional sections of sheetmetal were used to join the transmission tunnel hump to the floor.
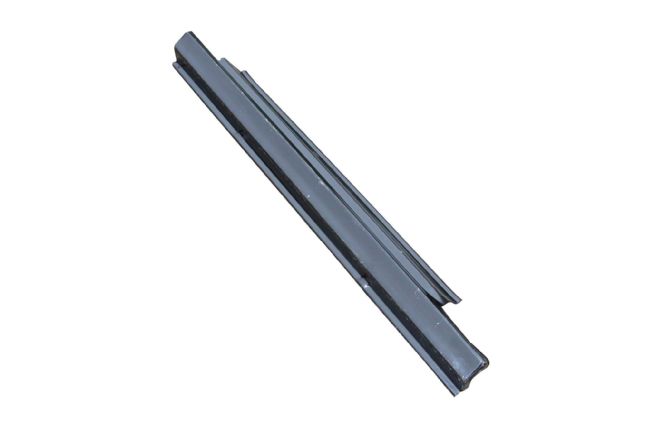 18. This is the replacement outer rocker from LMC. The lower flange (to the left) spot-welds to the inner rocker panel, which is part of the floor panel.
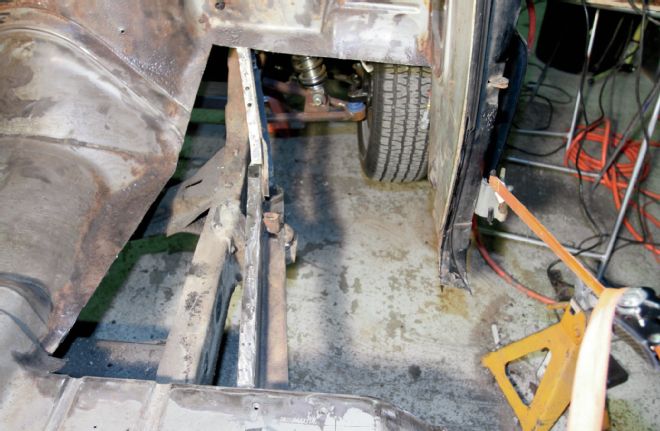
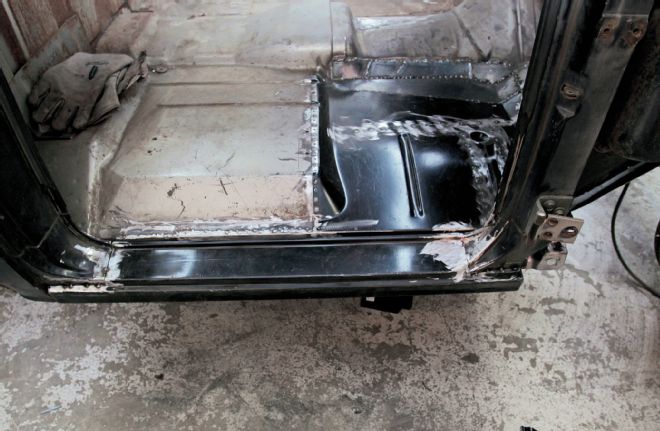 19. After trimming the body, the new outer rocker panel was put in place and tack welded to the A and B pillars and the floorpan.
 20. At this point everything was tacked in place and then we ran out of welding wire. Good thing because we needed a break. The next step will be a few hours of grinding.