
If you've ever had a back-burner project, you'll understand. This ol' farm-find pickup has actually been set up on the same wooden ramps for well over a year now. Although it does receive attention, it goes in spurts—usually short spurts, as customer jobs must take priority. My son-in-law who owns the truck has been very patient so there's no problem there, but a torn-down ½-ton, longbed pickup takes up a bunch o' valuable shop space. The only solution is to get the job done. It's time.
Roughly 300-some miles away in Tulare, California, Highway 99 Hot Rods proprietor Don Dillard birthed a notion that would solve problems for us both. Don is a good friend, he's an all-around crafty builder and he's no stranger to "back-burner burnout." We decided to help each other over our personal project humps. First I'd spend four days helpin' out at his shop; then he'd reciprocate here in ours, like a labor exchange program of sorts. Here's how it worked.
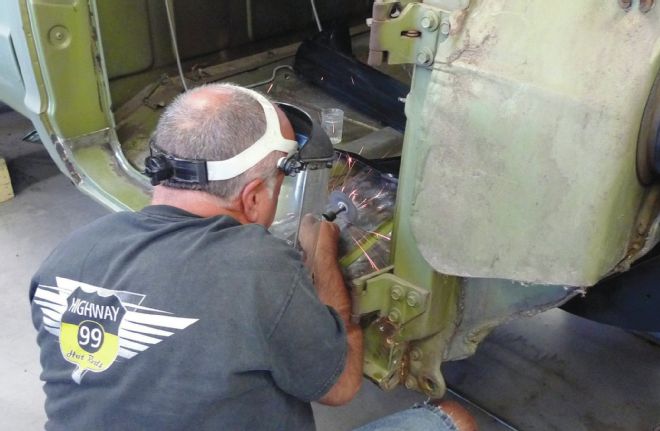 1. By the time that Don arrived at our shop, fabrication work on the A-side was completed. On the B-side, Don wasted no time as he immediately began rollin’ all ’round on the floor, measuring, ’ciphering, and so on. Although the necessary repair was nearly the same from side-to-side, Don’s approach would be a little different.
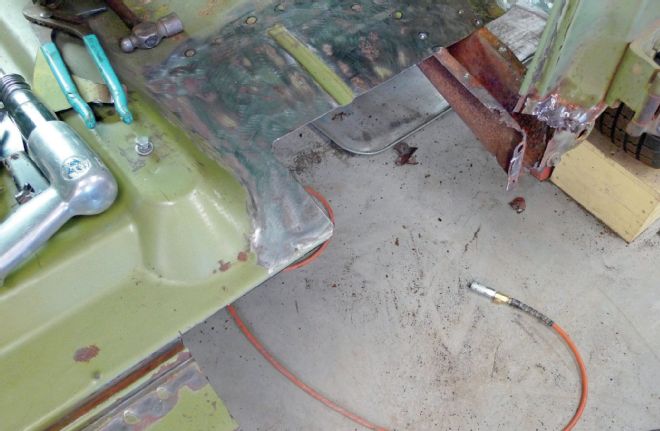 2. Obviously Don has decided not to use the new outer rocker panel in its entirety. He’d also opted not to use the inner rocker panel as I had on the opposite side. Instead he would use metal from the new floorpans to bridge the very same gap, proving that sometimes there’s more than one right way in the process.
 3. Obviously Don has decided not to use the new outer rocker panel in its entirety. He’d also opted not to use the inner rocker panel as I had on the opposite side. Instead he would use metal from the new floorpans to bridge the very same gap, proving that sometimes there’s more than one right way in the process.
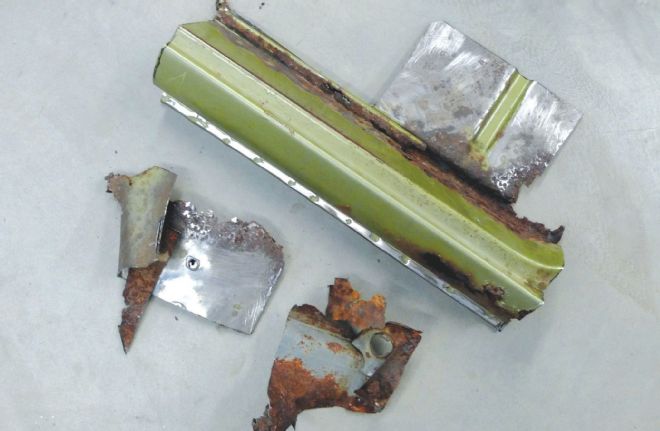
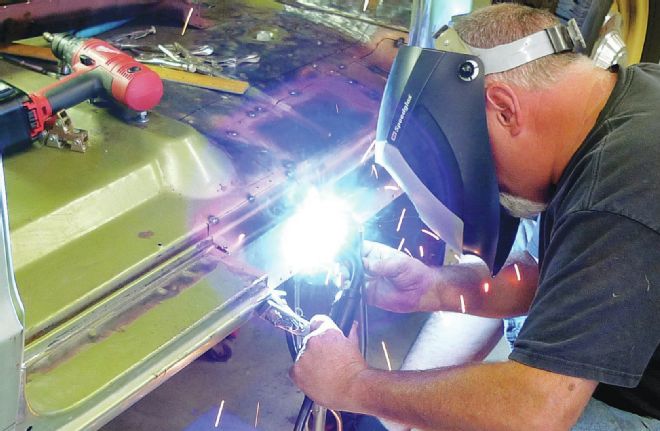
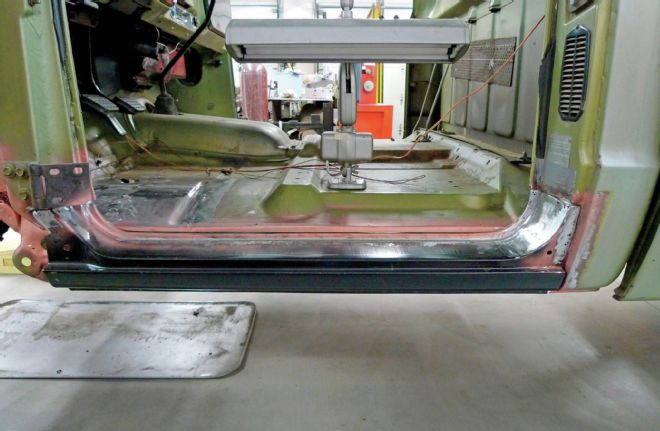
 4. Since the rusted metal came out mangled this time, Don would not be able to use the old pieces as patterns for the new. He hadn’t planned to anyway and it didn’t slow him down at all. Here, with the floorpan and inner cowl panel sections tack-welded and TEK screws temporarily secure the outer rocker section for a door alignment check.
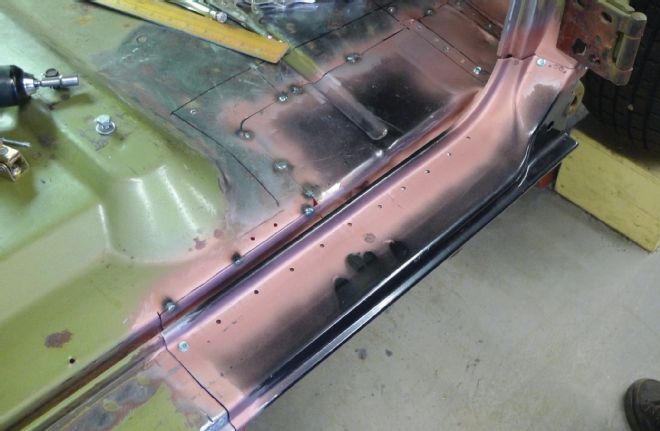
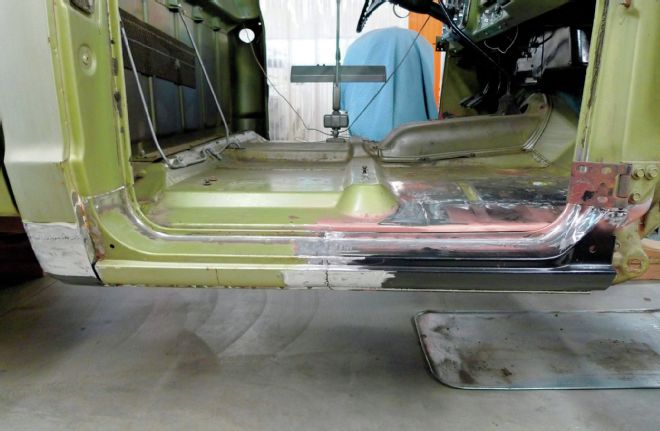
 5. As it worked out, the door aligned nicely with the new pieces the very first time. With the outer rocker panel section removed once again, the floorpan sections and kick panel section can be permanently welded. Next, TEK screws will be used once again to reattach the outer rocker panel section in its predetermined position for welding.
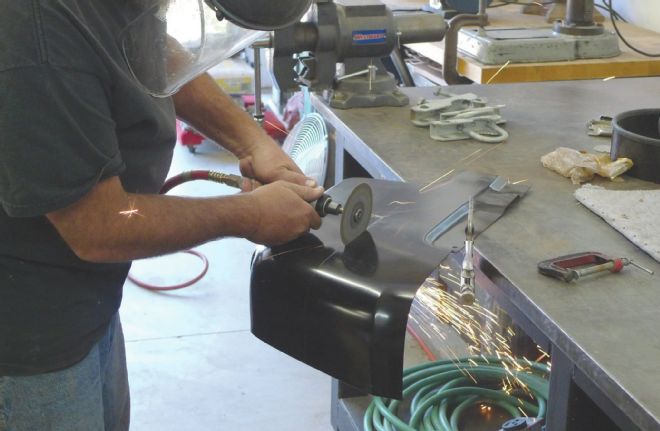 6. Brothers patch panels come plenty large. In fact, they’re larger than the average Californian would ordinarily need. Here, a genuine white Crayola scribe denotes the section of cab corner that Don will begin with. These are not the final cuts for this patch. It will be downsized in increments as he goes.
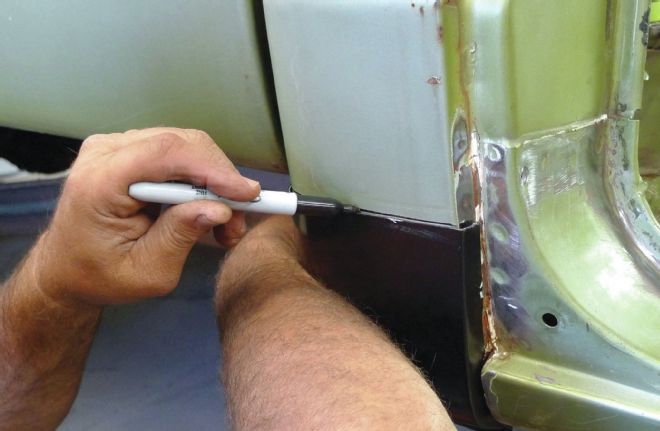 7. As the cab corner patch is held firmly in place, a dull Sharpie makes the first of two sets of scribes. When the patch is pulled away, Don will know how much he can reduce the size of the patch. Once re-trimmed, when the patch is pushed back on, a final set of scribes will be made, and the rusty section will be cut away to match the patch.
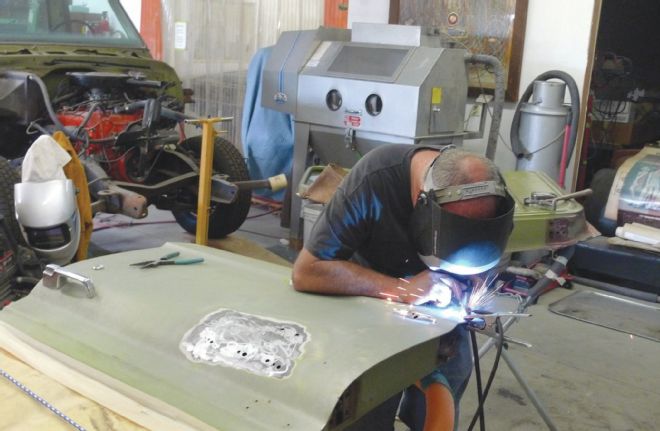
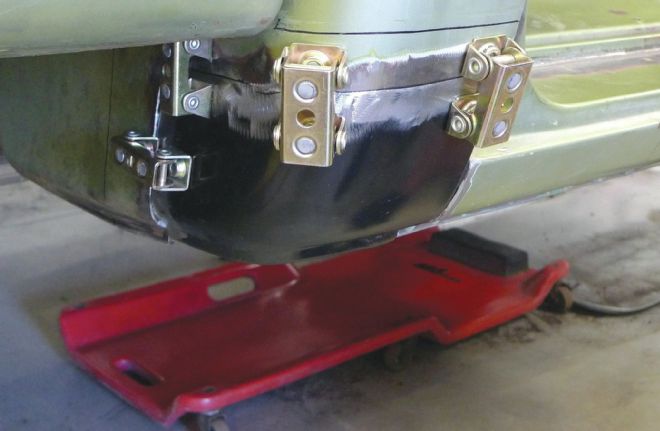 8. After an application of Rust Mort and U-Pol Weld #2 weld-through primer where necessary, the new section of cab corner is ready to be welded in. Our clamps were clumsy for the shape of the upper butt-weld seam, so Don has opted to locate the patch magnetically, but only long enough for tack-welding.
 9. We’d punched holes beforehand in the patch’s folded edge, which will mimic the factory spot welds in the doorjamb. Don knows from experience that magnets can in some instances cause “dipole-discombobulation,” so they will be removed as soon as possible—after tack-welding in just a few other places.
 10. While Don finalizes his patchwork, Mrs. Rotten begins the rust repair on the door corners. First the spot welds were reamed before grinding directly on the doorskin’s folded edge. A cutoff disc-equipped die grinder will make the outside cut and the remaining strip at the inside edge can be wiggled free with pliers or Vise-Grips.
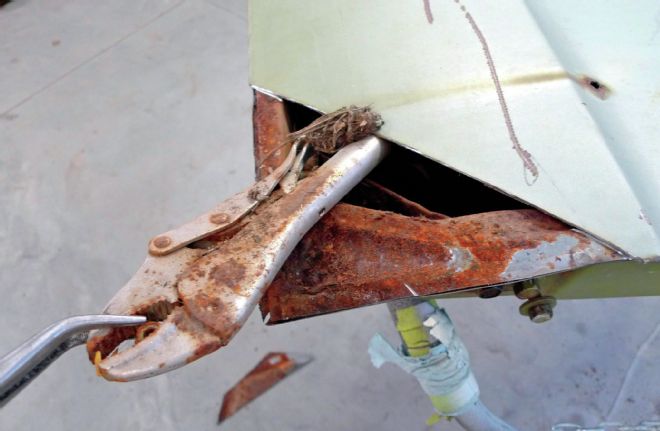 11. And what have we here? Now we know the cause of that mysterious clunkin’ sound on speed bumps. As soon as Mrs. Rotten puts away her new tool, she’ll blow out ’n’ vacuum up the rest of the debris. Then again, rust containment and welding preparations will be made, just as you’ve seen with Rust Mort and U-Pol Weld #2.
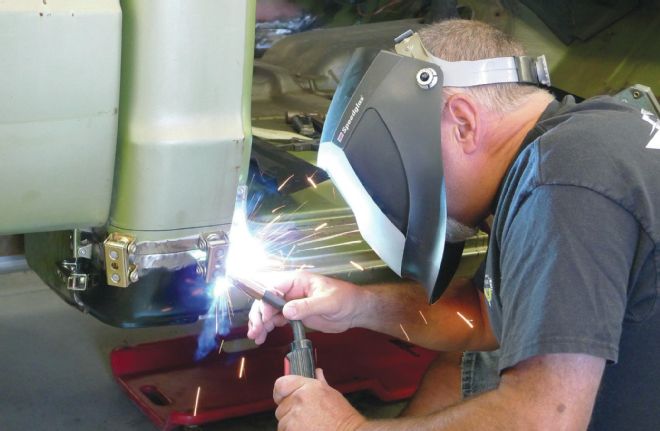
 12. After the aforementioned preparations, the first bit of welding is done to join new and old sections of doorskin. When MIG-welding seams of any length, it’s a good practice to cool as you go. Clean, compressed air from a blowgun on standby can be helpful to prevent warpage.
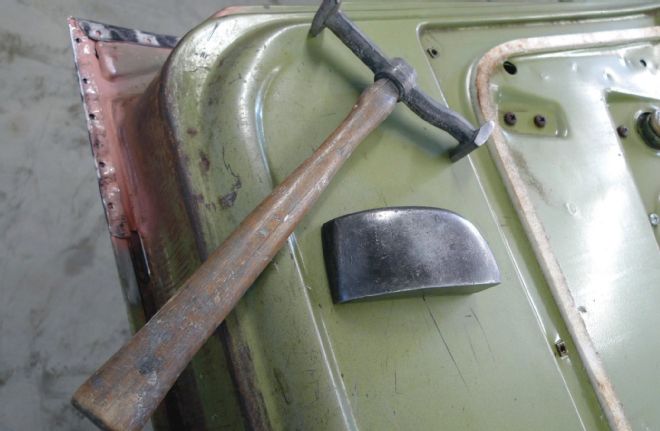 13. That’s not your typical doorskin hammer. It’s been with me for a long time and I guess ya could say it’s been more than just a hammer to me. Anyway, now that the doorskin patch’s edges are folded, the previously punched holes can be welded to closely resemble factory spot welds.
 14. So there ya have it—proof positive that there’s more than one way to skin a truck. The repairs from side to side were done a little differently, but the end result is the same, and thanks to my friend Don, the labor exchange program was a huge success. We’re now officially over the hump.
 15. So there ya have it—proof positive that there’s more than one way to skin a truck. The repairs from side to side were done a little differently, but the end result is the same, and thanks to my friend Don, the labor exchange program was a huge success. We’re now officially over the hump.
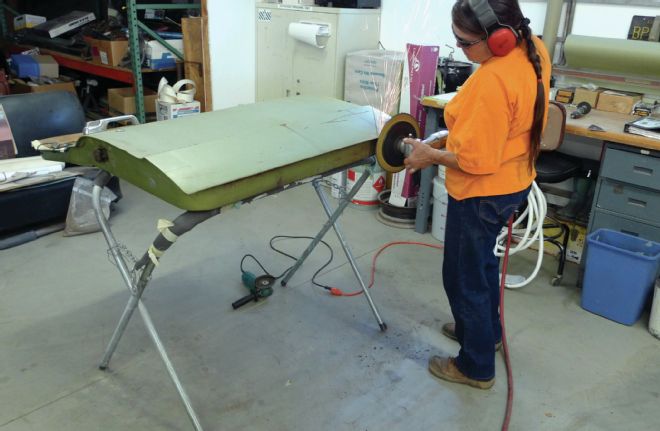
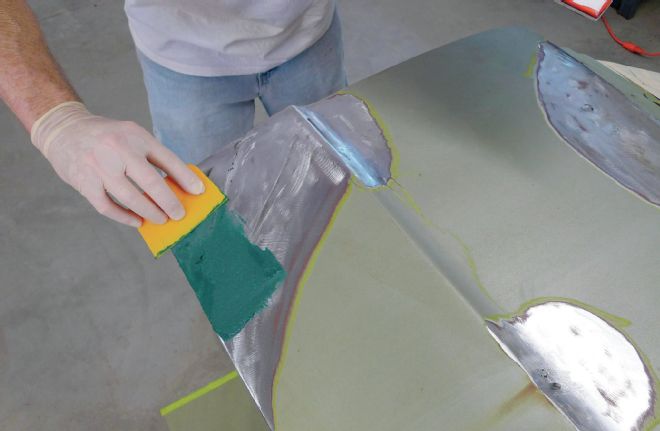 16. Before reassembly, only filler work, priming, seam-sealing, and undercoating chores remain. Where filler work must be done over welded seams, I like to begin with a fiber-reinforced polyester like 3M Mar-Glass. From here it’s pretty straightforward business as usual.
 17. For anyone who might be wonderin’ what more could be in-store for son-in-law, Nathaniel’s farm-find patchwork pickup: well, after every piece of rubber is replaced, drop spindles might be nice. Brothers has all that—and shortbed conversion parts too! Oh no—here we go.