It should come as no surprise that a 50-year-old truck would have some rust here and there, and some extra holes in the sheetmetal, but all things considered our '64 Chevy is in pretty good shape. That's not to say there aren't repairs that need to be made—the ravages of time, a big drill bit, and a cutting torch had all taken their toll.
While the cab was basically sound, a section of the floor on the passenger side would have to be replaced. Fortunately the necessary repairs could be accomplished with patch panels from LMC Truck. But before we tackled that chore, we opted to address some other issues. At some point a large hole had been hacked in the floor to allow the installation of a three-speed floor shifter. As the trans tunnel in this truck is not removable, we elected to fill it with a homemade patch panel. This particular repair required a panel shaped to follow the contour of the tunnel, which was done by bending the sheetmetal over a large diameter pipe. With the curve established the patch was trimmed to size and welded in place. As this repair is under the carpet, we didn't spend a lot of time dressing the welds.
As the in-cab gas tank would not be used, next on the list of holes to be plugged was the opening for the fuel filler. In this case LMC Truck provided a preformed patch that fit the hole perfectly. After removing the paint from the surrounding area, the patch was held in place with small magnets until tack welds secured it. After final welding, the area was ground smooth and the patch was almost undetectable.
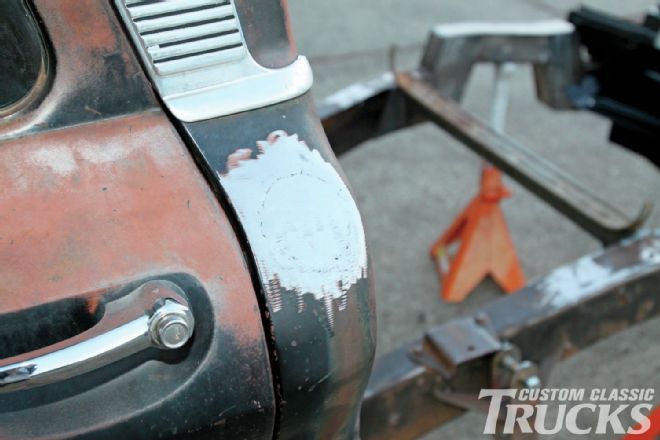
Our final undertaking was filling holes in the back of the cab that had been made to mount a large spring-loaded CB antenna. In this case the three small mounting holes were countersunk then filled using our Miller MIG welder. The larger center hole required another homemade patch. Again it was held in place with a magnet, then secured with tack welds.
When filling holes in sheetmetal it may be possible to get behind the panel being repaired. In those instances where small holes are being filled, copper backup plates will allow them to be welded solid without a plug. Eastwood can supply backup plates with a handle or with magnets to hold them in place. With larger holes, patch panels can be fabricated, and in many instances stamped replacement sections are available.
Regardless of how sheetmetal repairs are made, it's important to work slowly and keep heat to a minimum by skipping around while making lots of tack welds. And keep in mind welding isn't the only form of heat that can warp sheetmetal; heavy-handed grinding can also create more than enough heat to do damage.
Patching sheetmetal is often a part of bringing a custom classic truck back to life. So far we've concentrated on plugging the manmade holes; next we battle the damage done by Mother Nature.
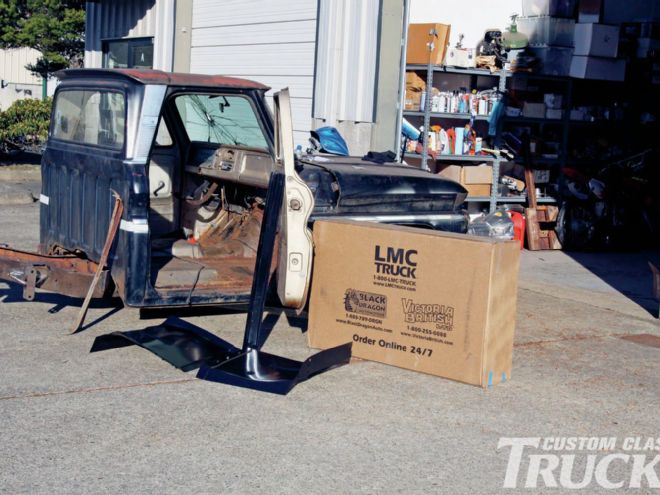
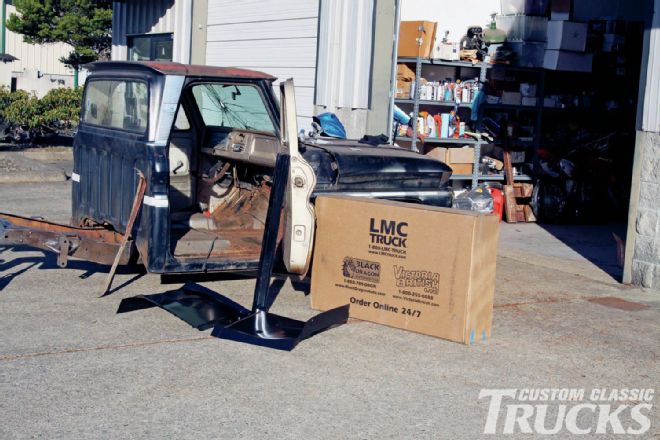 1. We got a box full of fresh sheetmetal to repair the rust and plug the original gas filler hole. We decided to tackle filling a few holes before tearing into the floors.
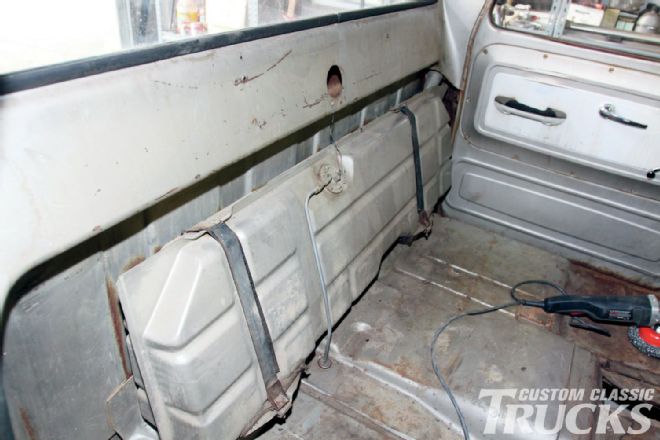 2. The original in-cab gas tank was tossed in favor of an under-bed model.
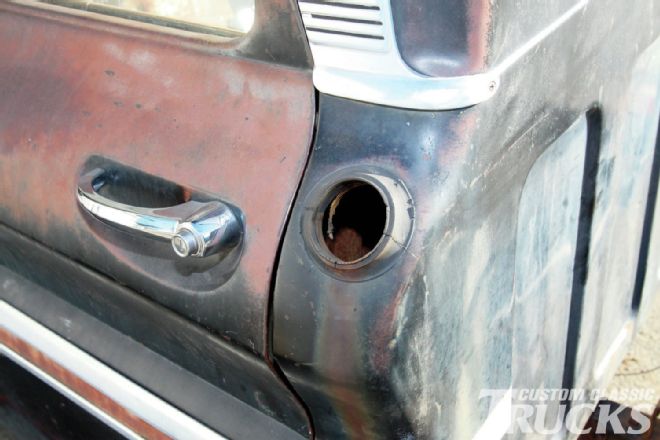 3. With the tank removed, the hole for the original filler will be plugged.
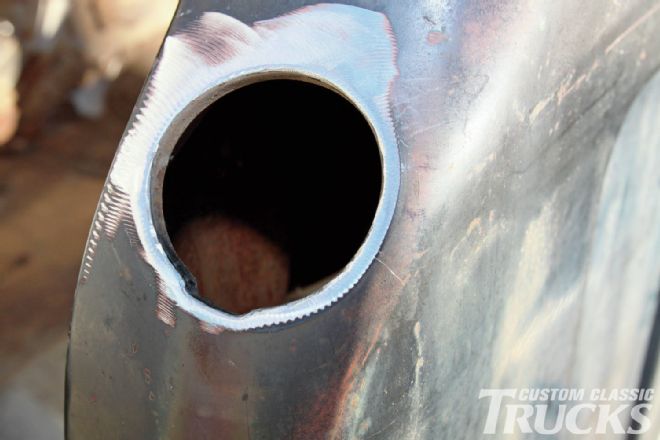 4. After the rubber grommet was removed, an 80-grit sanding disc was used to prepare the surface for welding.
 10. A 36-grit disc was used to knock down the majority of the weld bead; it was followed by an 80-grit disc to smooth the surface.
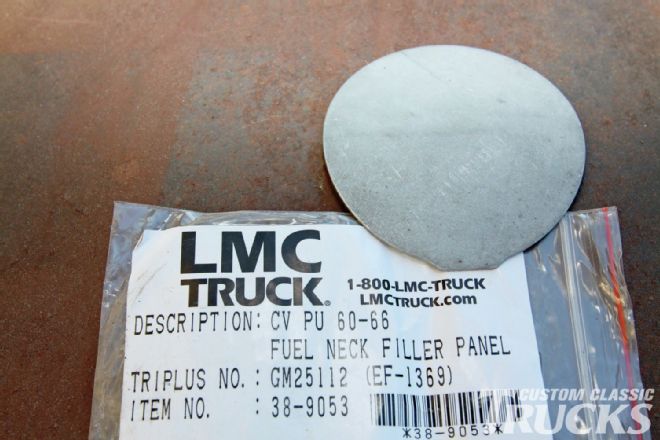 5. LMC Truck has a long list of patch panels, including this nifty little piece for the fuel filler.
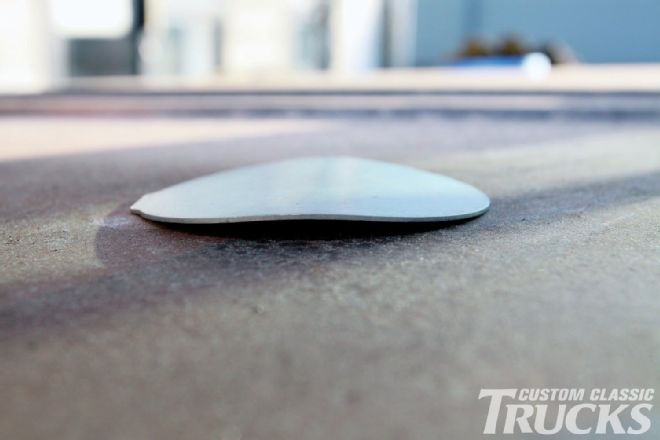 6. LMC Truck’s plug matches the contour of the body, and has a small tab that fits into the notch at the bottom of the opening.
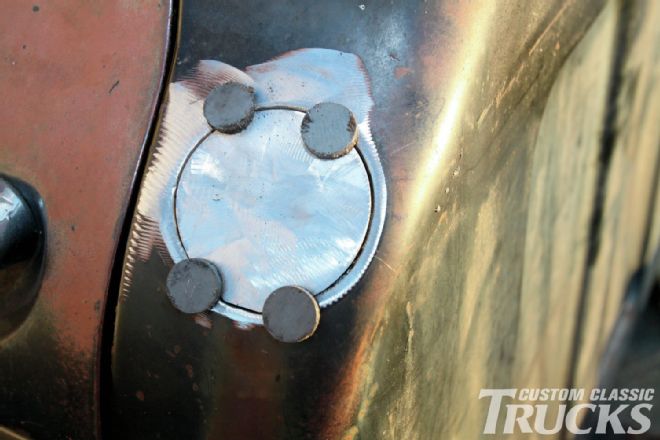 7. With the tab on the panel locating the filler panel, four small magnets were used to hold it in place.
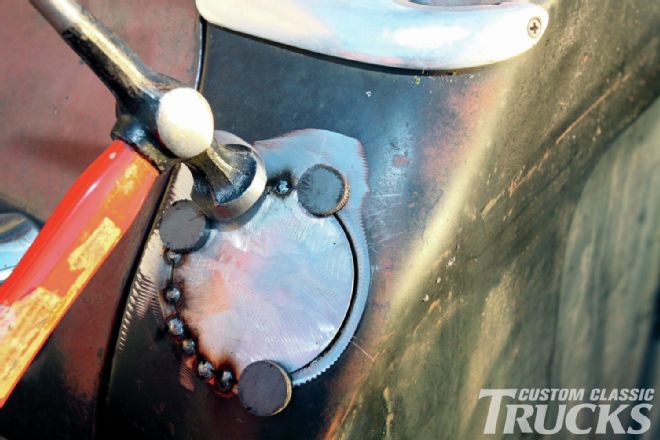 8. Closely spaced tack welds were made along one side—that helped pull the filler panel up slightly which helped the fit. A few light taps from a body hammer and the filler was flush with the body.
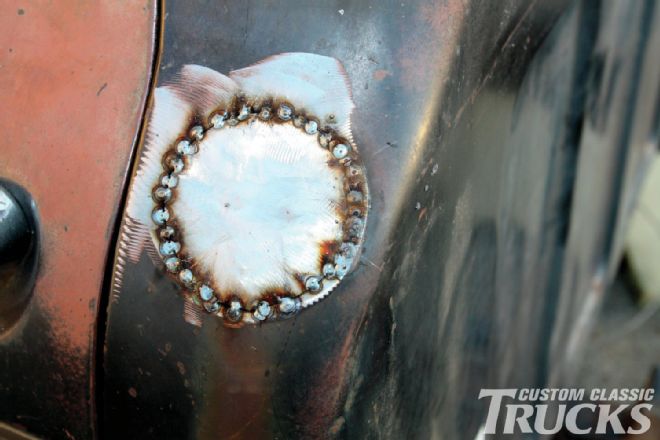 9. More tack welds were made, then the spaces between the tacks were filled until the plug was welded solid.
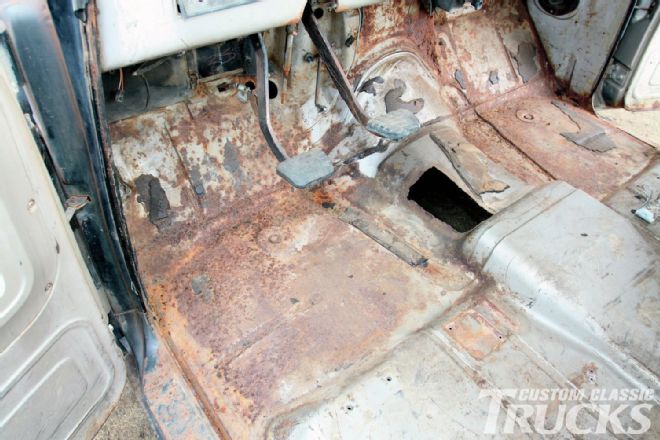 11. The next chore was to fill the hole in the floor made to accommodate a floor shifter. Note the transmission tunnel is not removable.
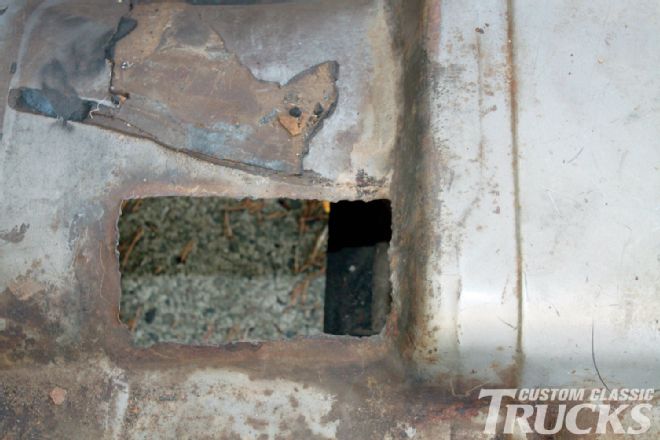 12. A cutting torch was used make a hole big enough for several shifters. Repair began by trimming the rough edges of the opening.
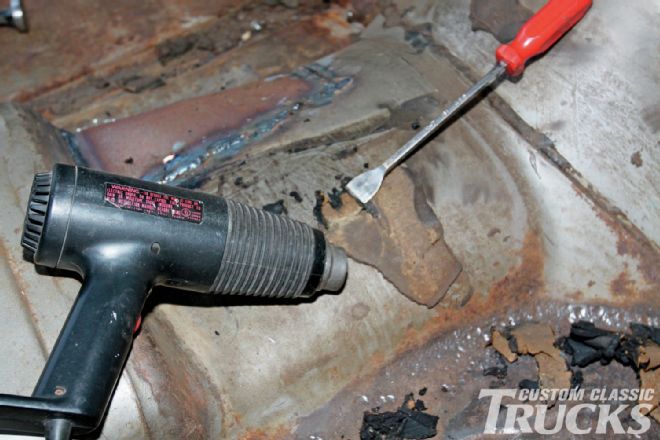 13. Removing the factory floor insulation is made easier with a heat gun and a gasket scraper.
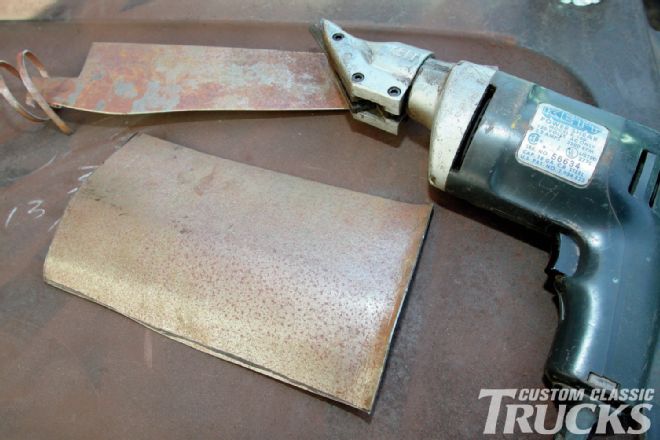 14. Cardboard was used to make a pattern for a homemade patch panel that was cut from 18-gauge sheetmetal.
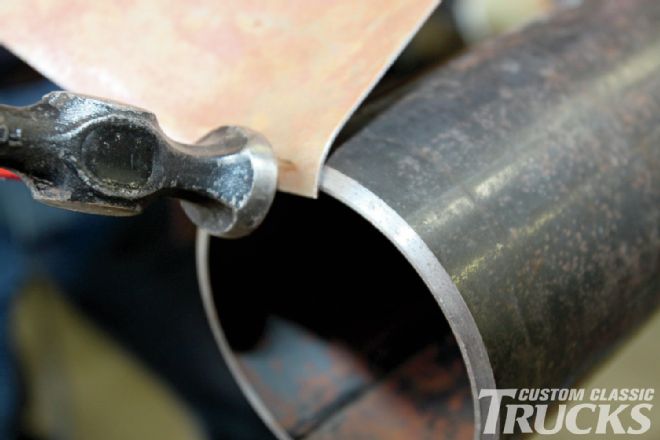 15. A slight bend was made down the middle of the patch by bending it over a length of pipe. The tighter bend, where the patch meets the floor under the seat, was made by hammering the edge over the end of the same chunk of pipe.
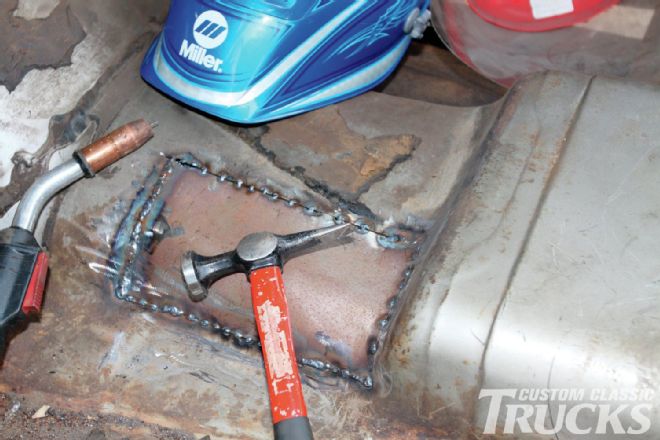 16. The patch was tacked while an Eastwood body hammer was used to tap the edges into alignment.
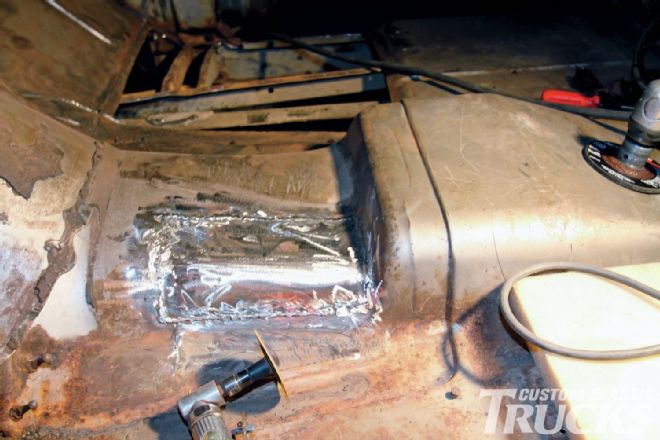 17. With the welding completed the beads were dressed with a 36-grit disc. We’re not going for perfectly smooth here as seam sealer, insulation, and carpet padding will take care of minor imperfections.
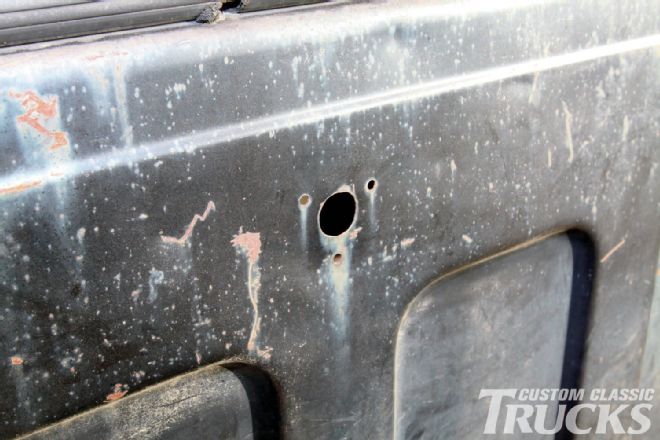 18. While we were plugging holes we decided to fill one in the back of the cab that had been made for a large CB antenna.
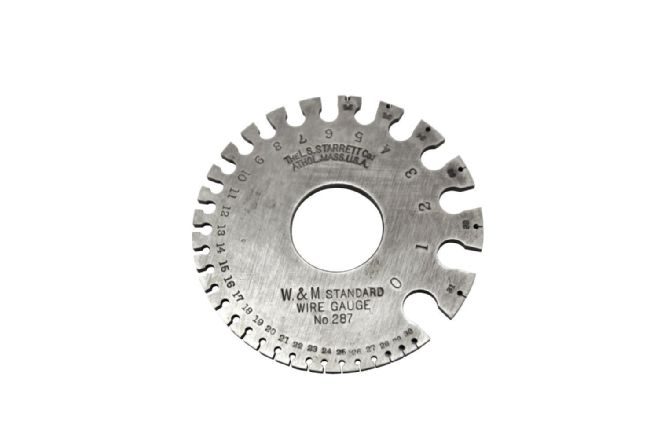 19. A handy tool when making sheetmetal repairs is this combination sheetmetal and wire gauge. Note the smaller the gauge, the thicker the material.
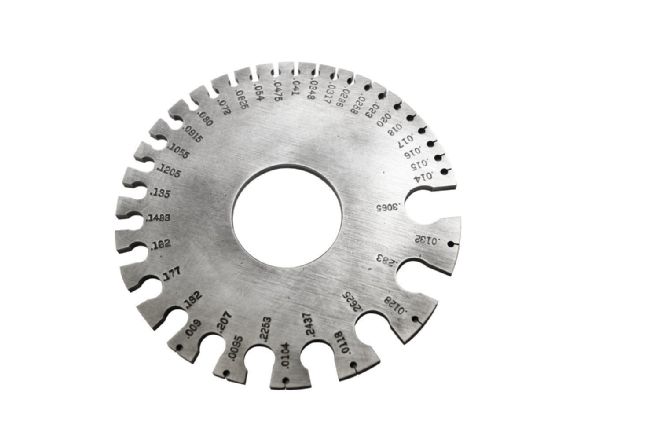 20. On the reverse side are decimal equivalents of sheetmetal and wire gauges.
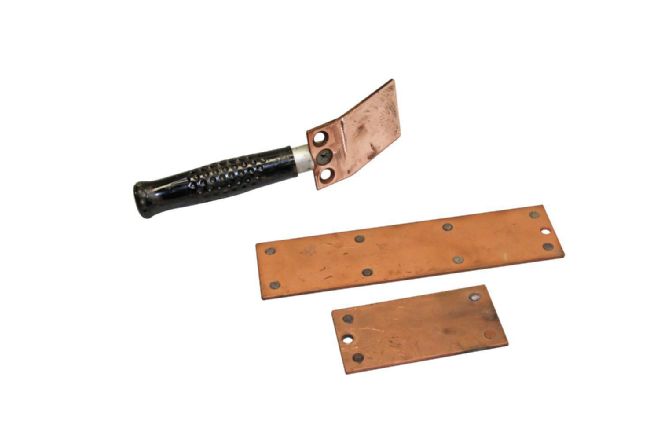 21. These copper backup plates from Eastwood can be extremely useful when plugging holes in sheetmetal.
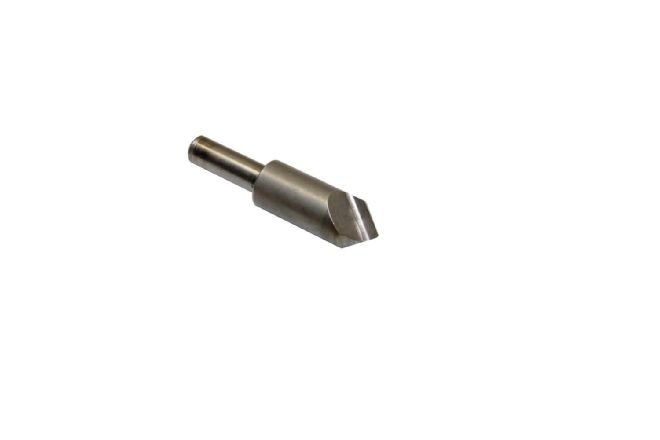 22. Before the small holes in the back of the cab were welded shut, the edges were tapered with a countersink to provide more weld area.
 23. With the three mounting holes welded, a plug was made for the larger center hole. It was held in place with a magnet, then tack welded
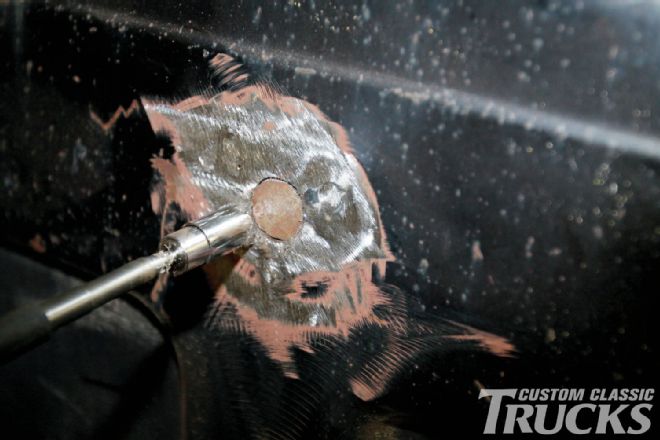
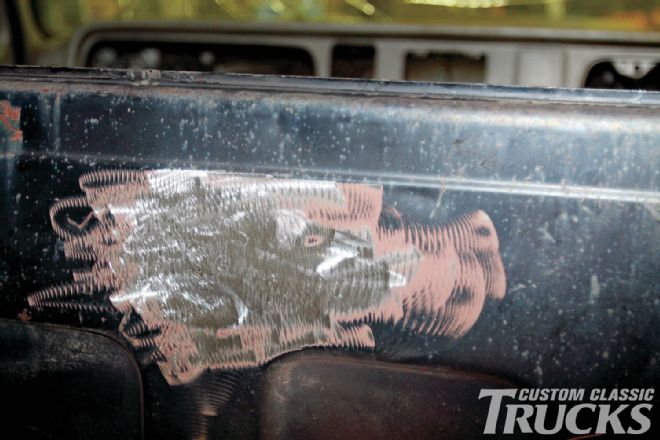 24. The plug was welded solid then ground smooth. A skim coat of filler will make the surface perfectly flat.