Custom grilles are touchy things since you're dealing with the "face" of the car. There's really very little middle ground on them—they either work to improve the look of the car, or they just feel out of place and distract from the rest of the car. When a custom grille misses the mark, it can be worse than having fugly wheels.
The familiar pseudo-custom horizontal bar billet grilles found on everything from classic cars to modern trucks are usually safe. They're unobtrusive and flow with a wide variety of body lines since many factory grilles also have a horizontal bias. Speed mesh, likewise, has become popular on modern performance cars, and can work too if carefully applied. But neither of those gels with the character of a 1967-68 Cougar with its vertical bar hideaway grille. It's one of the most distinctive and memorable things about the car.
The Cougar grille is cool as-is, and it's actually one of our favorite parts of the car, but other than style it's also known for two things: being extremely difficult to adjust the headlight doors to align with the center, and the unreliable vacuum mechanism. Oh, and the assembly is quite heavy and in the worst place possible place for extra weight. We know we're treading on polarized ground here by altering the Cougar grille, but since Max Effect is function first with style following suit, we needed to address that issue without sacrificing its identity. That's the key there—it still has to look right on the front end.
That's where Wes Adkins (or Wild Wes, as he's known) of Wild Wes Paintworks comes in. We first met Adkins at the 2013 Goodguys Columbus event with his own Cougar project in bare metal at the TorqStorm Supercharger booth. It's an extremely slick, subtly modified car that we promise you'll see more of in PHR once it's finished, but the one mod that really caught our attention was the custom grille. Using individual stainless pieces, Adkins constructed a grille that not only addressed all of our issues, but also looked slick and absolutely appropriate on a Cougar. We were sold and convinced Adkins that Max Effort needed one as well. Here's how it happened, and yes, Adkins can build you one that fits a stock Cougar, or invent something different to perform a "face-lift" for pretty much any car out there.
 1. We liked the custom grille on Adkins’ Cougar so much, we enlisted him to fabricate a similar one for the Max Effort ’67 Cougar—this time he’s showing us how he did it.
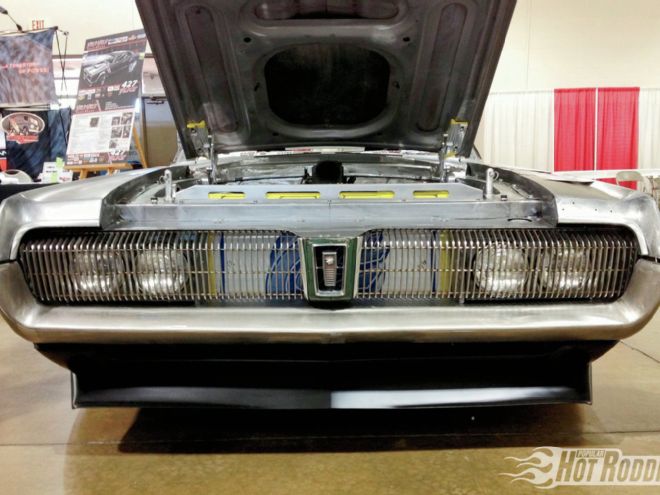
 2. Like most Cougars, Max’s pot metal hideaway grilles don’t line up well, even after trying in vain to adjust them. They needed a full rebuild to address the worn points to get any better, but we won’t be using any of the extensive stock vacuum works, so forget that. Plus, the full stock assembly is also 20 pounds and in the worst possible location for extra weight.
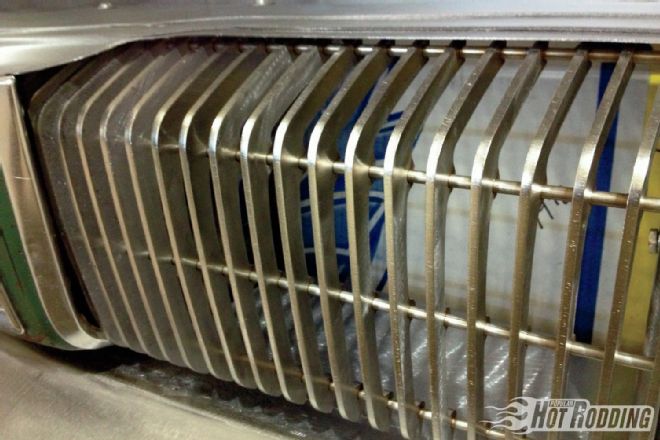 3. Here’s a close-up look at the new grille. Note that the grille is based off the larger chrome sections of the stock Cougar grille and eliminates the smaller black ones in between. They are also pushed a bit closer together to make up for the overly large gaps that would result otherwise.
4. Since the larger chrome bars on the hideaway doors are actually a separate piece from the smaller bars, rather than the centers, which are a single piece, Adkins used one of them to find the correct shape.
3. Here’s a close-up look at the new grille. Note that the grille is based off the larger chrome sections of the stock Cougar grille and eliminates the smaller black ones in between. They are also pushed a bit closer together to make up for the overly large gaps that would result otherwise.
4. Since the larger chrome bars on the hideaway doors are actually a separate piece from the smaller bars, rather than the centers, which are a single piece, Adkins used one of them to find the correct shape.
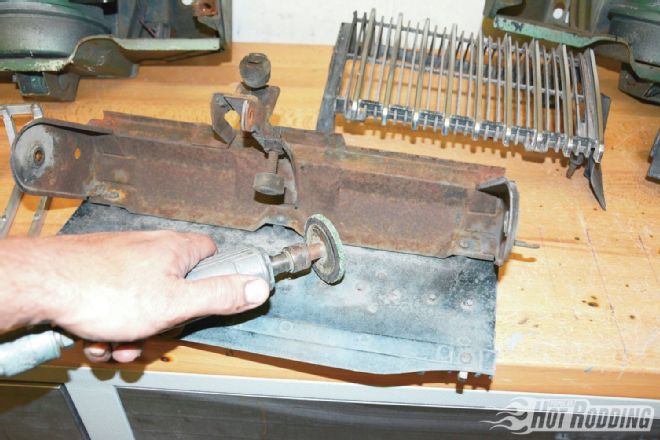 5. To remove it, Adkins disassembled the hideaway assembly and used an abrasive wheel to cut the mounting tabs for the chrome section on the backside of the hideaway door.
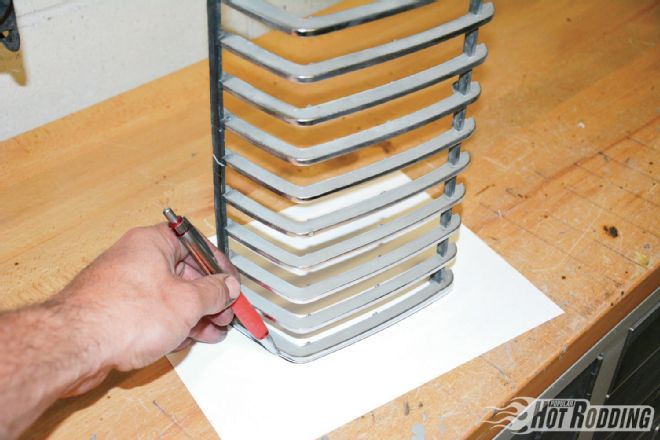 6. With that in hand, Adkins traced the shape of the bracket onto paper. See what we mean about the slightly too large gaps with the stock placement?
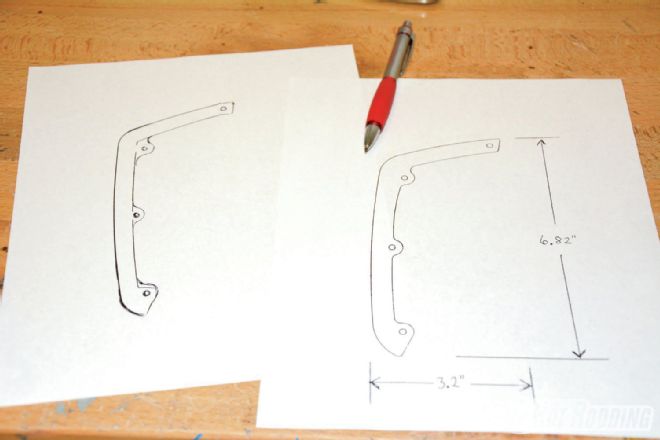 7. From that first sketch, Adkins worked out where the new mounting tabs would be and refined the overall shape. He then created a final, more precise, sketch complete with dimensions.
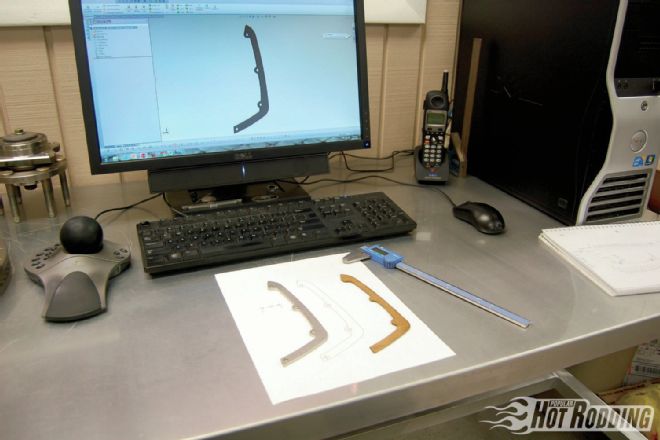 8. To get the appropriate spacing, Adkins upped the tooth count from 24 per side to 46, so needing 92 exact replicas of the part, we turned to our buddies over at Greening Auto Company since creating unique one-off parts is one of their specialties. Design engineer Jason Norberg handled digitizing the sketch into SolidWorks and creating a sample.
 9. From there, Greening worked with Loftis Steel & Aluminum in Nashville to precision laser cut the pieces. For this project, Loftis used a Trumpf TruLaser 3030 and cut them with nitrogen gas to protect the stainless steel from corrosion as well as maintain a burr-free part.
 10. The quality of parts we received from Loftis was second to none, and the specs were perfect to Adkins’ vision. That’s a testament to both the care taken to render it perfectly at Greening, and to transfer it into stainless steel. Check out how perfectly one of the new pieces (left) match the arc of the original grille (right).
11. After using a sanding disc to scuff away minor cutting slag that is common when cutting stainless steel, Adkins began to arrange 46 of the pieces on the four 3/16-inch stainless steel rods that will provide the structure of the new grille.
10. The quality of parts we received from Loftis was second to none, and the specs were perfect to Adkins’ vision. That’s a testament to both the care taken to render it perfectly at Greening, and to transfer it into stainless steel. Check out how perfectly one of the new pieces (left) match the arc of the original grille (right).
11. After using a sanding disc to scuff away minor cutting slag that is common when cutting stainless steel, Adkins began to arrange 46 of the pieces on the four 3/16-inch stainless steel rods that will provide the structure of the new grille.
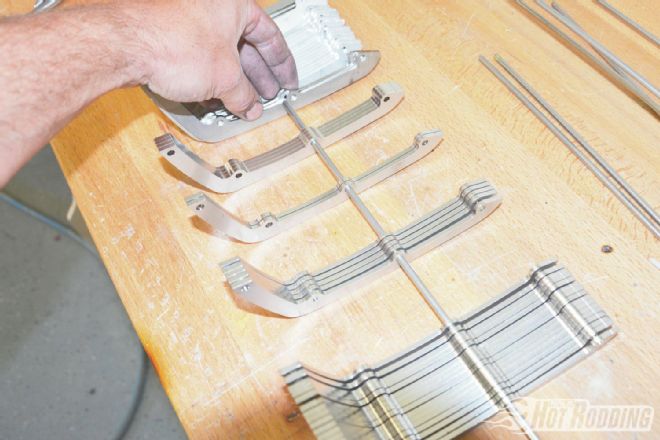
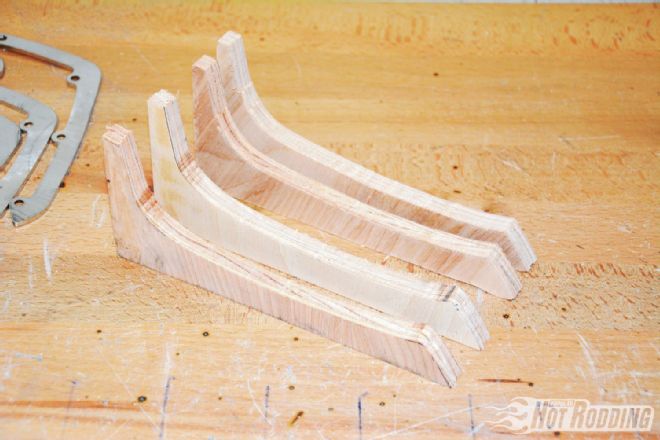 12. On a part like this, spacing is critical. Just one errant or slightly crooked tooth could ruin the whole project. To keep everything equidistant, Adkins carefully cut and shaped these identical spacers, mirroring the inner arc of the grille teeth.
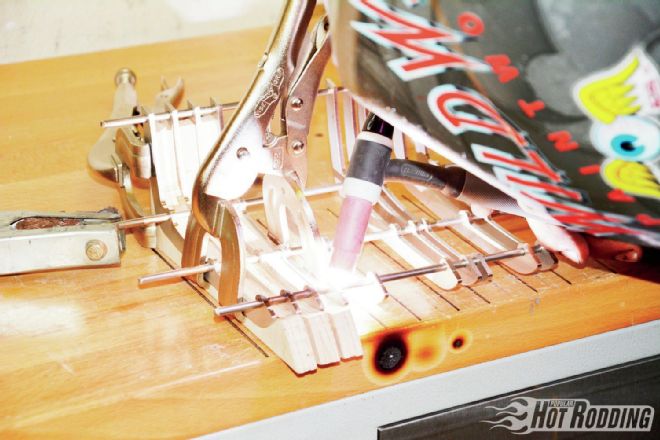 13. The shaping of the spacers allowed Adkins to lay the stainless rods atop them, and then clamp together small sections of the grille to tack them together. Plus, they act as heat sinks for the stainless.
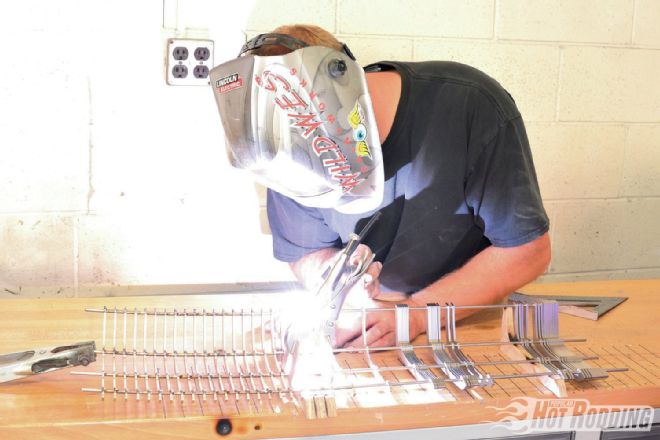
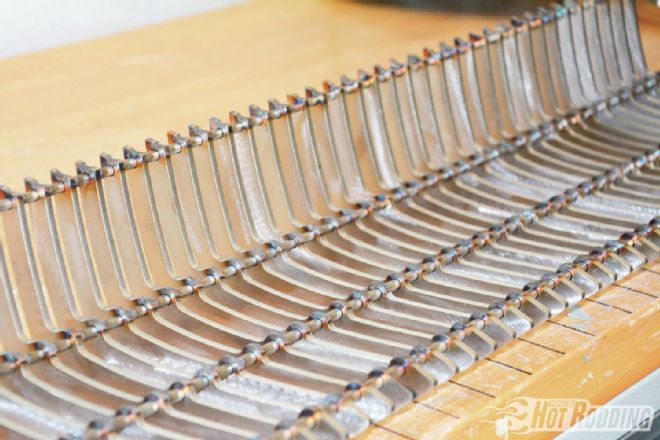 14. Look at that consistency! Working with just four teeth at a time, tacking each tooth gingerly, and double-checking the measurements afterward allowed Adkins to keep everything precisely spaced all the way down the 46 teeth on each side of the grille.
 15. To avoid an overly wide gap where the two halves of the grille meet the nose section in the center requires some trimming to the last tooth.
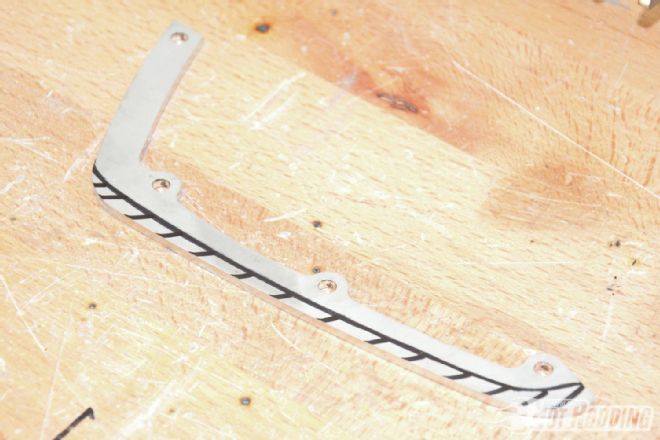
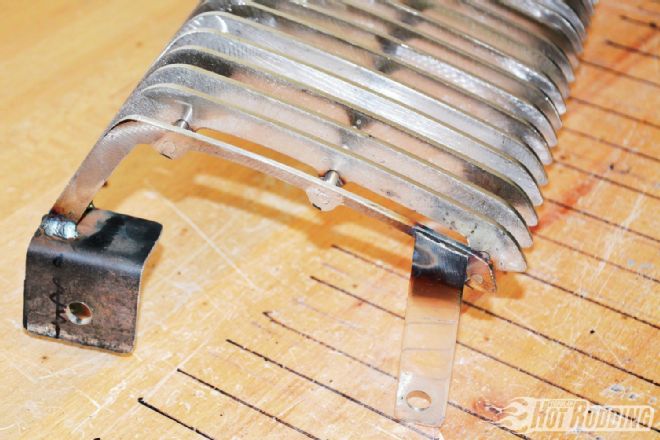 16. With that last piece in place, Adkins then created two simple brackets that will attach the grille to the stock mounting location. The outer mount will be similar.
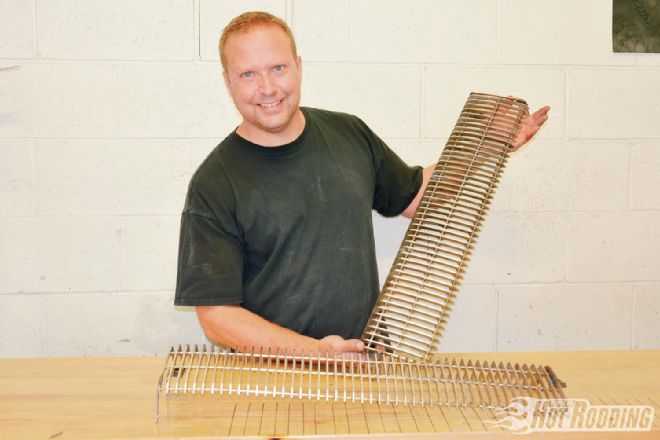 17. And here Adkins shows off our striking custom alternative to the stock Cougar grille that we think even aficionados can appreciate! You want to see them on Max Effort? We do too! Stay tuned for much more progress and tech on Max Effort from Wild Wes Paintworks.