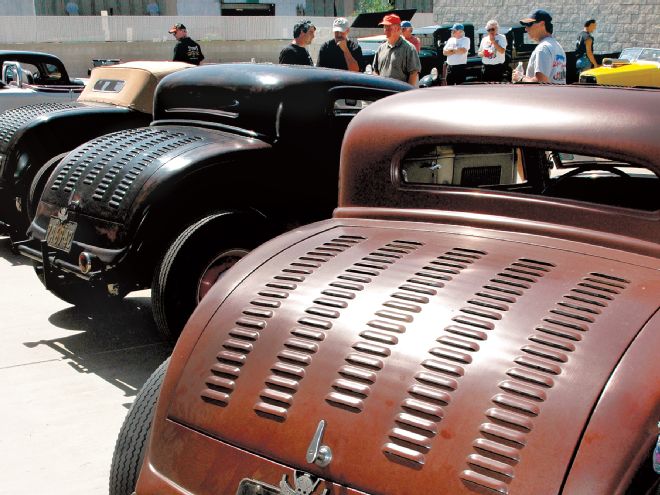
It’s hard to guess when the first louvers were made on a hot rod, but it might have been done by the boys who were among the first to race at El Mirage, Muroc, and later at Bonneville. Back then, louvers were not just for looks—they served a function: getting the air out of a car at speed.
Since then, louvers have become a detail seen on many traditional-style hot rods, a detail that rodders like The Rolling Bones have picked up over the years. The East Cost club builds its traditional Bonneville-style hot rods with louvers everywhere, not just in the hood and trunklid but also in the roof pieces on most of their coupes. The style has spread in the hot rod world, not just in this country but also in many other countries. Louvers just might be on hot rods as long as hot rods are being built.
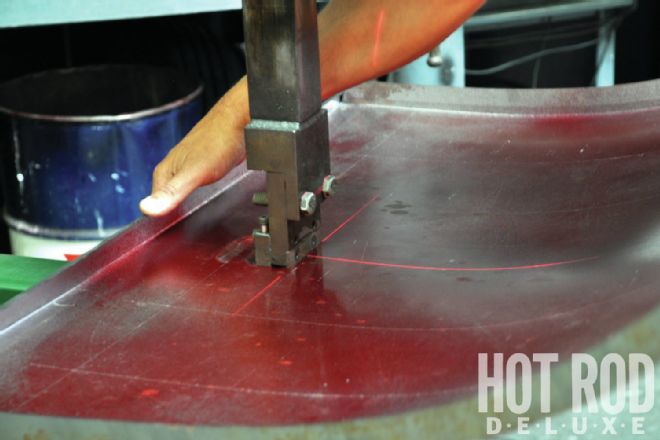
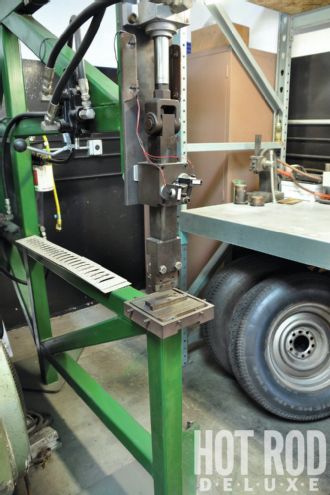 The louver machine at Wheeler’s Speed Shop is the usual type, but Brian Wheeler has installed two lasers to make it a lot easier to get the louvers nice and straight.
There are several different types of louver machines, from the all-mechanical type to the more common hydraulic types. Most of them also have long arms, which make it possible to punch louvers in fullsize hoods and other big pieces.
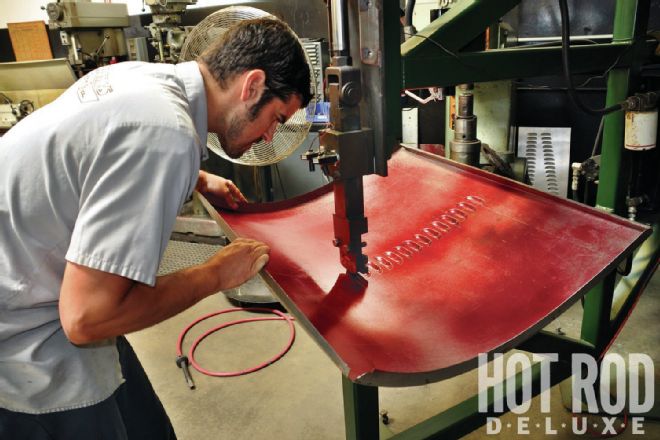
Brian Wheeler at Wheeler’s Speed Shop in Huntington Beach, California, updated his hydraulic louver machines with two laser lights to make it easier to get the louvers straight. Brian calibrated the lasers at the bottom of the tool to make it line up with both the top edge line and center line of the piece being louvered. Once calibrated, the machine is ready to punch some louvers.
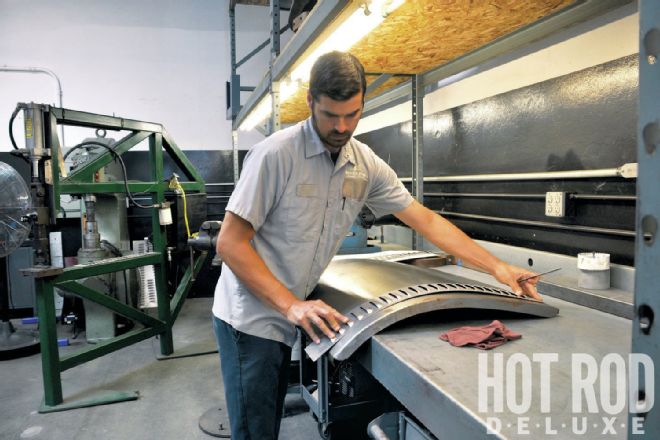
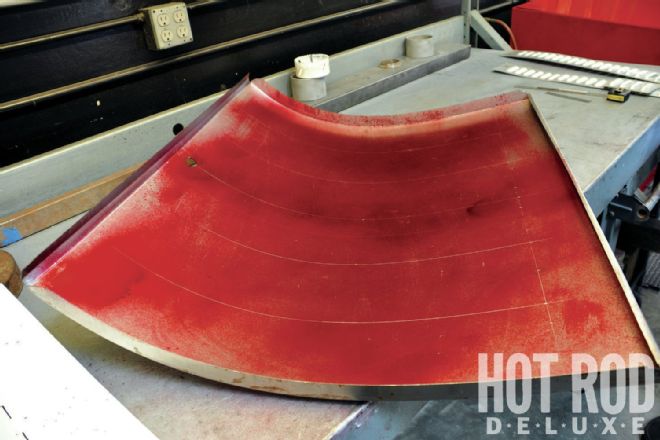
Brian demonstrated his laser-guided louver punches on the trunklid skin for a ’29 Ford roadster. It is a little different from other sheetmetal pieces, because the left and right edges are not 90 degrees to the top edge. Also, the lower edge will be fitted to the inner structure of the decklid later when it is welded. That leaves only the top edge that is straight and can be used to line up the louvers. A centerline can also be made from the top edge and through the middle of the hole for the handle at the lower end.
Follow along as Brian uses some high-tech gadgetry to cut some old-time holes.
 Brian checked our calculations of how many louvers would fit, given the space between them that the tool was made for. Turns out there was room for fewer than we thought.
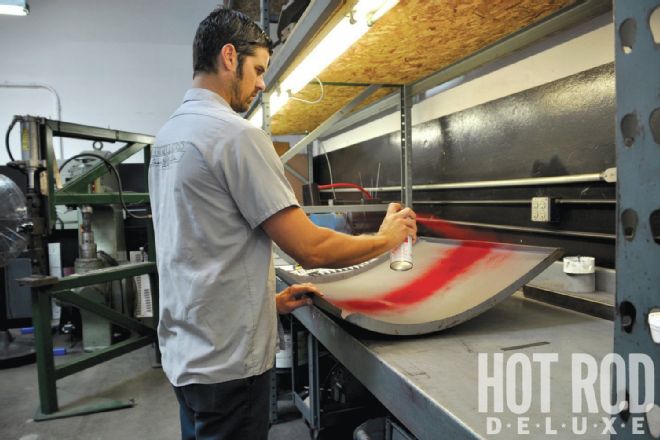 To make the lines easier to see, Brian used marking paint on the inside of the lid.
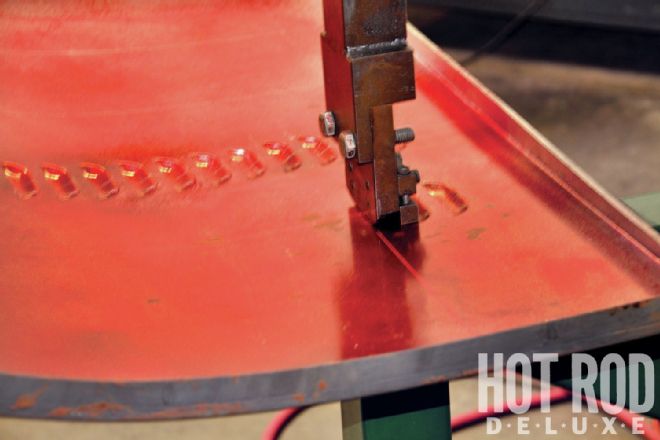
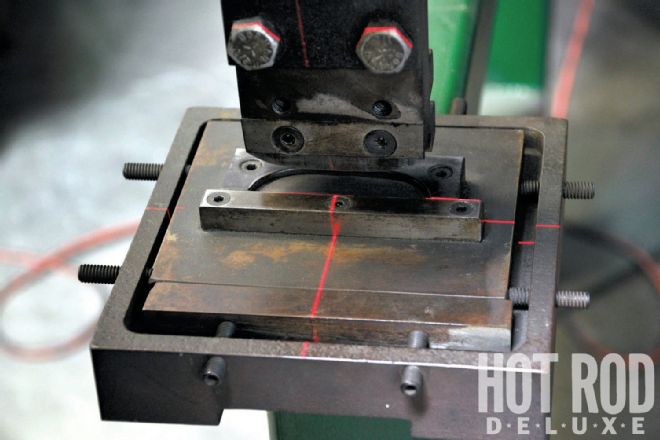 Here you can see how the laser lights line up with the scribed lines both ways, which makes it much easier to get the tool right before stamping.
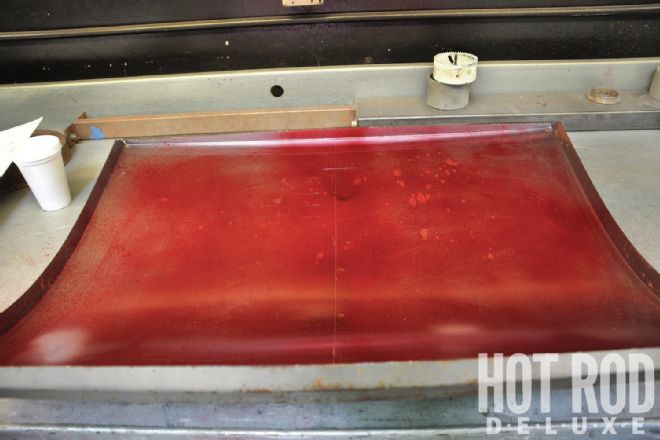 With the inside of the decklid painted, it was time to measure and mark the centerline and the upper start line. Brian used the upper edge and the center of the handle hole for the center, because the sides of the ’29 Ford decklid are not a straight 90 degrees.
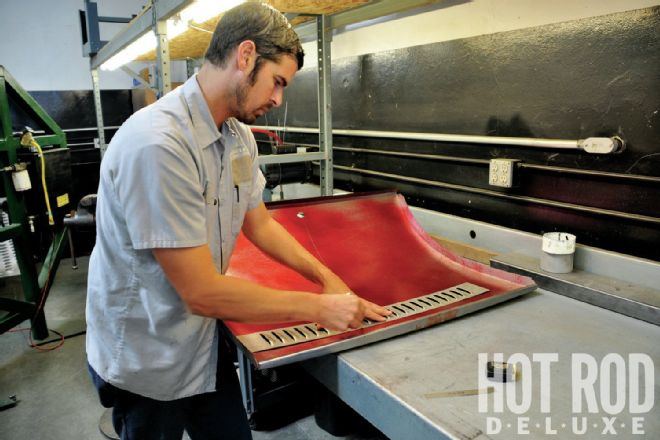 Brian used the straight edge of a louvered piece of sheetmetal for scribing the top start line.
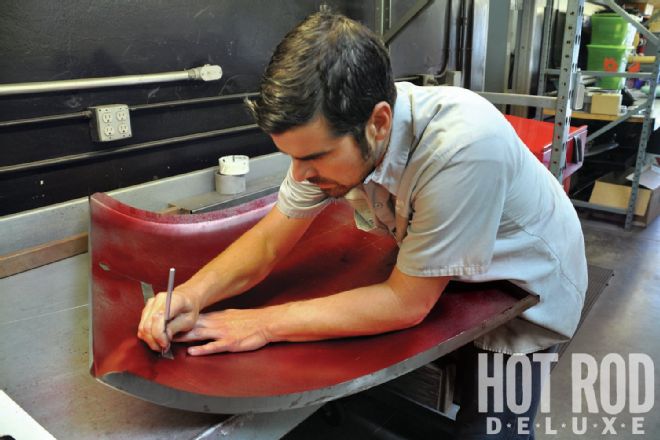 The outer centerlines were marked, and then Brian scribed the lines.
 With all the lines scribed, Brian was ready to start stamping louvers.
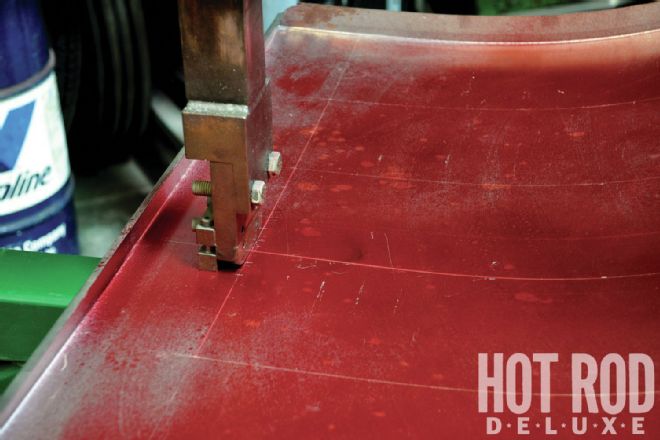 The first stamping was lined up. It’s easy to see how the laser lines are right on top of the scribed lines.
 When the first and second louvers are stamped, the tool uses the previous louver for lining up the next louver to be stamped.
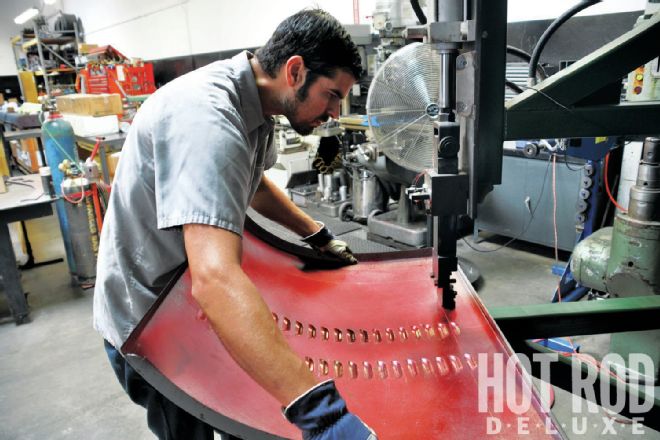
 After the first few louvers were done, it was easier for Brian to press the rest of that row a little faster.
 The trunklid skin’s shape could make it a bit more complicated, but it was not any problem for Brian.
 The centerline row of louvers is the shortest because of the handle that will be installed later. The laser light is a big help to get the louvers straight and in the middle of the scribed centerline.
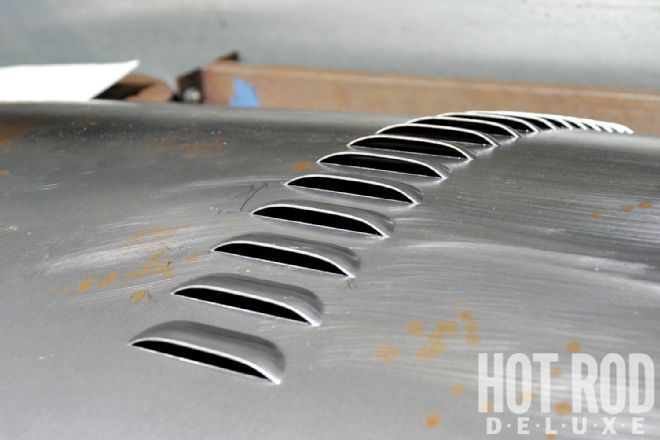 When the centerline of louvers was done, we took a break and checked out the result, which we liked very much.
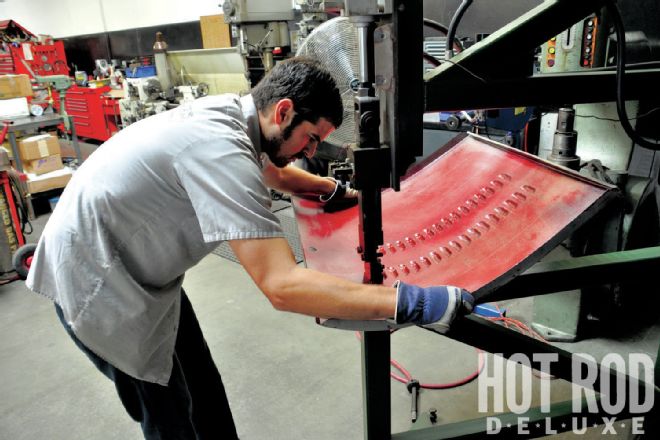
 The next step was for Brian to start punching the louvers in the row to the right of the center one.
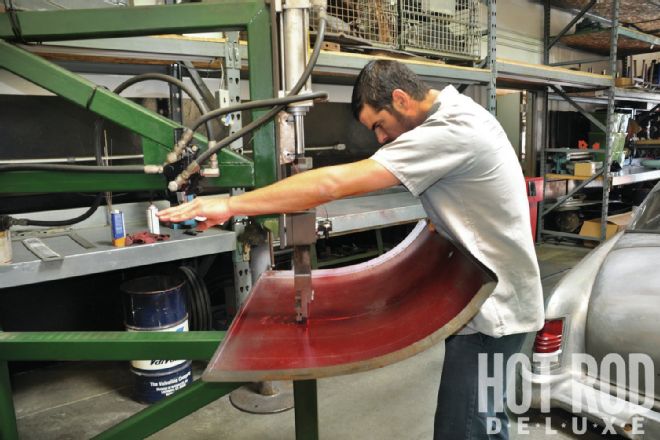
 Down in the end of the row the bend in the lid is steeper. Another set of hands holding the lid would make it easier for Brian.
 Brian started the first louver in the third row. It’s critically important that this louver is straight, so the rest of the row will align properly with the other louvers. After we shot this photo, we decided to help Brian hold the piece, to make it easier for him to punch the louvers a little faster.
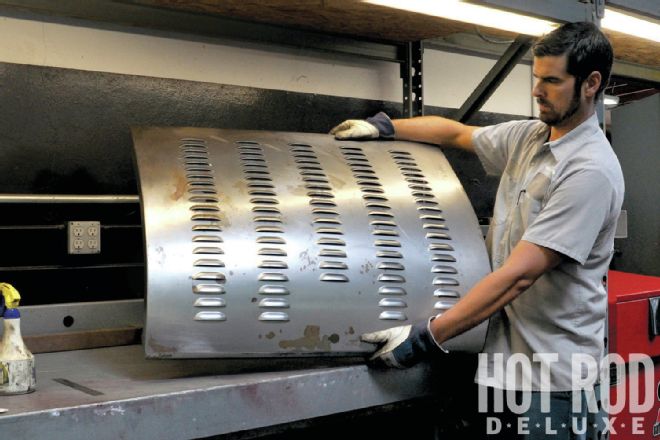 With both of us working together, it was easier to keep the tempo up. Soon the two outer rows were done. The complete job took about two hours to finish.
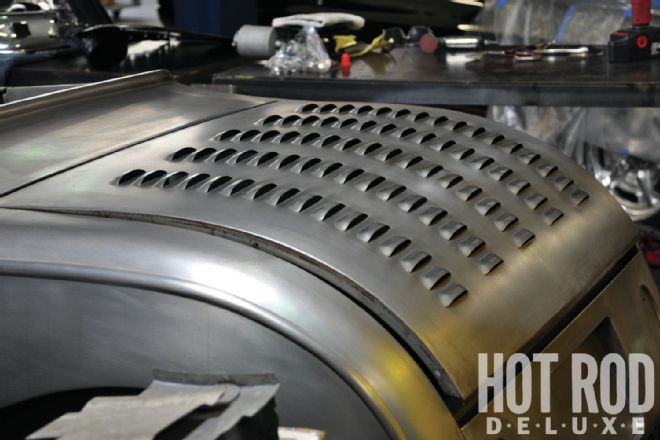
 We wanted to see how the louvered decklid would look on the car, so the skin was installed on the decklid and then installed on the roadster.
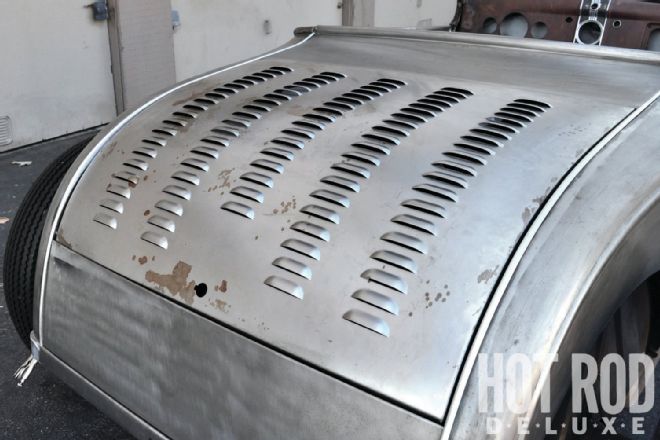
 Brian is also building a ’29 highboy roadster for himself. He is not using a handle on the trunklid, so he stamped five rows with the same amount of louvers.