According to our "little pages" personal libraries, back in the days of the earlier customs, when top chopping and grille swapping hadn't all been done before, it was generally the newer Fords' parts that found their way to the older Fords. If we go back a little further, say any time after 1938, Ford's new "teardrop" taillamps exemplify that statement, as there isn't any way to downplay the teardrops' instant popularity. From the time when they were new, teardrops were liberated from wrecks in junkyards (and sometimes directly from parked 1938 and 1939 Fords) and took their places on the rear body panels of older Fords. But of course, that was only the beginning.
Although as we've said, it was generally the newer Fords' parts that found their way onto the older Fords, the teardrop taillamp could be considered an early exception to the rule—because let's face it, it's one of the best looking, most versatile taillamp assemblies ever made. Perhaps for that reason alone, the older teardrop can cross over into later-model bulbous bodies without ridicule—as long as the work adds up to be an aesthetic improvement, that is.
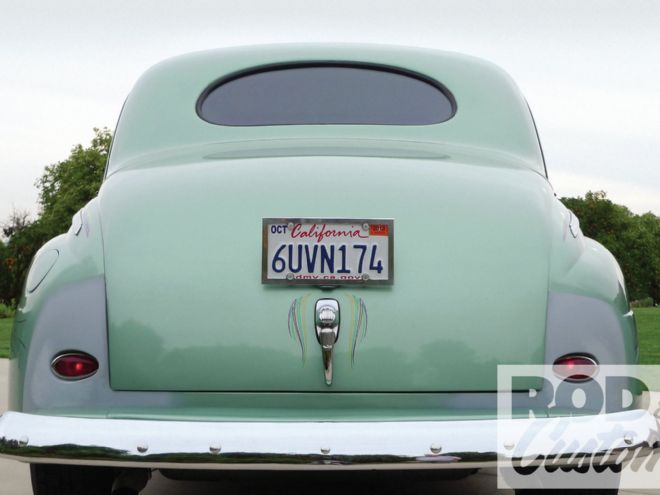
When Bob Slaughter of Valley Center, California, located and purchased this 1946 Ford Super DeLuxe coupe, it looked more like a 1947, due to prior deletion of its front park lamps. The original 1946 taillamps were retained, but they'd been lowered and the look was not pleasing to Slaughter. It was right about midday when Slaughter walked into nearby Escondido, California's Hot Rods & Custom Stuff, where a taillamp display caught his eye. After a quick counter crew consultation, a decision was made to french-in a pair of teardrops. Vintique makes them, Hot Rods & Custom Stuff stocks them, the timing was right and the work began without delay.
 1. Hot Rods & Custom Stuff fabricator, Jeremy Shelton, doesn’t wait around for photographers to show up, and well, I was running late. For the sake of salvaging this article, Shelton was kind enough to repeat one procedure—just for the purpose of illustration.
 2. The step I’d missed was the fabrication of taillamp buckets. At first I felt bad about causing Shelton to back up, but that feeling went away as I witnessed how quickly he whips these things out.
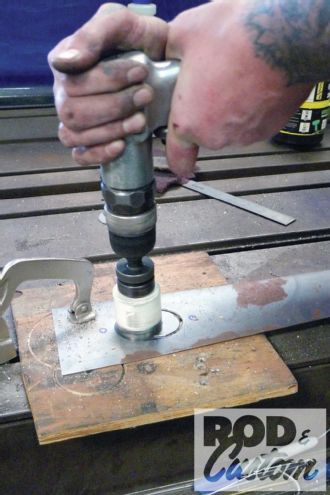 3. With a section of 18-gauge sheet steel secured atop plywood, Shelton begins by creating an elongated hole with a 1 5/8-inch hole saw–equipped pneumatic drill.
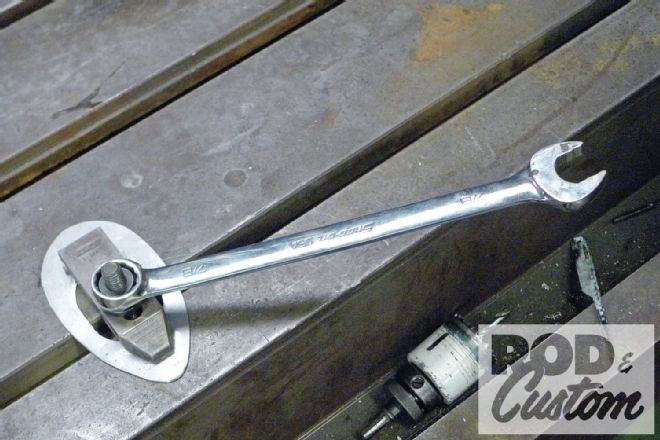
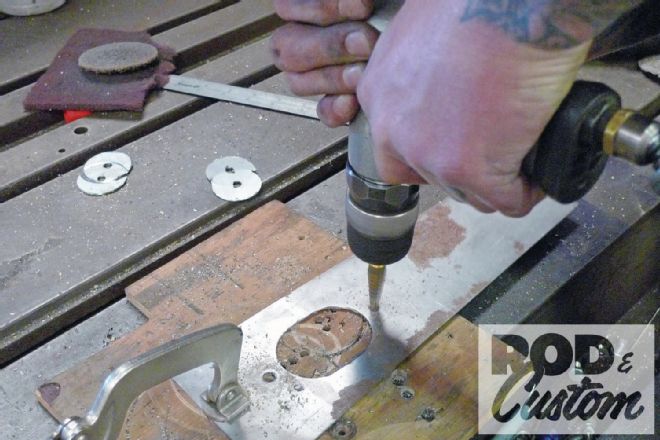 4. After grinding away the remaining center peaks, deburring, and a bit more measuring, a step drill comes in handy for the taillamp mounting holes.
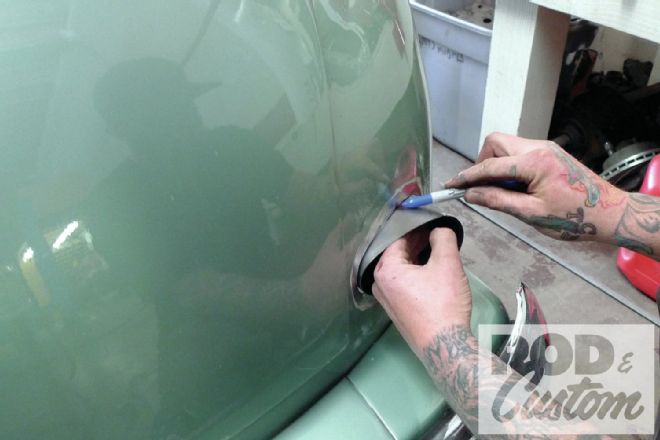
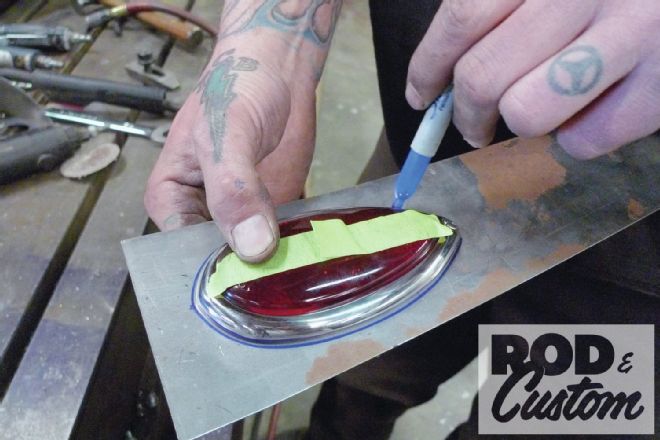 5. Here a dull Sharpie works well to establish a visual guide for trimming the bucket’s base. A little later on, 3M 3/4-inch masking tape will function as a handle of sorts to ease the necessary in-and-outs during taillamp test-fitting.
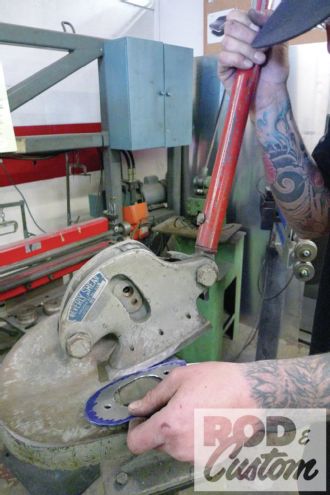 6. In an effort to minimize unwanted distortion, Shelton chooses the shop’s Beverly shear for trimming out the bucket’s base. In a pinch, however, a nibbler or even a decent pair of tin snips would suffice.
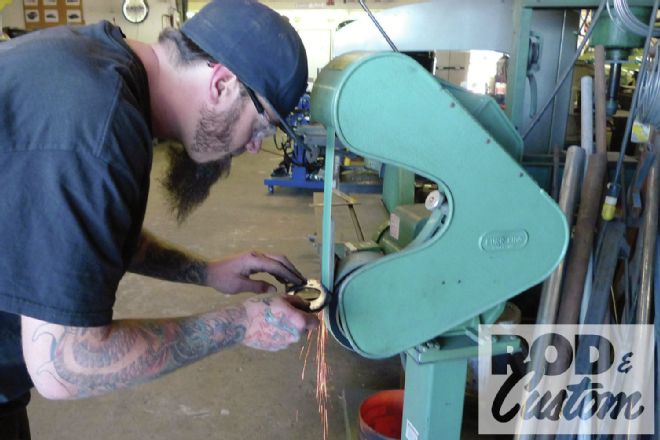 7. Shelton is a frighteningly fast fabricator, but for safety’s sake he’s deburring his work as he goes. Here a belt sander makes quick work of any jagged edges that may remain on the ’lamp bucket’s base.
 8. The very next step is to secure the finished base to the table where it will meet its soon-to-be-fabricated new surroundings.
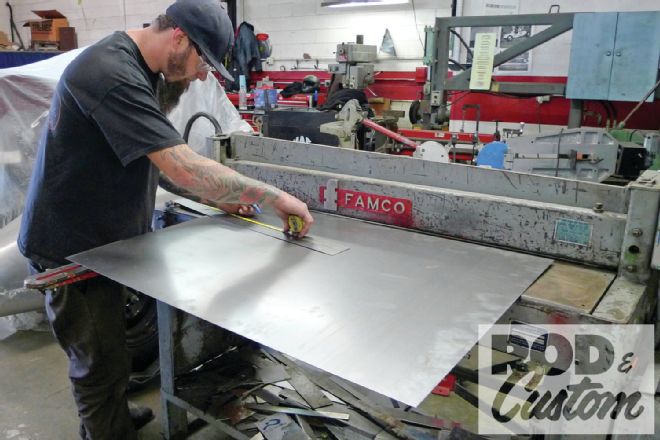 9. There will be further measuring and trimming to shape to follow, but for now a length of 3 1/2-inch-wide, 18-gauge sheet steel is cut for the ’lamp bucket’s surrounding walls.
 10. Being quick to pull the trigger on one of the shop’s Millermatic 135 wire welders, Shelton begins to join the bucket’s sides to its base.
 11. At this stage, he’s only tack-welding the pieces together.
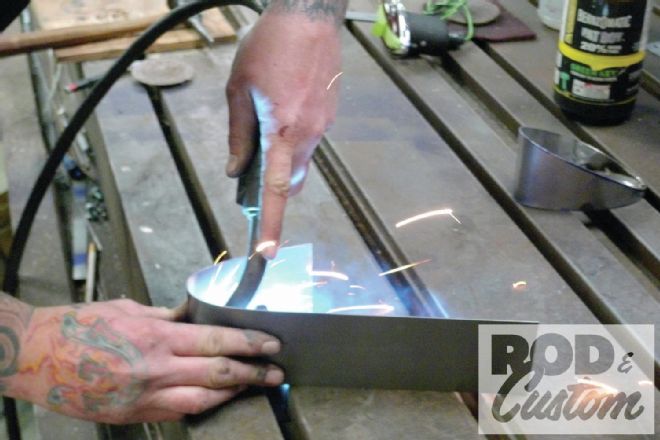
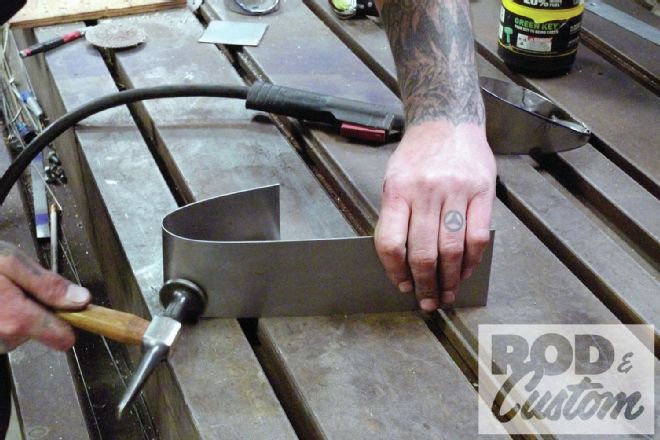 12. With space between tack welds, he’s hand-forming the bucket’s outer band as he goes.
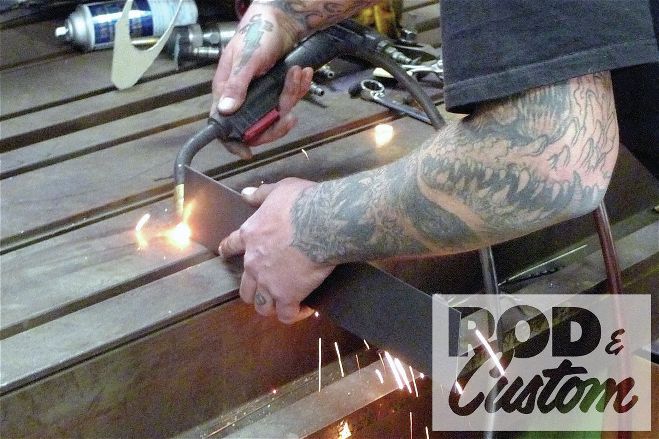
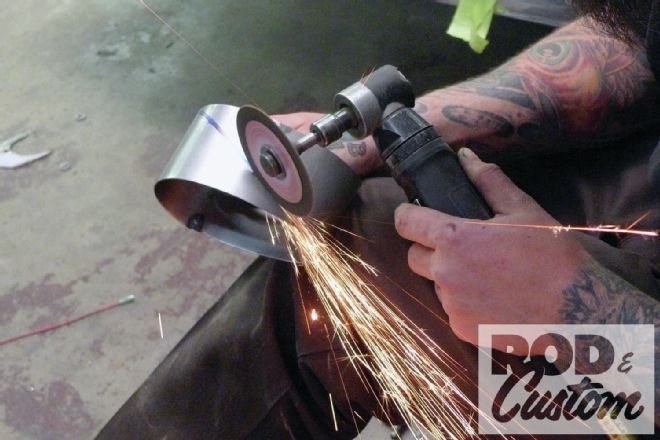
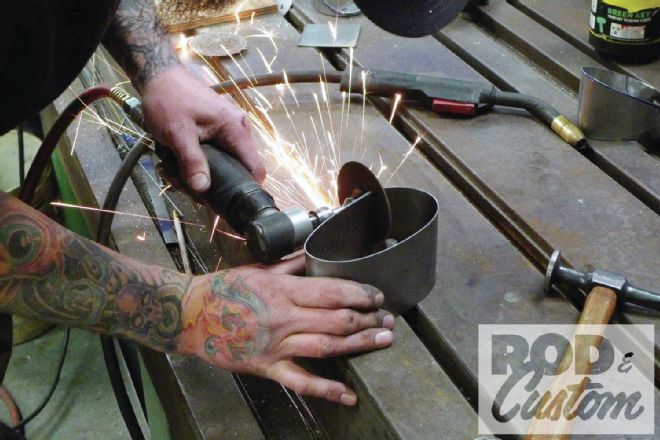 13. Once the outer band is shaped all around, a cutoff disc–equipped angle die grinder is used for a quick but cautious flush cut.
 14. Then with the excess trimmed to fit, Shelton again uses the Millermatic 135 to secure the joint.
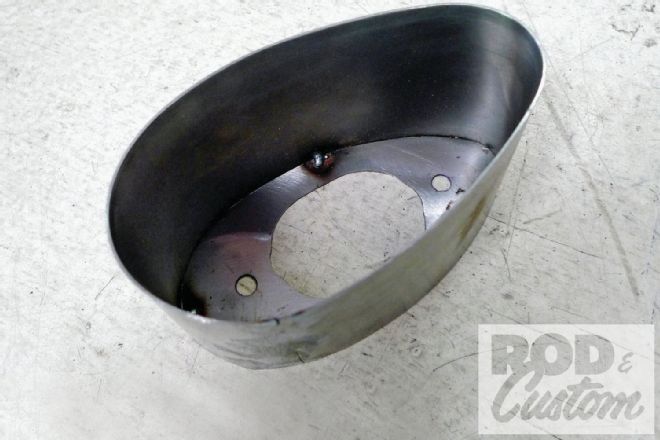
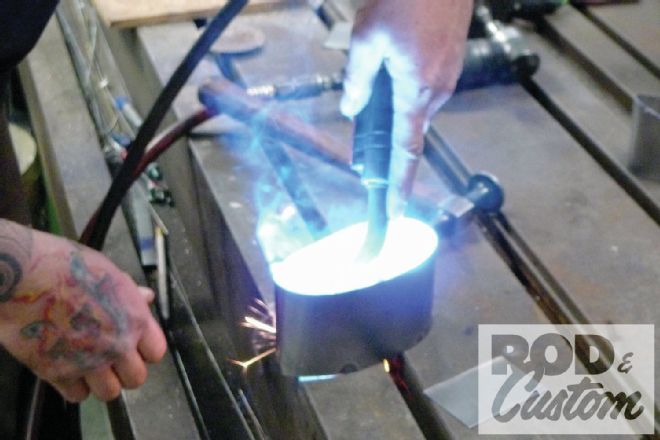
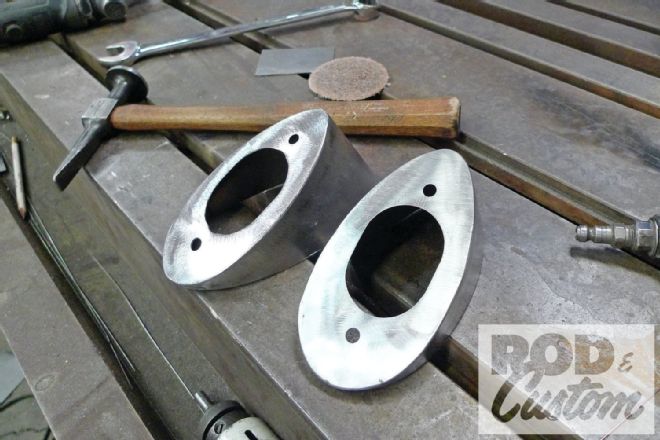 15. For the final welding, a Miller Syncrowave 200 machine was employed. After a minimal amount of cleanup grinding, our illustrative taillamp bucket is a dead ringer for the two that Shelton had made before yours truly arrived.
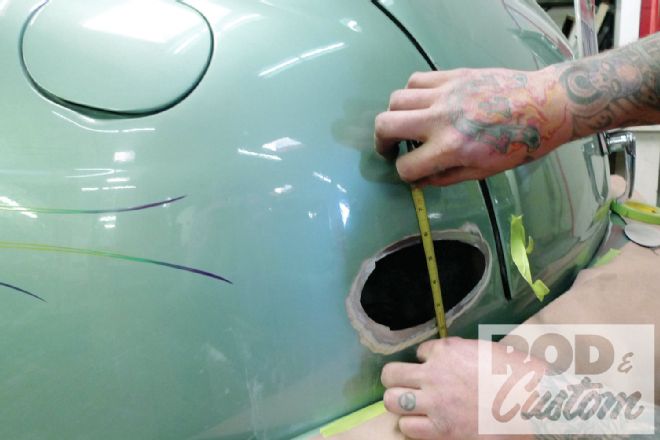 16. On evenly inflated tires, this old coupe sits nice and level. Even so, care must be taken to ensure trueness of trajectory.
 17. For this step, additional eyeballs are welcomed in as the dull Sharpie traces around a reversible, gasket material pattern.
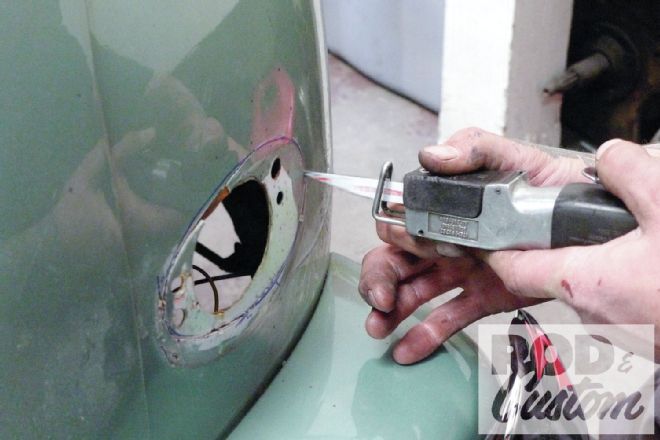 18. Here a Harbor Freight Central Pneumatic high-speed metal saw is the hot tip. Shelton likes to modify old hacksaw blades. This one is narrowed to a point, which allows the tool to turn easily in tight corners when removing such sections of unwanted metal.
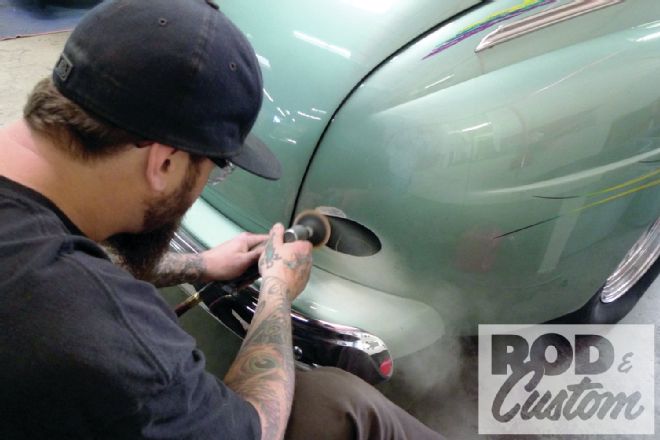 19. And surprise! The aforementioned section of unwanted metal is buried beneath unwanted body filler, so a 3-inch, 3M Roloc-equipped angle die grinder gets a good workout.
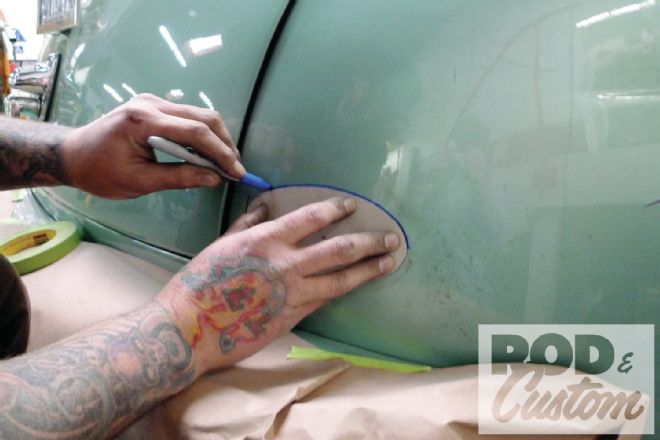
 20. Up to this point, the newly fabricated buckets have intentionally been left deep. Now having determined the desired position, Shelton once again wields the dull Sharpie and commences to scribe.
 21. In need of a trim, this bucket is once again secured to the table as a pneumatic angle die grinder makes the cut. This is accomplished in two steps, as repositioning will be necessary in order to safely access the B-side.
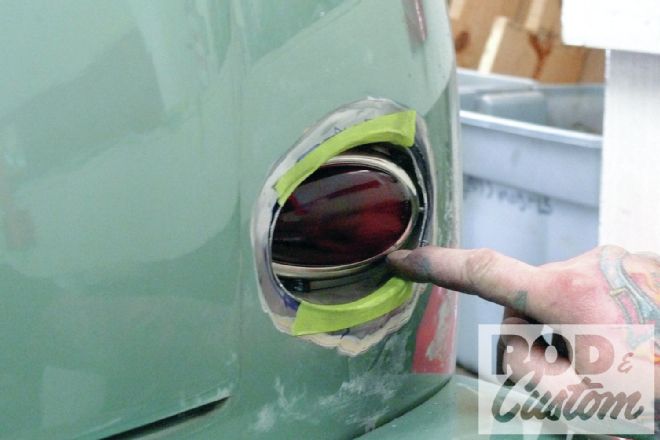 22. Before welding, the fit must be thoroughly scrutinized. With the driver-side bucket already in place for keeps, this is Shelton’s one chance to get it right.
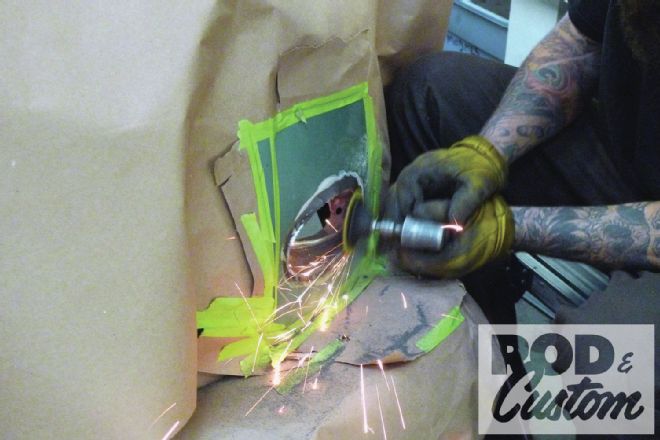
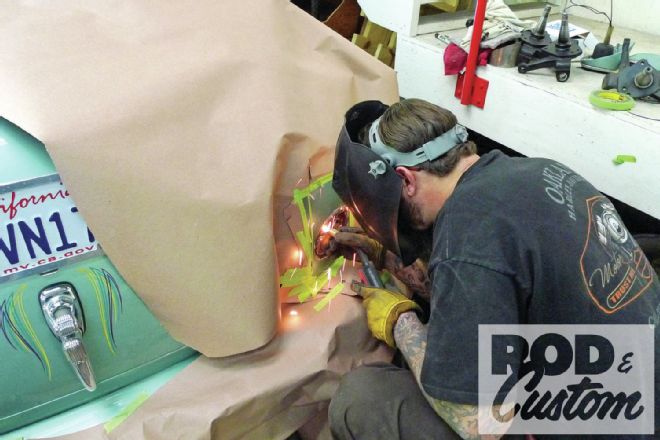 23. Once satisfied with the fit, steps are taken to protect the old Ford’s existing finish and welding begins. Shelton has switched back to the Millermatic 135 wire welder, triggering short bursts and cooling with clean compressed air as he goes.
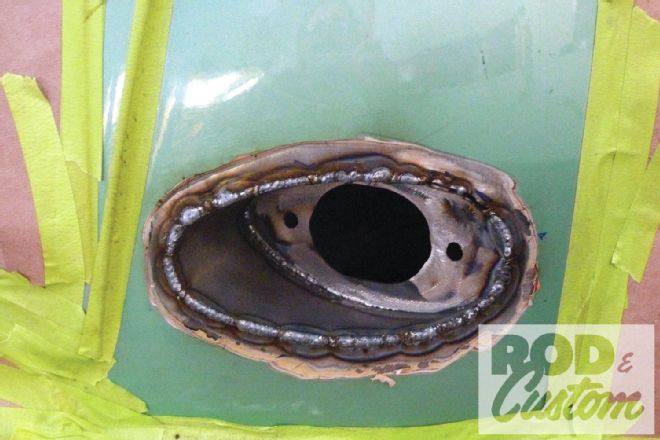 24. So here’s a close look at the welded-in bucket. It’s interesting to note that the surrounding filler has not burned. By welding and cooling in alternation, Shelton has prevented the graft area from overheating, thusly avoiding distortion as well.
 25. Toward the end of this day as he nears the home stretch, Shelton dresses down his welds. It’s going to be close, but he just might be finished before the cleanup whistle blows.
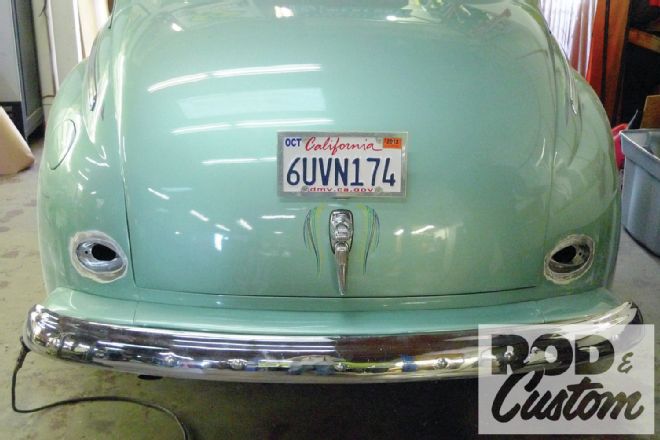 26. Only five short hours since this project’s beginning, the metal fabrication portion of the job is finished. The old coupe is now ready to be passed along to the paint department of Hot Rods & Custom Stuff, where finish bodywork will be performed.
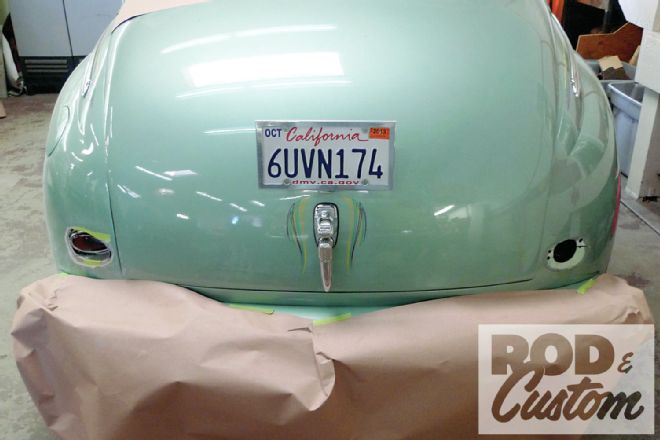
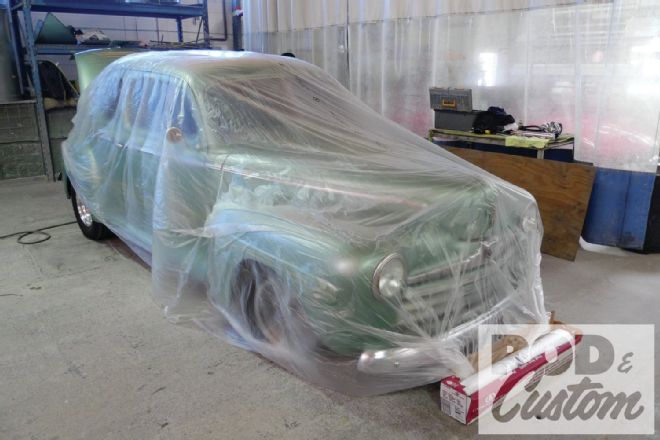 27. Here in the paint department, work begins with an ounce of prevention. There are numerous brands of static cling–type masking materials on the market today. Here we’re using the Carborundum brand to protect the existing finish of this car, as well as others nearby from even the smallest amount of overspray.
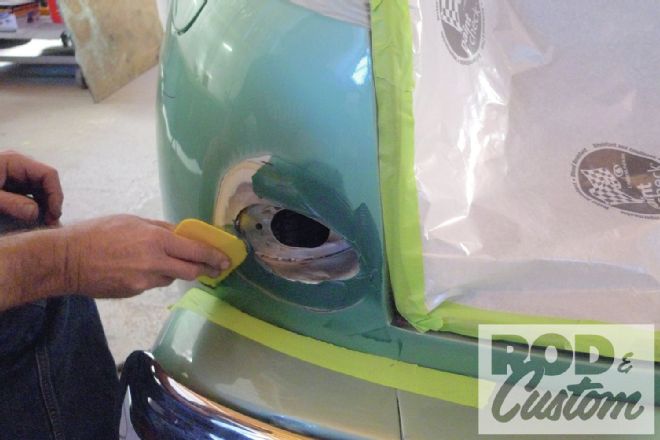
 28. This car is not here for refinishing, or even spot repair of the customized areas. We can be certain that surprises await beneath the current paintjob, so the car’s owner, Mr. Slaughter, will be content with primer spots for now. Here paint ’n’ body crewmember, Andy Eyler, begins with removal of old, questionable filler.
 29. In this situation, due to the extent of this car’s previous repairs, new filler work must be blended into the old. For his initial fill where welds are present, Eyler begins with Evercoat’s Everglass—a fiber-reinforced filler. This type of filler is strong, but rugged to sand. However, for the long haul, the peace of mind it brings can’t be beat.
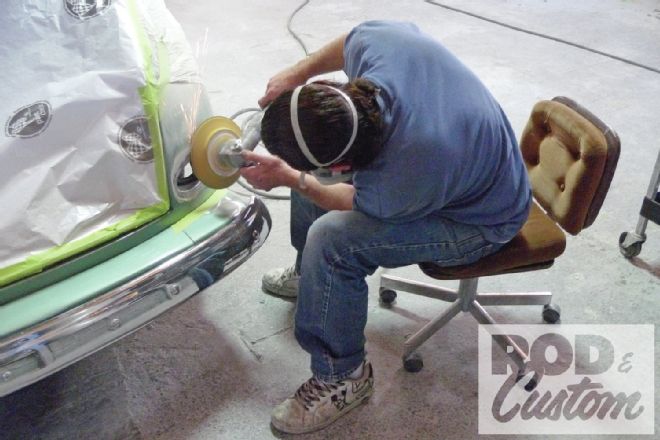
 30. Working from side to side, Eyler begins facing off the curing Everglass with a pneumatic sander. This is just to speed things along in the early fairing stages. When the shapes are closer, fairing work will continue in a more manual manner.
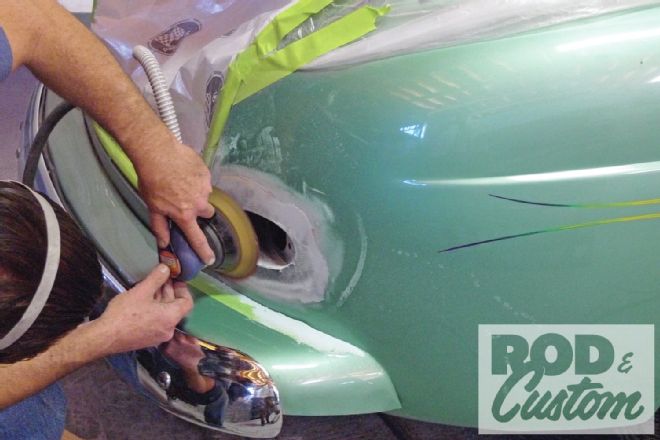
 31. Even with a box full of fancy blocks and fairing boards, Eyler has fashioned his own specific-purpose tool. For the curvatures of these quarters, a folded, 3M 40-grit, 8-inch Stikit disc on a flexible wooden paint stick works great.
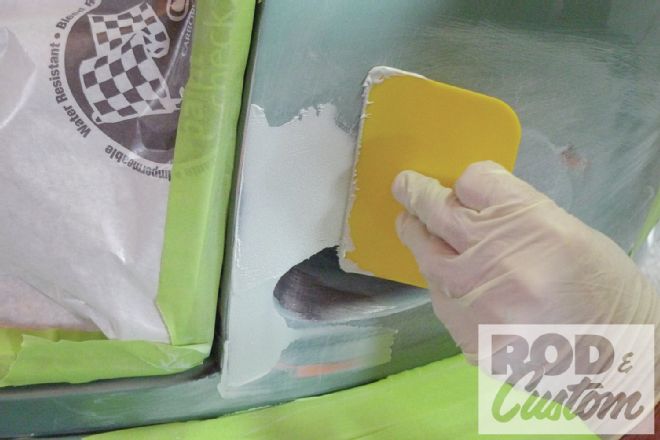 32. For the filler work’s final finessing, Eyler applies a thin skim of Evercoat’s Quantum 1 with a thoughtfully selected spreader of appropriate size, shape, and stiffness. Sometimes, however, tricky spots still get the finger.
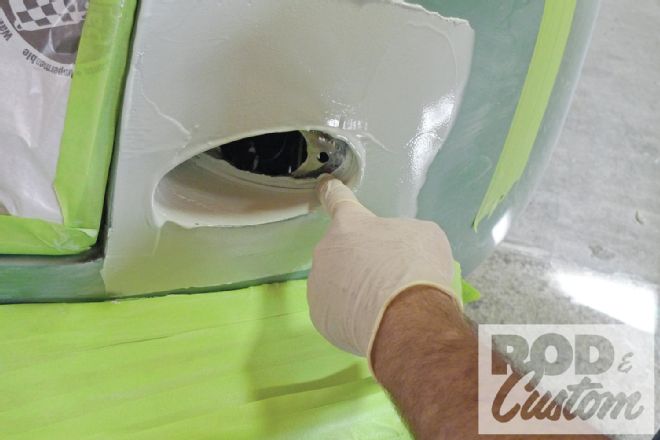 33. For the filler work’s final finessing, Eyler applies a thin skim of Evercoat’s Quantum 1 with a thoughtfully selected spreader of appropriate size, shape, and stiffness. Sometimes, however, tricky spots still get the finger.
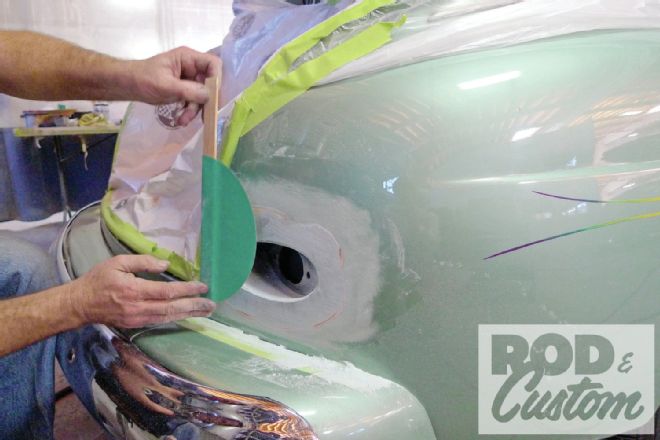
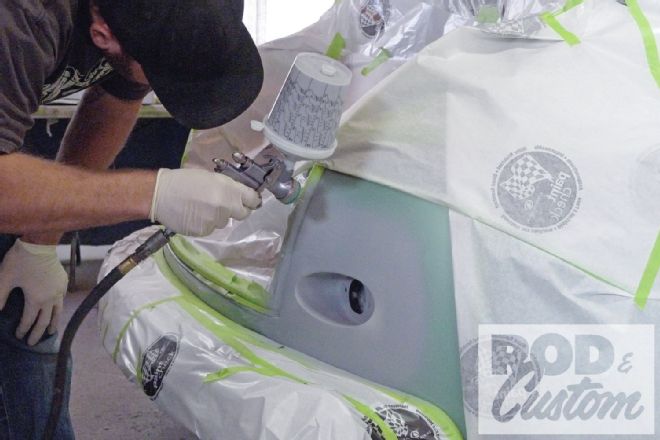 34. By this time the fairing procedures we’ve seen have been repeated, using the same paint stick and finer abrasives, ending with 120-grit. As we near the finish line, Hot Rods & Custom Stuff painter, Andy Meeh, applies the first of four coats of PPG’s Envirobase EPW115 waterborne primer, which will be blocked and final primed before delivery.